

Arduino IDE 2.0 vs VS Code with PlatformIO: Developer Experience Comparison
Introduction: The Evolving Trend in Embedded Development
The landscape of embedded systems programming has witnessed a significant shift in recent years, with the trend moving towards more modern, powerful development environments. As an increasing number of engineering students and DIY electronics enthusiasts in India dive into the world of Arduino and microcontrollers, choosing the right Integrated Development Environment (IDE) becomes crucial for productivity and learning.
Arduino IDE 2.0 and VS Code with PlatformIO represent two distinct approaches to embedded development. While Arduino IDE 2.0 is the official tool from the Arduino team, VS Code with PlatformIO offers a more professional, IDE-agnostic solution. This comparison will help you understand which environment better suits your needs, whether you're building your first temperature sensor project or developing complex IoT applications.
Feature Comparison: At a Glance
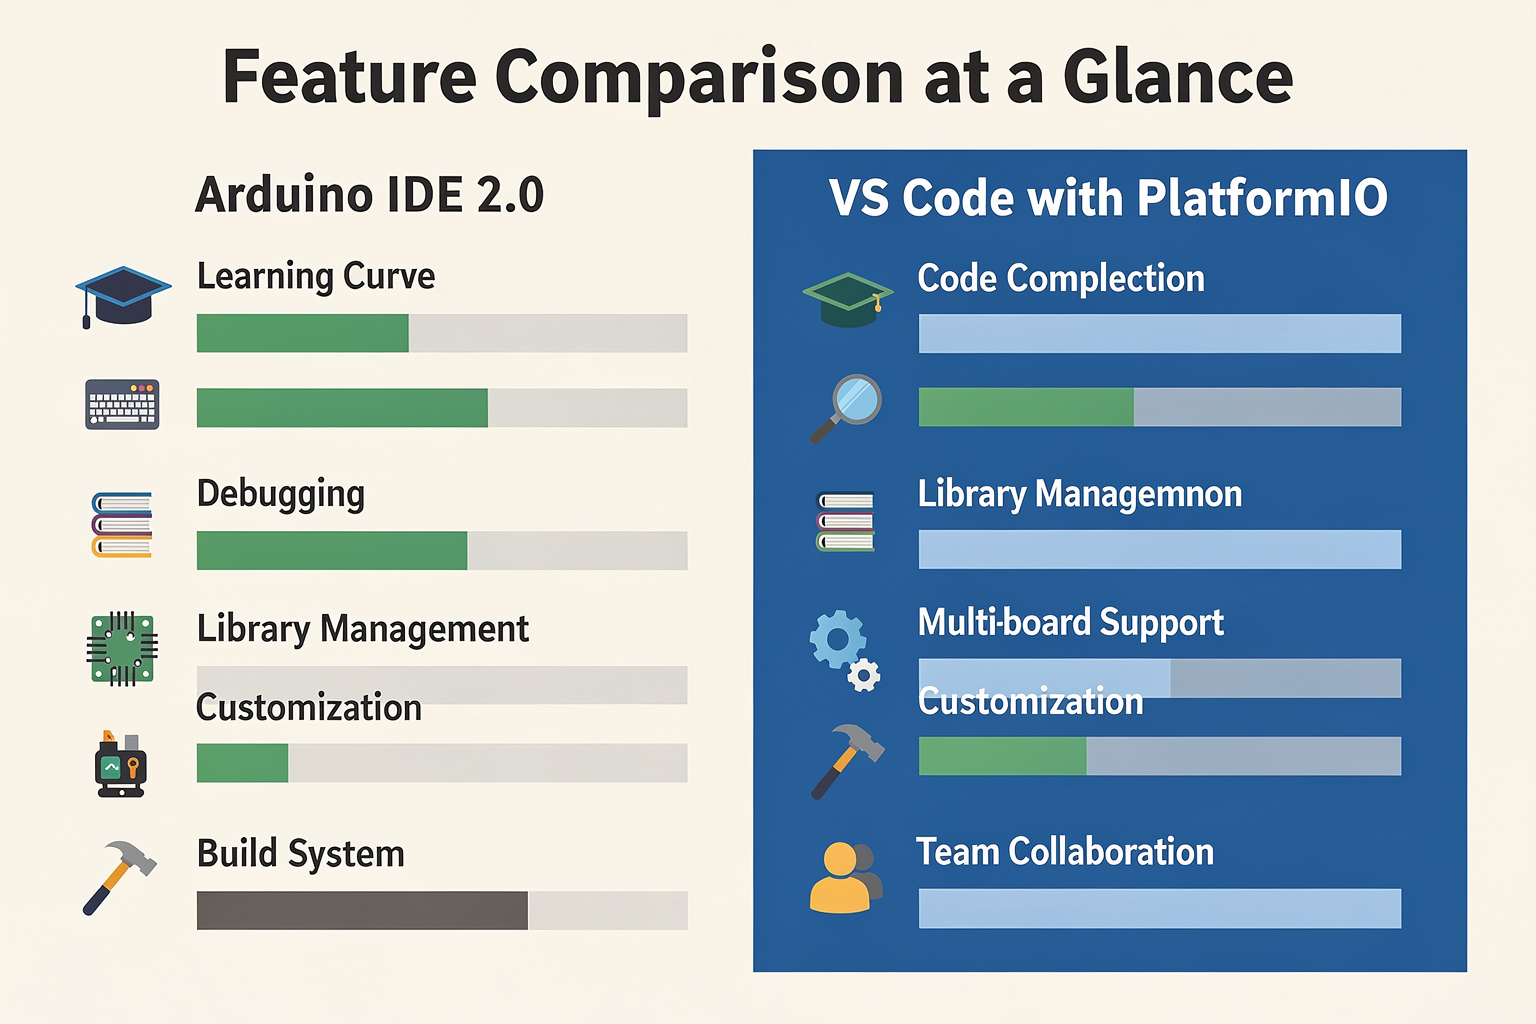
Both IDEs offer powerful features, but they cater to different user preferences and workflows. Let's examine their core capabilities through a detailed comparison:
| Feature | Arduino IDE 2.0 | VS Code with PlatformIO |
|---|---|---|
| Learning Curve | Beginner-friendly | Moderate to advanced |
| Code Completion | Basic | Advanced IntelliSense |
| Library Management | Built-in Library Manager | Advanced library dependency management |
| Debugging | Limited (serial monitor) | Full GDB debugging support |
| Multi-board Support | Good | Excellent (1000+ boards) |
| Customization | Limited | Highly customizable |
| Build System | Simple | Advanced CMake-based |
| Project Organization | Simple sketches | Professional project structure |
| Team Collaboration | Basic | Excellent (Git integration) |
Performance Analysis: Speed and Efficiency
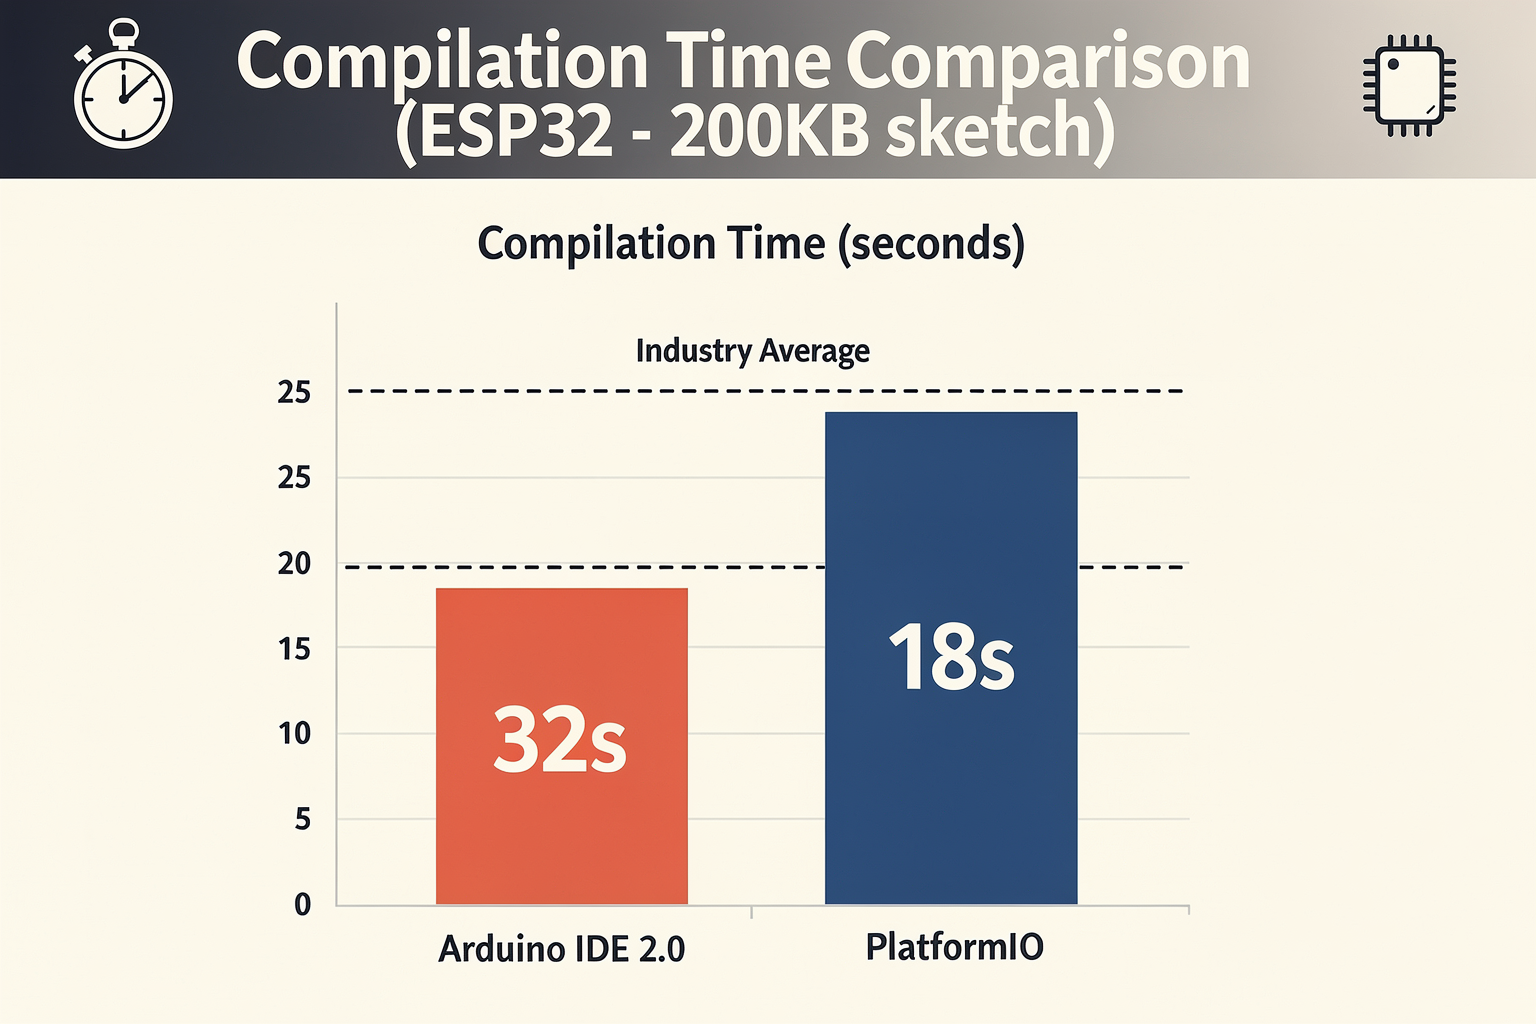
The performance differences between these IDEs become apparent during daily development tasks. Arduino IDE 2.0, while functional, sometimes struggles with large projects or boards with limited resources like the ESP8266. Compilation times can be noticeably longer, especially when managing multiple libraries.
VS Code with PlatformIO, leveraging modern build systems, generally offers faster compilation and better memory management. The integration with VS Code's native performance optimization means smoother operation even with resource-intensive projects. For instance, when working with multiple ESP32 boards in a single workspace, PlatformIO maintains stability while Arduino IDE might experience slowdowns.
Practical Tip: If you're working on time-sensitive projects or need to frequently compile large codebases, PlatformIO's performance advantage becomes significant. However, for simple projects and quick prototypes, Arduino IDE 2.0's simplicity might be preferable.
Code Development Experience: A Hands-On Comparison

Writing Code in Arduino IDE 2.0
The Arduino IDE 2.0 provides a familiar, straightforward interface for writing Arduino code. The code completion is basic but functional:
// Basic Arduino sketch in IDE 2.0
int ledPin = 13;

void setup() {
  Serial.begin(9600);
  pinMode(ledPin, OUTPUT);
  Serial.println("LED Controller Initialized");
}

void loop() {
  digitalWrite(ledPin, HIGH);
  delay(1000);
   digitalWrite(ledPin, LOW);
  delay(1000);

  // Serial output for debugging
  Serial.print("LED Status: ");
  Serial.println(digitalRead(ledPin) == HIGH ? "ON" : "OFF");
}
The autocomplete suggestions are limited but work adequately for common functions. The syntax highlighting is clear, and the serial monitor integration is seamless for beginners.
Coding in VS Code with PlatformIO
PlatformIO offers a more sophisticated coding environment with extensive IntelliSense support:
// Advanced project in VS Code with PlatformIO
#include <WiFi.h>
#include <MQTT.h>
#include <PubSubClient.h>
#include <DHT.h>

// Configuration constants
const char* WIFI_SSID = "Your_WiFi_Name";
const char* WIFI_PASSWORD = "Your_WiFi_Password";
const char* MQTT_SERVER = "mqtt.example.com";
const int MQTT_PORT = 1883;
const char* MQTT_TOPIC = "arduino/dht11/data";

// Pin definitions
const int LED_BUILTIN = 2;
const int DHTPIN = 4;
const DHTSensorType DHTTYPE = DHT11;

// Global objects
WiFiClient wifiClient;
PubSubClient client(wifiClient);
DHT dht(DHTPIN, DHTTYPE);

void setup() {
    Serial.begin(115200);
    pinMode(LED_BUILTIN, OUTPUT);

    // Initialize DHT sensor
    dht.begin();

    // Connect to WiFi
    connectWiFi();

    // Initialize MQTT
    client.setServer(MQTT_SERVER, MQTT_PORT);

    Serial.println("Setup Complete");
}

void loop() {
    // Maintain WiFi connection
    if (!client.connected()) {
        reconnectMQTT();
    }
    client.loop();

    // Read sensor data
    float humidity = dht.readHumidity();
    float temperature = dht.readTemperature();

    // Validate readings
    if (isnan(humidity) || isnan(temperature)) {
        Serial.println("Failed to read from DHT sensor!");
        return;
    }

    // Process and publish data
    processSensorData(temperature, humidity);

    delay(2000); // 2-second intervals
}
PlatformIO's IntelliSense provides:
- Full function parameter hints
- Class member suggestions
- Library documentation access
- Real-time error checking
- Advanced navigation (Go to Definition)
Library Management: Critical Differences
Managing libraries is where the platforms diverge significantly:
Arduino IDE 2.0 Library Management:
Tools → Manage Libraries → Search → Install
This manual approach works but lacks dependency management. When multiple libraries require conflicting versions, you might face compatibility issues.
PlatformIO Library Management:
# platformio.ini configuration
[env:nodemcu-32s]
platform = espressif32
board = nodemcu-32s
framework = arduino

lib_deps =
    DHT sensor library @ ^2.0.0
    PubSubClient @ ^2.8
    ArduinoJson @ ^6.21.3
PlatformIO automatically resolves dependencies and ensures compatible versions, which becomes crucial in complex projects.
Use Cases and Suitability
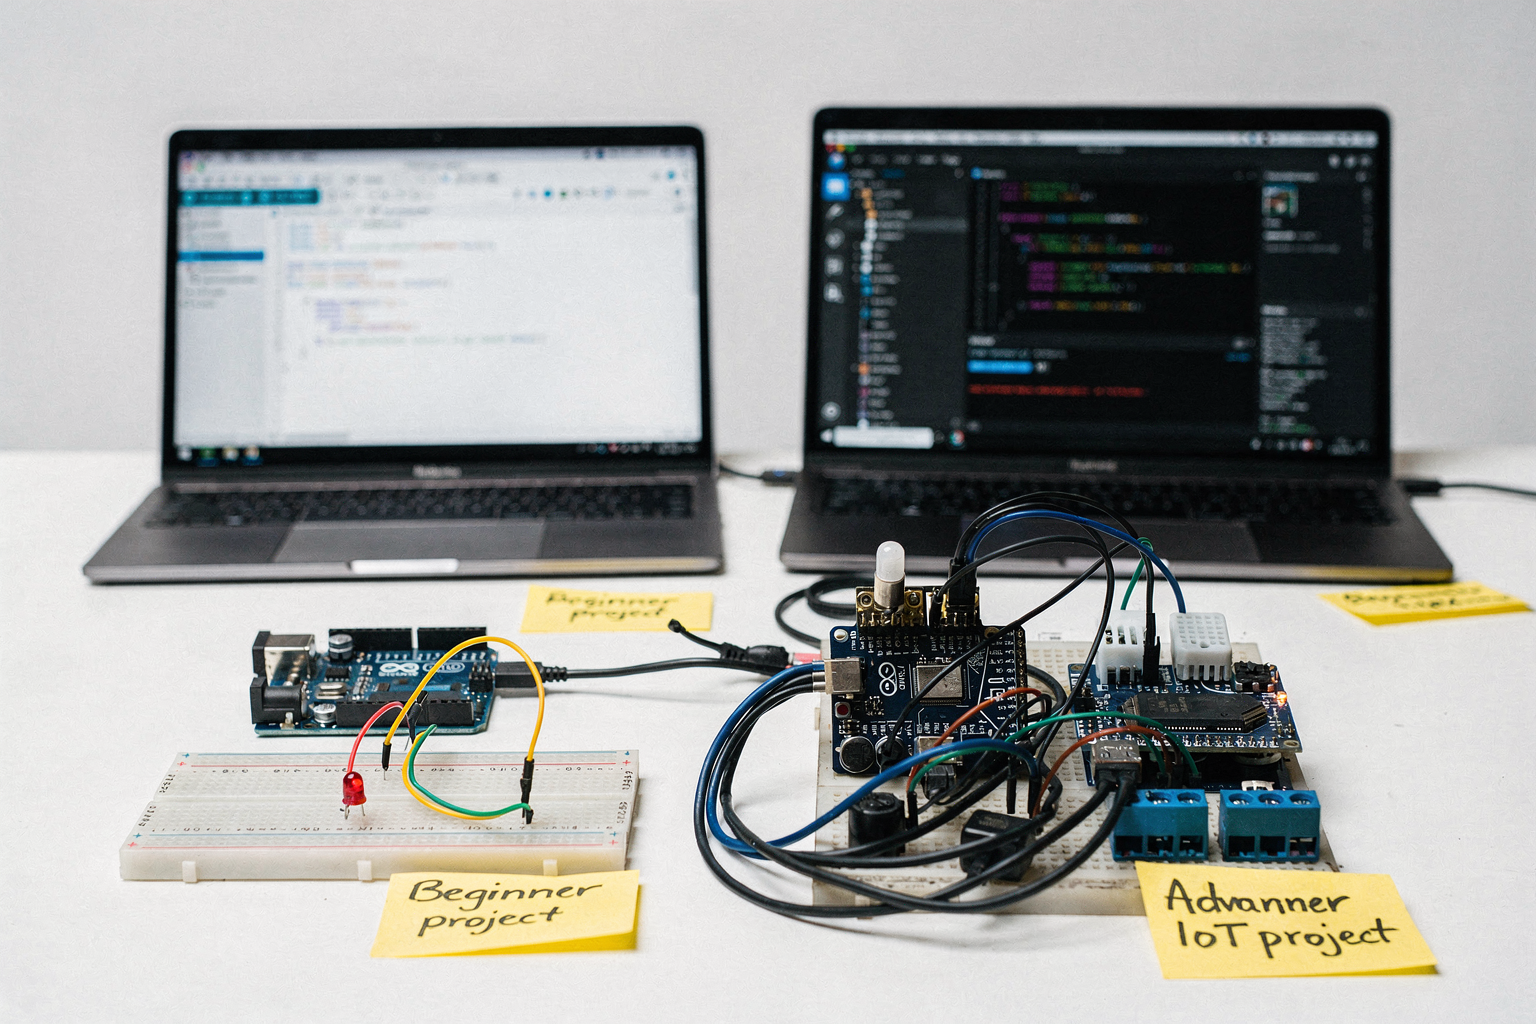
When to Choose Arduino IDE 2.0
Arduino IDE 2.0 is ideal for:
- Educational Settings: Perfect for beginners learning Arduino programming basics
- Simple Projects: Quick prototypes like LED controllers, basic sensor logging
- Class Assignments: When following tutorials specifically written for Arduino IDE
- Resource-Constrained Laptops: Lower system requirements for older hardware
Example Use Case: A college student building a simple weather station with DHT11 sensor, displaying temperature on an LCD screen - Arduino IDE's simplicity makes this straightforward.
When to Choose VS Code with PlatformIO
PlatformIO excels in:
- Professional Development: Production-level embedded projects
- Complex Systems: IoT devices with multiple protocols
- Team Projects: Collaborative development with version control
- Hardware Diversity: Working across multiple microcontroller platforms
- Performance-Critical Applications: Where optimization matters
Example Use Case: Developing a smart home controller using ESP32, integrating WiFi, Bluetooth, MQTT, and multiple sensors - PlatformIO's advanced features shine here.
Pricing and Hardware Considerations
Both IDEs are free, but the associated hardware costs vary based on your project requirements:
| Component | Arduino IDE 2.0 | PlatformIO Compatible Boards | Price Range (₹) |
|---|---|---|---|
| Entry Board | Arduino Uno Clone | ESP32 Dev Kit v1 | 300 - 800 |
| Mid-range | Arduino Mega | ESP32-S3 Dev Board | 800 - 1500 |
| Advanced | N/A | Raspberry Pi Pico W | 400 - 900 |
| Tools Setup | Arduino Cable | USB-C Cable | 100 - 300 |
Budget-Friendly Setup for Indian Students:
- ESP32 Dev Board: ₹800
- USB Cable: ₹150
- Breadboard + Jumper Wires: ₹300
- Total: ₹1250
This setup works excellently with both environments, though PlatformIO unlocks the full potential of the ESP32's capabilities.
Pros and Cons: Quick Reference Guide
| Aspect | Arduino IDE 2.0 - Pros | Arduino IDE 2.0 - Cons | PlatformIO - Pros | PlatformIO - Cons |
|---|---|---|---|---|
| Learning | Gentle learning curve | Limited advanced features | Professional development skills | Steeper learning curve |
| Simplicity | Clean, focused interface | Basic functionality | Rich feature set | Can be overwhelming initially |
| Hardware Support | Official Arduino boards | Limited to Arduino ecosystem | 1000+ boards supported | Configuration complexity |
| Debugging | Serial monitor | No advanced debugging | Full GDB debugging | Requires setup knowledge |
| Libraries | Simple to install | No dependency management | Advanced dependency handling | Configuration in ini files |
| Performance | Stable for simple projects | Slower with complex code | Faster compilation | Higher system requirements |
Frequently Asked Questions
Start with Arduino IDE 2.0 if you're completely new to programming and microcontrollers. Its simplicity will help you understand the fundamentals without being overwhelmed. Once you're comfortable with basic Arduino concepts, transition to PlatformIO for more advanced projects. Many Indian engineering colleges actually begin with Arduino IDE before introducing PlatformIO in advanced courses.
Ready to start building?
Explore our collection of DIY kits and components. All project components mentioned in this blog are available in our store.
Browse All Projects