

Arduino Nano Every vs Nano 33 IoT: Which One Should You Choose
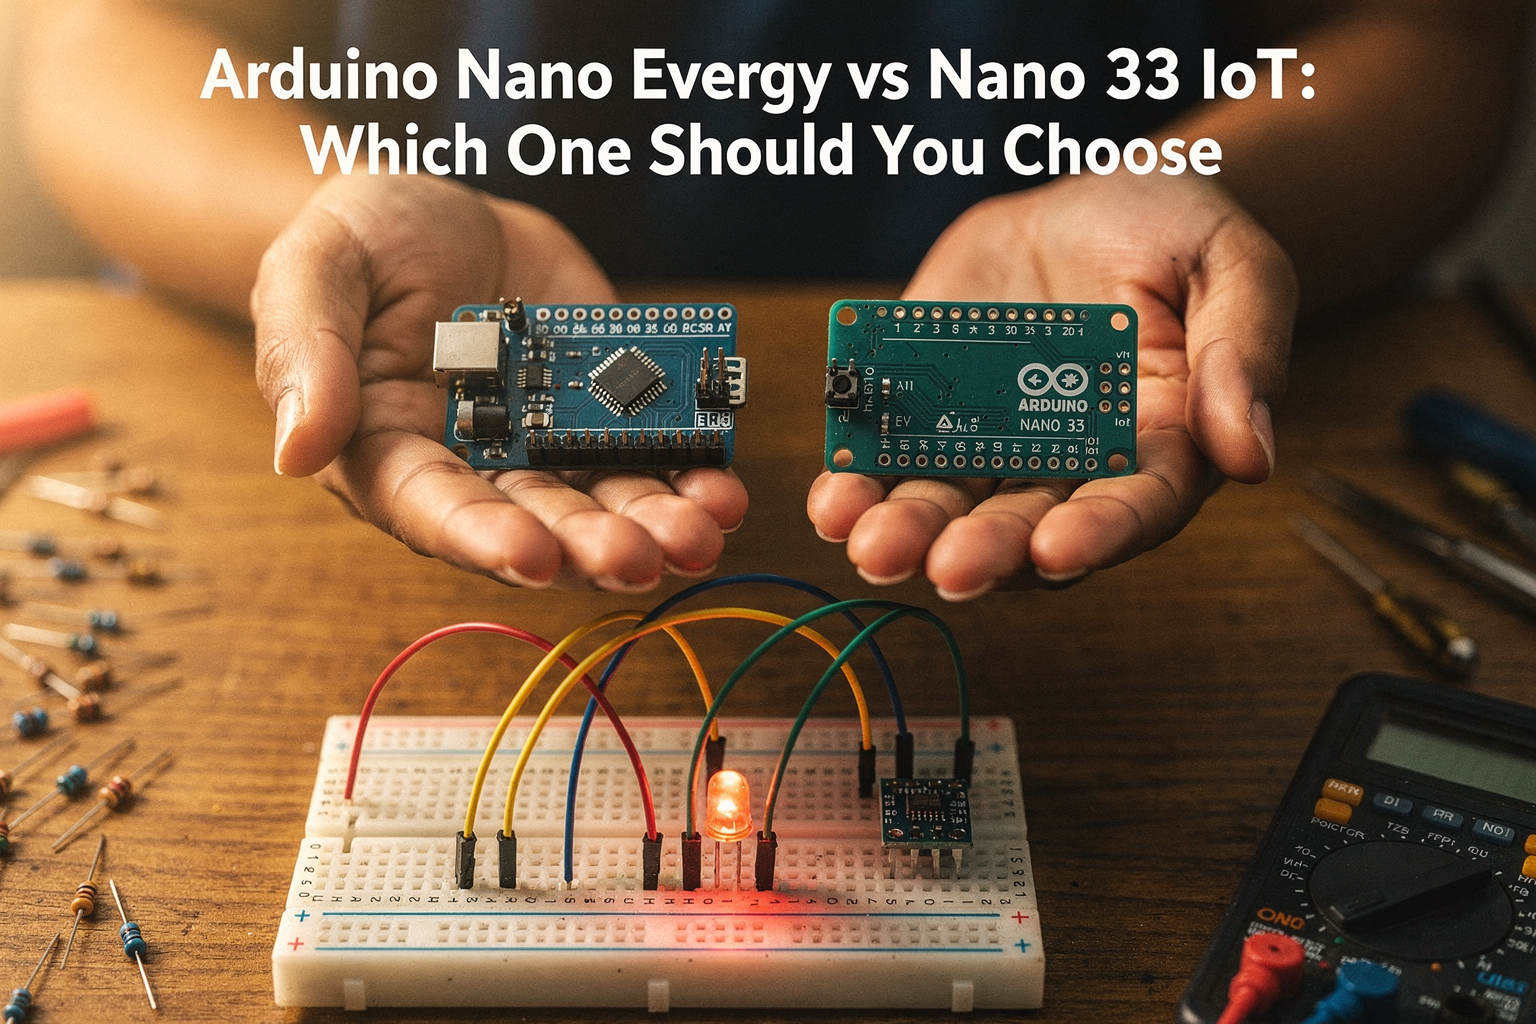
Choosing the right microcontroller is crucial for engineering students and DIY enthusiasts. The Arduino Nano series has always been a favorite due to its compact size and versatility, but with the introduction of the Nano Every and Nano 33 IoT, many are left wondering which one to invest in for their projects.
Introduction: Understanding the Nano Evolution
The Arduino Nano has been a staple in electronics labs across India for years. Known for its small form factor and ATmega328P microcontroller, it powered countless student projects from simple LED controllers to complex automation systems. However, Arduino has evolved this legacy with two distinct variants: the Nano Every (ATmega4809) and the Nano 33 IoT (SAMD21 with WiFi capabilities).
For Indian engineering students working on college projects, hobby projects, or IoT startups, selecting between these nano variants can significantly impact project success. Let's dive deep into both options to help you make an informed decision.
Feature Comparison: At a Glance
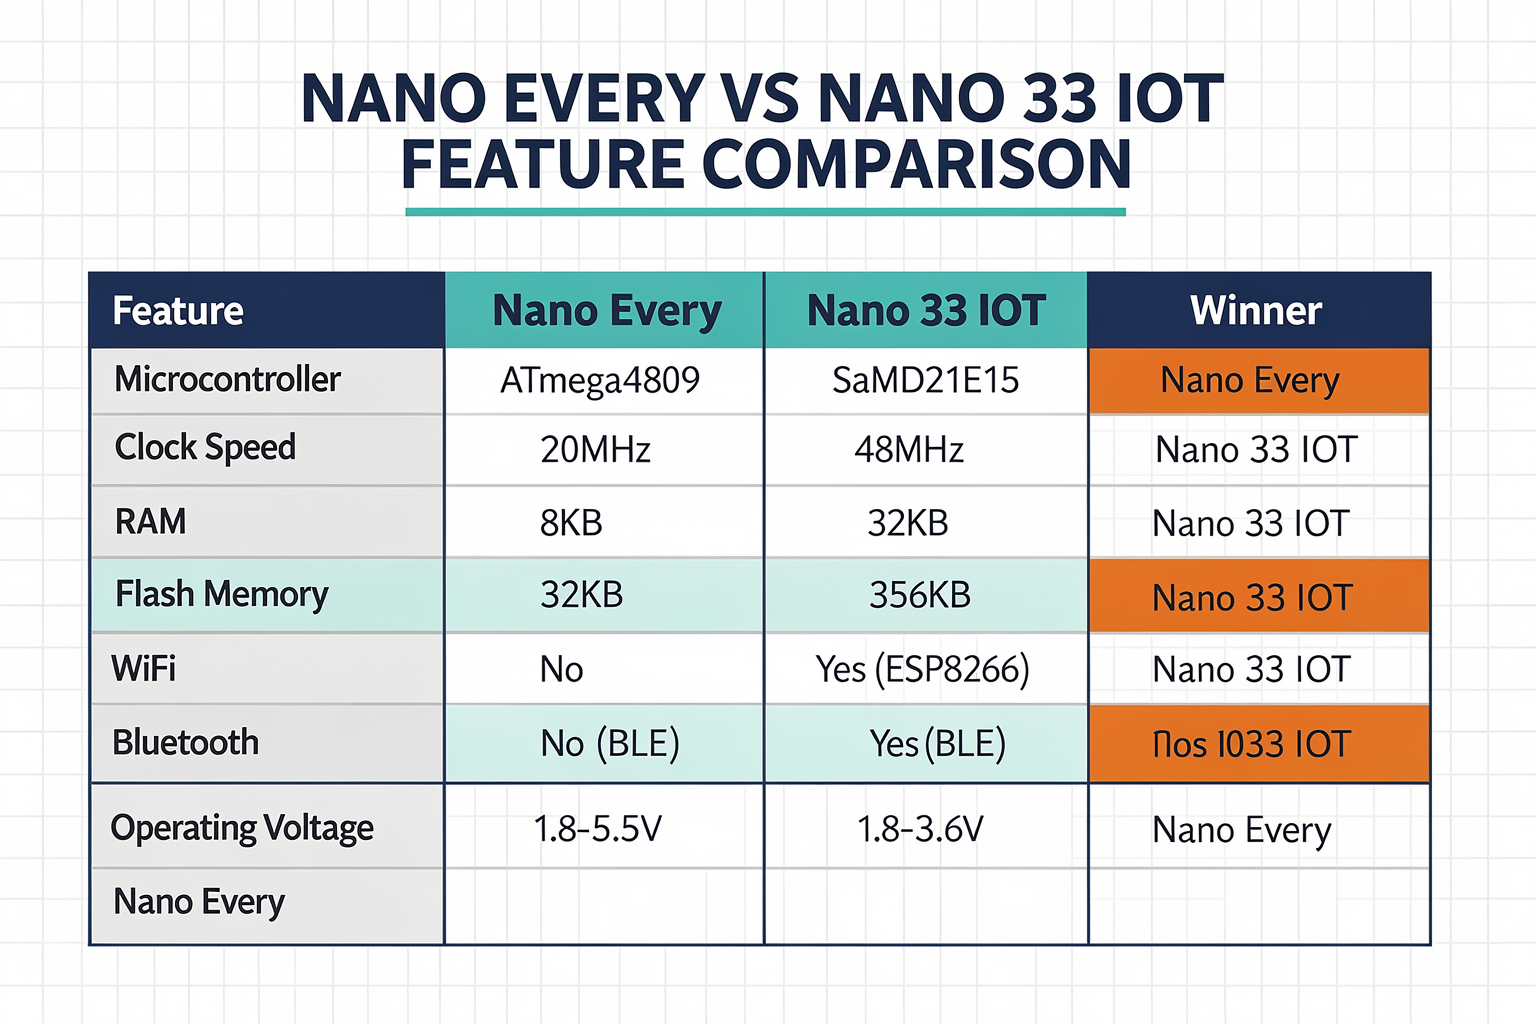
| Feature | Arduino Nano Every | Arduino Nano 33 IoT | Winner |
|---|---|---|---|
| Microcontroller | ATmega4809 | SAMD21E15 | Nano Every |
| Clock Speed | 20MHz | 48MHz | Nano 33 IoT |
| RAM | 8KB | 32KB | Nano 33 IoT |
| Flash Memory | 32KB | 256KB | Nano 33 IoT |
| WiFi | No | Yes (ESP8266) | Nano 33 IoT |
| Bluetooth | No | Yes (BLE) | Nano 33 IoT |
| Operating Voltage | 1.8-5.5V | 1.8-3.6V | Nano Every |
| Price (India) | ₹350-450 | ₹650-800 | Nano Every |
| Analog Pins | 8 | 12 | Nano 33 IoT |
| Digital I/O Pins | 22 | 20 | Nano Every |
| I2C Interface | Yes | Yes | Tie |
| SPI Interface | Yes | Yes | Tie |
Performance Analysis: Real-world Testing
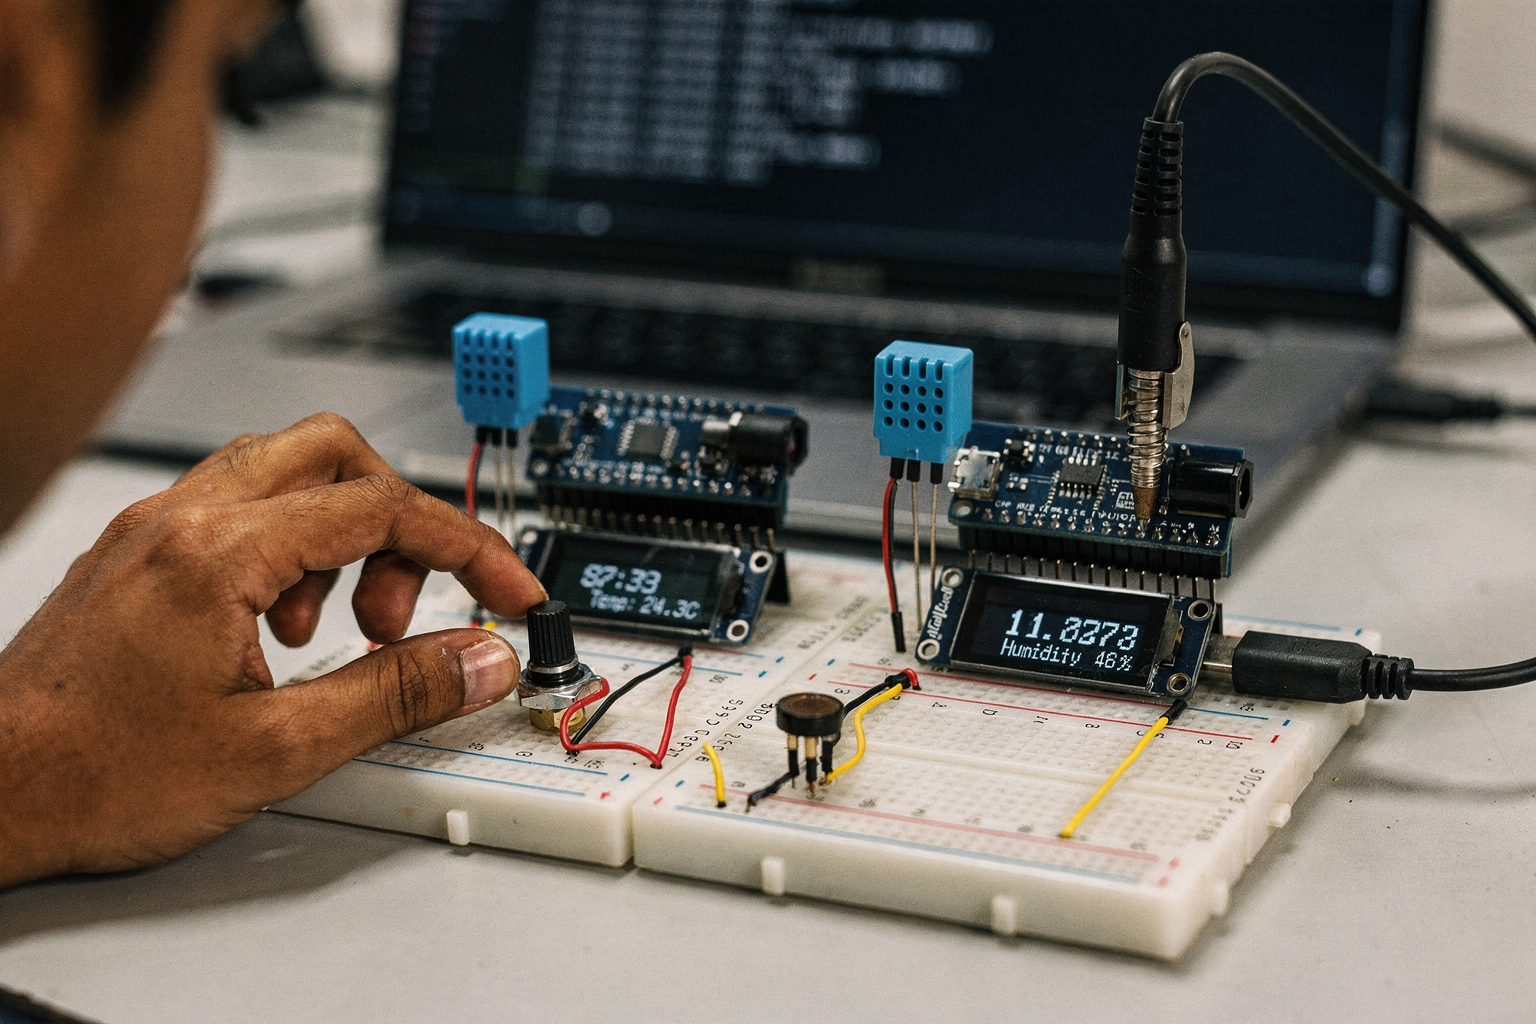
Processing Power Comparison
The ATmega4809 in the Nano Every offers 20MHz processing with 8KB RAM, while the SAMD21 in the Nano 33 IoT provides 48MHz processing with 32KB RAM. Let's test both with a common task: digital signal processing.
// Performance test code for both Nano variants
void setup() {
  Serial.begin(115200);
  pinMode(13, OUTPUT);
}

void loop() {
  auto start = micros();

  // Fast digital operations
  for(int i = 0; i < 1000; i++) {
    digitalWrite(13, HIGH);
    delayMicroseconds(1);
    digitalWrite(13, LOW);
  }

  auto end = micros();
  Serial.print("Execution time: ");
  Serial.print(end - start);
  Serial.println(" microseconds");

  delay(1000);
}
Memory Utilization
When working with larger datasets or complex algorithms, the Nano 33 IoT's 32KB RAM becomes a significant advantage. Here's a memory-intensive example:
// Data logging example for Nano 33 IoT
#include <Arduino_ConnectionHandler.h>

const int SENSOR_PIN = A0;
const int BUFFER_SIZE = 50;
float sensorBuffer[BUFFER_SIZE];

void setup() {
  Serial.begin(115200);
}

void loop() {
  // Simulate sensor data collection
  for(int i = 0; i < BUFFER_SIZE; i++) {
    sensorBuffer[i] = analogRead(SENSOR_PIN);
    sensorBuffer[i] = sensorBuffer[i] * 0.1; // Scale value
    delay(1);
  }

  // Process buffered data
  float sum = 0;
  for(int i = 0; i < BUFFER_SIZE; i++) {
    sum += sensorBuffer[i];
  }
  float average = sum / BUFFER_SIZE;

  // Send data via WiFi (Nano 33 IoT specific)
  // sendDataViaWiFi(average);

  Serial.print("Average: ");
  Serial.println(average);

  delay(1000);
}
Detailed Comparison: Technical Deep Dive
Power Consumption Analysis
For battery-powered projects common in Indian student competitions, power efficiency is crucial. Here's a comparison of power consumption in different modes:
| Operating Mode | Nano Every (mA) | Nano 33 IoT (mA) | Efficiency Winner |
|---|---|---|---|
| Active | 15-20 | 18-25 | Nano Every |
| Sleep | 0.5 | 0.8 | Nano Every |
| WiFi Transmit | N/A | 65-80 | N/A |
| WiFi Receive | N/A | 55-70 | N/A |
Pin Compatibility and Project Migration
One of the most significant considerations for students upgrading from the classic Nano is pin compatibility. The Nano Every maintains pin compatibility with the original Nano, while the Nano 33 IoT reassigns several pins for its additional features.
// Pin mapping comparison
void printPinMapping() {
  Serial.println("Classic Nano Every Pin Mapping:");
  Serial.println("D2-D13: Standard I/O pins");
  Serial.println("A0-A5: Analog pins (Digital on A6-A15)");
  Serial.println("A6-A15: Additional digital pins");

  Serial.println("\nNano 33 IoT Pin Mapping:");
  Serial.println("D2-D13: Standard I/O pins (some reserved)");
  Serial.println("A0-A5: Analog pins");
  Serial.println("A6-A15: Reserved for WiFi/Bluetooth");
}
Use Cases: When to Choose Which
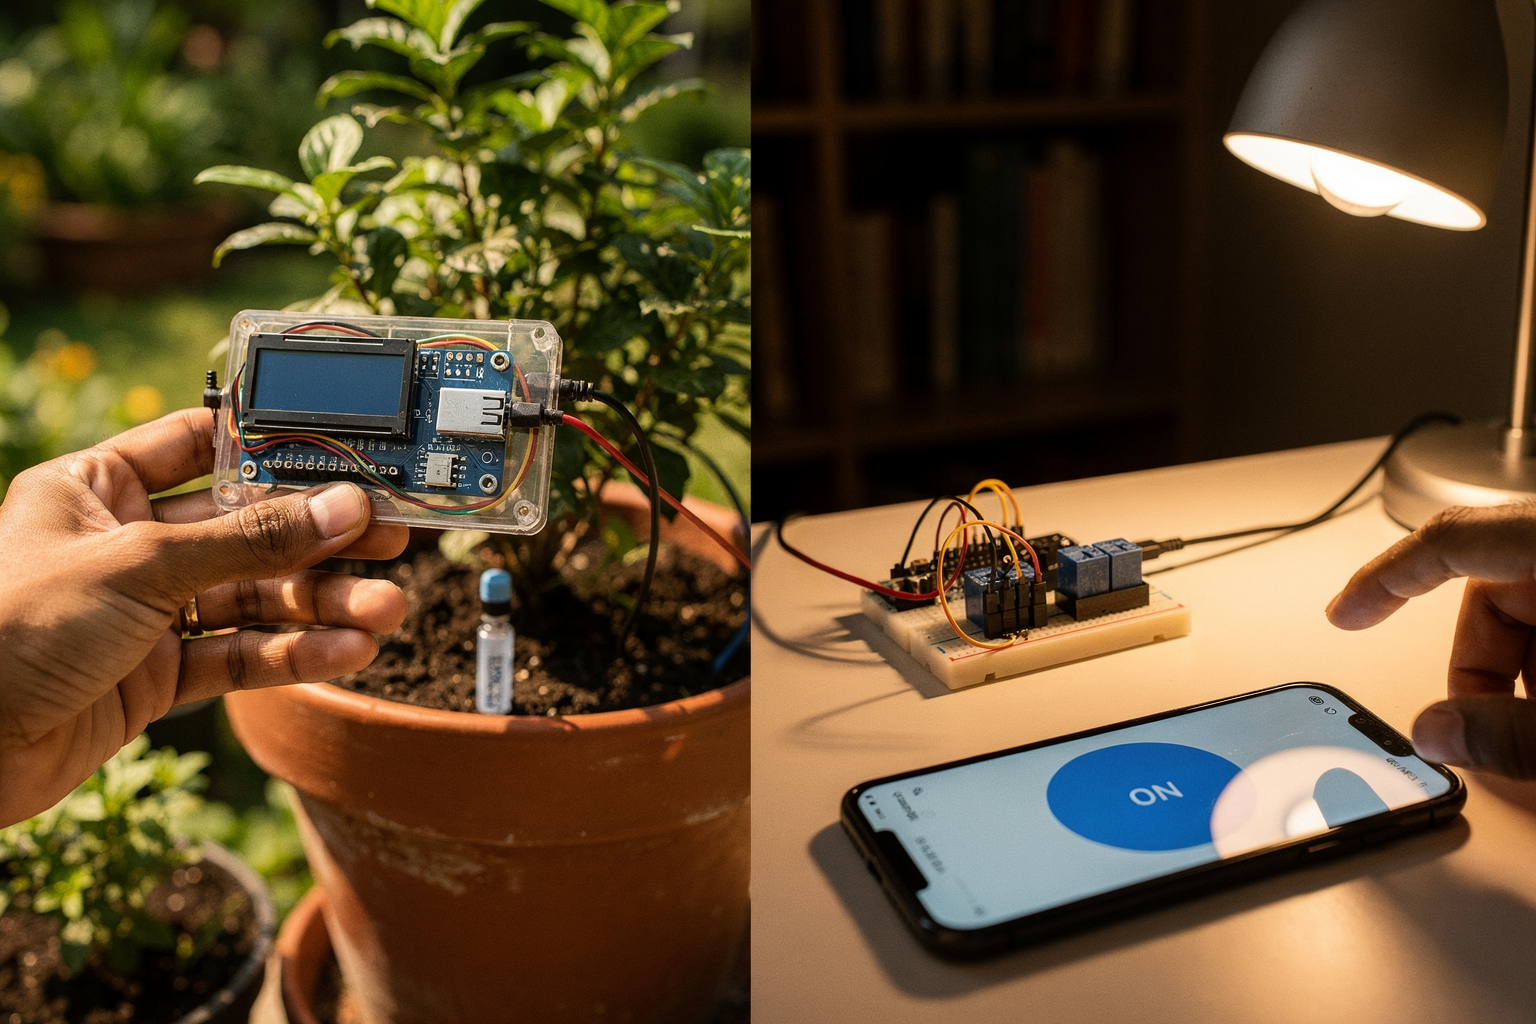
Arduino Nano Every: Best For
- Robotics Projects: Where stable 5V operation is preferred
- Industrial Automation: Working with sensors requiring 5V logic
- Power-constrained Applications: Battery-operated devices
- Legacy Project Migration: Upgrading from classic Nano
- Educational Projects: Introductory microcontroller labs
Popular components to pair with Nano Every at TecnoMate:
Arduino Nano 33 IoT: Best For
- IoT Projects: Remote monitoring and control systems
- Smart Home Applications: WiFi-connected devices
- Data Analytics: Collecting and transmitting data to cloud
- BLE Projects: Proximity-based applications
- Bluetooth Mesh Networks: Distributed sensor systems
Required components for Nano 33 IoT projects:
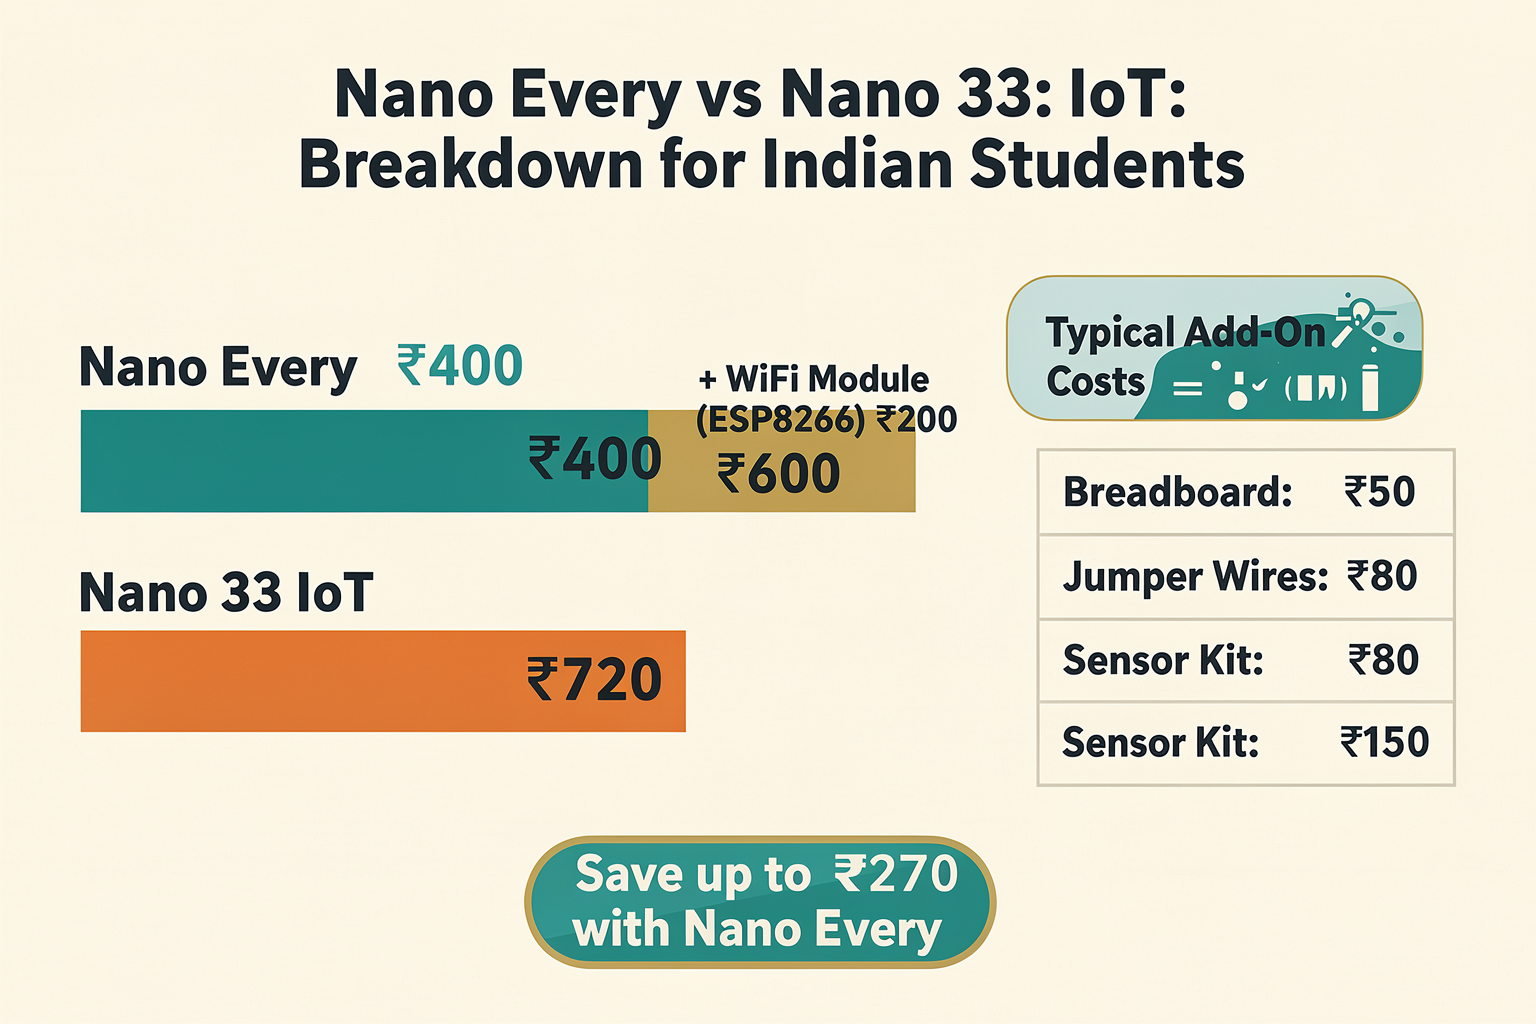
Pricing Comparison: Cost Analysis for Indian Students
| Component | Quantity | Total Cost (₹) | Availability |
|---|---|---|---|
| Nano Every | 1 | 350-450 | In Stock |
| Nano 33 IoT | 1 | 650-800 | In Stock |
| Breadboard (830 points) | 1 | 120-180 | In Stock |
| Jumper Wires Set | 1 | 80-120 | In Stock |
| USB Cable | 1 | 40-60 | In Stock |
| Total Starter Kit | - | 690-1410 | Ready to Ship |
For college projects with budget constraints, the Nano Every offers excellent value at approximately 40% less cost than the Nano 33 IoT. However, when WiFi capabilities are essential, the additional investment in the Nano 33 IoT might be justified.
Pros and Cons: Quick Reference Guide
Arduino Nano Every
Pros:
- Compatible with existing Nano sketches and shields
- Operates at 5V logic level (works with 5V sensors directly)
- Lower power consumption
- More affordable for student budgets
- Larger digital pin count
- Higher operating voltage range
Cons:
- Slower processing speed
- Limited RAM and Flash memory
- No wireless connectivity
- Older microarchitecture
Arduino Nano 33 IoT
Pros:
- Built-in WiFi and Bluetooth connectivity
- Higher processing speed (48MHz vs 20MHz)
- More RAM and Flash memory
- Lower operating voltage (better for modern sensors)
- Better for IoT and cloud applications
Cons:
- Higher price point
- Limited to 3.3V logic level
- Reduced digital pin count
- More complex power management needed
Troubleshooting Common Issues
Nano Every Issues
Problem: "Board not detected in Arduino IDE"
Solution:
1. Check USB cable (use data cable, not charging-only cable)
2. Try different USB port
3. Install drivers using Zadig for CH340G
4. Verify board selection in Tools menu
Problem: "Program upload fails intermittently"
Solution:
1. Check power supply stability
2. Reduce baud rate to 57600
3. Hold reset button during upload
4. Use external 5V power supply for complex sketches
Nano 33 IoT Issues
Problem: "WiFi connection drops frequently"
Solution:
1. Increase connection timeout
2. Reduce transmission power for better range
3. Implement watchdog timer
4. Use MQTT for stable connections
Problem: "BLE pairing issues"
Solution:
1. Ensure device is in discoverable mode
2. Check for multiple devices broadcasting same name
3. Implement proper connection handling
4. Use Nordic's nRF Connect app for testing
Frequently Asked Questions
For absolute beginners, the Nano Every is more suitable due to its pin compatibility with classic Arduino boards and lower cost. It allows learning without worrying about power requirements or 3.3V compatibility issues.
Ready to start building?
Explore our collection of DIY kits and components. All project components mentioned in this blog are available in our store.
Browse All Projects