

Arduino Nano R4 vs UNO Q: Power Comparison for Advanced Projects
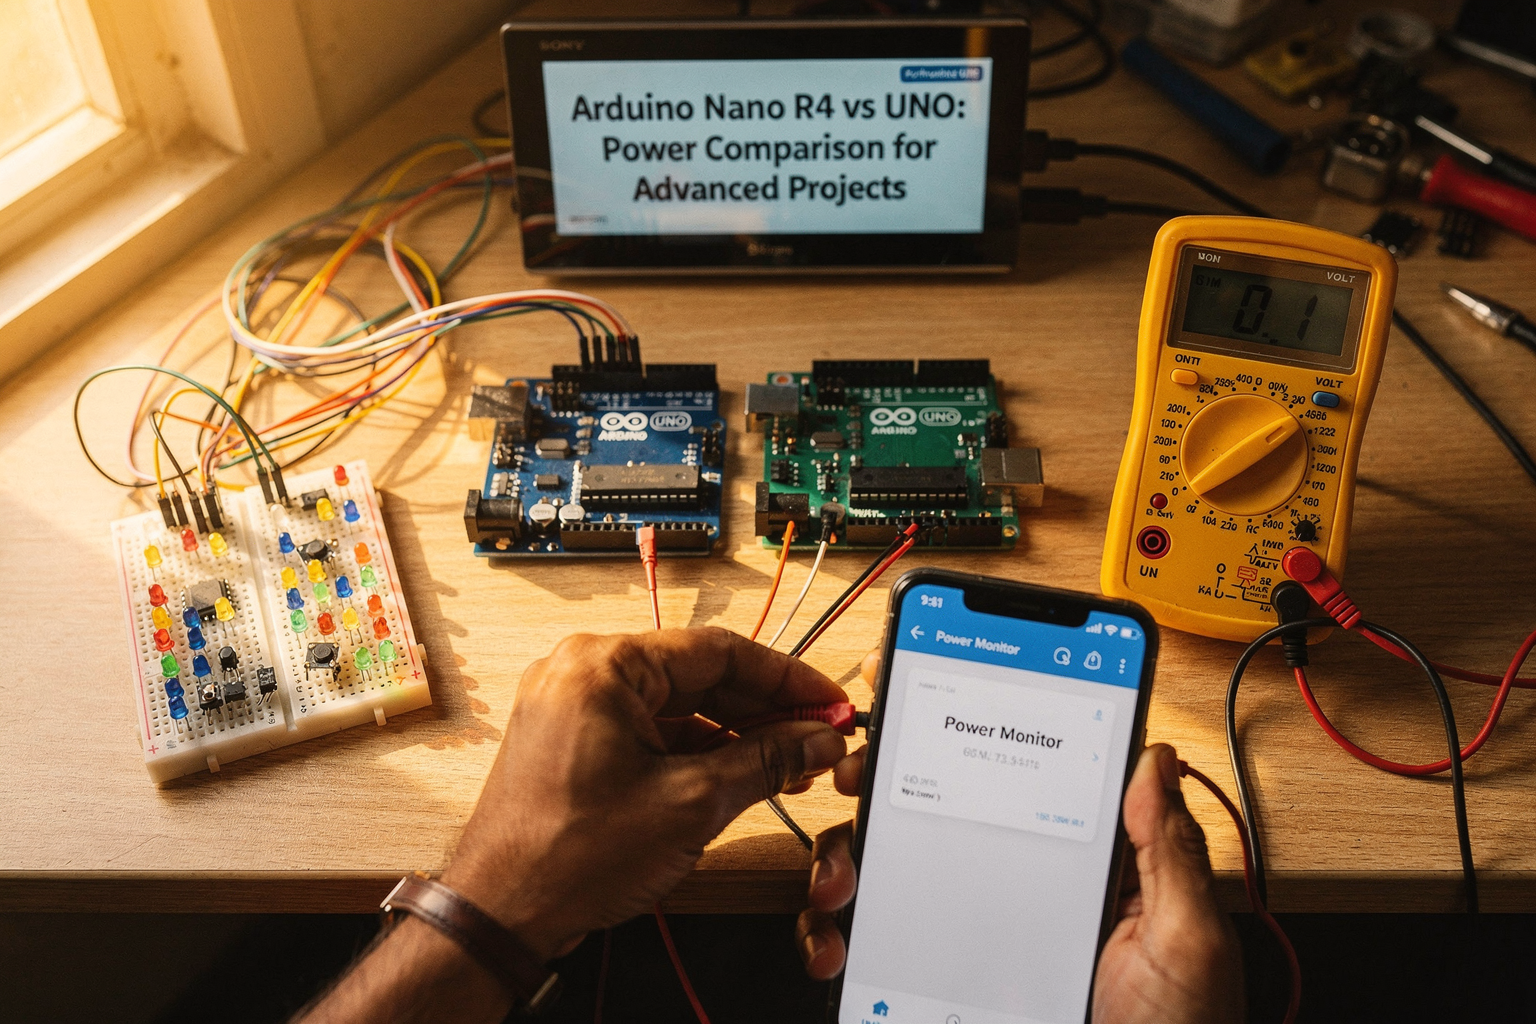
Arduino Nano R4 vs UNO: Power Comparison for Advanced Projects
Introduction
When it comes to choosing the right Arduino board for your next engineering project, the decision between Nano R4 and UNO often boils down to one critical factor: power. For Indian engineering students and DIY enthusiasts working on advanced projects, understanding the power characteristics of these boards can make or break your design. Whether you're building a smart home system for your final year project or developing an IoT solution for your startup, the correct power management is essential.
The Arduino ecosystem has evolved significantly, and the Nano R4's introduction has challenged the long-standing dominance of the UNO. In this comprehensive comparison, we'll dive deep into the power aspects that matter most for your advanced projects, from voltage requirements to current handling capabilities, all while considering the practical constraints of the Indian market.
Feature Comparison at a Glance
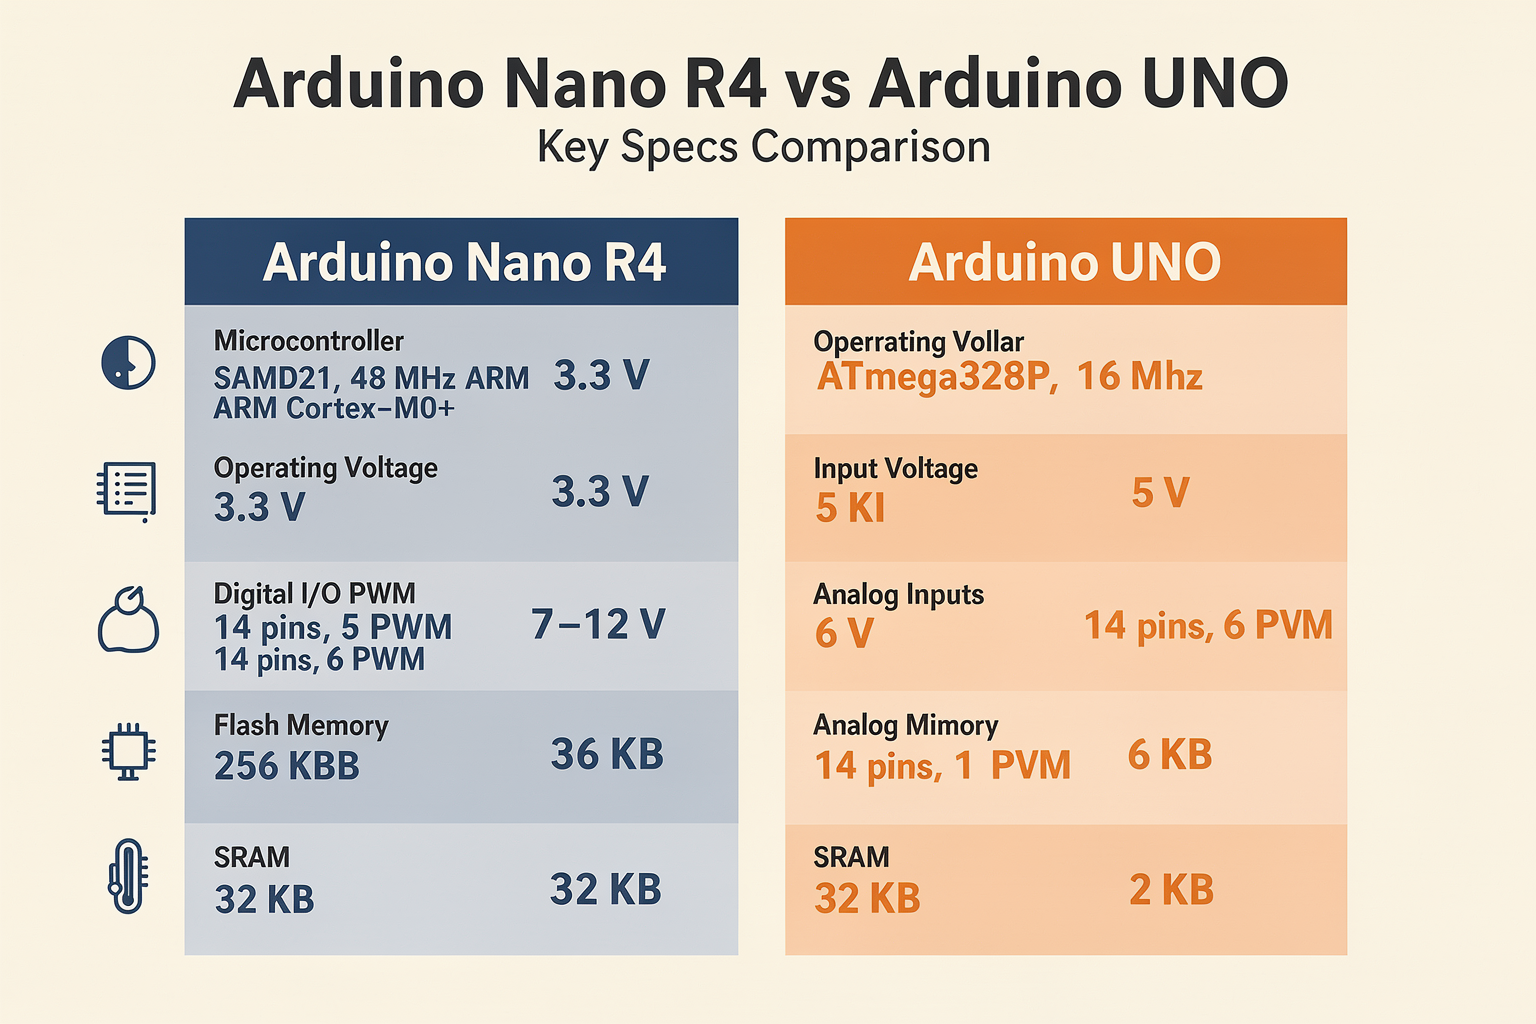
Before we dive into the power specifics, let's establish a baseline understanding of both boards. This comparison will help you understand why the power differences are so significant for advanced applications.
| Feature | Arduino Nano R4 | Arduino UNO |
|---|---|---|
| Microcontroller | SAMD21 32-bit ARM Cortex-M0+ @ 48MHz | ATmega328P 8-bit AVR @ 16MHz |
| Operating Voltage | 3.3V | 5V |
| Input Voltage (Recommended) | 7-12V | 7-12V |
| Input Voltage (Limits) | 6-20V | 6-20V |
| Digital I/O Pins | 14 (5 with PWM) | 14 (6 with PWM) |
| Analog Input Pins | 6 | 6 |
| Flash Memory | 256KB | 32KB |
| SRAM | 32KB | 2KB |
| Price in India | ₹750-900 | ₹600-800 |
Power Performance Analysis
Voltage Regulation and Efficiency
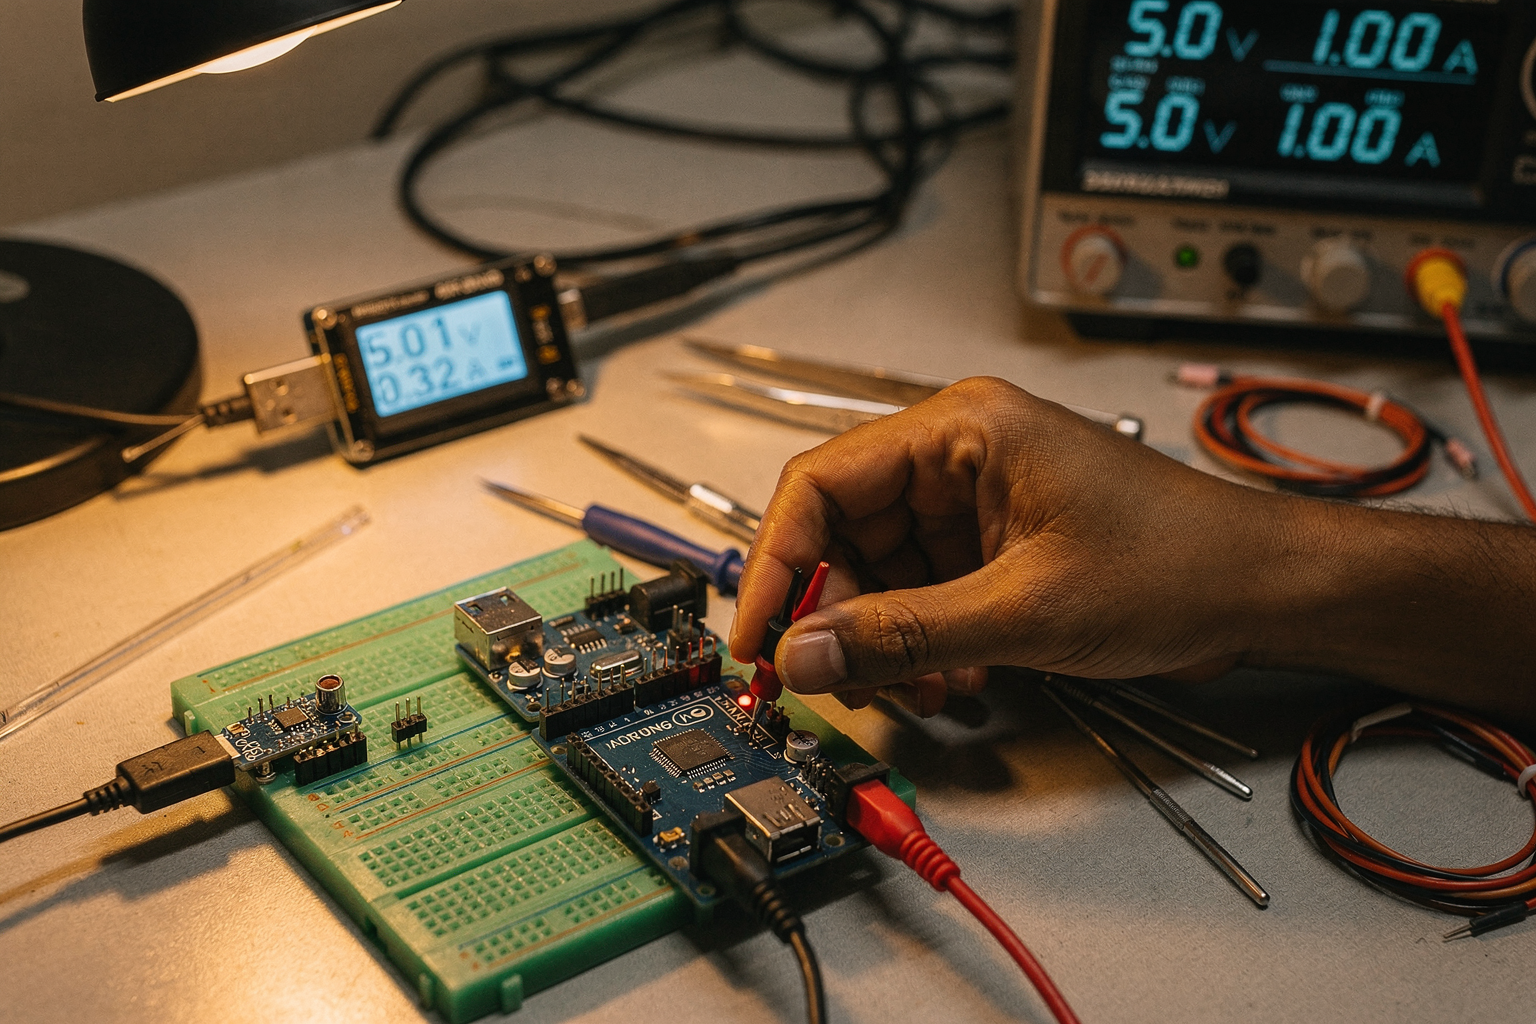
The most significant power difference between Nano R4 and UNO lies in their voltage regulation systems. The Nano R4 operates at 3.3V logic levels, while the UNO works at 5V. This fundamental difference impacts power consumption in several ways:
Nano R4 Advantages:
- Lower power consumption due to 3.3V operation
- More efficient power management with ARM Cortex-M0+ architecture
- Advanced power-saving modes for battery-powered projects
- Built-in voltage regulator with 80% efficiency
UNO Advantages:
- 5V operation is more compatible with many existing sensors and modules
- Simpler power requirements for beginners
- More robust voltage regulation for power-hungry applications
Current Handling Capabilities
Let's look at how much current each board can safely handle:
| Parameter | Arduino Nano R4 | Arduino UNO |
|---|---|---|
| I/O Pin Current per Pin | 20mA | 20mA |
| I/O Pin Current (All Pins) | 100mA | 200mA |
| USB Current Limit | 500mA | 500mA |
| Recommended USB Power | 500mA @ 5V | 500mA @ 5V |
The Nano R4's ARM processor is more power-efficient, typically drawing only 15-20mA at idle, compared to the UNO's 15-20mA. However, under heavy computational load, the Nano R4 can draw up to 45mA, while the UNO can reach 50mA.
Detailed Power Comparison for Advanced Projects
Power Consumption in Different Modes
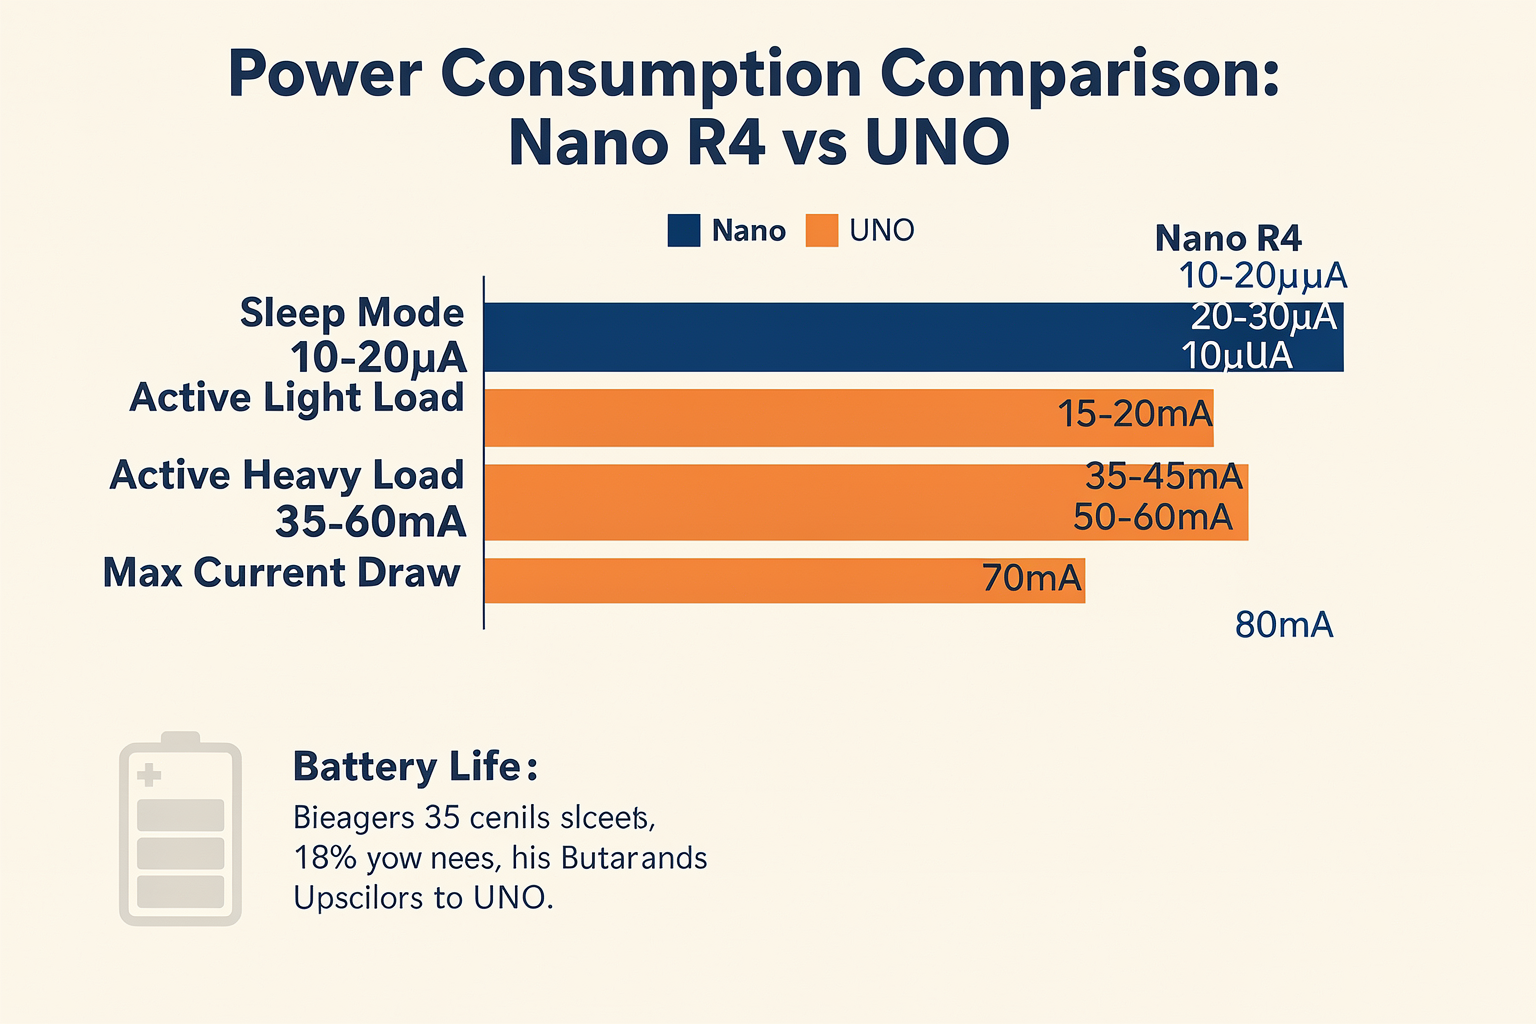
For your advanced projects, understanding power consumption in various operating modes is crucial:
Nano R4 Power Consumption:
- Sleep Mode: 10-20µA
- Active Mode (Light Load): 15-20mA
- Active Mode (Heavy Load): 35-45mA
- Maximum Current Draw: 70mA
UNO Power Consumption:
- Sleep Mode: 20-30µA
- Active Mode (Light Load): 15-20mA
- Active Mode (Heavy Load): 50-60mA
- Maximum Current Draw: 80mA
Battery-Powered Applications
For battery-powered projects common in Indian engineering competitions and startups, the Nano R4 shines:
// Nano R4 Battery Management Example
#include <LowPower.h>

void setup() {
  pinMode(LED_BUILTIN, OUTPUT);
  Serial.begin(9600);
}

void loop() {
  // Main processing
  digitalWrite(LED_BUILTIN, HIGH);
  delay(100);
  digitalWrite(LED_BUILTIN, LOW);

  // Enter deep sleep for power conservation
  // Sleep for 5 seconds (8MHz/8 prescaler = 1ms tick)
  LowPower.idle(SLEEP_8S);
}
Power Management Code Example
Here's a practical example showing power-efficient code for both boards:
// Power-Optimized Code for Nano R4
#include <Arduino.h>

#define LED_PIN 13

void setup() {
  pinMode(LED_PIN, OUTPUT);
  // Disable unnecessary peripherals to save power
  Serial.end();
  ADCSRA &= ~(1 << ADEN); // Disable ADC
}

void loop() {
  // Use PWM for LED control to reduce power
  for(int brightness = 0; brightness < 255; brightness += 5) {
    analogWrite(LED_PIN, brightness);
    delay(10);
  }
  for(int brightness = 255; brightness >= 0; brightness -= 5) {
    analogWrite(LED_PIN, brightness);
    delay(10);
  }

  // Enter power-saving mode
  while(true) {
    delay(1000);
  }
}
Use Cases for Indian Engineering Projects
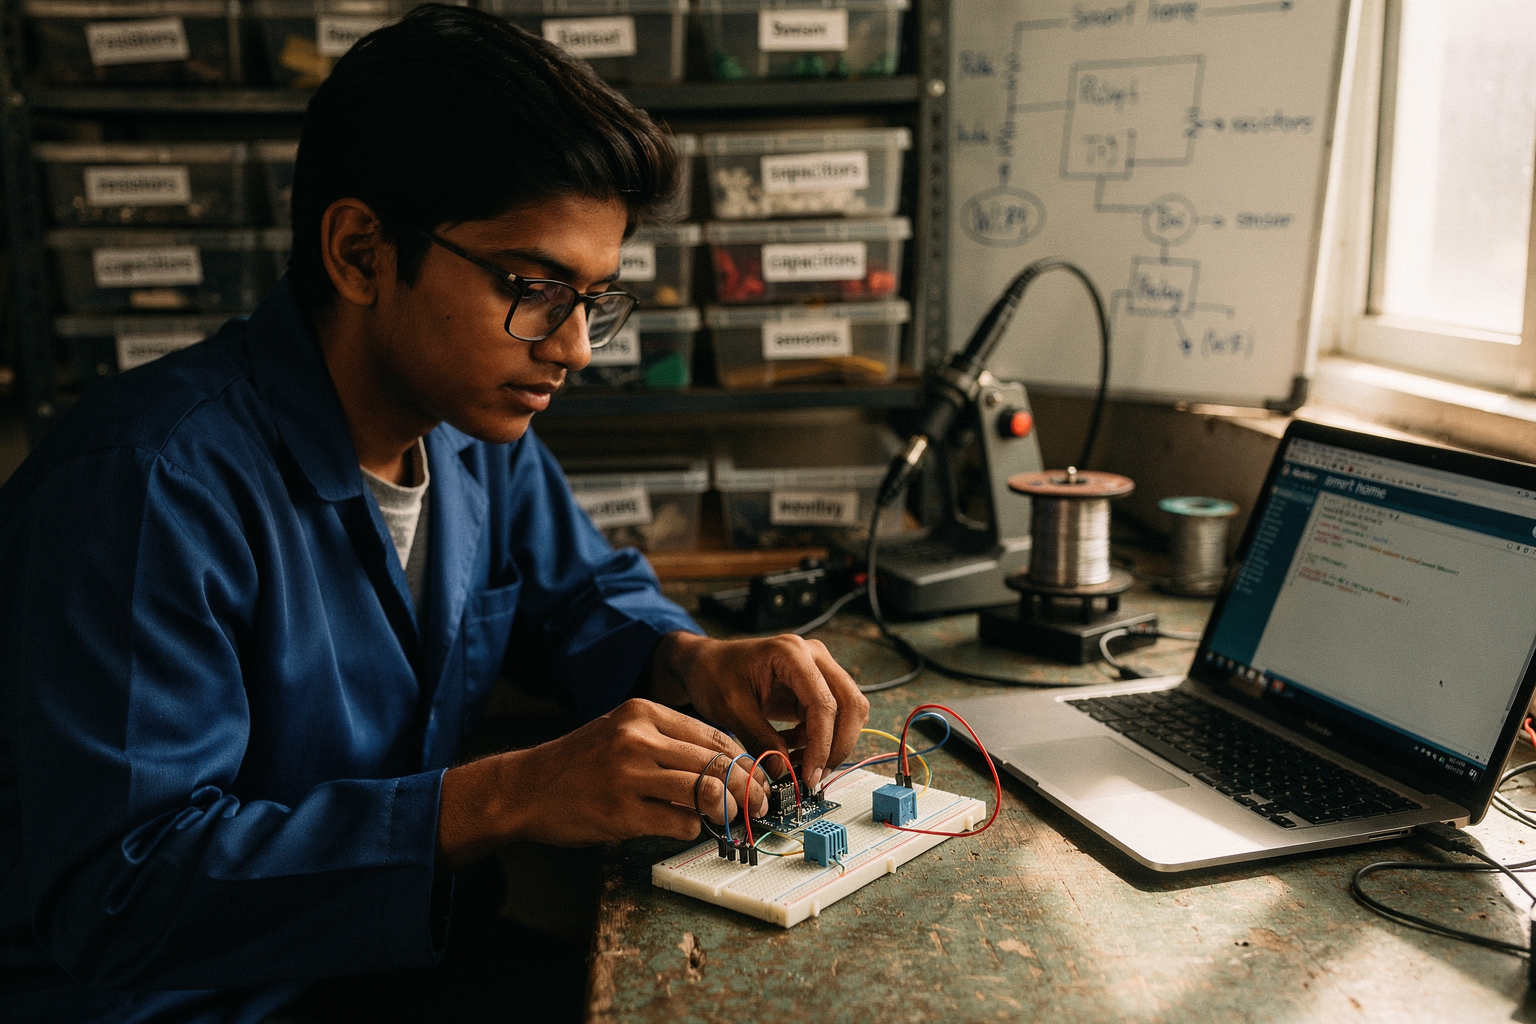
Smart Agriculture Systems
For projects involving soil sensors, weather stations, or automated irrigation systems, the Nano R4's power efficiency makes it ideal:
- Sensor Arrays: Multiple DHT22 sensors, soil moisture sensors
- Communication: WiFi/Bluetooth for data transmission to cloud services
- Power Budget: Typically 50-100mA peak, 20-30mA average
Wearable Technology
The Nano R4's small form factor and low power consumption make it perfect for wearable projects:
- Heart Rate Monitoring: Integration with MAX30102 sensor
- Motion Detection: IMU sensors like MPU6050
- Battery Life: Can operate for 48-72 hours on a 500mAh battery
IoT Gateway Applications
For creating IoT gateways that collect data from multiple sensors:
// IoT Gateway Example for Nano R4
#include <WiFi.h>
#include <ArduinoJson.h>

const char* ssid = "YourWiFi";
const char* password = "YourPassword";

void setup() {
  WiFi.begin(ssid, password);
  while (WiFi.status() != WL_CONNECTED) {
    delay(500);
    Serial.print(".");
  }

  Serial.println("\nWiFi connected");
  WiFi.setAutoReconnect(true);
}

void loop() {
  // Read multiple sensors
  // Process and format data
  // Send to MQTT broker
  delay(1000);
}
Pricing Comparison in Indian Market
Component costs in India can vary significantly based on your location and supplier. Here's a realistic pricing breakdown:
| Item | Nano R4 | UNO | Local Supplier (₹) | Online (₹) | |------
Ready to start building?
Explore our collection of DIY kits and components. All project components mentioned in this blog are available in our store.
Browse All Projects