

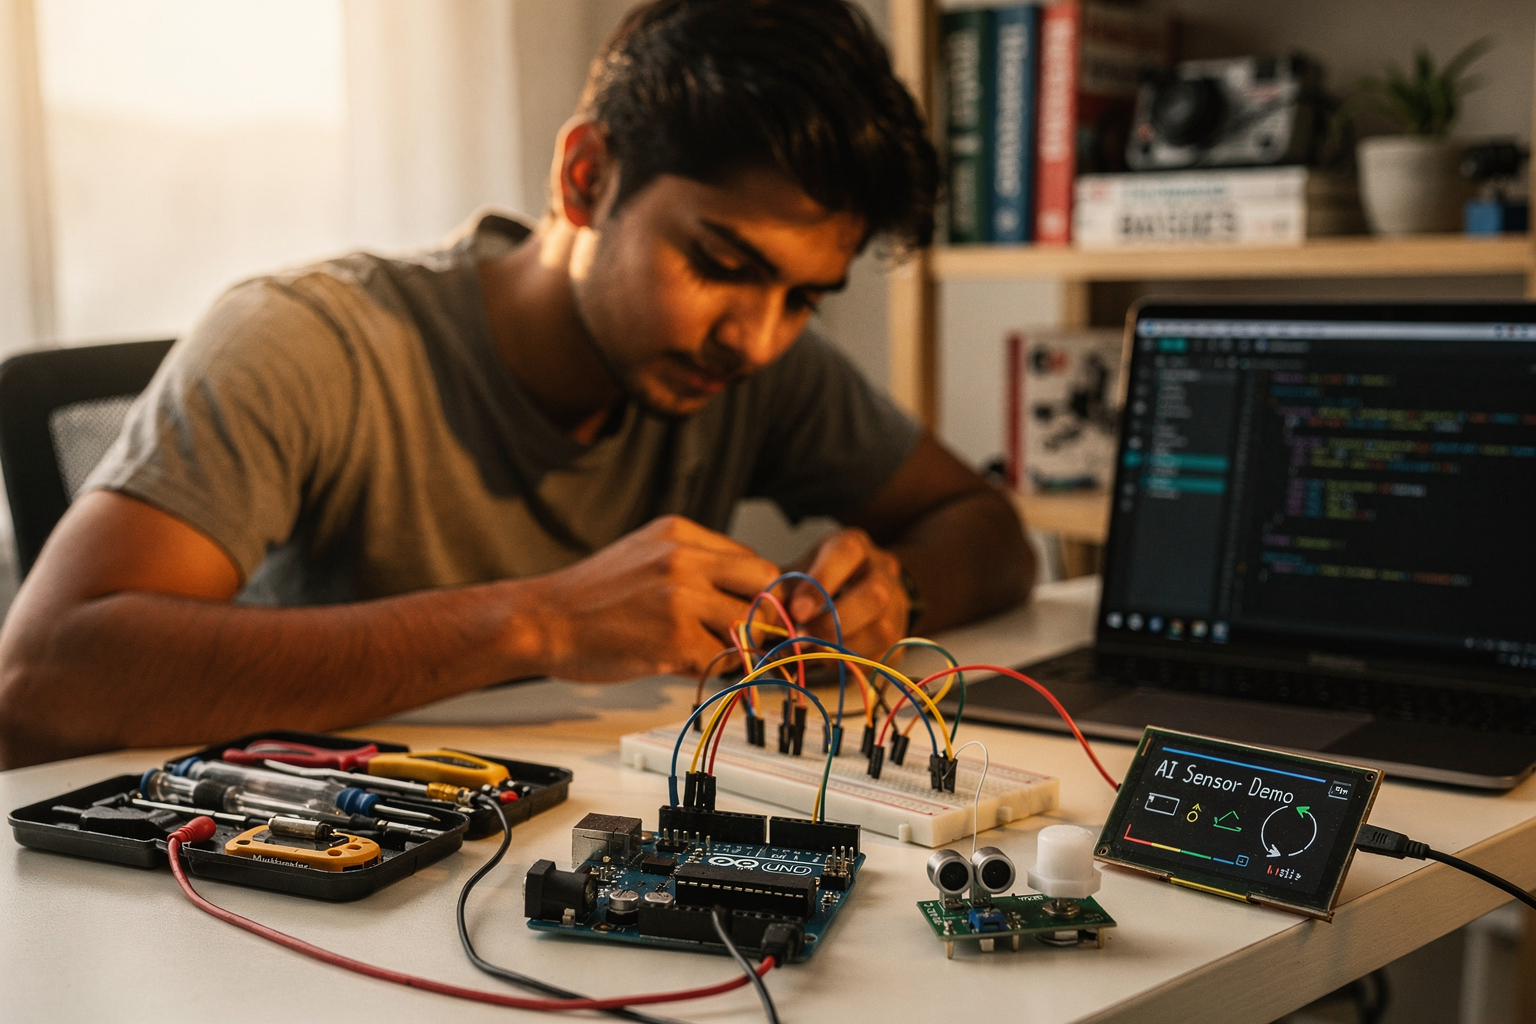
Introduction: Welcome to the World of Edge AI with Arduino UNO
Are you an engineering student in India ready to dive into the exciting world of Artificial Intelligence? You don't need a high-end workstation or expensive hardware to get started! With the powerful combination of Arduino UNO and some AI capabilities, you can build intelligent projects right from your home.
Picture this: creating a smart home assistant, a gesture-controlled robot, or an intelligent plant watering system - all using the humble yet versatile Arduino UNO. In this comprehensive guide, we'll walk you through building your first AI project step by step, using components easily available across India at competitive prices.
The beauty of Arduino lies in its accessibility. Whether you're a beginner in electronics or an experienced enthusiast, this project will introduce you to the fundamentals of machine learning on microcontrollers. We'll keep everything practical, budget-friendly, and tailored for the Indian DIY community.
Why Choose Arduino UNO for AI Projects?
Before we dive in, let's understand why Arduino UNO is perfect for your AI journey:
- Cost-Effective: Starting from just ₹450 for the base board
- Vast Community Support: Thousands of tutorials and projects available
- Indian Market Availability: Easily available on platforms like Amazon India, Flipkart, and local electronics markets
- Beginner-Friendly: Simple programming interface with C/C++
- Expandability: Works perfectly with sensors, actuators, and AI modules
Components Required for Your First AI Project
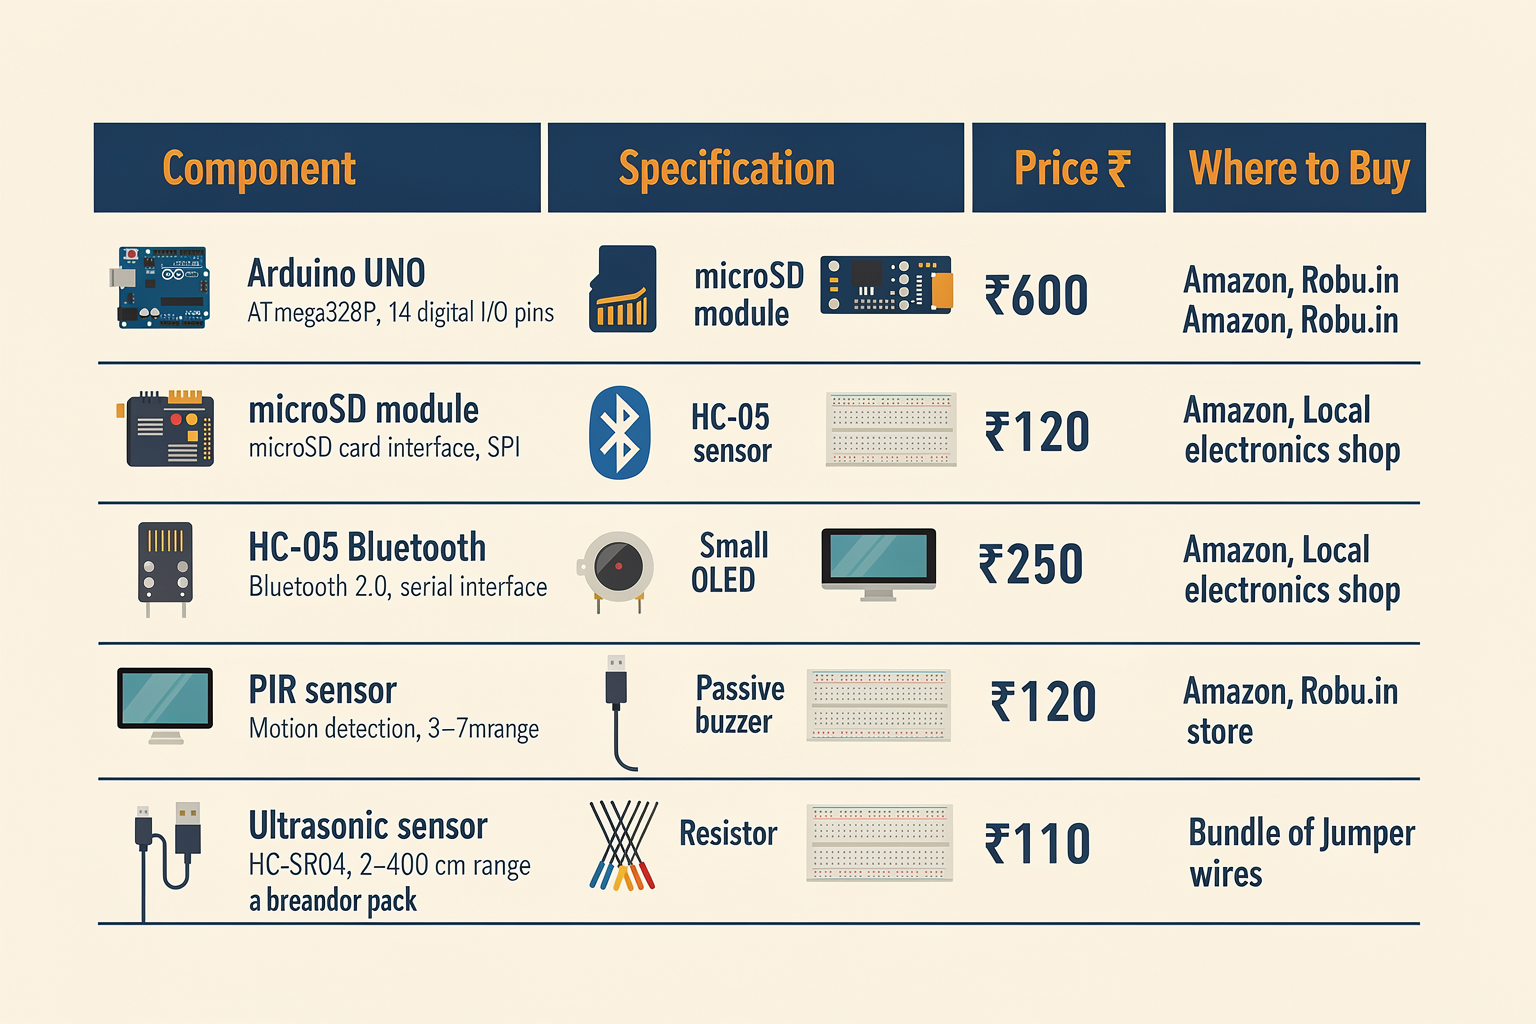
Let's gather all the components you'll need. Here's a comprehensive list with current Indian pricing (prices may vary across platforms):
| Component | Specification | Price (₹) | Where to Buy |
|---|---|---|---|
| Arduino UNO R3 | Atmega328P, 16MHz | 450 | Amazon India, TecnoMate |
| MicroSD Card Module | SPI Interface | 150 | Robu.in, Electronics Comp |
| HC-05 Bluetooth Module | Serial Communication | 250 | Local Electronics Markets |
| PIR Motion Sensor | Detection up to 7m | 80 | Amazon India, Flipkart |
| Ultrasonic Sensor HC-SR04 | 2-400cm range | 120 | Local Electronics Comp |
| OLED Display 0.96" | 128x64 resolution | 180 | Robu.in, Amazon India |
| Passive Buzzer | 1500Hz frequency | 40 | Local Electronics Markets |
| 220Ω Resistor | 1/4W carbon film | 5 | Any Electronics Store |
| Breadboard 830 Points | Plastic solderless | 120 | Amazon India, Local Market |
| Jumper Wires Pack | 40pcs male-female | 60 | Electronics Comp |
| USB Cable Type-B | For Arduino connection | 50 | Included with Arduino |
Total Estimated Cost: ₹1,565
Understanding AI on Arduino UNO
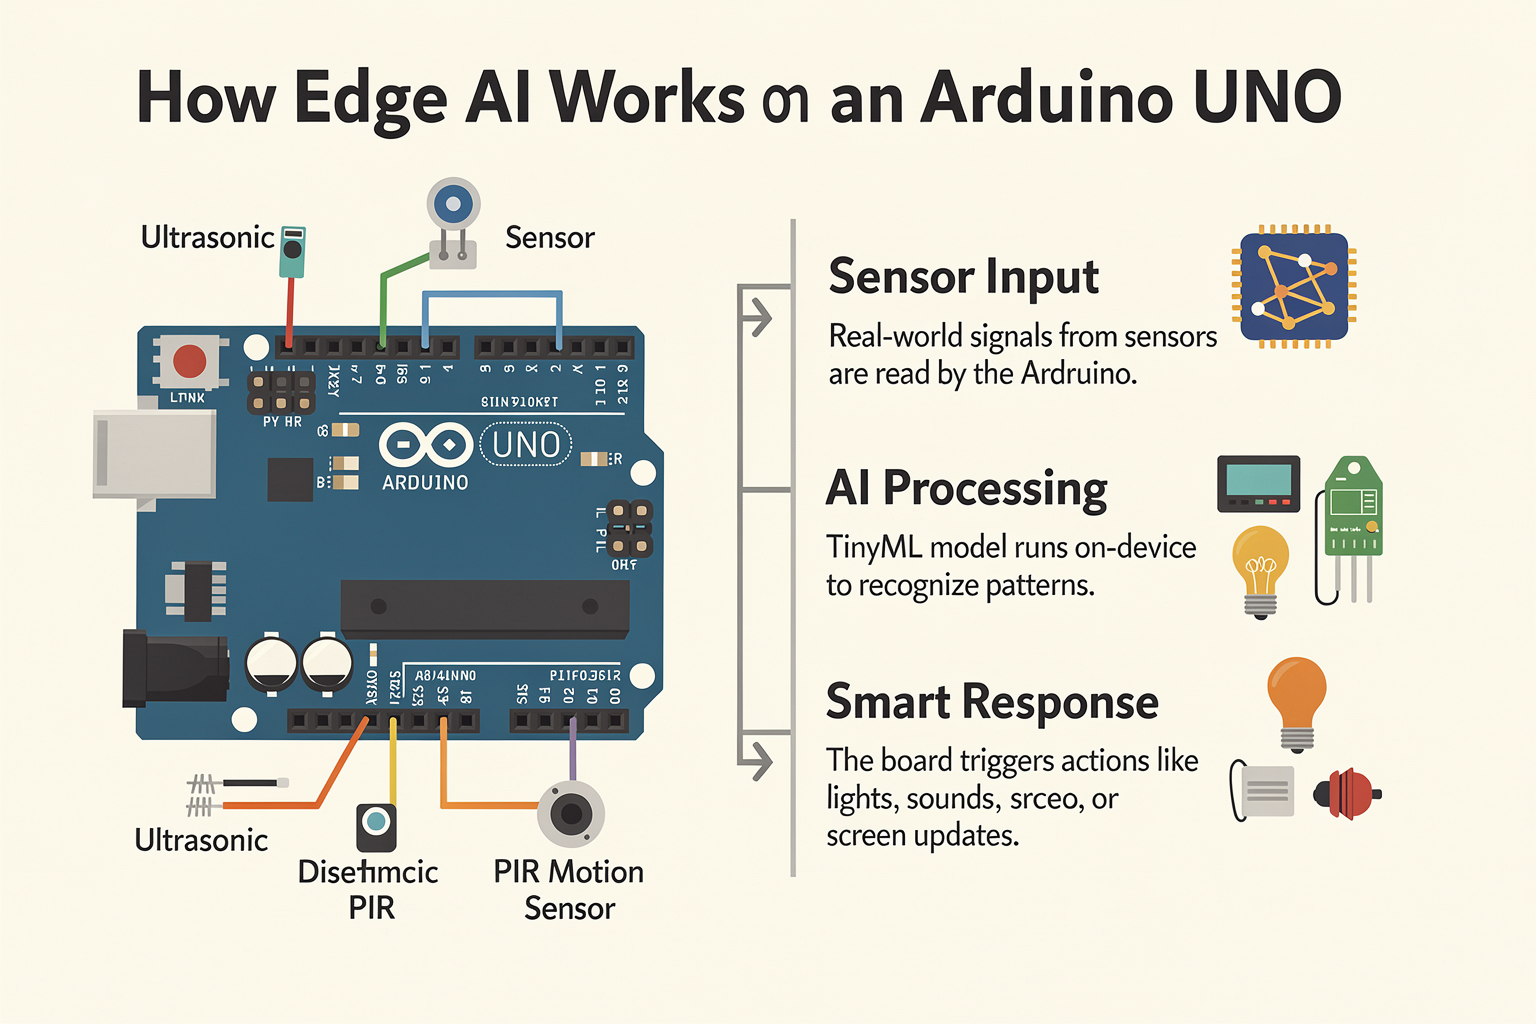
At first glance, you might wonder how Arduino UNO, with its limited processing power (16MHz, 2KB RAM), can handle AI tasks. The secret lies in Edge AI and TinyML (Tiny Machine Learning).
Unlike traditional AI that runs on powerful servers or cloud, edge AI processes data locally on the device itself. Here are some approaches we'll use:
- Pattern Recognition: Using sensor data to recognize patterns
- Decision Making: Making intelligent choices based on inputs
- Simple Classification: Categorizing data into predefined classes
Our project will be a Smart Gesture-Controlled Assistant that recognizes hand gestures using an ultrasonic sensor and responds accordingly.
Circuit Diagram and ESP8266 Setup
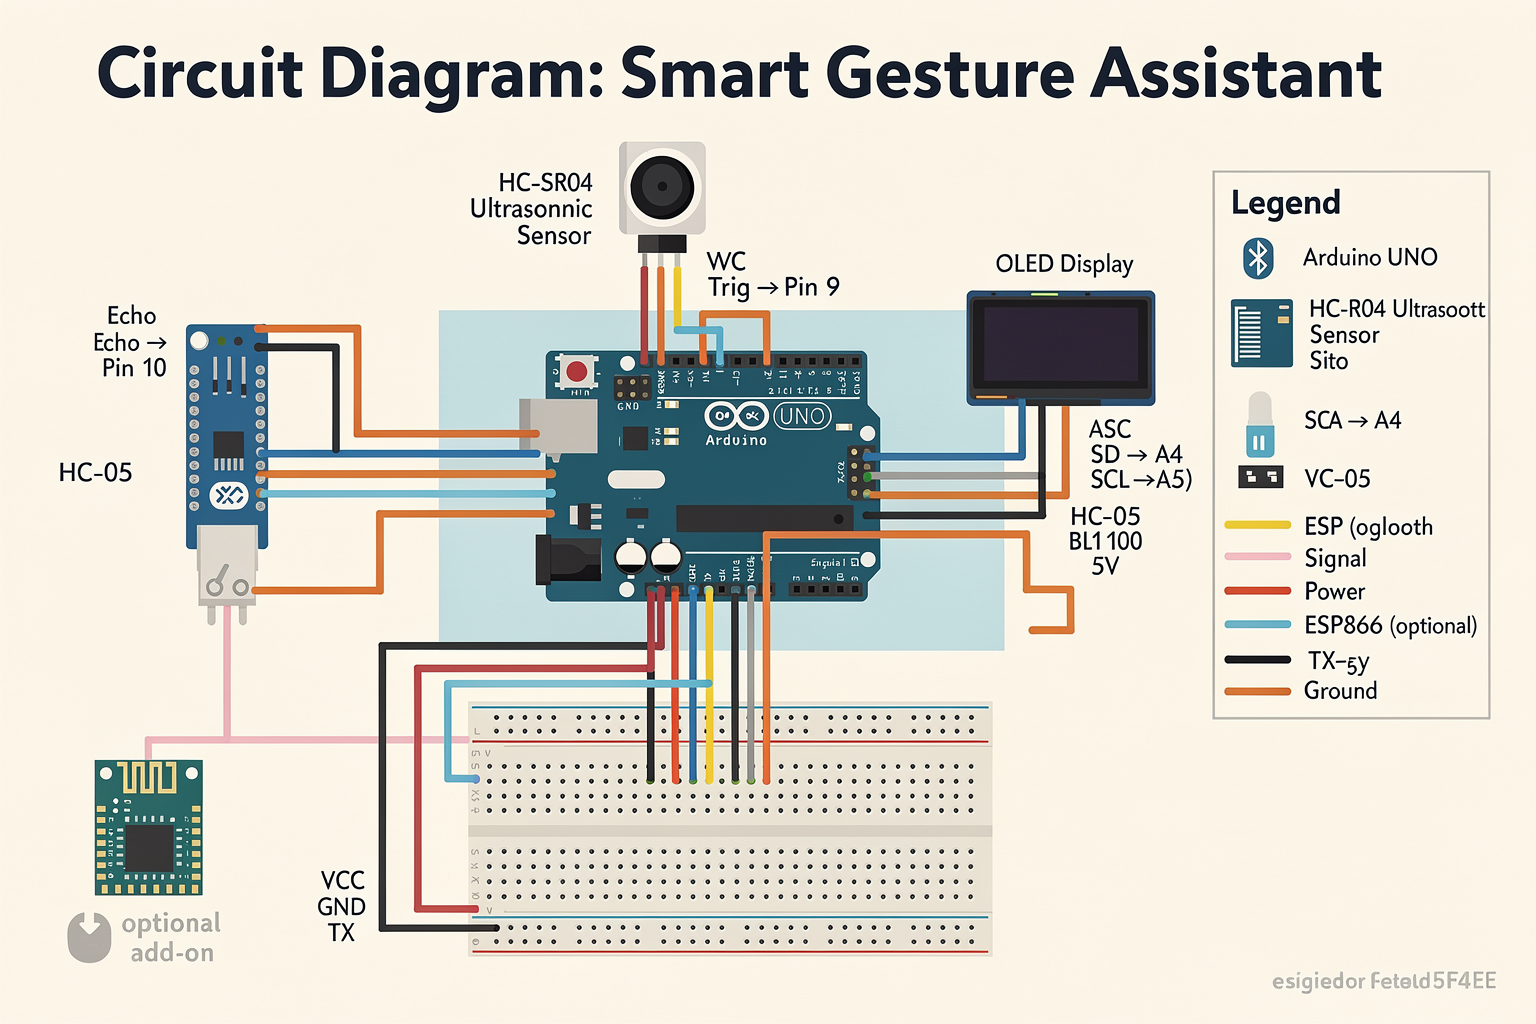
Let's understand the circuit connections before we start coding:
Hardware Connections:
-
Arduino UNO to HC-SR04 (Ultrasonic Sensor):
- VCC → 5V
- GND → GND
- Trig → Pin 9
- Echo → Pin 10
-
Arduino UNO to OLED Display:
- SDA → A4 (SDA)
- SCL → A5 (SCL)
- VCC → 5V
- GND → GND
-
Arduino UNO to Passive Buzzer:
- Positive → Pin 8
- Negative → GND
-
Arduino UNO to HC-05 Bluetooth Module:
- TX → RX (Pin 11)
- RX → TX (Pin 12)
- GND → GND
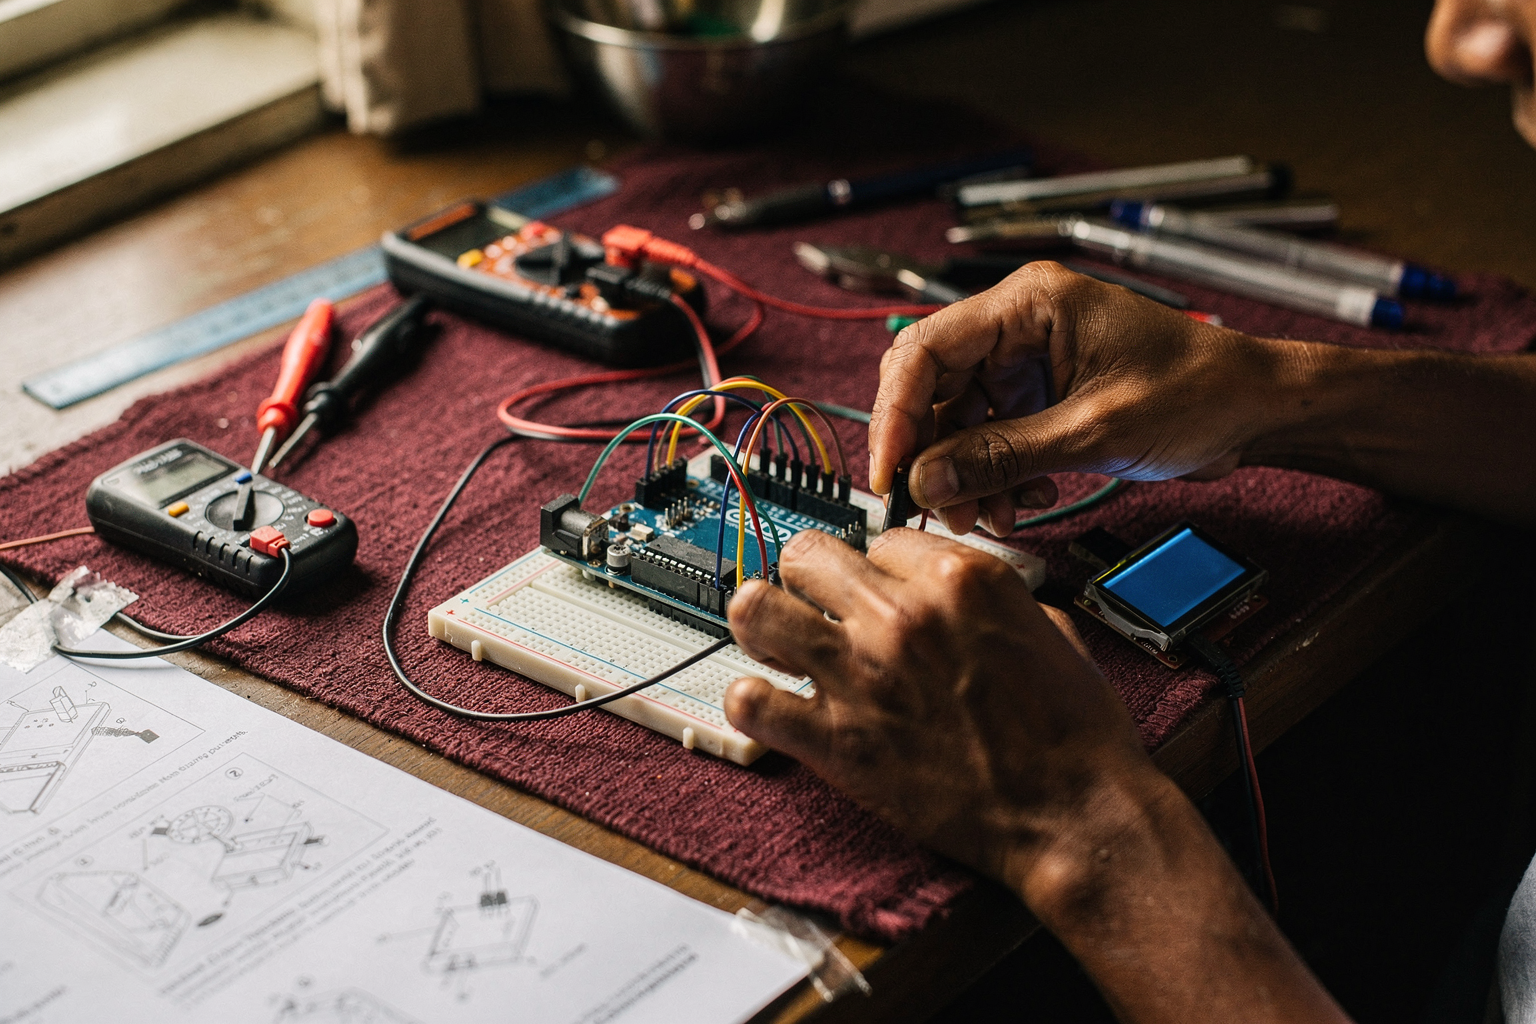
Here's a visual representation of our circuit:
[Arduino UNO]
     |
[Ultrasonic HC-SR04] [OLED Display] [Buzzer] [Bluetooth HC-05]
     |               |              |            |
Pin9/Pin10      SDA/SCL         Pin8         TX/RX
Step-by-Step Guide to Building Your Smart Gesture Assistant
Step 1: Setting Up Your Development Environment
First, let's prepare our programming environment:
- Download Arduino IDE: Visit Arduino's official website and download the latest IDE version.
- Install Board Support: Open Arduino IDE → File → Preferences → Add this URL to "Additional Board Manager URLs":
CodeTecnoMate
http://arduino.esp8266.com/stable/package_esp8266com_index.json - Install ESP8266 Board: Go to Tools → Board → Boards Manager → Search "esp8266" → Install.
Step 2: Connecting the Hardware
Plug in your Arduino UNO to your computer using the USB cable. Then connect all components following the circuit diagram above. Double-check each connection to avoid errors.
Pro Tip: Always connect GND first, then power (5V), and finally signal pins to avoid damaging your components.
Step 3: Installing Required Libraries
In Arduino IDE, go to Tools → Manage Libraries and install:
- Adafruit GFX Library (for OLED display)
- Adafruit SSD1306 (for OLED display)
- DHT sensor library (if you want to add temperature/humidity sensing)
- SoftwareSerial (for Bluetooth communication)
Step 4: Uploading the Base Code
Let's start with a basic setup code to ensure all components are working:
#include <Wire.h>
#include <Adafruit_GFX.h>
#include <Adafruit_SSD1306.h>
#include <SoftwareSerial.h>

#define OLED_RESET 4
Adafruit_SSD1306 display(OLED_RESET);
SoftwareSerial bluetooth(10, 11); // RX, TX

void setup() {
  Serial.begin(9600);
  bluetooth.begin(9600);
  display.begin(SSD1306_SWITCHCAPVCC, 0x3C);
  display.clearDisplay();
  display.setTextSize(1);
  display.setTextColor(WHITE);
  display.setCursor(0,0);
  display.println("Smart Gesture Assistant");
  display.println("Initializing...");
  display.display();
  delay(2000);
}

void loop() {
  // Basic display test
  display.clearDisplay();
  display.println("System Ready");
  display.println("Gesture Detection Active");
  display.display();
Ready to start building?
Explore our collection of DIY kits and components. All project components mentioned in this blog are available in our store.
Browse All Projects