

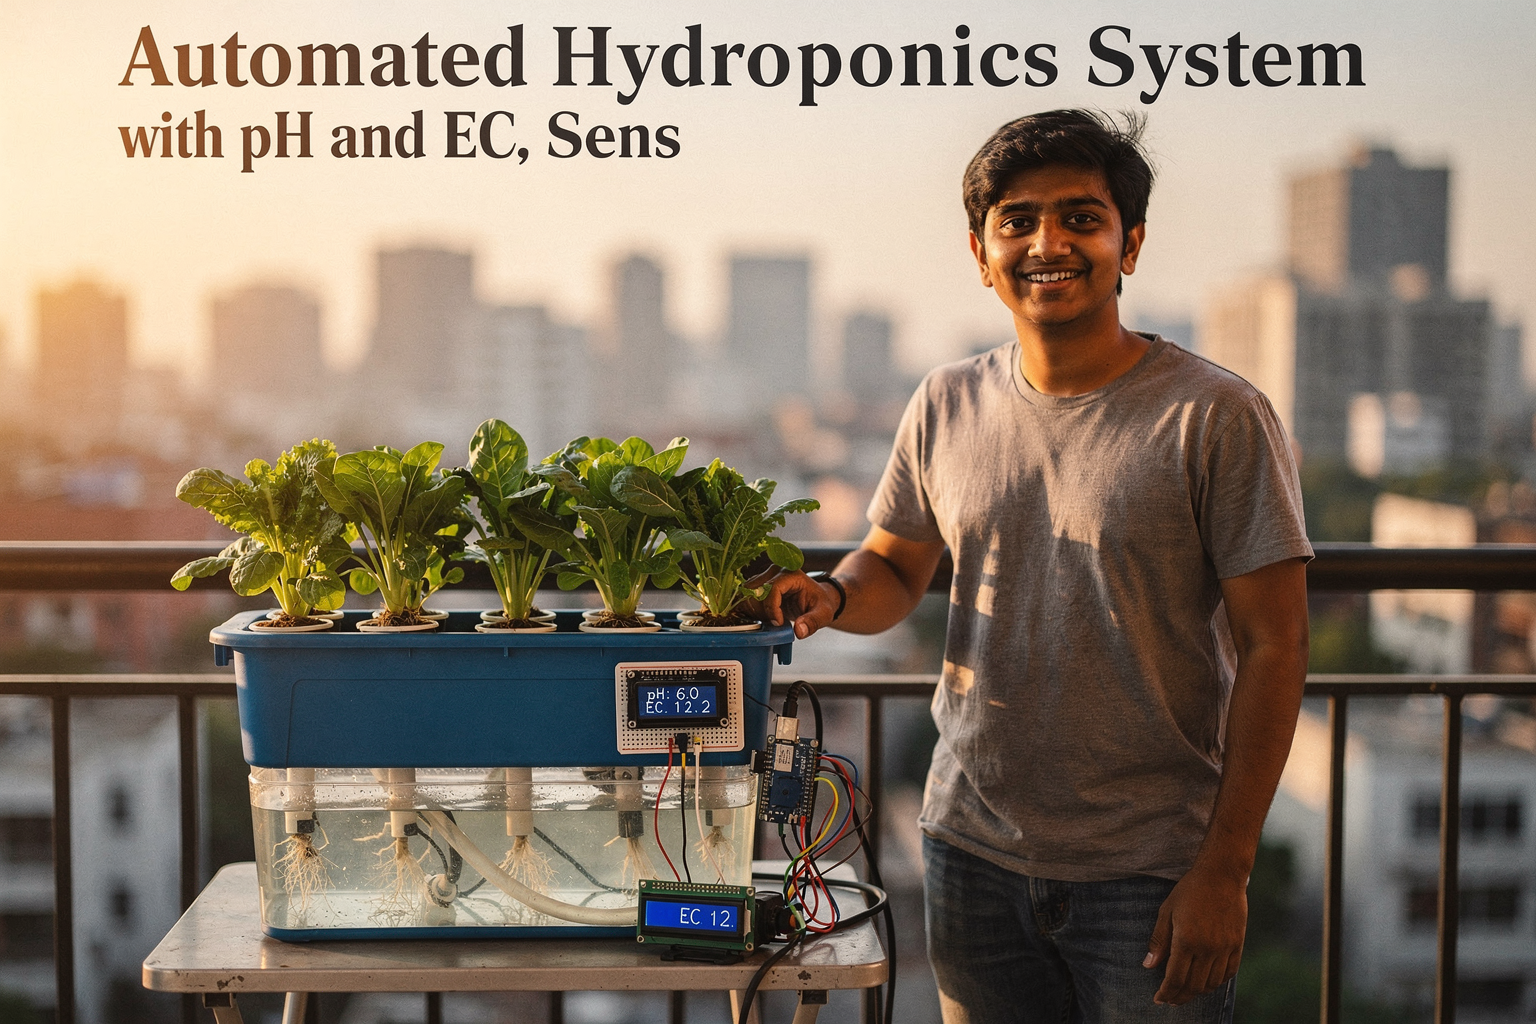
Introduction: Revolutionizing Urban Farming with Automation
Urban agriculture is transforming how we approach food security in India's rapidly growing cities. With water scarcity becoming a critical issue, traditional farming methods are increasingly unsustainable. This is where hydroponics comes in - a soil-less cultivation method that uses 90% less water than conventional farming while producing higher yields. But what if we could make this already efficient system even smarter? Welcome to our comprehensive guide on building an automated hydroponics system with pH and EC sensors, perfect for engineering students who want to combine their technical skills with sustainable agriculture.
Building an automated hydroponics system might sound complex, but with the right components and guidance, you'll have a fully functional smart garden in no time. This project not only teaches you about sensor integration and control systems but also addresses real-world challenges in Indian agriculture. Imagine growing fresh herbs, leafy vegetables, or even strawberries year-round, right in your balcony or home!
Components Required
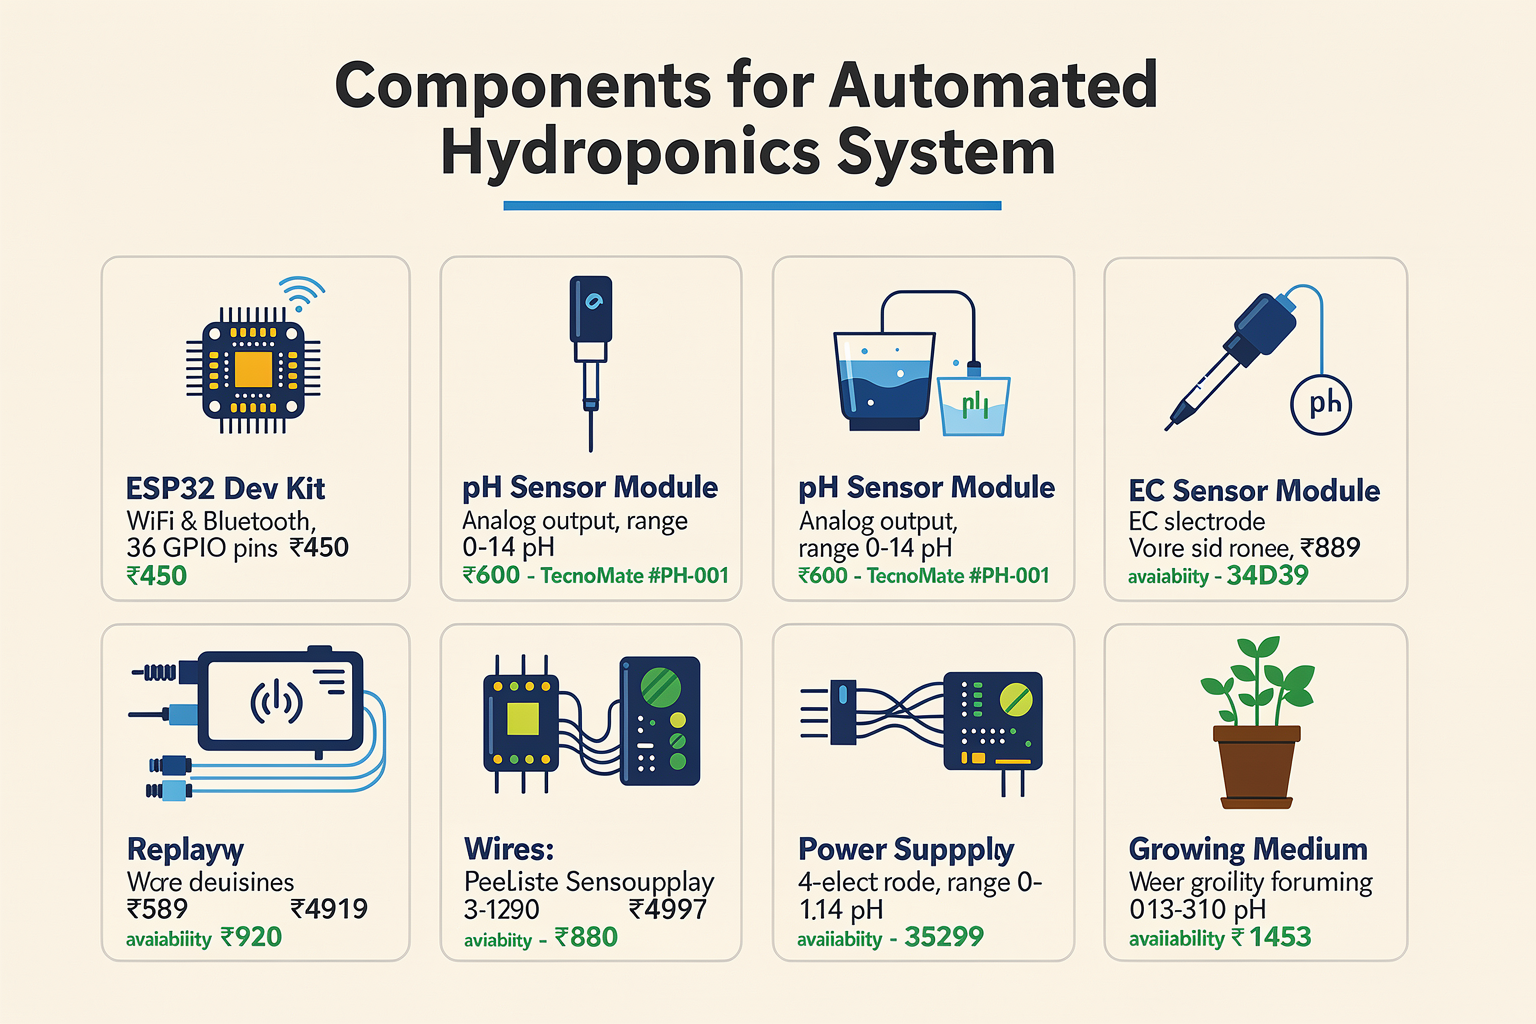
Setting up your automated hydroponics project requires several key components. Here's a detailed breakdown of what you'll need, along with current pricing from the Indian market:
| Component | Specification | Price (₹) | Availability |
|---|---|---|---|
| ESP32 Dev Kit | WiFi & Bluetooth, 36 GPIO pins | 450 | Widely available |
| pH Sensor Module | Analog output, range 0-14 pH | 600 | TecnoMate #PH-001 |
| EC Sensor Module | 4-electrode, range 0-2000µS/cm | 500 | TecnoMate #EC-002 |
| 5V Water Pump | 0.5L/min flow rate | 350 | TecnoMate #WP-003 |
| Single Channel Relay | 5V trigger, 10A load | 200 | TEC-RELAY-01 |
| 16x2 LCD Display | I2C interface | 300 | TEC-LCD-001 |
| Jumper Wire Kit | Male-to-female, various lengths | 100 | TEC-JUMPER-001 |
| 5V Power Supply | 2A regulated | 250 | TEC-PSU-005 |
| Perlite/Rockwool | Growing medium | 150 | Available locally |
Pro Tip: All components listed above are available at TecnoMate stores across major Indian cities and through our online platform. Students with college project budgets typically have enough funds to cover this entire setup!
Circuit Setup and Wiring
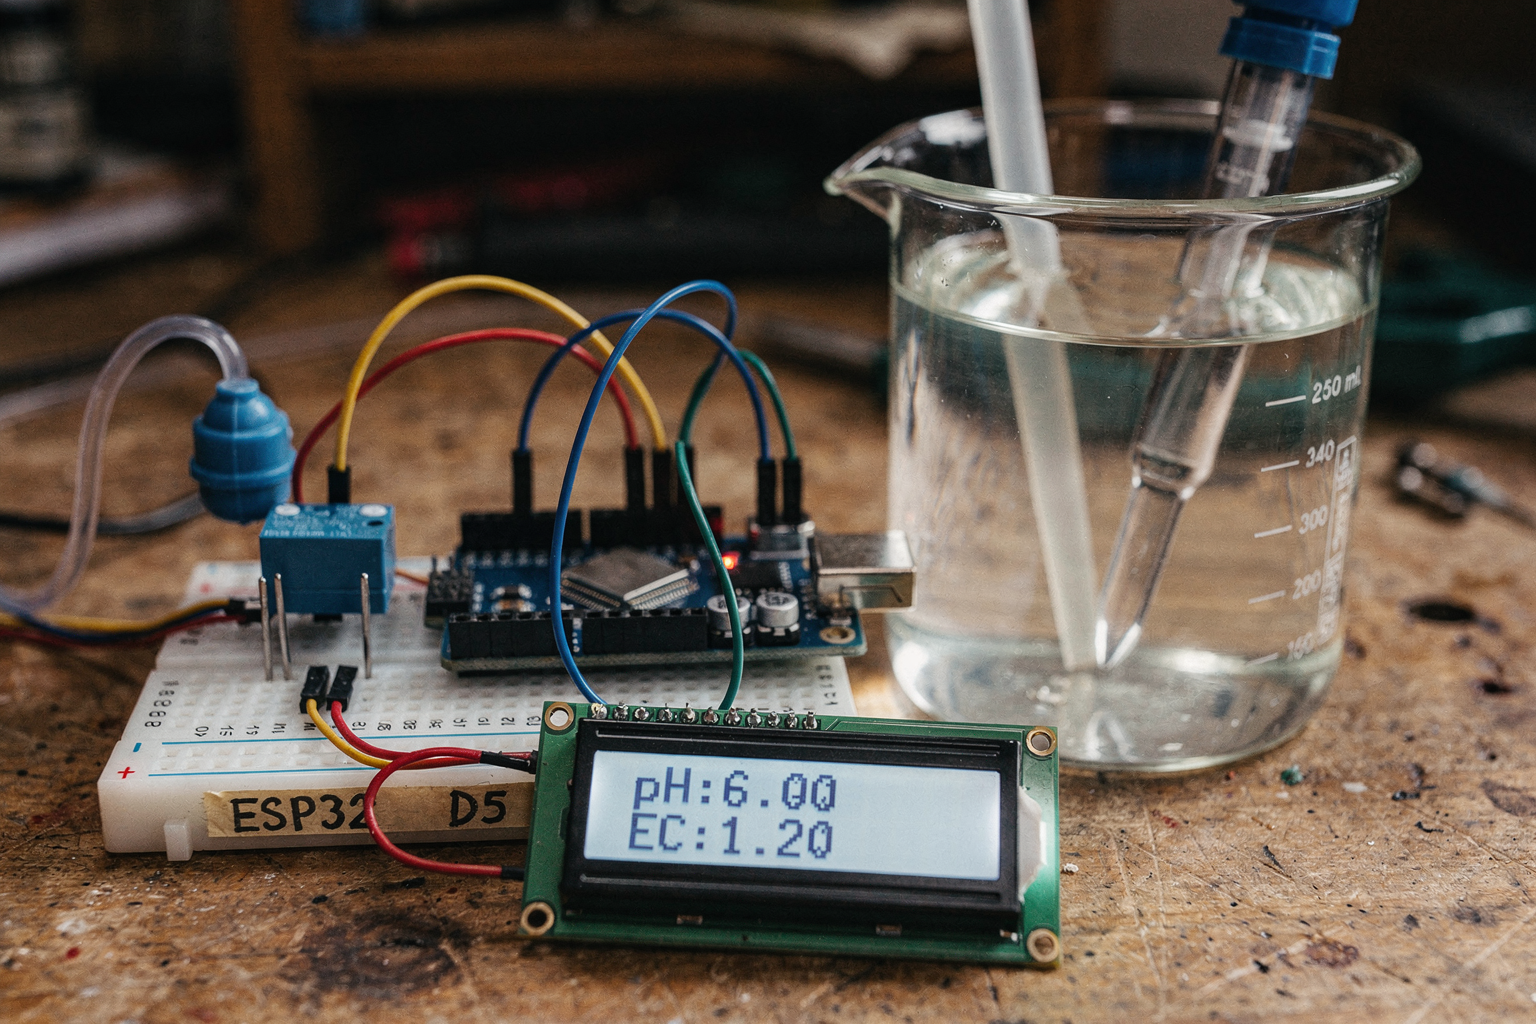
The circuit diagram for your automated hydroponics system is straightforward but crucial for reliable operation. Here's how to connect everything:
ESP32 Connections:
- pH Sensor VCC → ESP32 5V
- pH Sensor GND → ESP32 GND
- pH Sensor OUT → ESP32 A0

EC Sensor VCC → ESP32 5V
EC Sensor GND → ESP32 GND
EC Sensor OUT → ESP32 A1

Water Pump:
- Relay VCC → ESP32 5V
- Relay GND → ESP32 GND
- Relay IN → ESP32 D5

LCD Display:
- SDA → ESPS32 SDA (GPIO 21)
- SCL → ESP32 SCL (GPIO 22)
- VCC → ESP32 5V
- GND → ESP32 GND
Critical Warning: Always connect the power supply to ESP32 before connecting any sensors to avoid ground loops and potential damage. Double-check all connections before powering up!
Step-by-Step Assembly Guide
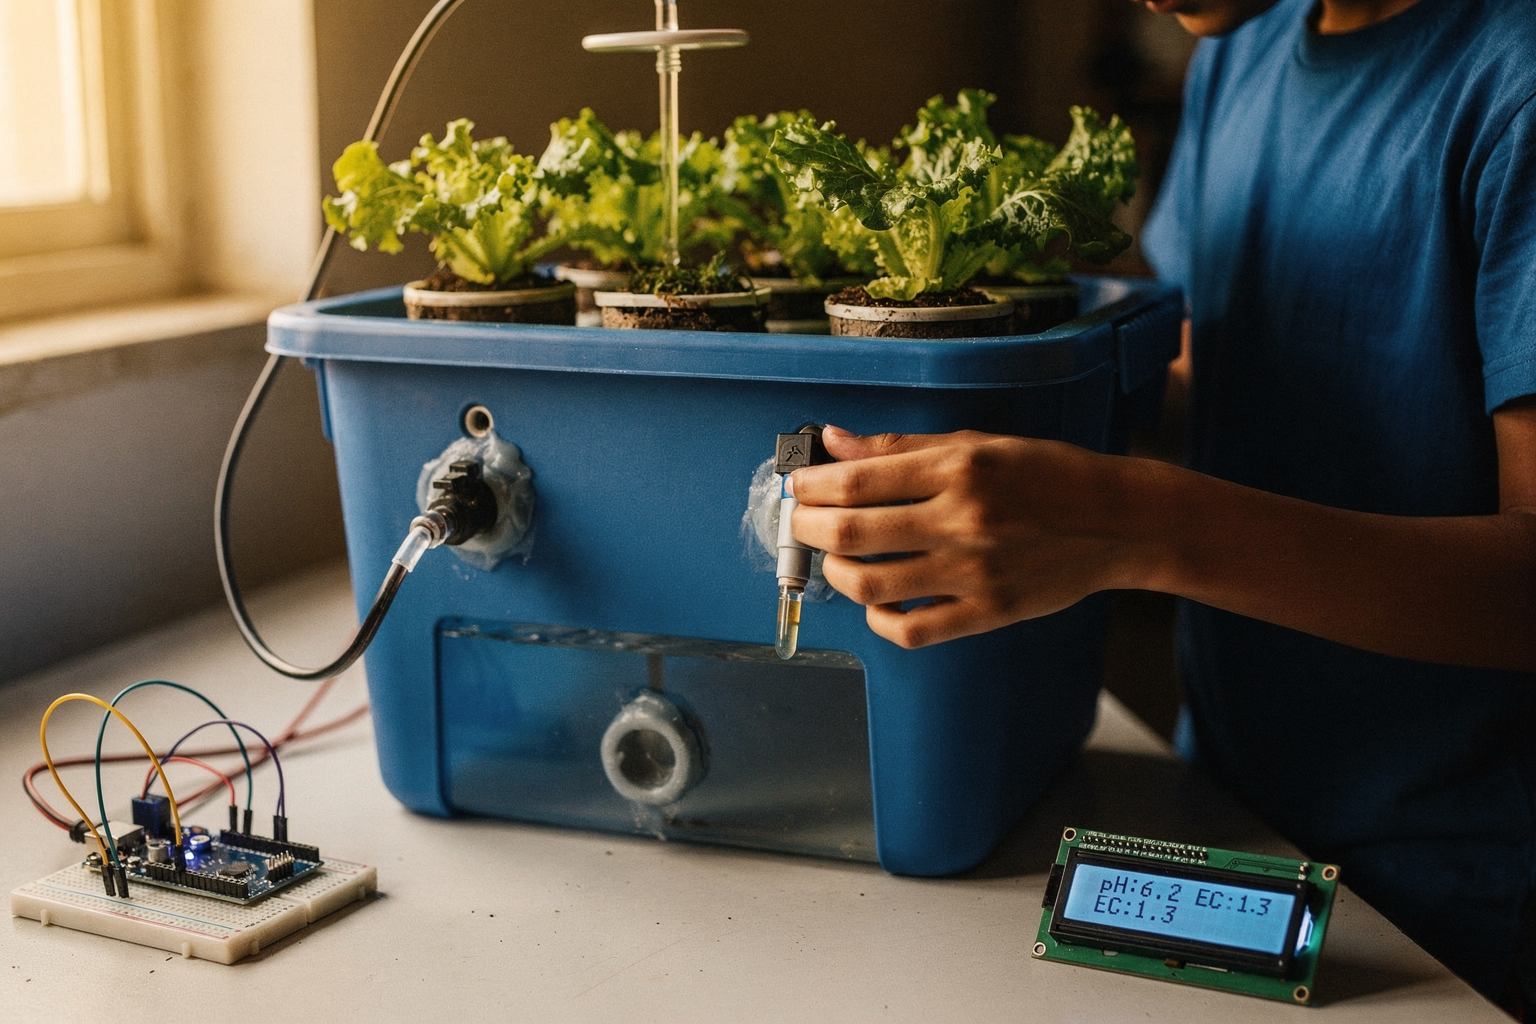
Step 1: Prepare the Hydroponic Container
Start with a simple 10-liter plastic container (available at any local market for ₹100-150). Drill holes according to your plant requirements - 4-6 holes for leafy vegetables, spaced 6-8 inches apart.
Step 2: Install the Water Reservoir
Create a separate compartment below your growing area for the water reservoir. This prevents root rot and maintains proper water levels. Line this area with a waterproof membrane - essential for long-term durability.
Step 3: Mount the Sensors
Position the pH and EC sensors in the water reservoir, ensuring they're submerged but not touching the container walls. Use a small mounting bracket or even hot glue for temporary positioning while testing.
Step 4: Install the Pump and Tubing
Connect the water pump to flexible tubing (available at hardware stores for ₹50). Route the tubing to create gentle water circulation without splashing - important for maintaining consistent nutrient distribution.
Step 5: Build the Controller Housing
Create a simple enclosure for your ESP32 and relay module using acrylic sheets or even a sturdy cardboard box. Ventilation is crucial to prevent overheating during continuous operation.
Code Implementation for the Automated System
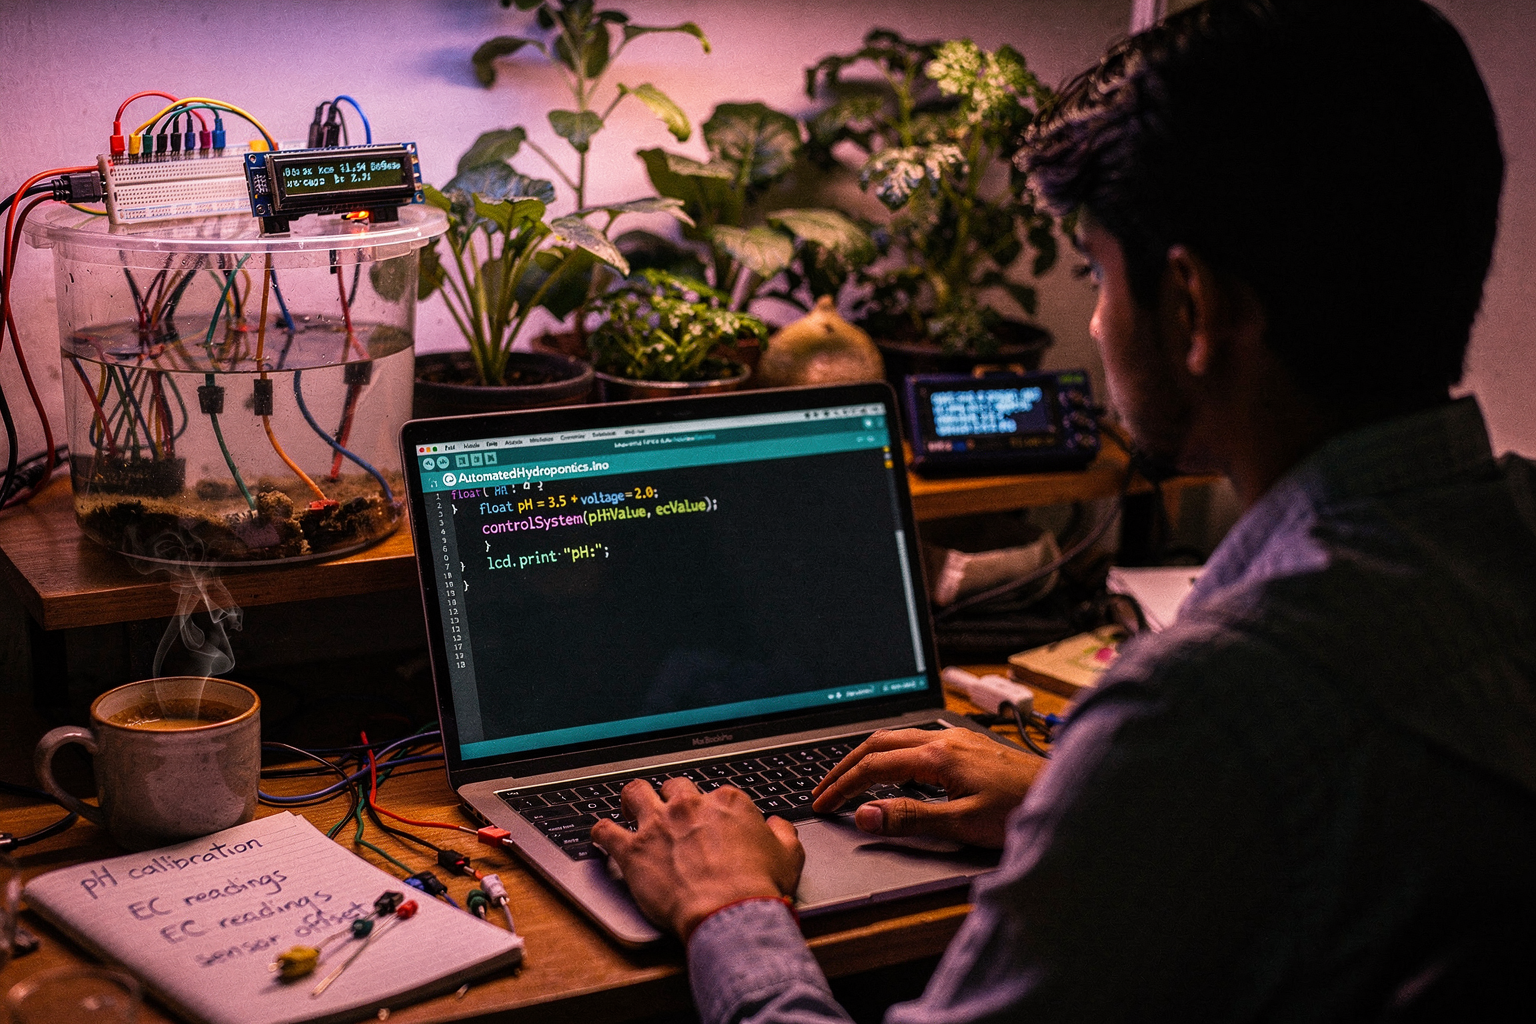
Implementing the control logic is where your engineering skills truly shine. Here's a complete Arduino sketch that manages your automated hydroponics system:
#include <Wire.h>
#include <LiquidCrystal_I2C.h>

// Pin definitions
const int pH_SENSOR_PIN = A0;
const int EC_SENSOR_PIN = A1;
const int PUMP_PIN = 5;
const int LED_PIN = 2;

// LCD initialization
LiquidCrystal_I2C lcd(0x27, 16, 2);

// Calibration values
const float pH_OFFSET = 0.0;
const float EC_OFFSET = 100.0;

// Target values for different plants
struct PlantProfile {
  float targetpH;
  float targetEC;
  String name;
};

PlantProfile currentPlant = {"Lettuce", 6.0, 1.2};

void setup() {
  Serial.begin(115200);

  // Initialize pins
  pinMode(PUMP_PIN, OUTPUT);
  pinMode(LED_PIN, OUTPUT);

  // Initialize LCD
  lcd.begin();
  lcd.backlight();

  Serial.println("Automated Hydroponics System Initialized");
}

void loop() {
  // Read sensors
  float pHValue = readPHSensor();
  float ecValue = readECSensor();

  // Control logic
  controlSystem(pHValue, ecValue);

  // Display status
  updateDisplay(pHValue, ecValue);

  delay(5000); // Update every 5 seconds
}

float readPHSensor() {
  int rawValue = analogRead(pH_SENSOR_PIN);
  float voltage = rawValue * (5.0 / 4096.0);

  // Convert to pH (approximate conversion)
  float pH = 3.5 * voltage - 2.0;

  // Apply calibration
  pH += pH_OFFSET;

  return pH;
}

float readECSensor() {
  int rawValue = analogRead(EC_SENSOR_PIN);
  float voltage = rawValue * (5.0 / 4096
Ready to start building?
Explore our collection of DIY kits and components. All project components mentioned in this blog are available in our store.
Browse All Projects