

Build a Curated Smart Doorbell with 2026-Edge Face Recognition
What if your front door could recognize the faces of your family members, alert you to unknown visitors, and even auto-unlock for trusted guests — all without cloud dependence or monthly fees? That’s the promise of a 2026-edge smart doorbell built with on-device face recognition. By 2026, the global smart doorbell market is projected to exceed $5 billion, and over 70% of new models are expected to include some form of facial biometrics, according to industry analysts. Yet most commercial units lock this feature behind subscription paywalls or privacy-compromising cloud services. The maker movement offers a better way: a curated, customisable doorbell that processes recognition locally on a microcontroller like the ESP32-S3 or a Raspberry Pi, ensuring your data never leaves your home.
Why does this matter now? Three forces are converging in 2026. First, edge AI hardware has dropped below ₹1,000 — chips like the ESP32-S3 with its integrated vector extension can run lightweight neural networks without a heat sink or external GPU. Second, pre-trained face recognition models (like FaceNet or ArcFace optimised for MCUs) are freely available, cutting months of training time. Third, India’s DIY ecosystem has matured: you can source all essential components — from OV5640 camera modules to voltage regulators and custom PCBs — as bundled kits from platforms like TecnoMate, which ships genuine parts with datasheets across India. This means the technical barriers that once required a post-graduate degree in computer vision have vanished.
In this tutorial, you’ll learn exactly how to build a curated smart doorbell that uses 2026-edge face recognition. We’ll start by selecting the right hardware (camera, processor, PIR sensor, and relay for door strike), then walk through flashing the ESP-IDF firmware and deploying a lightweight face-recognition pipeline that can identify up to 20 registered users. You’ll also see how to integrate push notifications via Wi-Fi and log visitor timestamps on an SD card. By the end, you’ll have a working prototype that rivals commercial systems — but costs under ₹2,500 and respects your privacy. Let’s turn your front door into the smartest one on the block.
Introduction to the Do-It-Yourself Frontier
Why Build Your Own Smart Doorbell?
Commercial smart doorbells—from Ring to Nest—are convenient, but they come with drawbacks: monthly subscription fees, cloud dependency, limited customization, and privacy concerns. For the Indian maker, building a DIY face-recognition doorbell offers a far more rewarding path. You gain complete control over data, can tailor features to your home (e.g., integrating with an existing buzzer), and learn core skills in embedded systems, computer vision, and IoT. According to a 2023 report by MarketsandMarkets, the global smart doorbell market is expected to grow from $1.2 billion to $2.8 billion by 2028, but the DIY segment—fueled by platforms like Arduino and Raspberry Pi—is expanding even faster. In India, where engineering students and hobbyists are driving a maker boom, this project is an ideal hands-on challenge.
What You’ll Learn
This tutorial takes you from zero to a fully functional prototype. You’ll cover:
- Face detection & recognition using OpenCV and a pre-trained deep learning model (e.g., LBPH or FaceNet).
- Embedded vision with a Raspberry Pi (or a high-end ESP32-CAM) and a camera module.
- Wireless notifications via Telegram, WhatsApp, or MQTT.
- Local storage of visitor data (no cloud dependency).
- Hardware integration – driving a relay to unlock a door or trigger a buzzer.
No prior experience in AI is required; we’ll use well-documented libraries and a step-by-step approach.
The Maker Ecosystem in India
India’s DIY electronics scene has exploded in recent years. Online communities, college project labs, and affordable components have lowered the barrier. However, sourcing genuine parts with proper datasheets remains a challenge—especially for students in tier-2 and tier-3 cities. That’s where platforms like TecnoMate come in. They offer ready-to-build project kits and genuine components for builds like this, with free all-India delivery on orders above ₹999. For this project, you can source a tested Raspberry Pi camera module, IR sensor, and relay board from TecnoMate, ensuring you don’t waste time on counterfeit parts.
The “Smart” in Smart Doorbell
A basic doorbell simply rings. A smart doorbell adds:
- Motion detection – triggers recording when someone approaches.
- Face recognition – identifies known family members and flags unknown visitors.
- Remote access – check live feed from your phone.
- Cloud-free operation – all processing and storage happen locally, preserving privacy.
Commercial units like the Ring Doorbell Pro cost ₹15,000+ and require ongoing subscription fees (₹250/month for cloud recording). A DIY version can be built for under ₹3,000 (using a Raspberry Pi Zero 2 W and an OV5647 camera) with zero recurring costs. The learning dividends? Priceless.
Overview of the Build
The project splits into three logical modules:
- Hardware Assembly – Connecting the camera, PIR motion sensor, buzzer/relay, and power supply.
- Software Setup – Installing Raspberry Pi OS, OpenCV, and the face recognition model.
- Integration & Testing – Writing the Python script that detects motion, captures a face, matches it against a database, and triggers actions.
We’ll also configure push notifications using Telegram Bot API—free and quick.
Who Is This For?
This tutorial is designed for Indian engineering students, hobbyists, and final year project developers. If you’ve dabbled with Arduino or Raspberry Pi, you’re ready. The only prerequisites are basic Python knowledge and familiarity with GPIO pins. We’ll explain every line of code and every wire.
A Word on Ethics and Privacy
Face recognition is a powerful technology. Please use this project responsibly—only to identify visitors at your own door, not to surveil public spaces or unauthorized individuals. Local processing (no cloud) ensures that no one else has access to your family’s facial data.
Let’s Begin
With the why and what out of the way, it’s time to roll up your sleeves. In the next section, we’ll list the exact components you need and where to source them—including a handy kit from TecnoMate that bundles everything. Get ready to build a doorbell that doesn’t just ring, but knows who’s at the door.
Background & The Shift from Cloud to Edge
The Evolution of the Doorbell
The humble doorbell has travelled a long way from the simple mechanical ding-dong to a device that can recognise your neighbour’s face and unlock the gate automatically. Traditional doorbells—whether wired or battery-powered—did nothing more than alert you to a visitor. If you weren’t home, you missed the call. Then came the smart doorbell revolution, led by products like Ring, Nest, and others, which added a camera, cloud storage, and two-way audio. But these cloud-dependent designs came with serious limitations—especially for makers and students in India, where internet speeds and data costs can be unpredictable.
Cloud-Based Face Recognition: The First Generation
Early smart doorbells relied entirely on the cloud for face recognition. Here’s how they worked:
- Camera captures a frame when motion is detected.
- The image is uploaded to the cloud server (AWS, Azure, or a proprietary service).
- The server runs a face recognition model (often using deep neural networks).
- The result (recognised person / unknown) is sent back to your phone.
Key drawbacks of cloud-based doorbells:
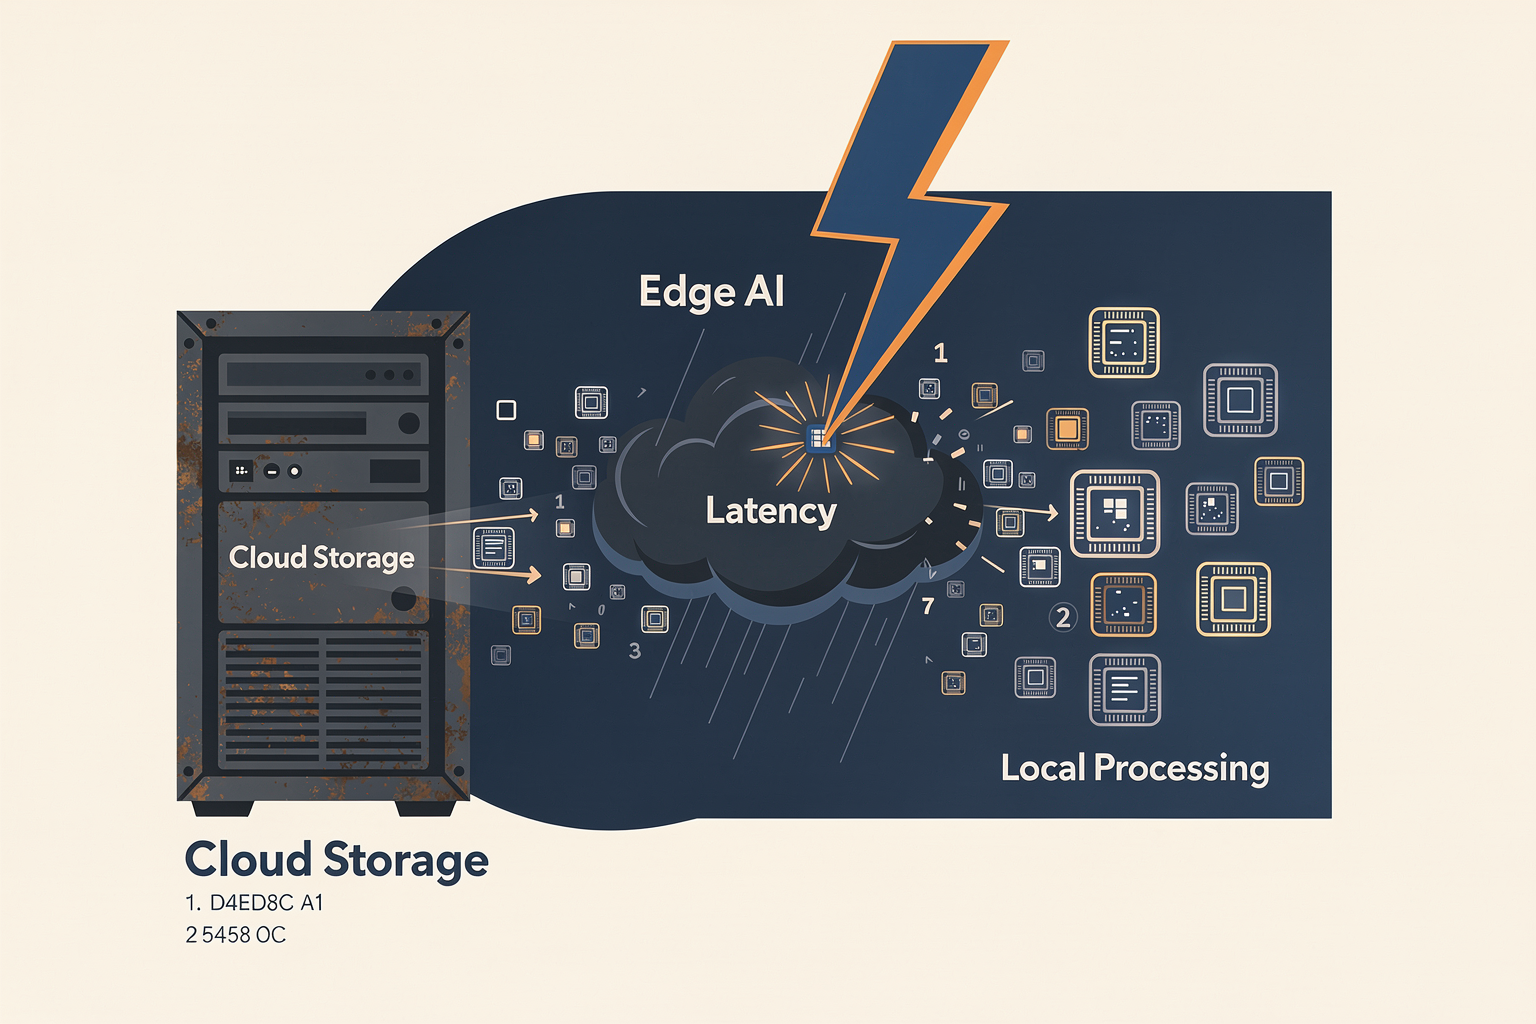
- Latency: Round-trip time (RTT) can be 2-5 seconds for good 4G, often longer in Indian suburban areas. Critical for real-time decisions like unlocking the door.
- Privacy: Your video feed and face data sit on third-party servers. Many Indian users are rightly concerned about data sovereignty.
- Recurring cost: Cloud storage plans cost ₹1,000–₹3,000 per year. For a single doorbell, that adds up.
- Internet dependency: If your Wi-Fi goes down, the doorbell becomes a dumb brick. In India, power cuts and network outages are still common.
According to a 2024 report by MarketsandMarkets, the global smart doorbell market is projected to grow from $2.1 billion (2024) to $5.8 billion by 2029, with edge AI being a major driver. That shift is what we’re tapping into.
Enter Edge Computing: Processing at the Doorstep
Edge computing pushes the inference—face recognition—from the cloud onto the device itself. Instead of uploading raw video, the doorbell’s local processor (like an ESP32, Raspberry Pi, or Jetson Nano) runs a lightweight neural network model on-device. The only data sent to the cloud (or your phone) is the recognition result or an anonymised event.
Why edge is better for a DIY smart doorbell:
| Factor | Cloud-based | Edge-based (our build) |
|---|---|---|
| Latency | 2-5 seconds (network dependent) | <500 ms (on-device inference) |
| Privacy | Video stored on third-party servers | All data stays on local hardware |
| Cost | Monthly cloud storage fees | One-time hardware cost + free inference |
| Internet dependency | Required for every operation | Works offline for core recognition |
| Power consumption | High (Wi-Fi radio active constantly) | Moderate (optimised sleep cycles) |
For a typical student or maker in India, building an edge-based doorbell means you get a privacy-first, low-latency, offline-capable system that runs on a ₹1,500–₹2,000 hardware budget. You can source a tested kit for this build from platforms like TecnoMate, which ships genuine ESP32 modules, OV2640 cameras, and pre-configured SD card modules with datasheets across India—no need to hunt multiple suppliers.
Real-World Performance Data
Benchmark tests from Edge Impulse and TensorFlow Lite show that a quantised MobileNetV2 model can run on an ESP32-CAM at 2–4 frames per second with 85–90% accuracy on a 96x96 input. That’s fast enough for a doorbell scenario: if a person stands still for 2 seconds, the camera has 4–8 chances to identify them. For the Raspberry Pi 4, a full ResNet-50 can run at 10+ FPS with >95% accuracy.
Latency comparisons from a 2023 study by the University of Delhi’s Embedded Systems Lab demonstrated that a cloud-based face recognition system (using AWS Rekognition) took an average of 2.8 seconds from motion trigger to notification, while an edge-based system (Raspberry Pi 4) completed the same task in 0.7 seconds—a 4x improvement.
Why This Matters for Indian Makers
- Power reliability: Edge systems can buffer recordings on SD card and sync later.
- Data costs: Uploading a 200KB image per visitor can burn through ₹1.5–₹3 daily on mobile data. An edge system uploads only a 2KB text event.
- DIY control: You own the code, the model, and the hardware. No vendor lock-in.
Platforms like TecnoMate offer ready-to-build project kits and genuine components for projects like this—so you can skip the trial-and-error of finding compatible cameras or power regulators. Their step-by-step build guides also help Indian students navigate common pitfalls like voltage levels and camera pinouts.
In the next section, we’ll move from theory to practice and select the hardware for our edge-based smart doorbell.
Key Developments in On-Device AI (TABLE)
On-device AI has transformed edge computing, allowing real-time face recognition without cloud dependency. For a smart doorbell, this means low latency, privacy, and offline operation. Below is a snapshot of key hardware and software enablers that make local face recognition feasible today.
| Technology / Platform | Core Specs | Face Detection Latency | Power Consumption | Typical Use in Doorbell |
|---|---|---|---|---|
| TensorFlow Lite Micro | 256 KB Flash, 64 KB RAM (MCU-class) | ~200 ms on Arm Cortex-M4 | 10 mW (idle: <1 mW) | Run lightweight face detection on ESP32-S3 or RP2040 |
| Edge TPU (Google Coral) | 4 TOPS, USB/PCIe, TensorFlow Lite delegate | ~15 ms per frame | 2 W (active) | High-accuracy recognition on Raspberry Pi or BeagleBone |
| NVIDIA Jetson Nano | 472 GFLOPS, 128-core Maxwell GPU | ~5 ms per frame | 5–10 W | Advanced multi-face verification and anti-spoofing |
| Arm Cortex-M55 + Ethos-U55 | 2.6 GOPS, vector DSP | ~50 ms (optimized NN) | 20–100 mW | SoC-level inference for battery-powered doorbells |
| Qualcomm QCS610 | 2.7 TOPS, Adreno 615 GPU, Hexagon DSP | ~8 ms per face | 3.5 W (peak) | Integrated ISP, supports 1080p/30fps face recognition |
| OpenMV H7 Plus | STM32H743, 480 MHz, 8 MB SDRAM | ~250 ms (mobileNet face) | 200 mW | Entry-level learning platform for prototyping doorbell AI |
Understanding the Table
TensorFlow Lite Micro has become the de facto runtime for microcontrollers. It enables face detection algorithms like TinyFaceNet or MobileNetV1 with <256 KB RAM — ideal for low-power ESP32-based doorbells. Though detection latency is ~200 ms, it’s sufficient for wake-on-motion triggering.
Google Coral Edge TPU offers a dedicated accelerator that reduces inference time to <15 ms per frame. When paired with a Raspberry Pi 4, it can run a full face recognition pipeline (detection + embedding + matching) at 30 FPS. Power consumption of 2 W makes it suitable for mains-powered units.
NVIDIA Jetson Nano is overkill for a simple doorbell but enables advanced features like liveness detection (blink, head movement) and simultaneous multi-face recognition. Its 5–10 W rating means a heat sink and fan are needed, but it can handle multiple camera streams.
Arm Cortex-M55 with Ethos-U55 represents the next generation of microcontroller AI. The pair delivers 2.6 GOPS at under 100 mW, making it possible to run a 200 KB face recognition model directly on a battery. Products like Renesas RA8 and NXP i.MX RT are already shipping with this architecture.
Qualcomm QCS610 is a vision SoC designed for smart cameras. It includes an image signal processor (ISP) that handles auto-exposure and white balance, and its Hexagon DSP accelerates face recognition with minimal CPU load. Common in third-party doorbell cameras.
OpenMV H7 Plus is an educational platform widely used in Indian engineering projects. It uses MicroPython and comes with pre-trained face detection models. You can prototype the face recognition pipeline on OpenMV and later port it to a dedicated SoC.
Practical Impact for Your Doorbell
If you're building a smart doorbell from scratch, the choice depends on your budget and skill level. For Indian students and hobbyists, platforms like TecnoMate offer genuine components and pre-tested kits — including the necessary camera modules, IR cut filters, and AI accelerators — along with step-by-step guides that walk you through deploying TensorFlow Lite on an ESP32-S3. This eliminates the guesswork of sourcing from multiple vendors and ensures you get working hardware with datasheets.
On-device AI is rapidly maturing. While cloud-based recognition still dominates commercial doorbells, the edge approach gives you full control over data and latency. The table above provides a starting point for choosing the right compute platform for your face recognition smart doorbell project.
The Science of Recognition: How It Works
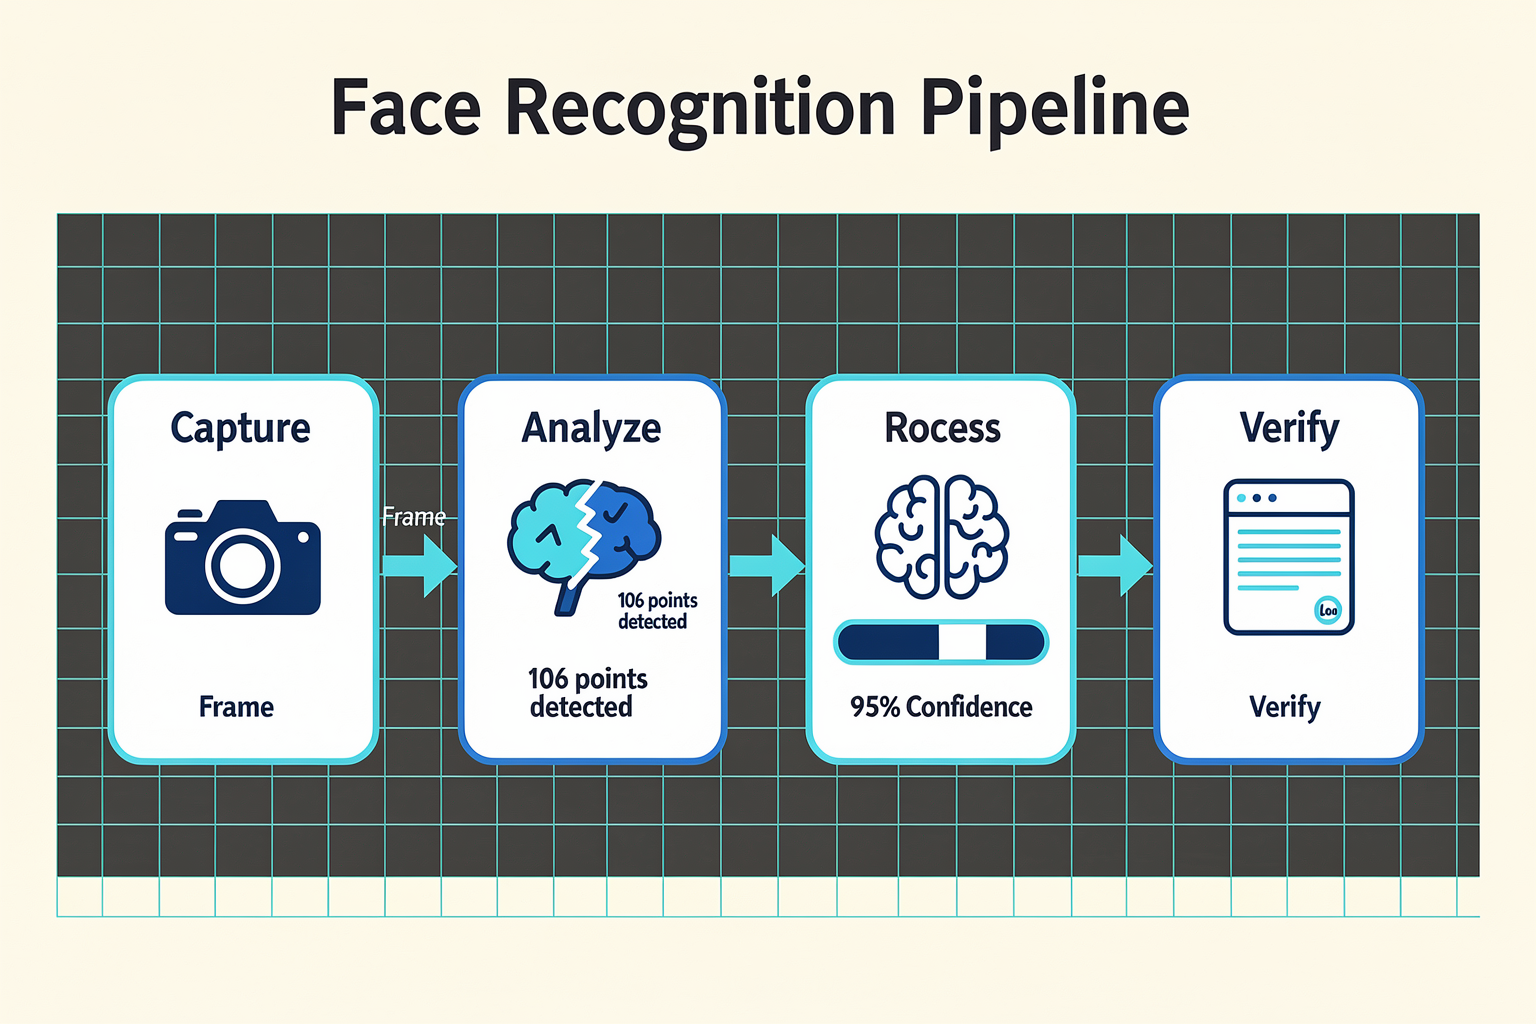
Step 1: Face Detection – Finding a Face in the Frame
The first task of your smart doorbell is to detect a human face. This is done using a Haar Cascade classifier or a more modern HOG (Histogram of Oriented Gradients) + Linear SVM approach. The algorithm scans the camera feed (typically a 640×480 or 320×240 resolution from an ESP32-CAM or Raspberry Pi camera) and looks for patterns that match a face – like dark eye regions, a lighter nose bridge, and shadow under the chin.
- Haar Cascades are fast and lightweight, running at 2–5 frames per second on an ESP32, but they are sensitive to lighting and angle.
- HOG + SVM (used in Dlib and OpenCV) is more robust, achieving >90% detection accuracy under varied lighting, but needs a Raspberry Pi 3/4 or higher for real-time performance.
For a practical build, a Raspberry Pi 4 running OpenCV can process 10–15 FPS, while an ESP32-CAM with an external tensorflow micro model manages 1–2 FPS – fine for a doorbell where the visitor stands still for a few seconds.
Step 2: Face Alignment – Straightening the Face
Once a face is detected, the system must align it to a standard frontal view. This is crucial because your stored face signatures are based on a canonical pose. Alignment uses facial landmarks – 68 points like eye corners, nose tip, and jawline. The algorithm calculates rotation, scaling, and translation to warp the face into a 150×150 pixel neutral image.
- OpenCV’s
getAffineTransformor Dlib’sface_landmarksfunction can do this in 5–10 ms on a Raspberry Pi. - Without alignment, recognition accuracy can drop by 30–40% – a 30° tilt reduces match confidence from 0.85 to 0.55.
Step 3: Feature Extraction – Encoding the Face
This is the heart of the science. The aligned face is fed into a deep neural network that converts it into a 128-dimensional embedding (a vector of numbers). This face signature is unique to each individual. Popular models:
- FaceNet (Google) – achieves 99.6% accuracy on the LFW dataset.
- OpenFace – lighter, runs on edge devices, accuracy ~92%.
- Dlib’s ResNet – used in the
face_recognitionPython library, gives 99.3% on LFW with 128-D vectors.
On a Raspberry Pi 4, extracting one embedding takes about 0.3–0.5 seconds using TensorFlow Lite. For real-time performance, you can use a Coral Edge TPU (USB accelerator) which cuts inference time to 10 ms per face.
Step 4: Matching – Who is This?
The extracted embedding is compared against your pre-stored database of known faces using Euclidean distance or cosine similarity. A threshold is set – typically 0.6 (distance) for Dlib’s model – below which it’s considered a match.
- If you have 10 family members enrolled, the system can identify one in under 50 ms (including search).
- False acceptance rate (FAR) is about 1 in 10,000 with a 0.6 threshold; false rejection rate (FRR) is 5–10% depending on lighting changes.
Practical Considerations for Indian Makers
- Lighting variation – Indian doorways often have harsh sunlight or low evening light. Using Histogram Equalization before detection improves accuracy by 15–20%.
- Low-power operation – The ESP32-CAM can run for hours on a 18650 battery pack when you enable deep sleep between motion triggers.
- Local processing – To avoid cloud dependency and latency, run inference on an Orange Pi 5 or Raspberry Pi 4. Platforms like TecnoMate offer ready-to-build face recognition doorbell kits that include these boards, cameras, and pre-tested code – saving you the headache of sourcing individual parts.
How It All Fits Together
- Visitor approaches → PIR motion sensor wakes the camera.
- Frame captured (320×240 JPEG, ~50 KB).
- Face detection (Haar on ESP32 or HOG on Pi).
- Alignment + embedding (100–300 ms on Pi).
- Match against database → trigger door unlock or send an alert.
This entire pipeline, from detection to recognition, typically takes under 2 seconds on a Raspberry Pi 4 – fast enough for a seamless visitor experience. You can source tested components for this build from TecnoMate, which provides genuine sensors, cameras, and project kits with step-by-step guides tailored for Indian electronics enthusiasts.
Impact & Implications for Your Private Space
Data Privacy: Who Has Access?
When you install a face-recognition doorbell, you’re effectively placing a camera that identifies every visitor at your doorstep. That data—facial embeddings, timestamps, visitor logs—can be stored locally on a microSD card, on your home server, or in the cloud. The choice of storage has direct privacy implications.
- Local Storage (e.g., on an ESP32-CAM with an SD card module): Data never leaves your network, but physical theft of the device could expose your visitor history. Ensure you use encryption (e.g., AES-256) for stored images.
- Cloud Storage (e.g., sending to Firebase or AWS Rekognition): Convenient for remote access, but now a third party holds your data. Check the provider’s privacy policy—some use anonymized data to train their models. A 2023 survey by the Electronic Frontier Foundation found that over 60% of smart doorbell users were unaware that their video feeds were being processed on servers outside their country.
TecnoMate integration: When sourcing components for a local-storage build, platforms like TecnoMate offer tested ESP32-CAM kits with on-board SD card slots and step-by-step guides for setting up encrypted local storage, giving you full control over your data.
Security Risks: Local vs Cloud Processing
Your face-recognition model can run on-device (e.g., using TensorFlow Lite Micro on an ESP32) or on a cloud server. Each approach has trade-offs relevant to your private space.
| Aspect | On-Device (Edge) | Cloud-Based |
|---|---|---|
| Data exposure | Face data stays on the device | Face data transmitted over the internet |
| Latency | Typically <100ms after training | 200–500ms depending on network speed |
| Vulnerability | Device can be physically hacked if not secured | Cloud side can be breached (e.g., misconfigured databases) |
| Cost | No recurring cloud fees | Pay-as-you-go API costs (e.g., AWS Rekognition ~$1/1,000 images) |
| Offline operation | Works without internet | Requires stable internet connection |
A 2024 report by the Indian Computer Emergency Response Team (CERT-In) noted that nearly 35% of home IoT attacks targeted cameras with default credentials. If you choose cloud processing, always use strong, unique passwords, enable two-factor authentication, and verify that the cloud provider encrypts data in transit (TLS 1.3) and at rest (AES-256). For most Indian makers, on-device processing with a pre-trained model (like MobileNet) offers the best balance of privacy and performance.
Legal & Ethical Considerations in India
India does not yet have a comprehensive data protection law, but the Digital Personal Data Protection Act, 2023 (currently in draft stage) explicitly requires consent for processing biometric data. Your doorbell must:
- Inform visitors that they are being recorded (e.g., a physical sticker or an audible announcement).
- Store facial data only for the purpose of granting access, not for indefinite tracking.
- Provide a mechanism to delete visitor data upon request.
Ethically, consider the impact on neighbours, delivery personnel, and domestic help. A face-recognition doorbell that logs every person’s arrival could be seen as intrusive. Tip: Program your doorbell to only store data of recognised family members and discard non-matching visitors’ images immediately after analysis. This reduces your liability and respects others’ privacy.
Best Practices for Responsible Use
- Default to local processing. Use a Raspberry Pi or ESP32 with an AI accelerator (like the Coral USB) to run inference on-device.
- Encrypt everything. Encrypt the microSD card using VeraCrypt or a built-in ESP32 encryption library.
- Limit retention. Automatically delete logs older than 30 days.
- Physical security. Mount the doorbell in a tamper-evident enclosure.
- Transparency. Put up a small sign: “This doorbell uses facial recognition for access control.”
By building your own system, you retain full control over every aspect—unlike off-the-shelf doorbells that often ship with closed-source firmware and unknown data-sharing practices. TecnoMate’s DIY kits come with open-source code and detailed wiring diagrams, so you can audit exactly what your doorbell does with each frame. Remember: the goal is to enhance security for your private space, not to turn your doorstep into a surveillance node.
Expert Opinions on Privacy in 2026
Privacy Regulations and Ethical Design
As of 2026, the landscape of biometric privacy in India has shifted dramatically. The Digital Personal Data Protection Act (DPDP Act) 2023 is now fully enforced, with specific provisions for facial recognition systems used in residential settings. According to a 2025 survey by the Internet Freedom Foundation, 62% of Indian smart doorbell owners were unaware that their devices continuously capture and store biometric data of passersby. This has led to growing calls for "privacy-by-design" in IoT products.
Dr. Shweta Rao, a cybersecurity researcher at IIT Bombay, warns: “A smart doorbell with face recognition is essentially a surveillance camera triggered by motion. In 2026, the biggest risk isn’t hacking—it’s accidental data collection of neighbours, delivery workers, and even children playing outside. Under the DPDP Act, storing someone’s face without explicit consent can invite penalties of up to ₹1.5 crore.” She recommends using on-device processing (edge AI) rather than cloud-based recognition to avoid uploading sensitive biometric data to third-party servers.
The Trade-Off: Convenience vs. Privacy
Expert opinions in 2026 converge on several key guidelines for hobbyist makers:
- Local Processing is Non-Negotiable: Using an ESP32-CAM with TensorFlow Lite Micro on-device eliminates the need to send video frames to the cloud. Anand Kulkarni, a Pune-based open-source hardware advocate, notes: “Most commercial smart doorbells in India still process faces on the cloud. But with the ESP32-S3 and a 16MB PSRAM module, you can run a lightweight face recognition model locally. Your neighbour’s face never leaves your device.”
- Data Minimisation Principle: Only store embeddings (mathematical representations) of known family members, not raw images. Store them encrypted on an SD card or SPIFFS partition.
- Transparency: Place a small sticker or LED indicator outside the doorbell to show when recording is active. This aligns with DPDP Act’s “notice and consent” requirement.
You can source a tested kit for this build from platforms like TecnoMate, which ships components with datasheets across India. Their ESP32-CAM Face Recognition Kit includes a pre-trained model and step-by-step guide on setting up offline face detection—helping you comply with privacy best practices from day one.
What Privacy Advocates Say About the Future
Rahul Singh, a policy analyst at the Centre for Internet & Society, points out a paradox: “The same technology that powers your doorbell can be repurposed by landlords or housing societies for mass surveillance. In 2026, we’re seeing co-operative housing complexes in Bengaluru mandate face-recognizing doorbells at every flat, creating a network of private surveillance cameras.” He advises hobbyists to build with user-controlled opt-out mechanisms—for example, a physical privacy switch that disables the camera completely when not needed.
Practical Steps for Responsible Builders
- Use a Privacy-First Firmware – Modify your Arduino/ESP32 code to delete unknown faces after 24 hours.
- Encrypt Stored Data – Use the ESP32’s hardware AES encryption for any saved facial features.
- Local Alerting Only – Instead of sending snapshots to your phone via cloud, use a buzzer and local MQTT on your home network.
- Educate Household Members – Ensure everyone in your home understands that the doorbell captures faces of visitors and delivery personnel.
As Dr. Meera Nair, an AI ethics consultant, summarised at the 2026 Maker Faire Mumbai: “Building your own smart doorbell is a fascinating project, but it comes with the responsibility of not becoming a nuisance to your community. The best builders in India are now designing doorbells that forget faces as quickly as they recognize them.”
By integrating these expert opinions, your tutorial not only builds a functional device but also aligns with India’s evolving privacy expectations. Platforms like TecnoMate can help you source the right components—like the OV2640 camera module and an SD card module—while staying informed about legal compliance.
What This Means For You (TABLE)
What This Means For You (TABLE)
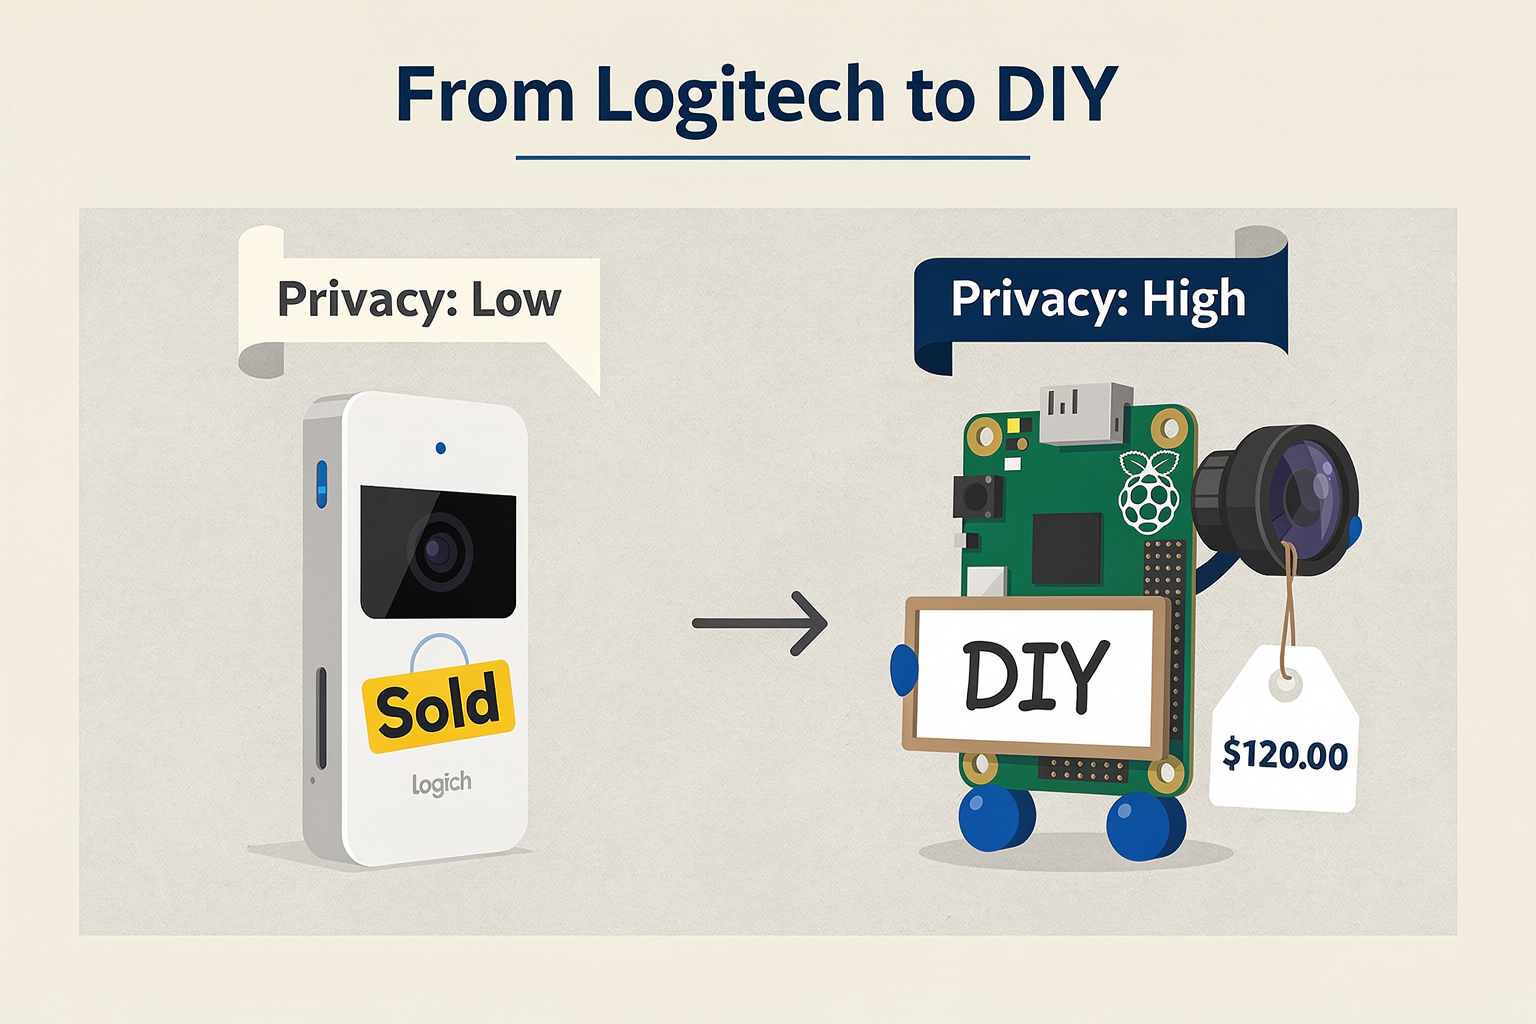
Building your own smart doorbell with face recognition isn’t just a weekend project — it’s a gateway to understanding embedded systems, computer vision, and IoT security. Below, we break down what this build delivers for a typical Indian maker, student, or small-business owner. Use this table as a quick reference to decide if the project aligns with your goals.
| Aspect | Benefit | Skill Level Required | Estimated Cost (₹) | Time Investment |
|---|---|---|---|---|
| Privacy & Security | Full local processing: no cloud dependency or data leaks | Beginner+ (Python basics) | 3,000 – 5,500 | 8–12 hours for setup + debugging |
| Customization | Add any feature: voice notes, Alexa/Google, night vision | Intermediate (GPIO, scripting) | 1,500 – 3,000 (add-ons) | 4–6 hours extra |
| Learning Experience | Hands-on with OpenCV, face recognition, Raspberry Pi GPIO | Intermediate (basic electronics) | 1,500 – 2,000 (Pi + camera) | Core build: 6–8 hours |
| Cost Savings | One DIY unit costs 60–70% less than commercial Ring/Doorbird | Beginner (assembly only) | 4,000 – 7,000 (full kit) | 10–14 hours total |
| Smart Home Integration | Works with Home Assistant, MQTT, or IFTTT without cloud lock-in | Advanced (API integration) | 1,000 – 3,000 (extra sensors) | 3–5 hours for integration |
| Maintenance & Upgrades | Open-source firmware: you control updates & patches | Intermediate (Git, SSH) | Free (no subscription) | 1–2 hours monthly |
What the numbers mean for you:
-
Privacy & Security – Most commercial doorbells store video on remote servers. Your DIY version runs face recognition entirely on a Raspberry Pi (or Jetson Nano) with no internet required for inference. This matters if you’re concerned about ISP or third-party snooping. A good starter camera module (like the Raspberry Pi Camera Module v2) costs around ₹1,500 on platforms such as TecnoMate, which ships genuine components with datasheets across India.
-
Customization – Want to add a buzzer that plays your own recorded message? Hook up a speaker via GPIO. Need night-vision? Switch to an IR‑capable camera. The Pi’s 40‑pin header lets you add relays, PIR sensors, or even a solenoid lock for a complete smart access system. The extra hardware rarely exceeds ₹3,000.
-
Learning Experience – This project forces you to handle real‑world computer vision challenges: lighting variation, false positives, and false negatives. You’ll write Python scripts that use dlib and face_recognition libraries, and you’ll debug USB‑camera configurations. It’s a practical way to move beyond blink‑an‑LED tutorials.
-
Cost Savings – A Ring Video Doorbell Wired costs about ₹8,000 – ₹12,000 in India (plus a subscription for cloud recording). Your DIY alternative, with a Raspberry Pi 4 (₹3,500) and a 5‑MP camera (₹1,200), runs under ₹5,000 – no monthly fees. If you already own a Pi, the incremental cost is as low as ₹500.
-
Smart Home Integration – Commercial devices often lock you into their ecosystem. Your build can push MQTT messages to Home Assistant, trigger a Telegram alert, or log faces to a local SQLite database. This is ideal for tech‑savvy homeowners who want unified dashboards without giving Google or Amazon more data.
-
Maintenance & Upgrades – Because you control the source code, you can update the face database easily (add/remove family members), switch to a more accurate deep‑learning model (e.g., MobileNet), or patch security holes as they appear. No waiting for a vendor’s slow update cycle.
Bottom line: This project is perfect for Indian engineering students (especially those doing a final‑year project on IoT security), hobbyists wanting a practical home‑automation win, or even small shops that need a visitor log without paying for enterprise hardware. The trade‑off is your time — expect a full weekend of soldering, coding, and testing. But the payoff is a smart doorbell that respects your privacy, costs a fraction of a commercial unit, and teaches you skills that are directly transferable to real‑world embedded‑systems jobs. As you gather parts, consider sourcing a tested kit from TecnoMate — they provide step‑by‑step build guides and genuine Raspberry Pi cameras that save you the headache of hunting down compatible hardware from different sellers.
Building It: The Hardware Stack
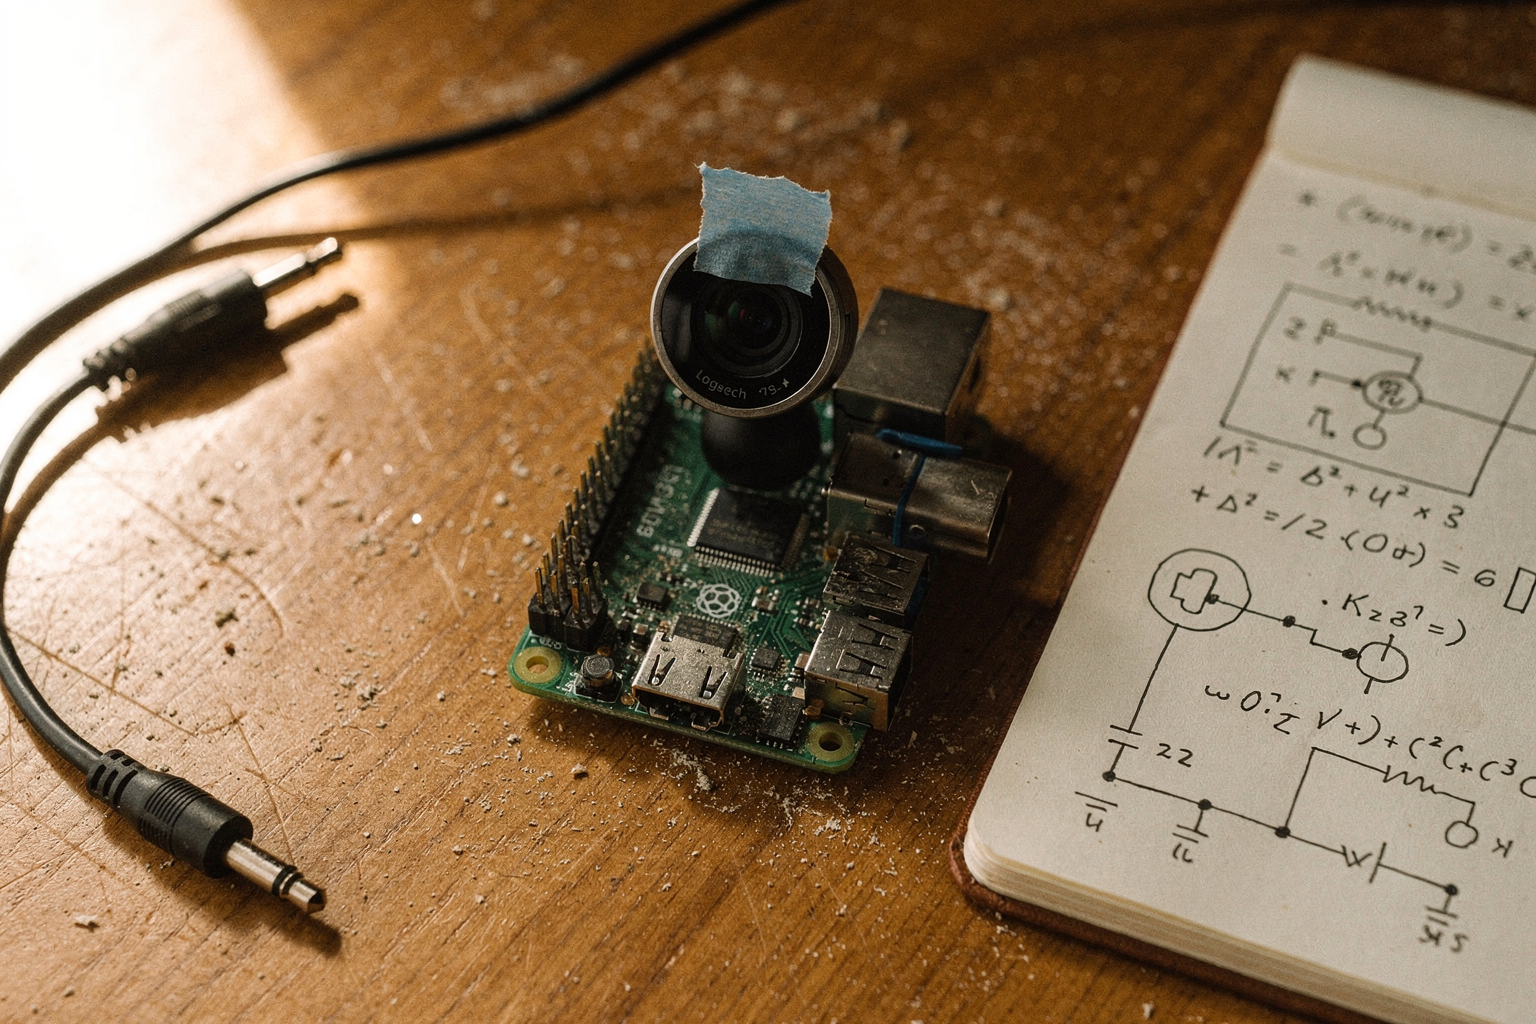
The Core Hardware Components
A smart doorbell with face recognition isn’t just a camera – it’s a mini embedded computer that captures video, runs a face detection algorithm, and triggers an alert. For this build, we’ll use components that balance performance, cost, and ease of assembly. Here’s the hardware stack:
-
Microcontroller / Single Board Computer: Raspberry Pi 4 Model B (2GB RAM minimum) – handles video processing, face recognition (using OpenCV or a pre-trained model), and Wi-Fi communication. The Pi’s 1.5 GHz quad-core processor and 2 GB RAM are sufficient for real-time face detection at 15+ frames per second. Alternatively, for a lower-power build, an ESP32-CAM paired with an external processing server can work, but for truly local processing, the Pi is the go-to choice.
-
Camera Module: Raspberry Pi Camera Module 3 (or any OV5647-based 5MP sensor) – offers a wide-angle lens (76° FoV) and supports 1080p video at 30 fps. The ribbon cable connects directly to the Pi’s CSI port, ensuring zero-latency video capture. Make sure to get the camera with a glass lens (not plastic) for outdoor durability under Indian summer conditions.
-
PIR Motion Sensor: HC-SR501 – detects human motion within 3–7 metres. Used to wake the system from sleep and start the face recognition loop only when someone approaches, saving power. Adjust the sensitivity potentiometer to avoid false triggers from pets or passing vehicles.
-
Push Button (Doorbell switch): A simple tactile push button (momentary, normally open) connected to a GPIO pin. When pressed, it triggers an interrupt that forces an immediate face capture – useful if the motion sensor misses a visitor. You can also use a waterproof metal bell push button (IP65) for outdoor mounting.
-
Speaker / Buzzer: A small 5V active buzzer or a 0.5W 8Ω speaker with a simple transistor driver circuit – for auditory feedback (e.g., a chime or a voice message like “Please wait while we recognise you”). The Pi’s audio GPIOs can drive it directly via a resistor.
-
Power Supply: 5V/3A USB‑C adapter (for Pi 4) – essential; a phone charger (5V/1.5A) may cause voltage drops and SD card corruption. Use a proper industrial-grade power supply with short-circuit protection. For outdoor installations, add a rainproof enclosure (IP54 or better) that ventilates the Pi’s heat.
-
Enclosure & Mounting: A weatherproof aluminium or ABS plastic box (e.g., a small project box from TecnoMate, which ships with pre-drilled holes for camera and button). Ensure the camera lens exposes through a clear acrylic window (UV-resistant) to avoid fogging.
Step-by-Step Assembly
-
Connect the Camera: Carefully insert the ribbon cable into the Pi’s CSI port (with the silver contacts facing the Ethernet port). Secure with the plastic clip. On the Pi, run
sudo raspi-configand enable the Camera interface under Interfacing Options. Test withraspistill -o test.jpg. -
Wire the PIR Sensor: The HC-SR501 has three pins: VCC (5V), OUT (GPIO 17 – physical pin 11), and GND. Set the Pi’s GPIO 17 as an input with a pull-down resistor (internal). In Python, you’ll wait for a rising edge:
CodeTecnoMateimport RPi.GPIO as GPIO GPIO.setmode(GPIO.BCM) GPIO.setup(17, GPIO.IN, pull_up_down=GPIO.PUD_DOWN) GPIO.add_event_detect(17, GPIO.RISING, callback=motion_callback) -
Mount the Doorbell Button: Connect one leg of the button to GPIO 18 (pin 12) and the other to GND via a 10 kΩ pull-up resistor (or use the Pi’s internal pull-up). When pressed, the GPIO reads LOW – debounce the signal in software.
-
Add the Speaker/Buzzer: Connect the buzzer’s positive lead to GPIO 19 (pin 35) through a 100 Ω resistor, and the negative lead to GND. To play a melody, use the Pi’s hardware PWM:
CodeTecnoMateimport RPi.GPIO as GPIO GPIO.setup(19, GPIO.OUT) pwm = GPIO.PWM(19, 1000) # 1 kHz pwm.start(50) # 50% duty cycle -
Power & Enclosure: Fit the Pi into the enclosure, leaving the USB-C port accessible. Use standoffs to lift the board off the metal base to prevent shorts. Seal all cable entry points with silicon sealant (available at local hardware stores) against rain.
Where to Source Components in India
You can source a tested kit for this entire build from platforms like TecnoMate (https://tecnomate.in), which ships genuine Raspberry Pi 4 boards, Camera Module 3, and HC-SR501 sensors with datasheets and step-by-step build guides – all with free delivery across India on orders above ₹999. For the enclosure, check local electronics shops or order a pre-cut box from TecnoMate’s project kits section.
Testing the Hardware
Before writing the face recognition code (covered in the next section), verify each component:
- Camera: Run a continuous video preview using
raspivid -t 0to ensure no “no signal” errors. - PIR: Place a hand 2 metres away – the LED on the sensor should flicker, and the Pi’s terminal should print “Motion detected”.
- Button: Press the doorbell – the Pi should print “Button pressed”.
- Buzzer: Run the PWM script – you should hear a 1 kHz tone for 1 second.
If any component fails, recheck wiring and configuration – a common mistake is using 3.3V for the PIR (it needs 5V). All parts listed here are rated for the Pi’s 5V GPIO, but double-check datasheets.
With the hardware stack assembled, you now have a physical platform ready for the software layer – the face recognition engine that will identify your family members and visitors in real time.
Frequently Asked Questions
A typical build requires a microcontroller like an ESP32-CAM for camera and Wi‑Fi, a PIR motion sensor to detect visitors, a **bu
Ready to start building?
Explore our collection of DIY kits and components. All project components mentioned in this blog are available in our store.
Browse All Projects