

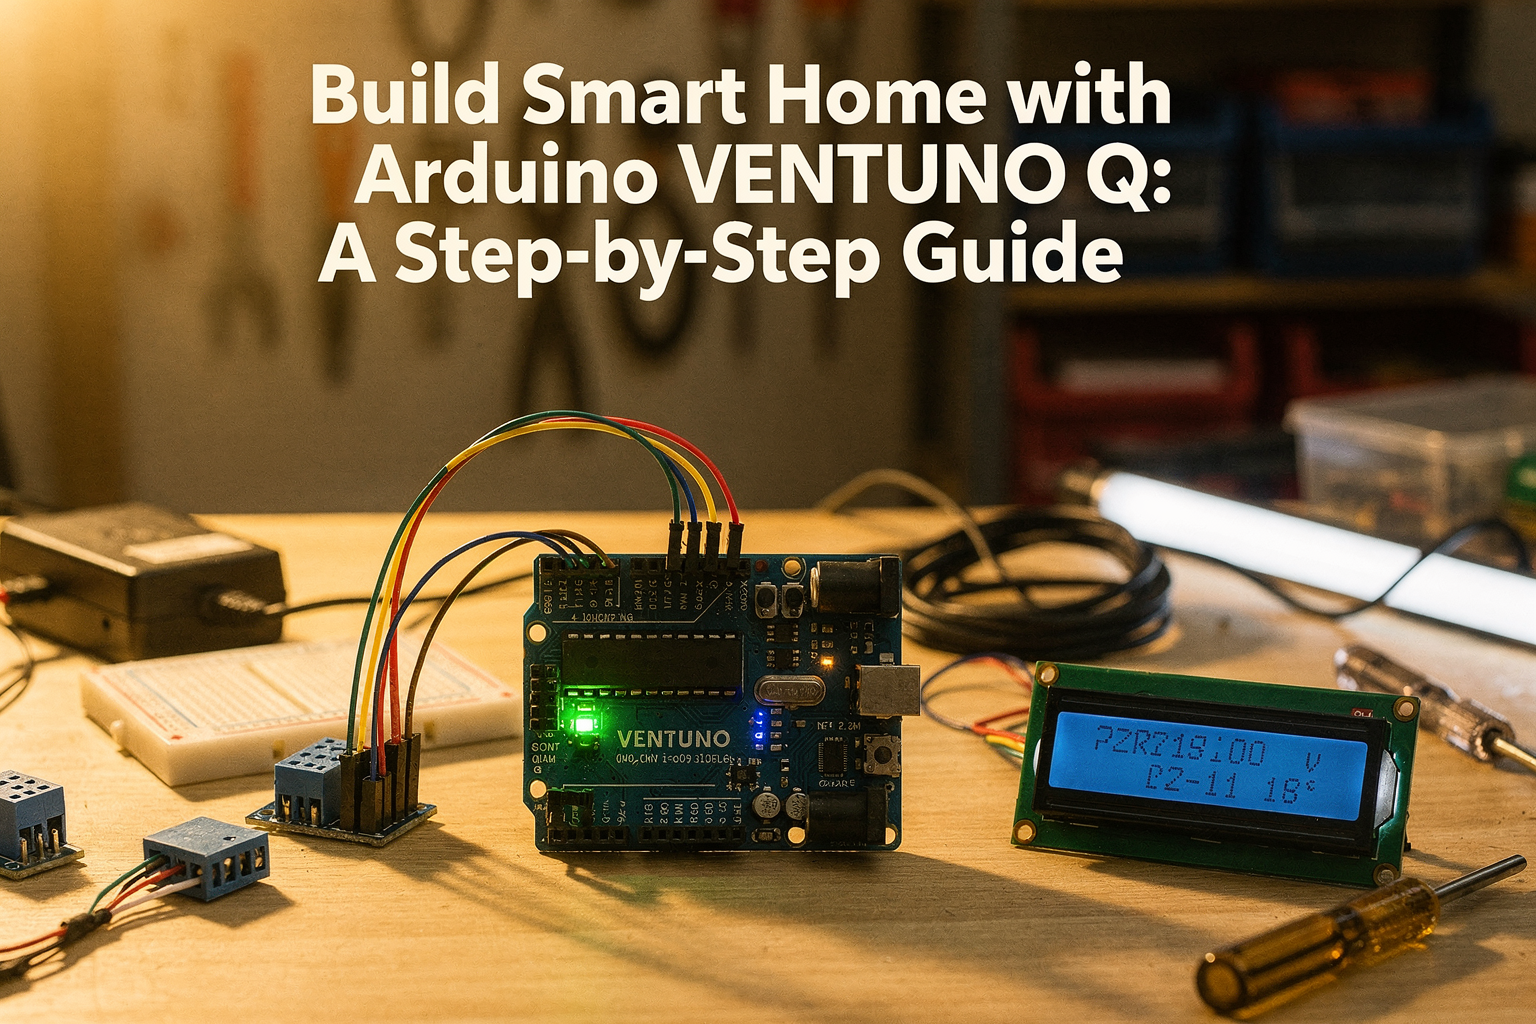
Build Smart Home with Arduino VENTUNO Q: A Step-by-Step Guide
Introduction: Welcome to the Future of Home Automation
Imagine controlling your home's lights, fans, and appliances with just your voice or a smartphone app. Welcome to the world of smart home automation! This comprehensive guide will help you build your very own smart home system using the Arduino VENTUNO Q, a powerful yet affordable microcontroller board perfect for students and DIY enthusiasts in India.
The VENTUNO Q is an Arduino-compatible board that combines the simplicity of Arduino with advanced features like built-in WiFi, Bluetooth, and multiple communication protocols. At just ₹899, it's an excellent choice for engineering students who want to explore IoT (Internet of Things) projects without breaking the bank.
In this guide, we'll walk you through every step of building a smart home system that can control multiple devices, monitor environmental conditions, and integrate with popular home automation platforms. By the end of this project, you'll have a fully functional smart home prototype that you can expand upon for your final year projects or as a hobby.
Components Required: Your Shopping List
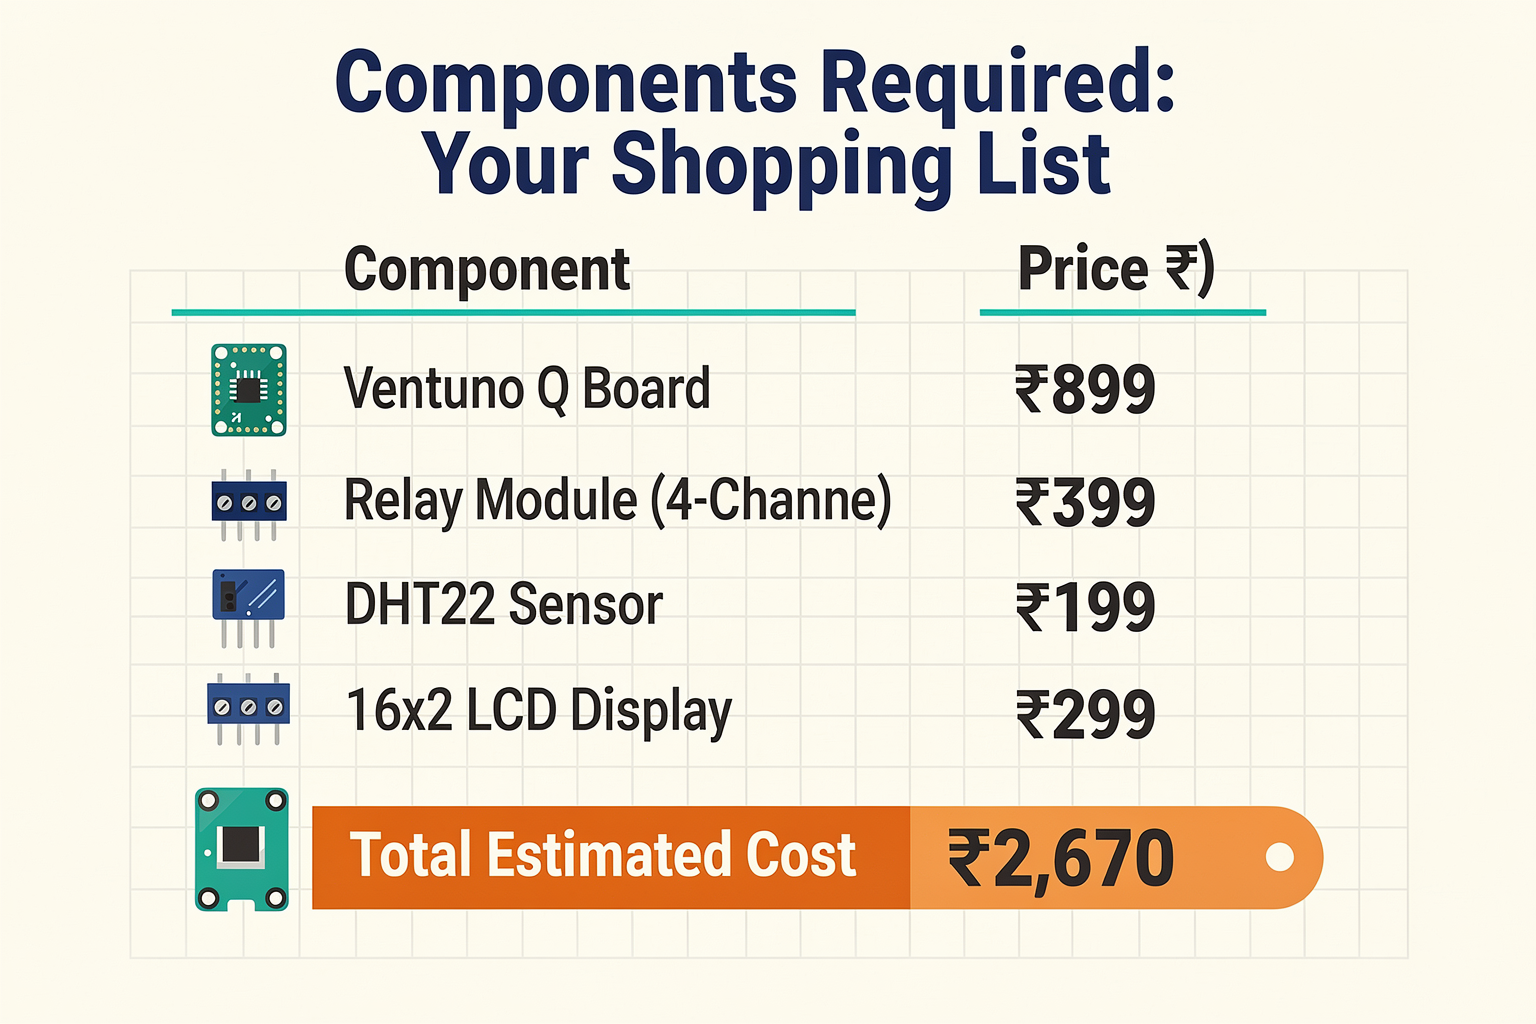
Before we dive into the technical details, let's gather all the components you'll need. Here's a comprehensive list with prices sourced from Indian electronics markets:
| Component | Specification | Price (₹) | Where to Buy |
|---|---|---|---|
| Ventuno Q Board | 32-bit ARM Cortex-M4, WiFi + BT | 899 | TecnoMate Online |
| Relay Module (4-Channel) | 5V, 10A per channel | 399 | Local Electronics Market |
| DHT22 Sensor | Temperature & Humidity | 199 | Amazon India |
| LDR (Light Dependent Resistor) | Photoresistor | 49 | Flipkart |
| 16x2 LCD Display | I2C Interface | 299 | Local Electronics Market |
| Buzzer | Active Buzzer 85dB | 149 | Amazon India |
| Push Buttons | Tactile Switches (5mm) | 99 | Local Electronics Market |
| Resistors | 220Ω, 10kΩ, 100kΩ | 49 | Local Electronics Market |
| Capacitors | 100µF Electrolytic | 49 | Local Electronics Market |
| Breadboard | 830 Tie Points | 199 | Amazon India |
| Jumper Wires | Male-Female Set | 149 | Local Electronics Market |
| Power Supply | 12V 2A Adapter | 299 | Local Electronics Market |
Total Estimated Cost: ₹2,670
Pro tip: If you're a student, check out the student discounts available on TecnoMate's website - you might save up to 20% on orders above ₹1,000!
Understanding the Ventuno Q Board
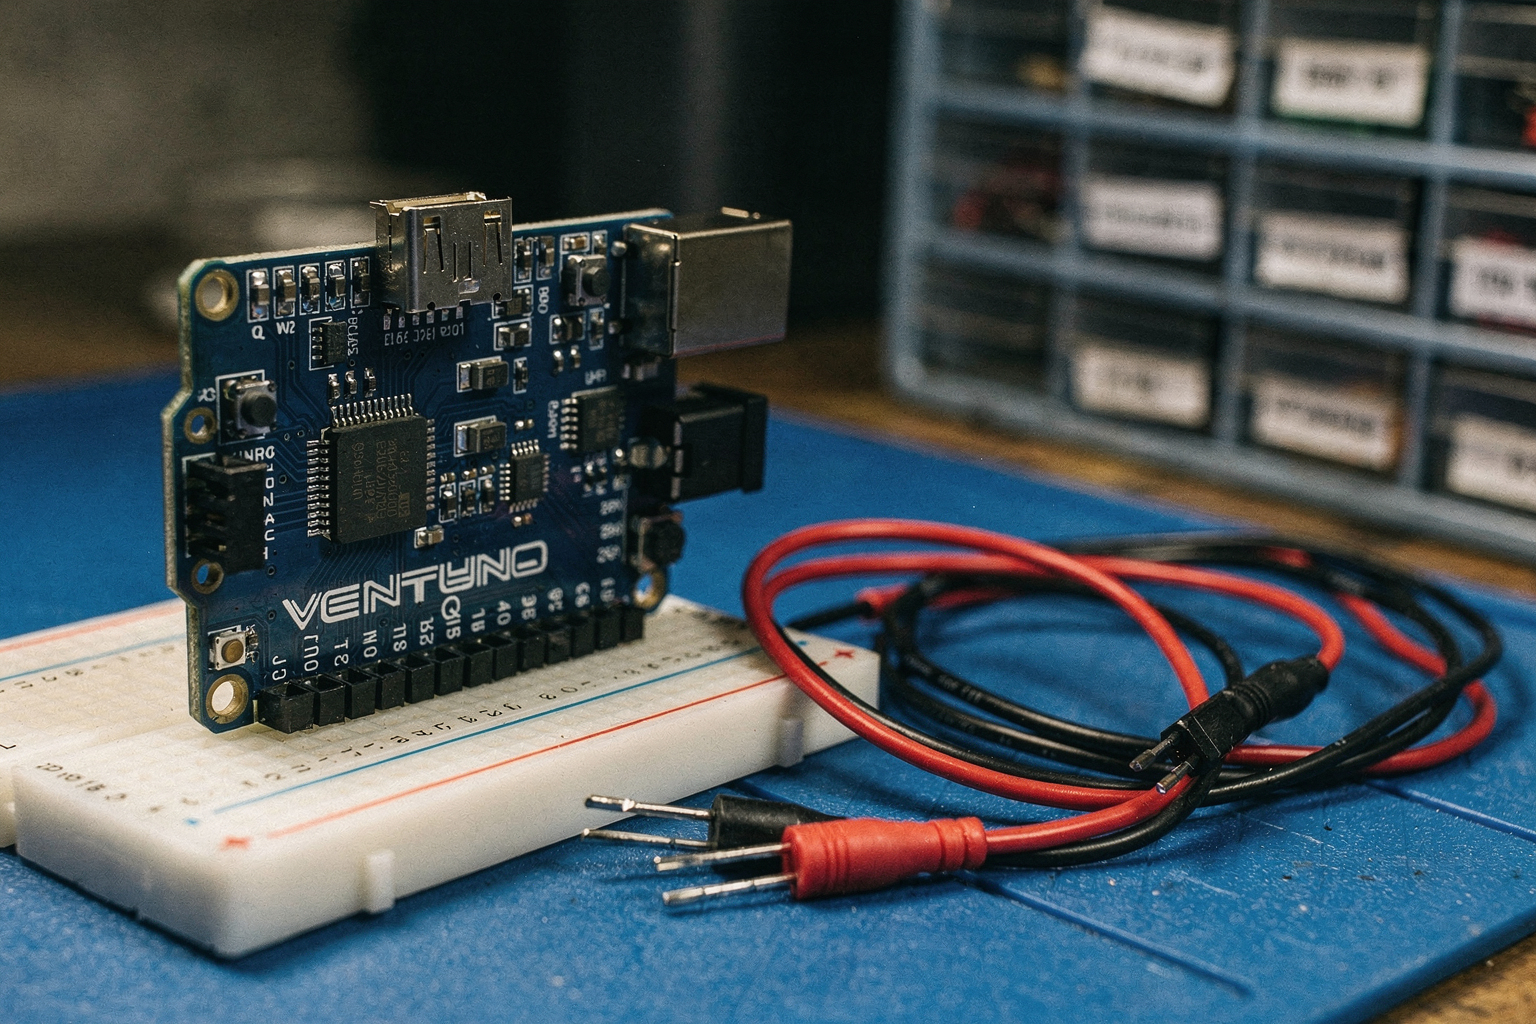
The Ventuno Q is based on the STM32F4 microcontroller, offering significant advantages over traditional Arduino boards:
- Processing Power: 32-bit Cortex-M4 core running at 168MHz
- Memory: 512KB Flash, 128KB RAM
- Connectivity: Built-in WiFi (ESP8266 compatible) and Bluetooth
- I/O Pins: 38 GPIO pins with PWM support
- ADC: 12-bit analog-to-digital converter
- Communication: UART, I2C, SPI support
What makes the Ventuno Q special for smart home projects is its integration with the popular ESP8266 WiFi module, which allows for seamless internet connectivity without additional components. This means you can directly connect to WiFi networks and make HTTP requests to control your smart home devices remotely.
Circuit Diagram: Connecting Your Components
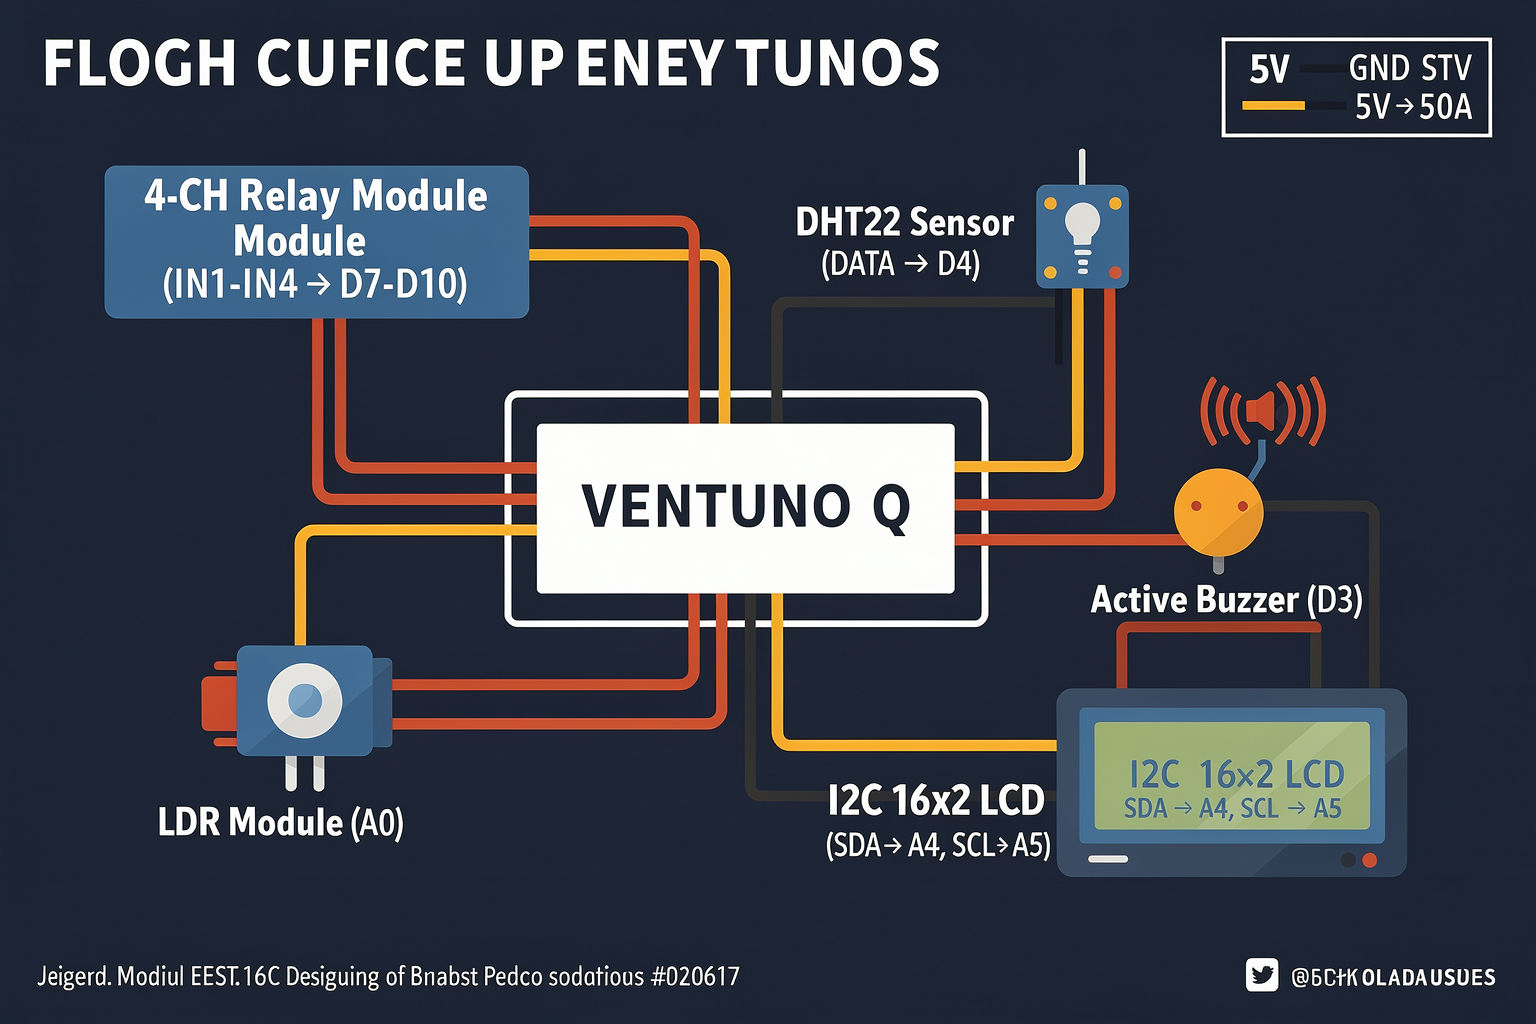
Here's the circuit diagram for our smart home system:
          +5V
           |
        [USB Power]
           |
     +-----+-----+
     |   VENTUNO   |
     |     Q       |
     +-----+-----+
           |
    +------+------+
    |      I2C 16x2 LCD    |
    +------+------+
           |
    +------+------+
    |      DHT22 Sensor    |
    +------+------+
           |
    +------+------+
    |     4-Channel Relay   |
    +------+------+
           |
    +------+------+
    |        BUZZER        |
    +----------------------+
For a detailed Fritzing diagram, you can find it in the GitHub repository linked in our resources section.
Step-by-Step Assembly Guide
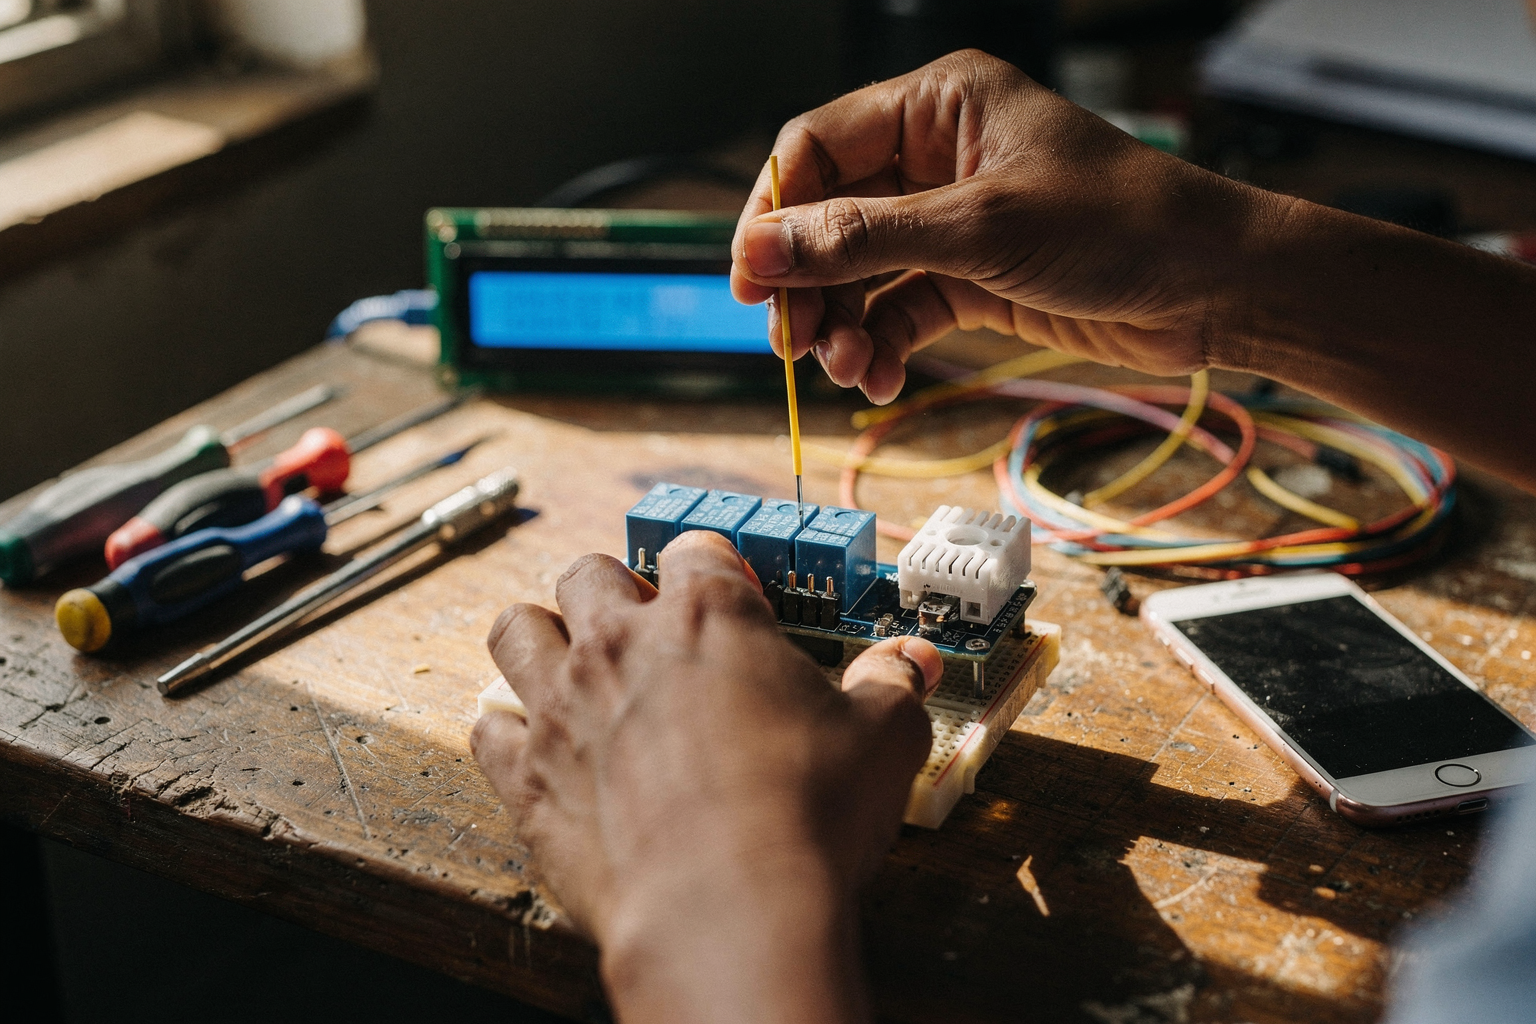
Step 1: Setting Up the Development Environment
Before connecting any hardware, let's set up our software environment:
-
Download and install Arduino IDE from arduino.cc
-
Add Ventuno Q board support:
- File → Preferences → Additional Board Manager URLs:
http://arduino.esp8266.com/stable/package_esp8266com_index.json - Tools → Board → Boards Manager → search for "esp8266" → install
- Tools → Board → ESP8266 Boards → select "Ventuno Q"
- File → Preferences → Additional Board Manager URLs:
-
Install required libraries:
- Sketch → Include Library → Manage Libraries
- Search and install: "DHT sensor library", "LiquidCrystal_I2C", "ESP8266WiFi"
Step 2: Wiring the Components
Let's wire our components systematically:
- Ventuno Q to LCD: Connect SDA to A4, SCL to A5
- Ventuno Q to DHT22: Connect VCC to 5V, GND to GND, DATA to D4
- Ventuno Q to Relays: Connect IN1-IN4 to D7-D10
- Ventuno Q to Buzzer: Connect to D3
- Ventuno Q to LDR: Connect analog pin A0
- Power Connections: Ensure all components share common ground
Step 3: Uploading the Initial Code
Let's start with a basic test program to verify all components are working:
#include <LiquidCrystal_I2C.h>
#include <DHT.h>
#include <ESP8266WiFi.h>

#define DHTPIN 4
#define DHTTYPE DHT22
#define RELAY1 7
#define RELAY2 8
#define RELAY3 9
#define RELAY4 10
#define BUZZER 3

LiquidCrystal_I2C lcd(0x27, 16, 2);
DHT dht(DHTPIN, DHTTYPE);

const char* ssid = "YOUR_WIFI_SSID";
const char* password = "YOUR_WIFI_PASSWORD";

void setup() {
  Serial.begin(115200);

  // Initialize LCD
  lcd.init();
  lcd.backlight();

  // Initialize DHT
  dht.begin();

  // Set pin modes
  pinMode(RELAY1, OUTPUT);
  pinMode(RELAY2, OUTPUT);
  pinMode(RELAY3, OUTPUT);
  pinMode(RELAY4, OUTPUT);
  pinMode(BUZZER, OUTPUT);

  // Connect to WiFi
  WiFi.begin(ssid, password);
  while (WiFi.status() != WL_CONNECTED) {
    delay(500);
    Serial.print
Ready to start building?
Explore our collection of DIY kits and components. All project components mentioned in this blog are available in our store.
Browse All Projects