

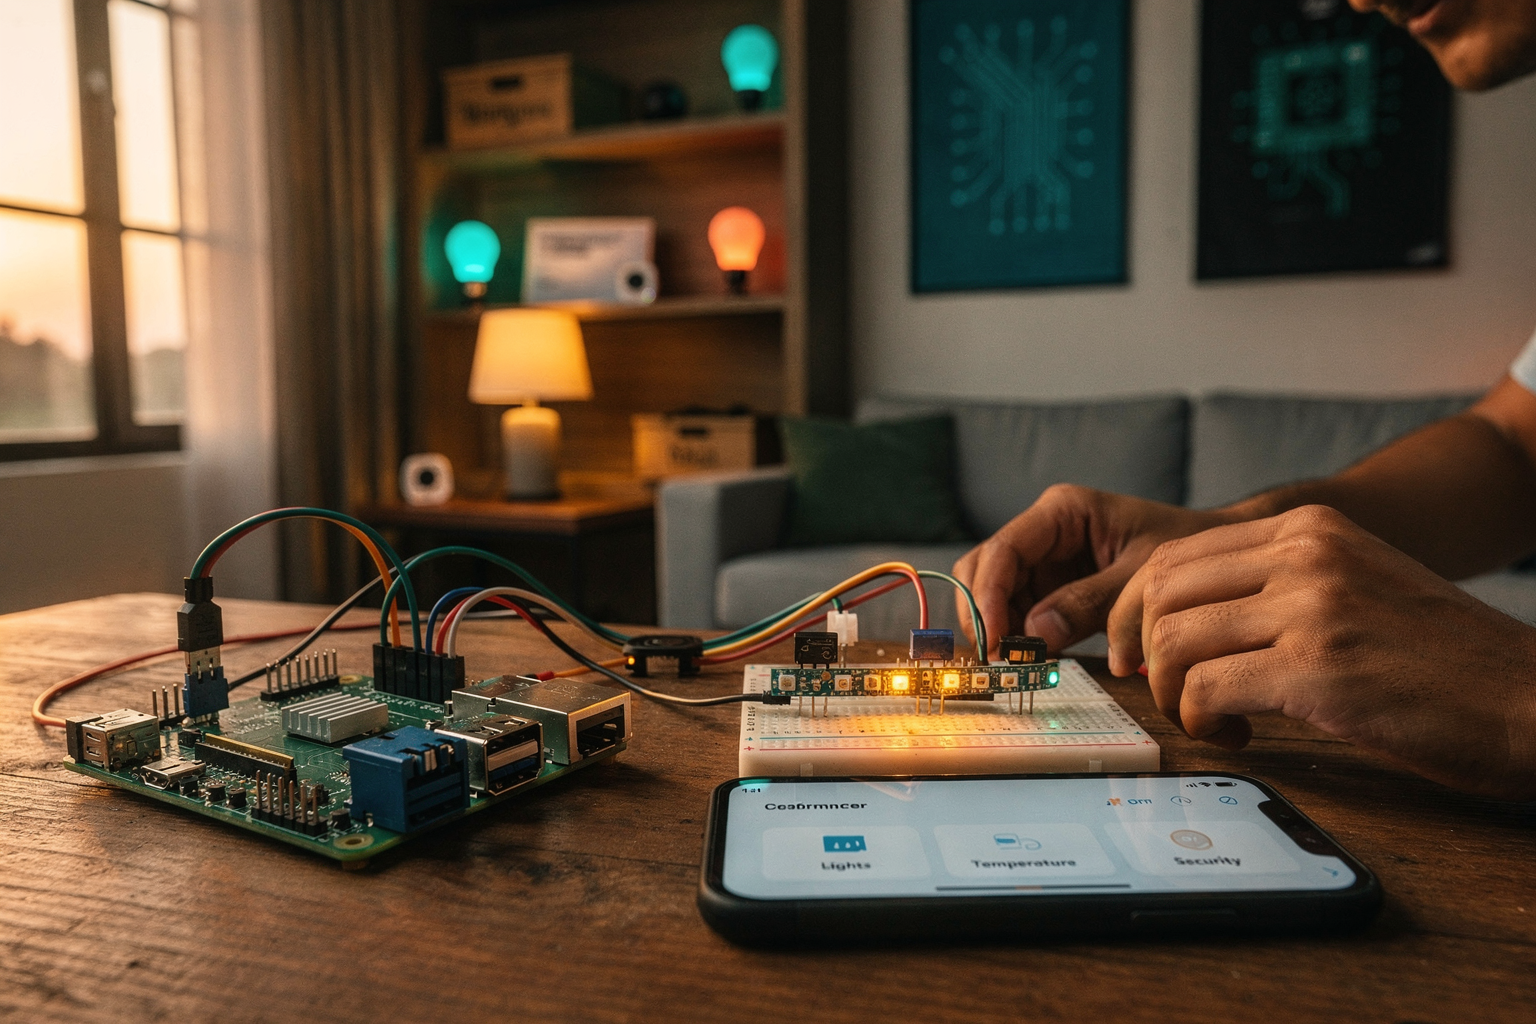
Introduction: The Smart Home Revolution in India
The concept of a smart home is no longer confined to science fiction movies. With the rapid advancement of IoT technology and decreasing costs of microcontrollers, building your own smart home system has become accessible to every engineering student and DIY enthusiast in India. Imagine controlling your lights, fans, and appliances with just your voice or a smartphone app, all built by your own hands!
This comprehensive guide will walk you through creating a complete smart home system using two powerful platforms: Raspberry Pi and ESP32. Whether you're a beginner looking to start your IoT journey or an experienced maker wanting to expand your skills, this project will provide you with a solid foundation for building advanced smart home applications.
The beauty of this project lies in its versatility. You'll learn how to integrate sensors, actuators, and wireless communication protocols while working with components readily available in the Indian market through our store at TecnoMate. Let's dive into the exciting world of DIY smart home automation!
Components Required
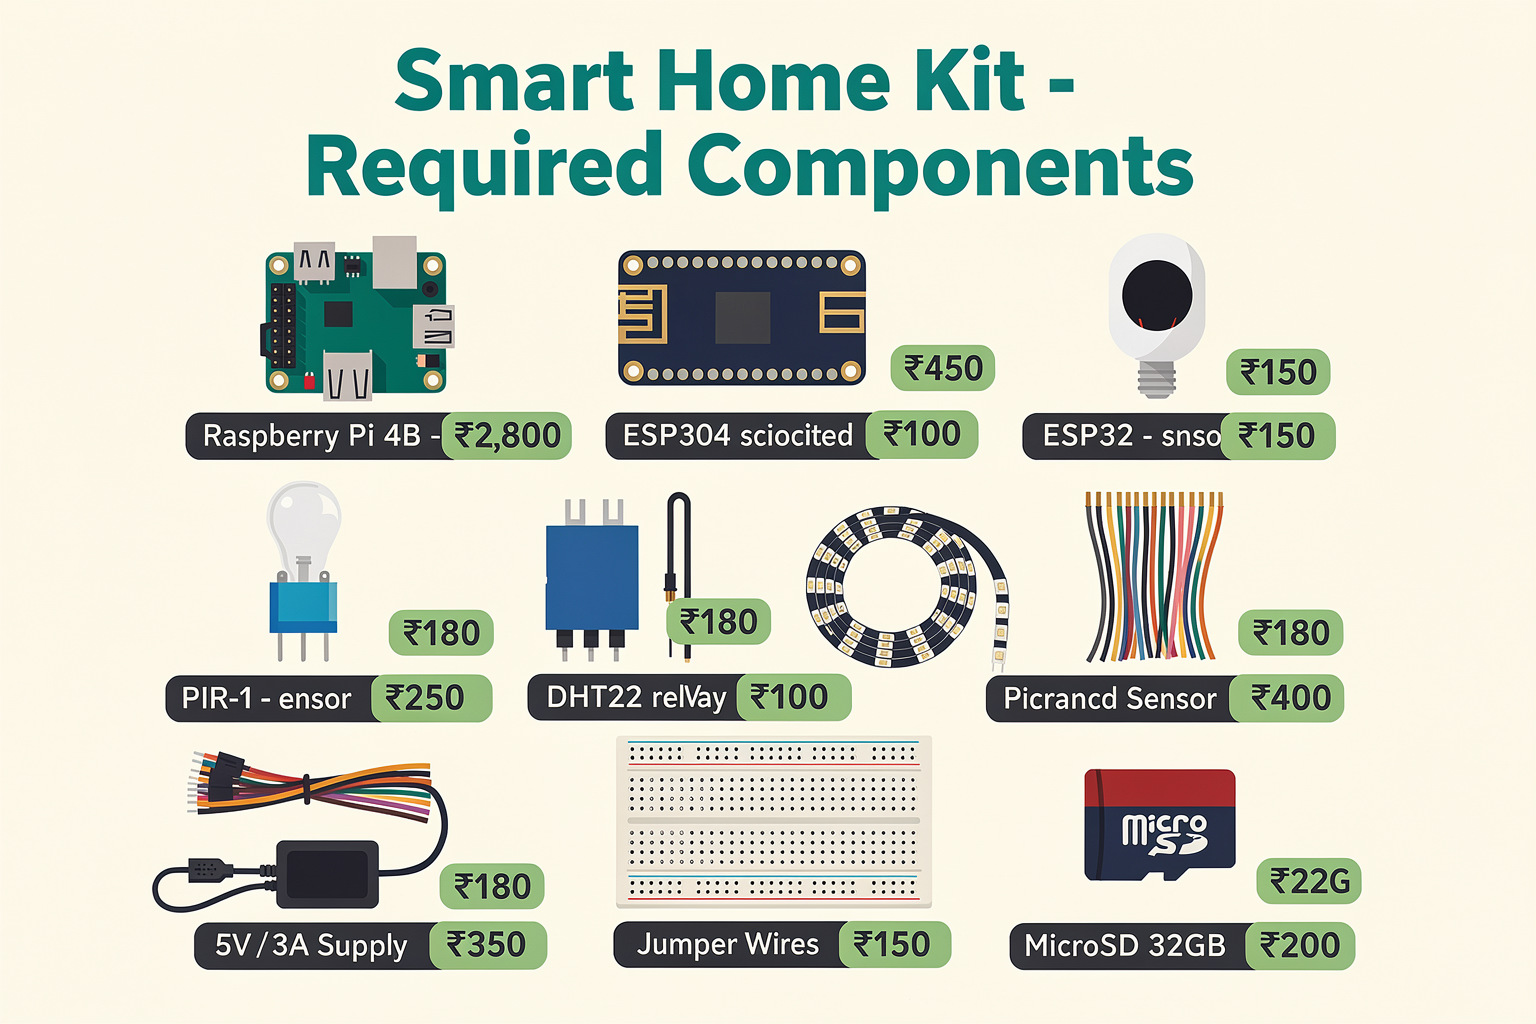
Before we begin building, let's gather all the necessary components. Most of these items are available at our TecnoMate store across major Indian cities, with competitive pricing and quick delivery.
| Component | Specification | Price (₹) | Available at TecnoMate |
|---|---|---|---|
| Raspberry Pi 4B | 4GB RAM, 1.5GHz Quad-Core | 2,800 | ✅ In Stock |
| ESP32 Dev Board | WiFi + Bluetooth, 240MHz | 450 | ✅ In Stock |
| Ultrasonic Sensor (HC-SR04) | 2-400cm range | 150 | ✅ In Stock |
| PIR Motion Sensor (PIR-1) | 10m detection range | 100 | ✅ In Stock |
| Temperature & Humidity Sensor (DHT22) | ±0.5°C accuracy | 250 | ✅ In Stock |
| Relay Module 5V | 1-channel, 10A rating | 180 | ✅ In Stock |
| LED Strip WS2812B | 5050 RGB, 30 LEDs | 400 | ✅ In Stock |
| Breadboard (830 points) | Reusable solderless | 120 | ✅ In Stock |
| Jumper Wires (M-F, F-M, M-M) | 20 pieces each | 150 | ✅ In Stock |
| Power Supply 5V/3A | USB Type-C adapter | 350 | ✅ In Stock |
| MicroSD Card | 32GB, Class 10 | 200 | ✅ In Stock |
Additional Tools Required:
- Soldering iron (optional)
- USB cable
- Computer with Python installed
- Smartphone for testing
System Architecture
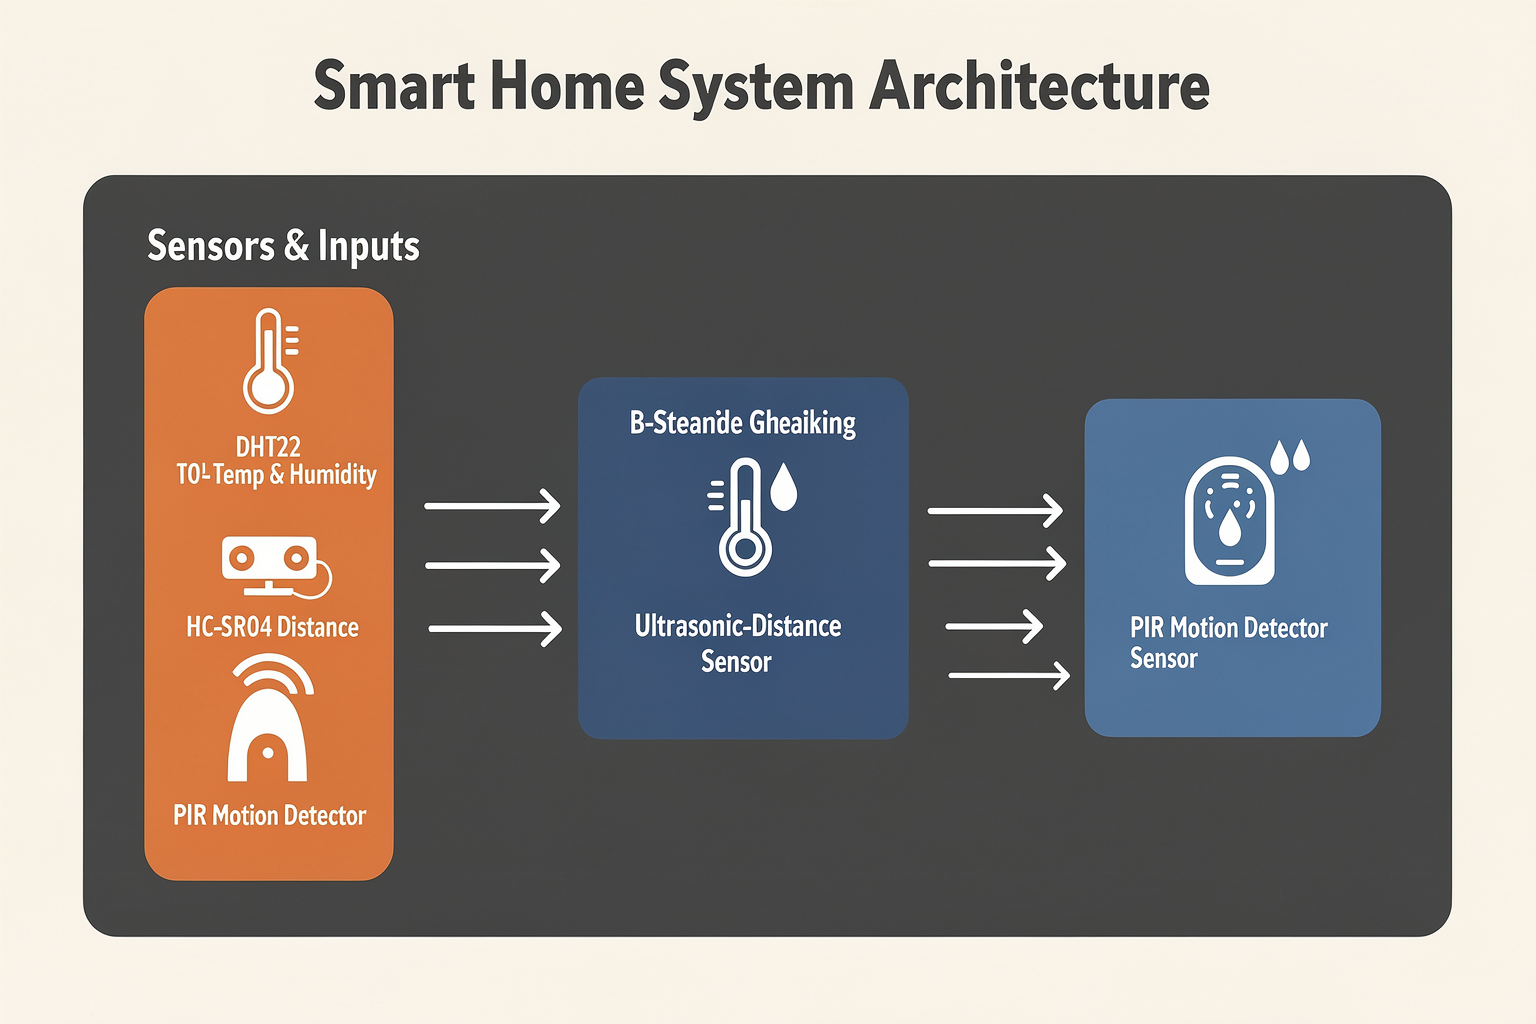
Before diving into the circuit diagram, let's understand how all these components work together in our smart home system:
Raspberry Pi acts as the central brain, running the main application, handling web interface, and managing all the logic. ESP32 serves as a wireless microcontroller that communicates with various sensors and actuators, sending data to the main Raspberry Pi unit.
Circuit Diagram
Here's how we'll connect all the components:
Raspberry Pi 4B
├── GPIO 5 → ESP32 RX (Serial TX)
├── GPIO 6 → ESP32 TX (Serial RX)
├── GPIO 23 → DHT22 Data Pin
├── GPIO 24 → HC-SR04 Echo Pin
├── GPIO 25 → HC-SR04 Trigger Pin
├── GPIO 27 → PIR Sensor Output
└── GPIO 22 → Relay Module Control

ESP32 Dev Board
├── RX (GPIO3) → Pi TX (GPIO6)
├── TX (GPIO1) → Pi RX (GPIO5)
├── GND → Common Ground
├── VCC → 5V Power from Pi USB
└── Leftover GPIOs → LED Strip Data Pin
Note: All ground connections must be common between Pi and ESP32 for proper communication.
Step-by-Step Guide
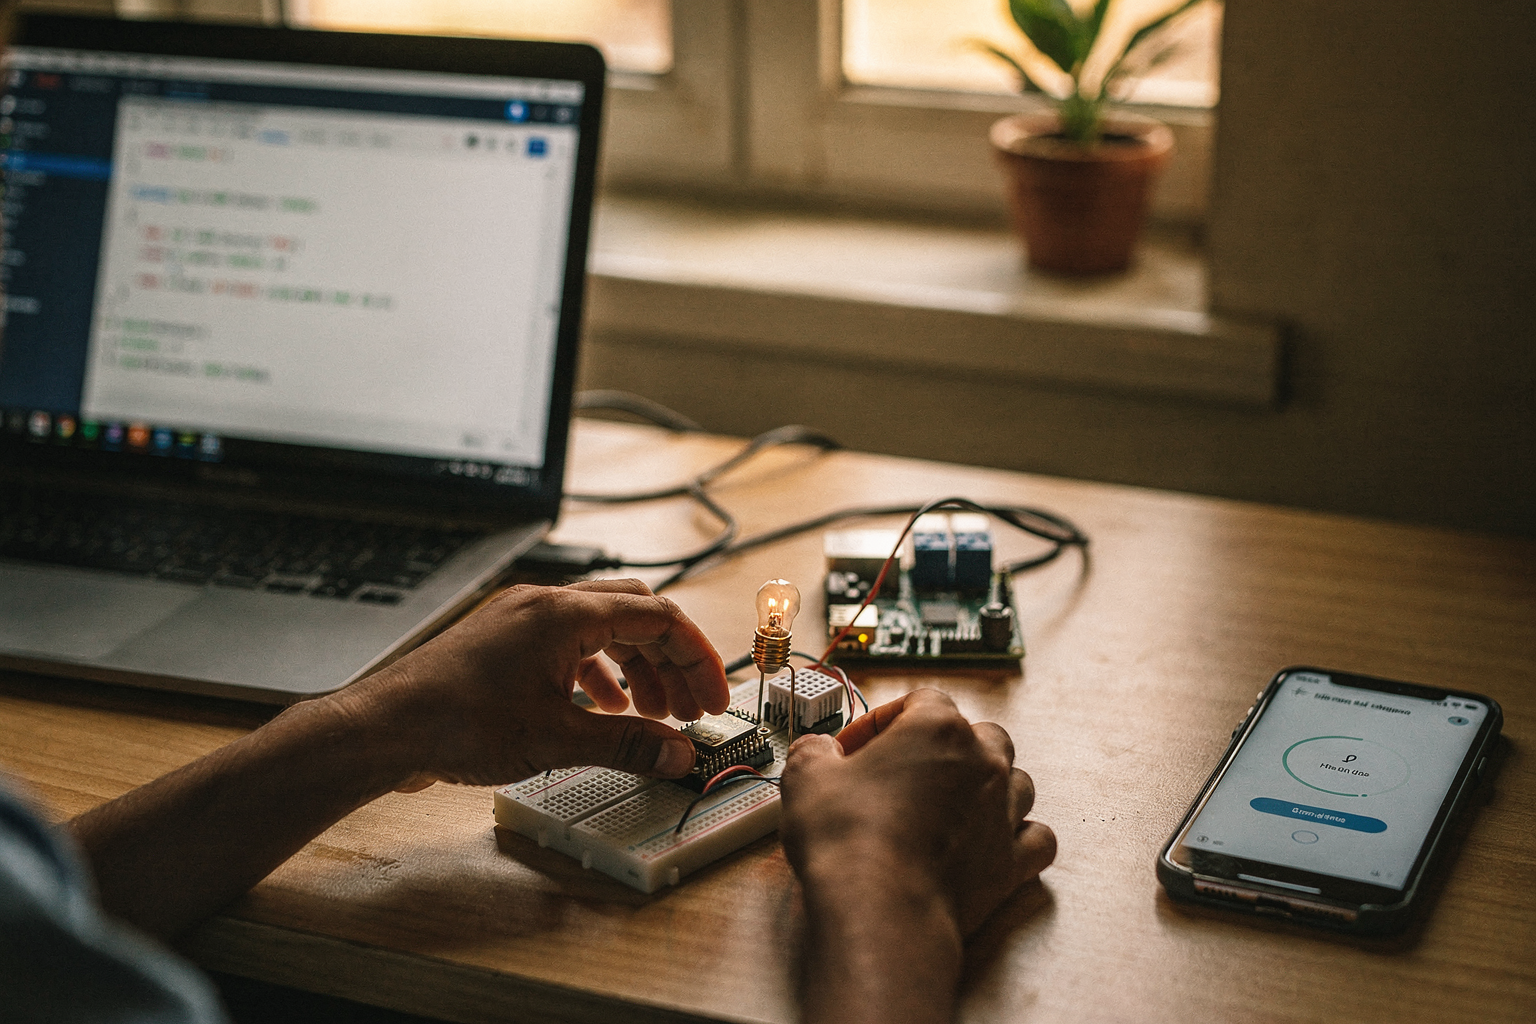
Step 1: Setting Up Raspberry Pi
First, let's prepare our Raspberry Pi for the smart home project:
-
Install Raspberry Pi OS:
CodeTecnoMate# Download and flash Raspberry Pi OS Lite (64-bit) wget https://downloads.raspberrypi.org/raspios_lite_64/images/raspios_lite_64-2023-05-26/2023-05-26-raspios-bullseye-arm64-lite.img.xz -
Enable Serial Communication: Edit the config file:
CodeTecnoMatesudo nano /boot/config.txt # Add these lines: dtoverlay=disable-bt enable_uart=1 core_freq=250 -
Install Required Python Packages:
CodeTecnoMateimport os os.system('sudo apt update && sudo apt upgrade -y') os.system('sudo pip3 install flask paho-mqtt requests') os.system('sudo pip3 install adafruit-circuitpython-dht adafruit-circuitpython-requests')
Step 2: Programming the ESP32
Here's the core code for our ESP32 controller that will handle all the sensor readings:
#include <WiFi.h>
#include <ArduinoJson.h>
#include <DHT.h>
#include <Ultrasonic.h>

#define DHT_PIN 4
#define DHT_TYPE DHT22
#define TRIGGER_PIN 13
#define ECHO_PIN 12
#define PIR_PIN 2

DHT dht(DHT_PIN, DHT_TYPE);
Ultrasonic ultrasonic(TRIGGER_PIN, ECHO_PIN);

// WiFi credentials
const char* ssid = "YourWiFiSSID";
const char* password = "YourWiFiPassword";

void setup() {
  Serial.begin(115200);
  dht.begin();
  pinMode(PIR_PIN, INPUT);

  // Connect to WiFi
  WiFi.begin(ssid, password);
  Serial.println("Connecting to WiFi...");

  while (WiFi.status() != WL_CONNECTED) {
    delay(500);
    Serial.print(".");
  }

  Serial.println("\nWiFi connected!");
  Serial.print("IP address: ");
  Serial.println(WiFi.localIP());
}

void loop() {
  // Read sensor values
  float humidity = dht.readHumidity();
  float temperature = dht.readTemperature();
  long distance = ultrasonic.timing();
  distance = ultrasonic.convert(distance, Ultrasonic::CM);

  int pirState = digitalRead(PIR_PIN);

  // Create JSON object
  StaticJsonDocument<200> doc;
  doc["temperature"] = temperature;
  doc["humidity"] = humidity;
  doc["distance"] = distance;
  doc["motion"] = pirState;

  // Send data to Raspberry Pi
  serializeJson(doc, Serial);
  Serial.println();

  delay(2000);
}
Step 3: Setting Up the Raspberry Pi Python Server
Now, let's create the main application on Raspberry Pi:
from flask import Flask, render_template, jsonify
import serial
import threading
import json
import atexit
Ready to start building?
Explore our collection of DIY kits and components. All project components mentioned in this blog are available in our store.
Browse All Projects