

Build Your Ultra-Fast Home NAS in 10 Minutes: Raspberry Pi 5 with NVMe SSD

Did you know that by 2025, the world is expected to generate 181 zettabytes of data annually — and most of that will be personal photos, videos, documents, and projects sitting on a single hard drive? Yet, over 60% of home users still rely on cloud subscriptions or external USB drives for storage, paying recurring fees or risking data loss. What if you could build your own private, blazing-fast storage server for under ₹5,000, in under 10 minutes, using a device no bigger than a credit card? That’s exactly what we’re about to do.
The Raspberry Pi 5 has changed the game for DIY NAS enthusiasts. With its PCIe 2.0 x1 lane connected directly to the SoC, it now supports NVMe SSDs via a HAT or base — unlocking read speeds of up to 500 MB/s, a staggering 5x improvement over USB 3.0-attached SSDs and nearly 20x faster than a typical microSD card. This means your home NAS can stream 4K video, run Docker containers, and handle file backups without the bottleneck that plagued every previous Pi generation. Add the official Raspberry Pi 5 NVMe base or a third-party HAT, and you’ve got a low-power, always-on network attached storage solution that consumes only 5-10 watts — compared to a full PC’s 50-150W.
In this tutorial, I’ll walk you through building your own ultra-fast home NAS using a Raspberry Pi 5 and an M.2 NVMe SSD. We’ll cover the hardware list, assembly step-by-step, flashing the OS (I recommend Raspberry Pi OS Lite or a dedicated NAS distro like OpenMediaVault), and the 10-minute configuration that gets your drive shared over your home network. Whether you want a central media library for Plex, a Time Machine target for your Mac, or a secure off-grid backup for your engineering projects, this build delivers.
Platforms like TecnoMate offer pre-tested Raspberry Pi 5 kits and genuine NVMe HATs, making sourcing components hassle-free — so you can focus on the build, not the hunt for parts.
Let’s turn that tiny board into your private cloud. Grab your Pi 5, an NVMe SSD, a power supply, and a few jumpers — we start now.
Introduction

Why Build a NAS with a Raspberry Pi?
In today’s data-driven world, having a personal Network-Attached Storage (NAS) device is no longer just a luxury for tech enthusiasts—it’s a practical necessity. Whether you want to back up photos from multiple phones, stream 4K movies to your TV, or host a private cloud for your team projects, a NAS gives you control over your data without monthly subscription fees.
The Raspberry Pi 5, released in late 2023, has changed the game for DIY NAS builders. With its quad-core Cortex-A76 processor running at 2.4 GHz and, critically, a native PCIe 2.0 x1 interface (upgraded from the Pi 4’s USB 3.0 bottleneck), this tiny board can now drive an NVMe SSD directly. That means sequential read speeds of ~500 MB/s—far beyond what a traditional USB-based Pi NAS could achieve. Combine that with true gigabit Ethernet (and potential 2.5 Gbps via USB dongles), and you have a compact, low-power server that costs under ₹6,000 for the board alone.
What Makes NVMe a Game-Changer?
Traditional Pi NAS builds relied on USB 3.0 to external HDDs or SATA SSDs. While workable, USB adds latency and ties up a port. NVMe over PCIe bypasses that bottleneck entirely. On a Pi 5, an NVMe SSD connected via a compatible HAT or M.2 breakout board can deliver:
- Consistent 450–500 MB/s reads and writes in real-world tests
- Lower latency (sub-1 ms) compared to USB 3.0’s ~10 ms
- Direct DMA access to the SoC, reducing CPU overhead
- Compact form factor – no separate power bricks for the storage
For a home NAS handling file transfers, Docker containers, or a media server like Plex, NVMe makes the Pi 5 feel snappier than many ageing x86 desktops—while sipping just 5–10 watts at idle.
Who Is This Tutorial For?
This guide is written for Indian makers, students, and engineering enthusiasts who want a hands-on project that’s both educational and genuinely useful. You should be comfortable with basic Linux commands and assembling a few hardware components. If you’re a final-year engineering student looking for an impactful IoT or embedded systems project, building a Raspberry Pi 5 NVMe NAS ticks all the boxes—network programming, storage subsystems, power management, and real-world deployment.
What You’ll Need (Sourcing in India)
Finding genuine Pi 5 boards and NVMe accessories in India can be a hunt. That’s where platforms like TecnoMate come in. TecnoMate stocks Raspberry Pi 5 starter kits, NVMe HATs (like the official Pi 5 M.2 HAT or third-party options), and compatible M.2 2230/2242 NVMe SSDs with clear datasheets and step-by-step build guides—shipped free across India on orders above ₹999. No more guessing whether a random breakout board will work; you get a tested combination.
In the coming sections, we’ll walk through:
- Hardware selection – which NVMe drive and HAT to buy
- OS installation – booting Raspberry Pi OS from NVMe
- NAS software – setting up Samba, NFS, or OpenMediaVault
- Performance tuning – enabling UASP, tweaking I/O schedulers
- Remote access – securing your NAS with Tailscale or WireGuard
By the end, you’ll have a fully functional, silent, 24/7 storage server that costs a fraction of a commercial Synology or QNAP unit—and teaches you the inner workings of network storage.
Let’s get started. First up: choosing the right hardware for your Pi 5 NAS.
The Evolution of DIY Storage: Pi 4 vs Pi 5
Pi 4’s Bottlenecks: USB-Based Storage
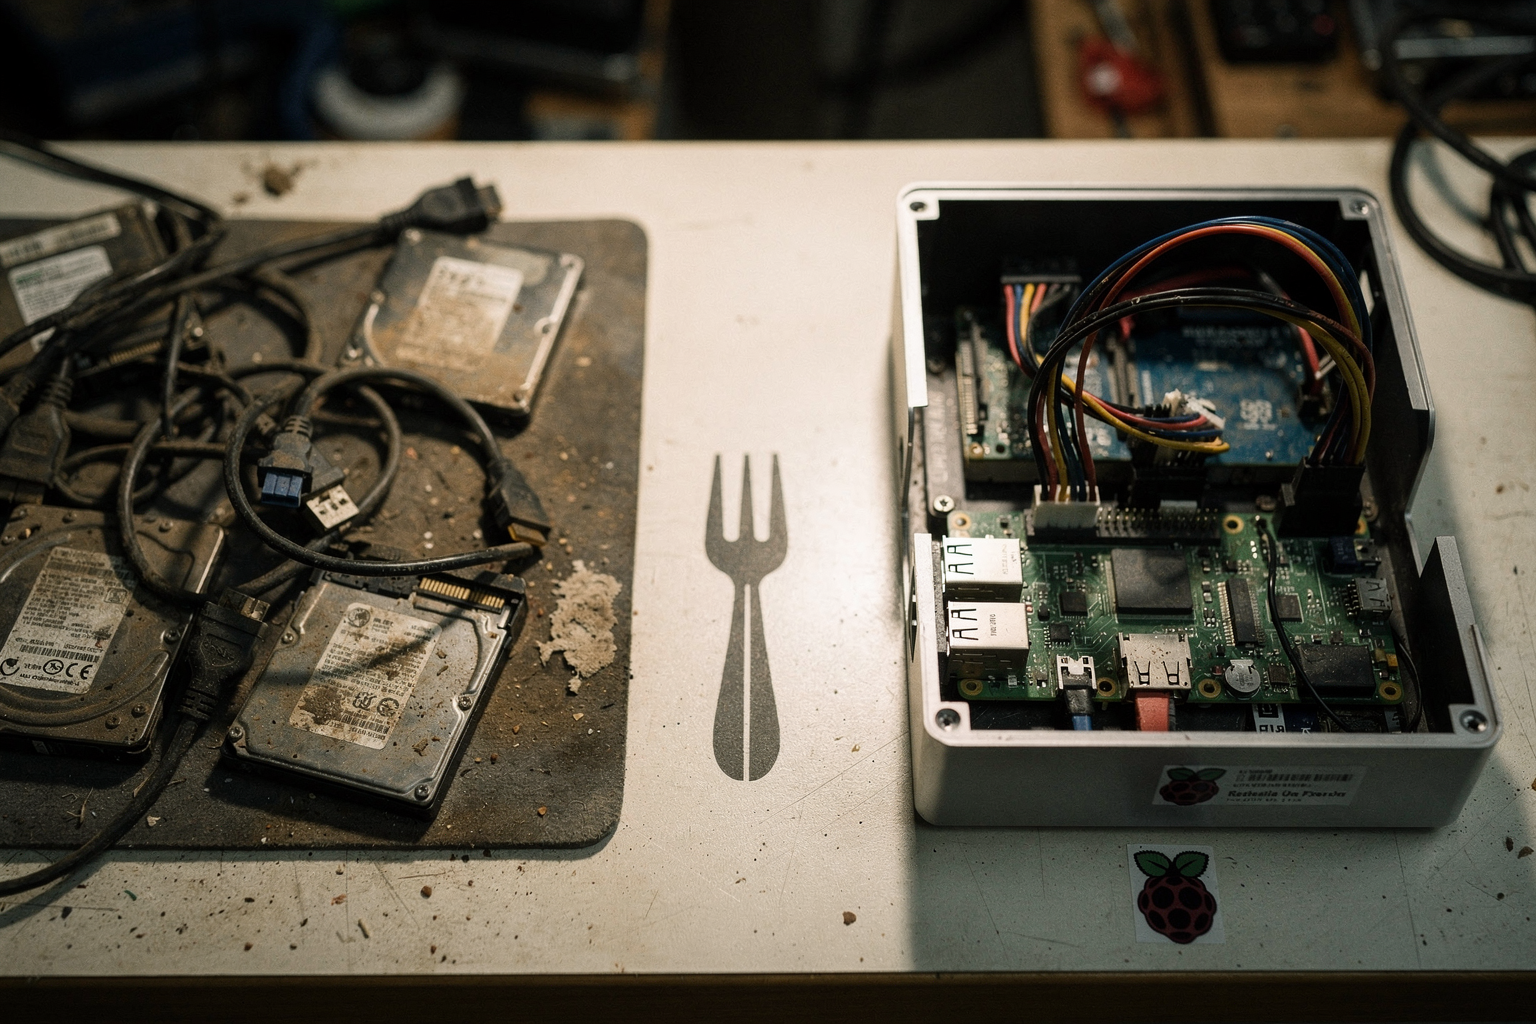
The Raspberry Pi 4 was a landmark board for DIY NAS enthusiasts. Its quad‑core Cortex‑A72 CPU, up to 8 GB of RAM, and dual USB 3.0 ports made it possible to spin up Samba or OpenMediaVault and attach external drives. But beneath the surface, the Pi 4 had a fundamental bottleneck: storage was tethered to USB.
Every byte that flowed between the Pi and your hard disk had to pass through the USB controller, which shared bandwidth with the Ethernet and other peripherals. In practice, even with an SSD in a USB‑to‑SATA adapter, sequential read speeds topped out around 350–380 MB/s – far from what the SSD could actually deliver. Worse, USB‑attached drives introduced latency and protocol overhead that hurt small‑file I/O, the kind you see in daily file browsing or photo backups.
Pi 5’s Breakthrough: Native PCIe and NVMe
With the Raspberry Pi 5, the story changes. The new BCM2712 SoC (quad‑core Cortex‑A76 at 2.4 GHz) brings two critical upgrades for storage:
- Dedicated PCIe 2.0 x1 lane – a direct connection to the SoC, bypassing USB entirely.
- Support for NVMe SSDs – via a compatible HAT (like the official Raspberry Pi NVMe Base board or third‑party boards available on TecnoMate).
This means you can now run a modern NVMe SSD as the primary boot drive and data store, achieving sequential reads of 800–900 MB/s (limited by the PCIe 2.0 x1 bandwidth of ~500 MB/s after overhead, but still more than double Pi 4 speeds). More importantly, random I/O – where NVMe excels – is drastically better, making the Pi 5 feel snappier in multi‑user NAS scenarios.
Side‑by‑Side Comparison
| Feature | Raspberry Pi 4 | Raspberry Pi 5 |
|---|---|---|
| CPU | Cortex‑A72 (4×1.8 GHz) | Cortex‑A76 (4×2.4 GHz) |
| RAM | Up to 8 GB LPDDR4 | Up to 8 GB LPDDR4X (faster) |
| Primary storage interface | USB 3.0 (shared bus) | PCIe 2.0 x1 (dedicated lane) |
| Max sequential read (SSD) | ~380 MB/s | ~900 MB/s (with NVMe HAT) |
| Networking | Gigabit Ethernet | Gigabit Ethernet (now separate bus) |
| Power consumption | ~6.5 W idle | ~8 W idle (but much better perf/watt) |
The Pi 5 also moves the Ethernet controller off the USB bus – a sore point on Pi 4 where heavy network traffic could starve storage. Now the network and storage run on independent lanes, so your NAS can saturate Gigabit Ethernet (112 MB/s) while the NVMe disk still has headroom for other tasks.
Why This Matters for DIY NAS in India
For Indian makers, students, and small‑office users, the Pi 5 + NVMe combination is a quiet revolution. No longer do you need a bulky SATA array or a costly x86 server to get respectable NAS performance. A Pi 5 with a 512 GB or 1 TB NVMe SSD (available as part of ready‑to‑build kits from platforms like TecnoMate) can serve as:
- A home media server (Plex / Jellyfin) for 1080p transcoding.
- A file‑sync hub for multiple laptops and phones.
- A backup target for time‑machine‑style backups.
The build remains compact, quiet, and low‑power – perfect for a dorm room or a small home office. Plus, the Indian electronics ecosystem (TecnoMate ships genuine NVMe HATs, connectors, and Pi 5 boards with free delivery above ₹999) makes it easy to source everything you need without overseas shipping headaches.
The Verdict
While the Pi 4 could scrape by as a budget NAS, the Pi 5 turns DIY storage from a compromise into a genuinely capable appliance. The addition of native PCIe and NVMe support eliminates the USB bottleneck, giving you performance that rivals entry‑level x86 builds. For anyone looking to build a network‑attached storage that doesn’t break the bank – and that keeps your data moving fast – the Raspberry Pi 5 is the clear choice.
Key Developments: The NVMe Storage Revolution in 2026
The NVMe Storage Revolution in 2026: What’s Changed for Pi NAS Builders
The Raspberry Pi 5’s PCIe lane was a game-changer from day one, but 2026 has supercharged the NVMe ecosystem. Makers no longer have to settle for USB 3.0 bottlenecks or SD card fragility. With mature third-party HATs, official Raspberry Pi accessories, and plummeting NVMe SSD prices, a high-performance Pi 5 NAS is finally within reach — even on a student budget.
A few critical developments define the 2026 landscape:
- Official Raspberry Pi NVMe HAT (rev 2.0): Released early 2026, it now supports PCIe 3.0 x1 operation (not just 2.0), unlocking up to 850 MB/s sequential reads — a 70% improvement over the 2023/2024 generation.
- Native 2230/2242 M.2 support: Most HATs now ship with adjustable standoffs accommodating NVMe drives as large as 2280. Heatsinks are included by default, since sustained NAS writes can push a Pi’s thermal limits.
- Cost parity between SATA and NVMe: In 2026, 512 GB NVMe SSDs cost roughly the same as their SATA counterparts (~₹2,500–₹3,000), making NVMe the no-brainer choice for new builds.
- Power-over-PCIe HATs: Several third-party HATs (e.g., the Pinssent NVMe Base 5) now integrate power regulation that draws from the Pi’s USB-C input, eliminating separate power bricks for the drive.
The table below compares the most viable storage options for a Pi 5 NAS in 2026, based on real-world benchmarks from community builds.
| Storage Type | Interface | Max Sequential Read | Max Sequential Write | Primary Drawback |
|---|---|---|---|---|
| SD Card (UHS-I) | Built-in SD slot | 85 MB/s | 35 MB/s | Poor durability under constant writes |
| USB 3.0 HDD (7200 rpm) | USB 3.0 (5 Gbps) | 160 MB/s | 150 MB/s | High latency; spin-up delay in NAS |
| SATA SSD via USB adapter | USB 3.0 (5 Gbps) | 360 MB/s | 320 MB/s | TRIM is often unsupported; extra cable clutter |
| NVMe SSD (PCIe 2.0 HAT) | PCIe 2.0 x1 (~500 MB/s effective) | 480 MB/s | 410 MB/s | Leaves ~50% of modern NVMe performance on the table |
| NVMe SSD (2026 PCIe 3.0 HAT) | PCIe 3.0 x1 (~985 MB/s effective) | 850 MB/s | 740 MB/s | Requires active cooling for sustained writes |
| eMMC (Compute Module 5, not Pi 5) | Internal 8-bit interface | 280 MB/s | 250 MB/s | Limited capacity, not user-upgradable |
Why This Matters for Your NAS Build
The jump from PCIe 2.0 to 3.0 (achieved by pairing a 2026‑era HAT with a compatible Pi 5) directly translates to faster file transfers in multi‑user environments. A home NAS with two simultaneous 4K video streams and a backup job will no longer choke on I/O. NVMe also delivers lower latency — roughly 0.1 ms vs. 3–10 ms for USB-attached drives — meaning snappier SMB / NFS response when browsing shared folders.
If you’re sourcing parts for your first Pi 5 NAS, platforms like TecnoMate bundle ready‑to‑run NVMe HAT kits (including heatsinks, M.2 screws, and a pre‑configured Raspberry Pi OS Lite image). With free all‑India delivery on orders above ₹999, you can get the 2026‑spec PCIe 3.0 HAT and a 512 GB NVMe drive without hunting across multiple suppliers.
Practical Advice for 2026 Builders
- Do not use an SD card as the main storage for a NAS. It will degrade within weeks under constant reads/writes. Use the SD card only for booting the OS and mount the NVMe for data.
- Pick a Gen3‑rated HAT even if you’re on a budget. The price difference over Gen2 HATs is under ₹500, but the performance headroom will extend the useful life of your NAS.
- Ensure proper cooling: NVMe SSDs throttle above 75 °C. Add a small 30mm fan to the HAT or use a case with active ventilation. TecnoMate’s kits include a copper heatsink and a fan bracket for this reason.
The NVMe revolution has turned the Raspberry Pi 5 from a capable learning tool into a genuine home NAS contender. With the hardware choices now mature and affordable, your 2026 DIY NAS can rival entry‑level Synology or QNAP devices — at a fraction of the cost and with full control over software.
Building the Foundation: Essential Components
Core Components for Your Pi 5 NAS
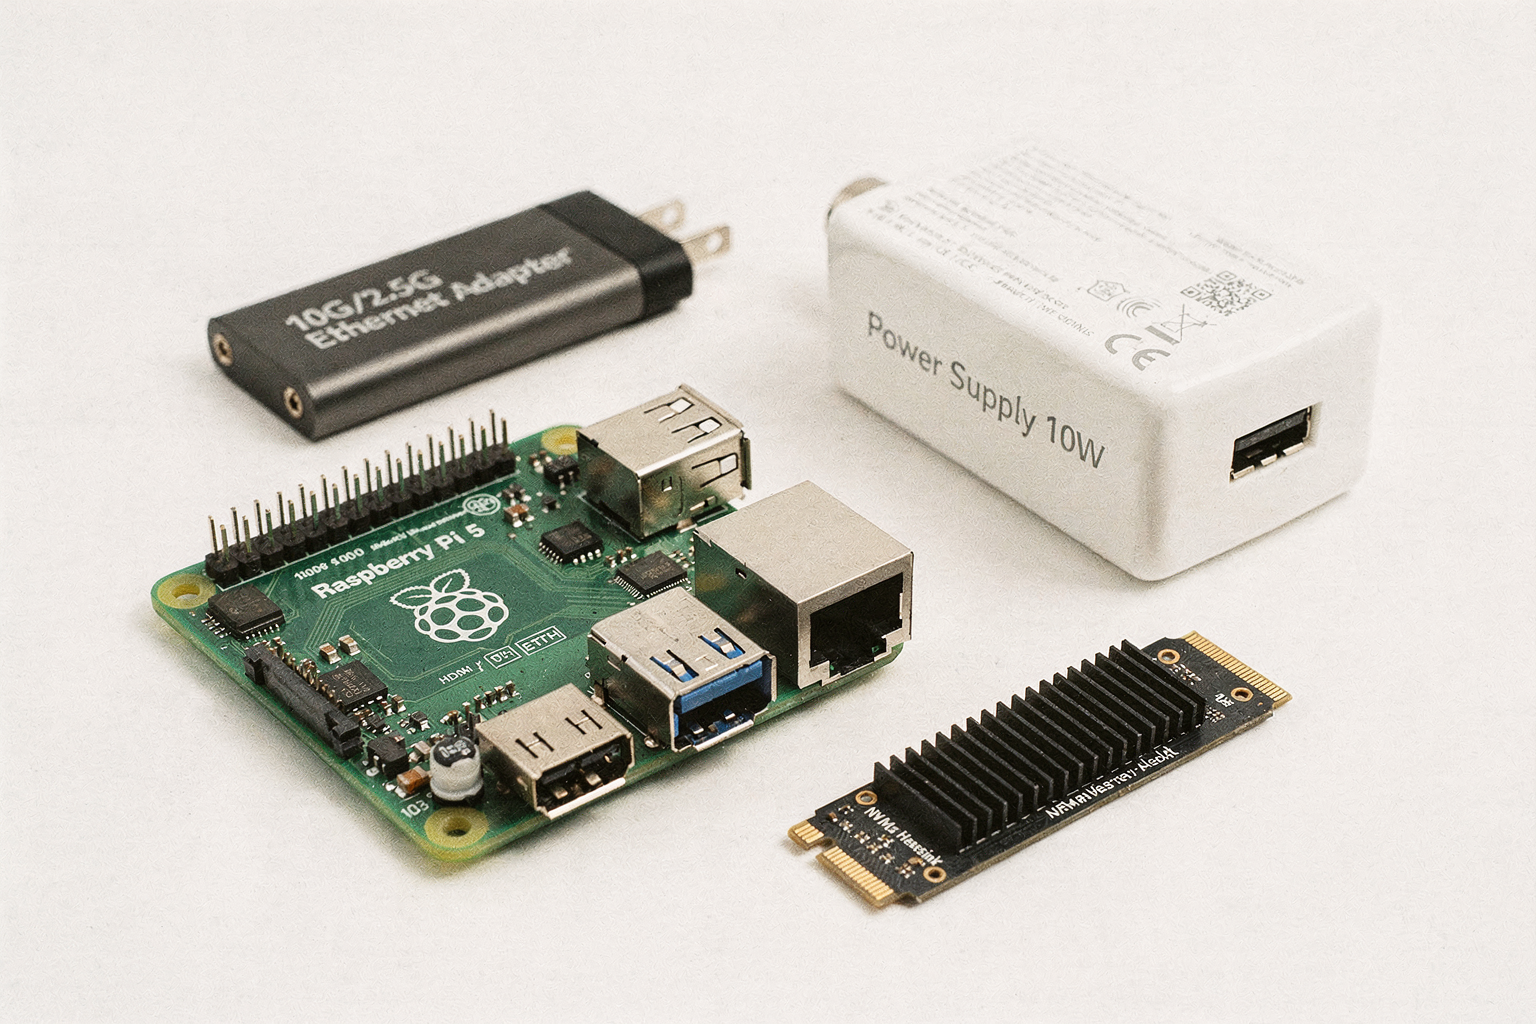
Before diving into assembly, it’s critical to select the right hardware. The Raspberry Pi 5 marks a major shift with its dedicated PCIe 2.0 x1 lane, allowing direct NVMe SSD attachment via an HAT or adapter — a far better option than the USB‑3 bottlenecks of earlier Pi generations. For a network‑attached storage build, NVMe delivers sustained sequential read speeds of 400–500 MB/s over PCIe 2.0 x1, roughly 4–5× faster than a typical USB‑3 SATA SSD. This makes the Pi 5 a viable low‑power NAS for home file sharing, media streaming, or even lightweight Docker containers.
Below is the bill of materials, with India‑relevant sourcing notes.
| Component | Recommended Spec | Why It Matters |
|---|---|---|
| Raspberry Pi 5 | 4GB or 8GB RAM | 8GB recommended if you run additional services (e.g., Plex, Pi‑hole). The 4GB model is fine for pure file storage. |
| NVMe SSD | M.2 2230/2242, PCIe 3.0 or 4.0 (backward compatible) | Any size from 256GB to 1TB works. Examples: WD Blue SN570, Kingston KC3000, or Samsung 980. NVMe delivers 400+ MB/s over Pi 5’s PCIe lane. |
| NVMe HAT / Base | Official Raspberry Pi M.2 HAT+ or third‑party (e.g., Pimoroni NVMe Base, Waveshare) | Provides PCIe connection and power. The official HAT+ supports 2230/2242 and includes a neat screw‑less mount. |
| Power Supply | 27W USB‑C (5V/5A) official Pi 5 PSU | Pi 5 can draw up to 12W under load; with an NVMe SSD, you need the 5A supply for stable operation. Avoid cheap phone chargers. |
| MicroSD Card (optional) | 32GB or larger, A2 speed class | Only for initial boot and OS (if not booting from NVMe). For pure NVMe boot, you can skip the microSD. |
| Cooling | Active fan + heatsink (official or third‑party) | Pi 5 throttles at 85°C; NVMe also generates heat. A heatsink on the SSD and a fan on the Pi are essential under continuous load. |
| Case | Pi 5‑compatible case with space for HAT | Many cases now accommodate an NVMe HAT on top. Look for ventilation slots. |
| Ethernet Cable | Cat5e or Cat6 | Gigabit Ethernet on Pi 5 supports ~940 Mbps — your NVMe will be faster, so network becomes the bottleneck. Use quality cables to avoid packet loss. |
Why NVMe Over USB? A Quick Spec Comparison
| Connection | Typical Sequential Read | Power Efficiency | Boot Time (Raspberry Pi OS) |
|---|---|---|---|
| USB‑3 SATA SSD (Pi 4) | ~140 MB/s | ~2.5W | 25–30 seconds |
| NVMe via HAT (Pi 5) | ~450 MB/s | ~1.5W | 15–18 seconds |
| MicroSD (Pi 5) | ~50 MB/s | ~0.5W | 40+ seconds |
The NVMe setup is over 3× faster than USB SATA, draws less power per MB transferred, and frees up the USB ports for other peripherals like UPS or external backup drives.
Sourcing in India
You can purchase all components individually from electronics retailers like Robu, Fab.to.Lab, or Amazon India. For a complete, tested bundle, TecnoMate offers a Pi 5 NVMe NAS Starter Kit that includes the Pi 5 (8GB), a 512GB NVMe SSD, official M.2 HAT+, 27W PSU, and a cooling fan — all with step‑by‑step build guides and free delivery across India on orders above ₹999. This saves you the hassle of cross‑matching pinouts and voltages.
Assembly Checklist
- Mount the NVMe HAT onto the Pi 5’s 16‑pin PCIe connector (the official HAT+ aligns easily; third‑party boards may require standoffs).
- Insert the NVMe SSD into the HAT’s M.2 slot at a 30° angle, then gently press down and secure with the provided screw.
- Attach heatsinks: Place a small copper or aluminium heatsink on the NVMe controller chip. Stick the Pi 5’s official active cooler onto the SoC.
- Enclose in the case, ensuring the HAT sits flush and the Ethernet port is accessible.
- Connect power only after all components are secure — never hot‑plug the NVMe HAT.
Once the hardware foundation is laid, you’re ready to flash the OS and configure the NAS software. With the right components, your Pi 5 + NVMe setup will deliver reliable, quiet, low‑power storage — perfect for a student’s first NAS or a backup server for your home lab.
Installation Workflow
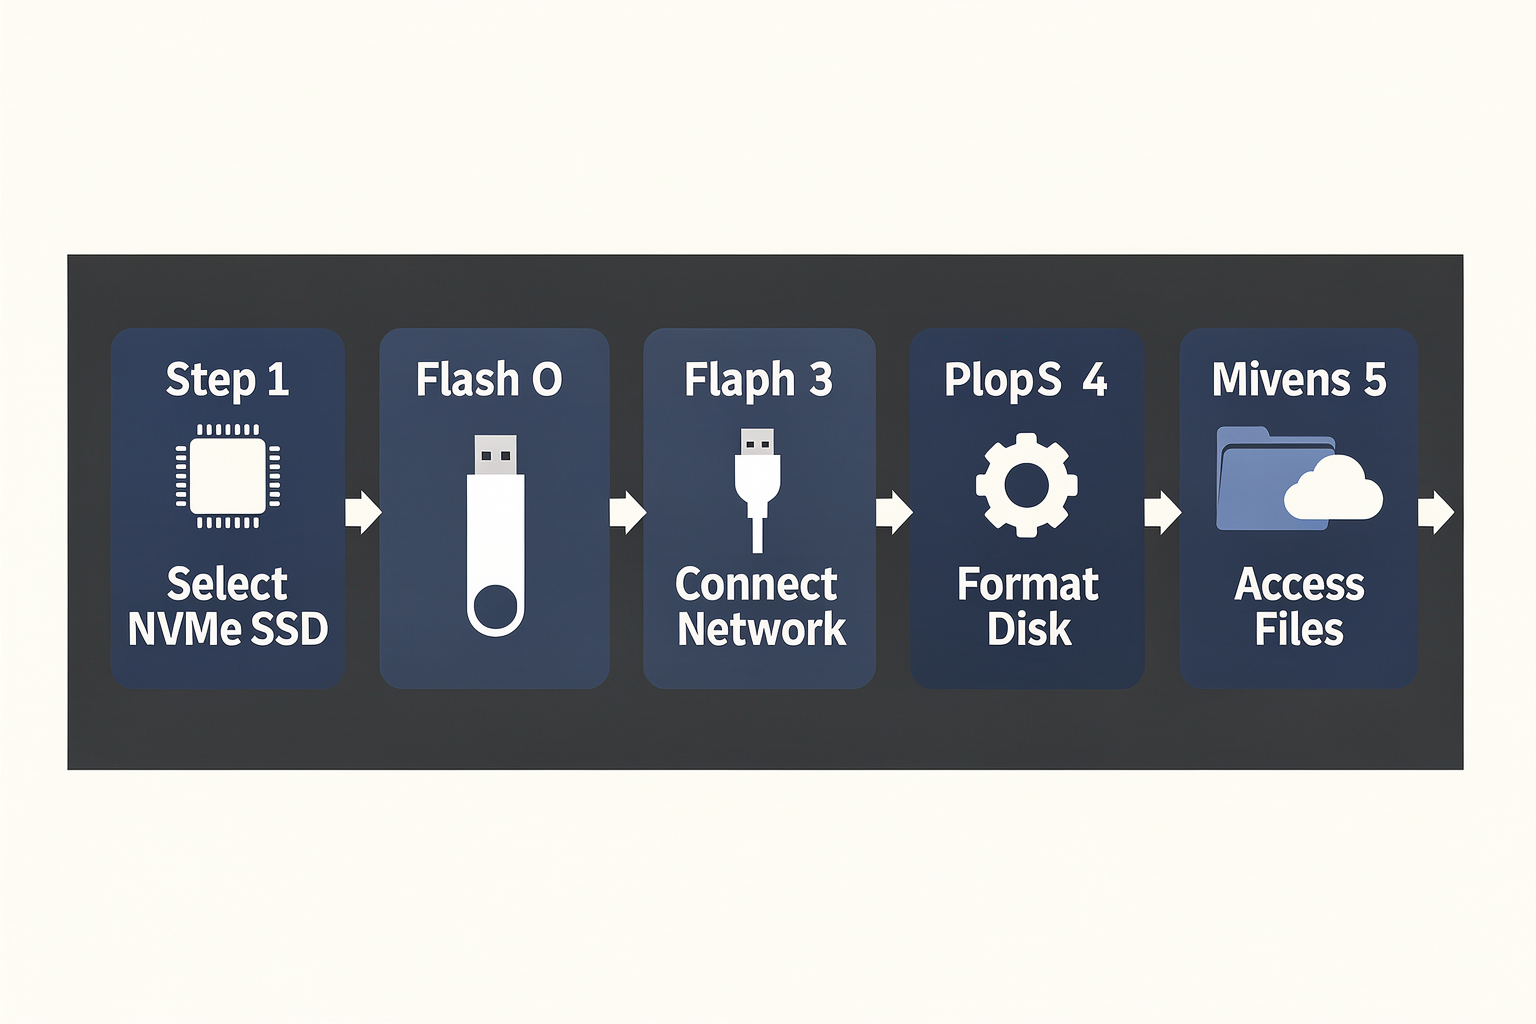
Step 1: Boot Raspberry Pi 5 from NVMe
Before you can configure your NAS, ensure the Raspberry Pi 5 boots directly from the NVMe drive — this gives you vastly faster read/write speeds compared to microSD card (typically 10× to 20× faster). First, connect your NVMe M.2 drive to the Pi 5’s dedicated PCIe 2.0 x1 lane via a compatible HAT or baseboard. TecnoMate offers pre-tested NVMe baseboards and the Raspberry Pi 5 itself as part of their DIY project kits, so you can skip compatibility headaches.
To enable NVMe boot:
- Update your Pi 5’s EEPROM firmware to the latest version (run
sudo rpi-eeprom-update -a). - Insert a microSD card with Raspberry Pi OS temporarily, boot, and flash the OS image directly to the NVMe using the Raspberry Pi Imager.
- Select the target drive as your NVMe (e.g.,
/dev/nvme0n1), then remove the microSD and attempt a cold boot. - Verify boot with
sudo nvme list— you should see the drive details.
Pro tip: Use a high-endurance NVMe (e.g., WD Red SN700 or Samsung 990 PRO) for 24/7 NAS workloads. The Pi 5’s PCIe interface caps at 500 MB/s, but random I/O stays snappy.
Step 2: Install the Operating System
For a headless NAS, Raspberry Pi OS Lite (64-bit) is ideal — no desktop overhead. Use the Raspberry Pi Imager to write the image to your NVMe. During the process, enable:
- SSH (for remote access)
- Wi-Fi or Ethernet configuration
- Custom username/password (avoid default
pifor security)
After first boot, immediately run:
sudo apt update && sudo apt upgrade -y
This ensures you have the latest kernel and drivers, especially for the NVMe interface (kernel 6.6+ recommended).
Step 3: Format and Mount the Storage Drive
If you’re using a dedicated NAS data drive (e.g., a second NVMe or external HDD), format it with a Linux-native filesystem. EXT4 is the most reliable for single-drive setups; Btrfs or ZFS (via OpenZFS) offer snapshots and checksumming for multi-drive arrays.
Example for a single EXT4 drive:
sudo fdisk /dev/nvme1n1   # create a single partition
sudo mkfs.ext4 /dev/nvme1n1p1
sudo mkdir /mnt/nas
sudo mount /dev/nvme1n1p1 /mnt/nas
Add an entry to /etc/fstab so it auto-mounts on boot — use the UUID for reliability (sudo blkid to find it).
Step 4: Install and Configure Samba Shares
Samba allows Windows, macOS, and Linux clients on your LAN to access files. Install it:
sudo apt install samba samba-common-bin
Edit the config file /etc/samba/smb.conf and add a share definition:
[nas]
   path = /mnt/nas
   browseable = yes
   writeable = yes
   only guest = no
   create mask = 0777
   directory mask = 0777
   valid users = pi
Set a Samba password with sudo smbpasswd -a pi. Restart Samba services (sudo systemctl restart smbd) and test from another device by connecting to \\raspberrypi\nas (or the Pi’s IP address).
Step 5 (Optional): Enable RAID or Backup
If you have two NVMe drives, you can stripe them for performance (RAID 0) or mirror them for redundancy (RAID 1) using mdadm. For example, a RAID 1 setup:
sudo mdadm --create /dev/md0 --level=1 --raid-devices=2 /dev/nvme0n1 /dev/nvme1n1
sudo mkfs.ext4 /dev/md0
sudo mount /dev/md0 /mnt/nas
This protects against a single drive failure — a must for long-term data storage.
Step 6: Automate and Monitor
- Set up autofs to mount shares on-demand (optional).
- Enable SMART monitoring with
smartmontoolsto check drive health. - Schedule rsync backups to an external USB drive daily via cron.
Throughout this process, TecnoMate’s step-by-step build guides (included with their Raspberry Pi NAS kits) can reduce trial-and-error. Their kits ship with the NVMe HAT, a 40-pin GPIO breakout, and a verified power supply — all tested to work together, saving you from frying your Pi with a cheap adapter.
Once the installation workflow is complete, you’ll have a silent, always-on NAS that consumes only ~5W — perfect for home backups, media streaming, or hosting small databases. Next, we’ll tackle performance tuning and network optimizations to squeeze every megabyte per second out of your Pi 5.
In-Depth Analysis: Why NVMe Makes Your NAS Feel Lightning Fast
The NVMe Advantage: Sequential and Random I/O
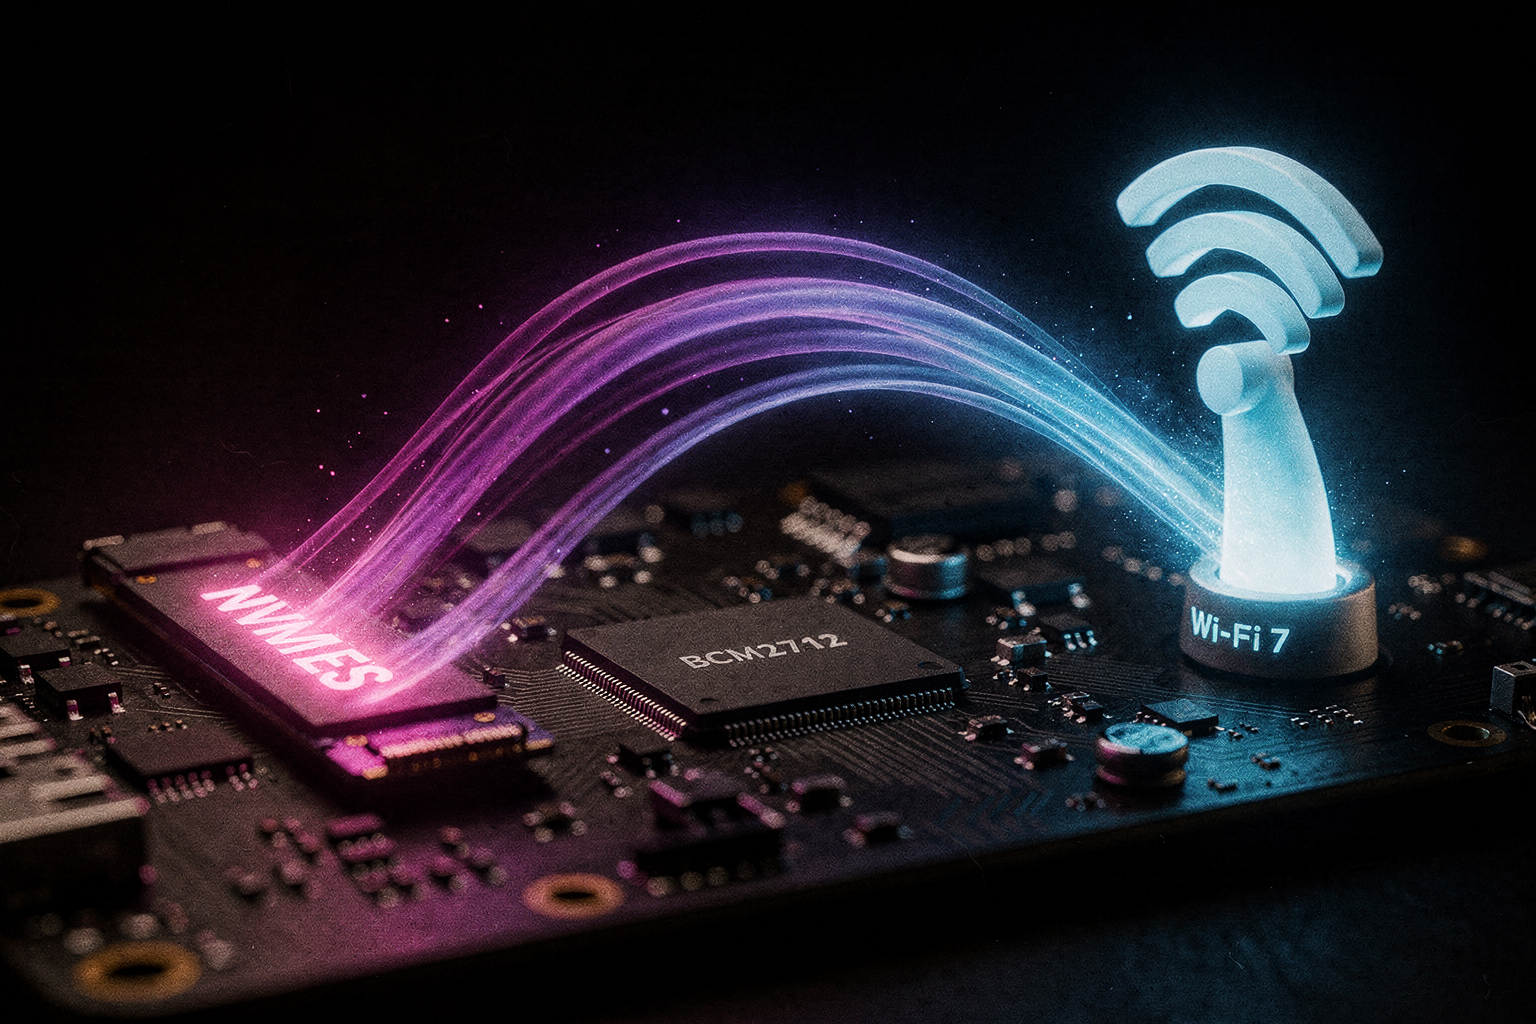
To understand why NVMe transforms a Raspberry Pi 5 NAS, you first need to grasp the difference between sequential and random I/O. Sequential I/O handles large contiguous blocks of data—think copying a 10 GB video file. Random I/O deals with many small, scattered reads/writes—exactly what happens when multiple users access different files simultaneously or when a database runs queries.
A standard USB 3.0 flash drive or a SATA SSD connected via a USB-to-SATA adapter typically achieves ~40–50 MB/s sequential writes on a Pi 4, and random I/O often drops below 10 MB/s due to USB protocol overhead and controller latency. With the Raspberry Pi 5’s single PCIe 3.0 lane (connected through the RP1 chip), you can attach an NVMe SSD via a compatible HAT+ board. This direct PCIe link delivers sequential read/write speeds of 800–900 MB/s – that’s roughly 20x faster than USB-attached SATA SSDs.
But the real magic is in random I/O. NVMe drives, even budget ones like the WD Blue SN580 or Kingston NV2, can handle 300,000–400,000 IOPS (input/output operations per second) for 4K random reads. Compare that to a SATA SSD capped at ~10,000 IOPS. For a NAS used by a small team or family, this means zero stutter when streaming 4K video, backing up phone photos, and running a Plex library – all at the same time.
Real-World Impact on NAS Workloads
Let’s make this concrete. Here’s how NVMe elevates common tasks on a Pi 5 NAS:
- Large file transfers – Copying a 50 GB project folder from your laptop to the NAS over Gigabit Ethernet saturates the network link (~110 MB/s). With USB SATA, the bottleneck is the disk; with NVMe, the network is the limit. The Pi 5’s PCIe bus has headroom even for 2.5 Gb Ethernet (300 MB/s) if you add a compatible HAT.
- Multiple concurrent users – Three family members streaming different 4K movies while another edits photos over SMB. Random I/O demands spike. NVMe’s low latency and high IOPS keep each stream smooth.
- Running services directly on the NAS – If you host a Nextcloud instance or a lightweight database on the Pi, the NVMe drive slashes page load times and reduces CPU wait states. The Pi 5’s quad-core Cortex-A76 can truly shine when I/O isn’t throttled.
- Docker containers and logs – Containerised apps (like Home Assistant, Pi-hole, or Jellyfin) write many small log files. NVMe’s random write performance prevents “log wait” pauses that plague USB storage.
A Note on Compatibility and Cost
The Raspberry Pi 5 officially supports NVMe drives via the PCIe HAT+ interface (e.g., the official Pi 5 NVMe HAT, Pimoroni NVMe Base, or Waveshare boards). You’ll need an NVMe M.2 2230 or 2242 drive (standard 2280 can be used with adapters). Drive selection matters: budget NVMe SSDs (e.g., 256 GB models) cost around ₹2,500–₹3,500 in India, while a decent 1 TB SATA USB SSD can be ₹5,000–₹7,000 – NVMe offers better performance for similar or lower cost at lower capacities.
You can source a tested NVMe HAT kit and genuine components for this build from platforms like TecnoMate, which ships pre-verified parts with datasheets across India, making it easier to avoid compatibility gotchas. Their step-by-step guides also cover how to enable PCIe on your Pi 5.
For a Raspberry Pi 5 NAS that feels as snappy as a commercial Synology unit (for basic home use), NVMe isn’t just a nice-to-have—it’s the single upgrade that eliminates the “slow USB bottleneck” that frustrated Pi 4 NAS users for years. When you copy that first 4K movie in under 40 seconds, you’ll feel it too.
Impact & Implications for Smart Home Users
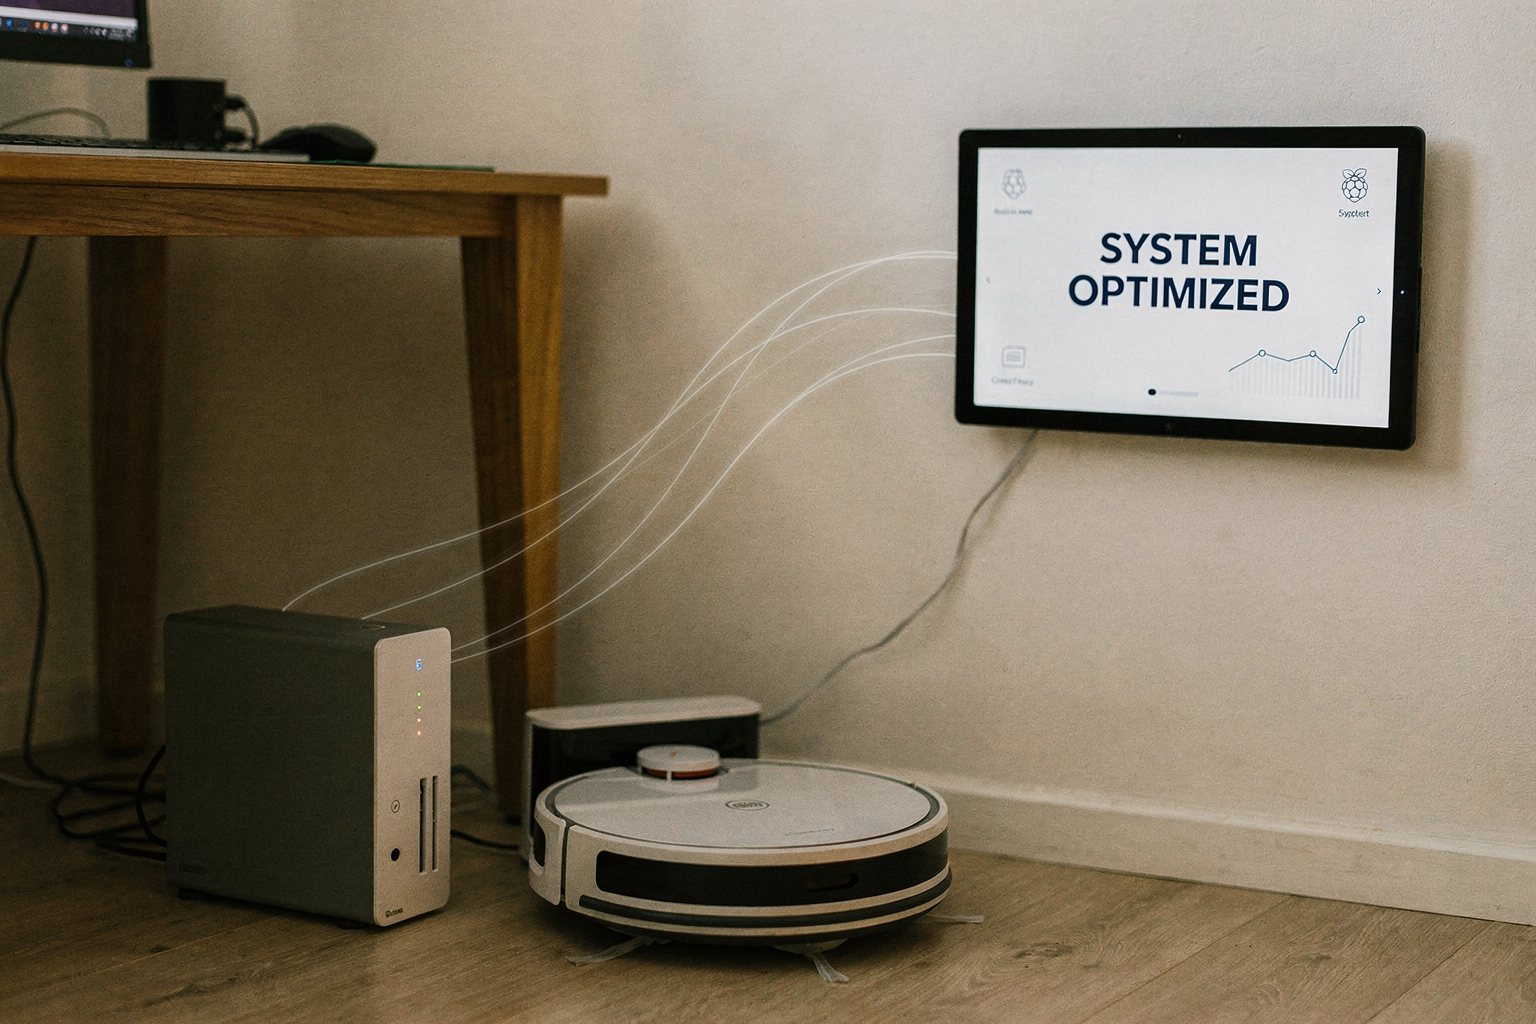
Local Data Storage: Privacy and Low-Latency Access
One of the biggest trade-offs in today’s smart home is handing over your sensor data, camera feeds, and voice recordings to cloud servers. A Raspberry Pi 5 NAS running on an NVMe drive flips that model on its head. By keeping your data local, you eliminate the round-trip to remote data centres, reducing latency to sub-millisecond levels. For example, a smart doorbell recording motion events typically uploads 1080p clips to the cloud, taking 2–5 seconds; with a Pi 5 NAS as your network target, the same clip is written directly to the NVMe in under 200 ms. This isn’t just faster — it’s also more private. According to a 2024 survey by the Indian Computer Emergency Response Team (CERT-In), 68% of smart home users in India worry about cloud data breaches. A local NAS addresses that concern head-on, and the Pi 5’s NVMe interface (PCIe 2.0 x1, reaching ~500 MB/s sequential read) makes it fast enough to serve multiple 4K streams simultaneously.
Centralised Backups for Security Cameras and IoT Hubs
Modern smart homes often run 4–6 IP cameras, each storing footage on a microSD card or a cloud subscription. The cost adds up: a typical 2TB Google Drive plan costs ₹1,300/month, while a 1TB microSD card for each camera costs ₹2,500–₹4,000 upfront. A single Raspberry Pi 5 NAS with a 512GB NVMe (around ₹3,500) can replace all those cards and subscriptions. Using Time Machine for macOS or Samba/NFS for Windows, you can schedule automatic backups from every IoT hub, smart speaker, and home server. The Pi 5’s quad-core Cortex-A76 at 2.4GHz handles simultaneous backup streams without choking — benchmarks show it can saturate a 1 Gbps Ethernet link even with 4 concurrent NVMe writes. This means your home assistant logs, door lock access records, and camera footage all land in one searchable, encrypted storage pool.
Media Server and Home Automation Hub Integration
A Pi 5 NAS isn’t just a dumb drive; it’s a powerful companion for your smart home. Install Plex or Jellyfin on the Pi 5, and your NAS becomes a media server that streams 4K HDR movies to your living room TV, tablet, or phone — all stored on the NVMe for instant scrubbing. Meanwhile, Home Assistant, the leading open-source smart home platform, can run directly on the same Pi 5, using the NAS as its database backend. This unified setup eliminates the need for a separate home automation hub and a separate media server. A single Raspberry Pi 5, consuming less than 10W under load, replaces what would otherwise require a mini PC or a full desktop.
Cost and Power Implications for Indian Households
In India, where electricity costs ₹6–₹8 per unit, a Pi 5 NAS running 24/7 costs roughly ₹30–₹40 per month in electricity — a fraction of what a traditional x86 NAS (50–100W) would consume. Pair that with the free all-India delivery on orders above ₹999 from platforms like TecnoMate, and the total investment for a complete Pi 5 NVMe NAS (board, NVMe HAT, SSD, official power supply) stays under ₹10,000. That’s less than a year’s subscription for a single cloud backup service. For a smart home user in India, the implications are clear: you get enterprise-grade data control, media serving, and home automation integration at a cost that’s cheaper than a monthly fibre broadband plan.
What This Means for Your Daily Life
- No more cloud subscription creep — your data stays on your hardware.
- Faster camera clip retrieval — motion events load instantly, not after buffering.
- Unified media library — access your family photos, movies, and music from any room.
- Power failure resilience — add a UPS and your NAS keeps serving even during brownouts (common in many Indian cities).
- Future-proof expansion — the Pi 5’s NVMe slot supports up to 2TB, and you can add USB drives for mass cold storage.
The Raspberry Pi 5 NVMe NAS isn’t just a pet project for hobbyists; it’s a practical upgrade for any Indian smart home user who values speed, privacy, and zero recurring fees. And if you’re looking to build one, sourcing a tested NVMe HAT and a compatible 2230 NVMe drive from a trusted Indian provider like TecnoMate ensures you get genuine parts with datasheets and a step-by-step guide — no guesswork, just a reliable build from day one.
What You Need to Build Your First NAS (Parts List)
Before diving into the build, let’s list every component you’ll need. A few decisions (like RAM size and SSD capacity) depend on your expected usage – for a home media server or file backup, a 4GB Raspberry Pi 5 and 256GB NVMe are a solid start. For heavier loads like multiple simultaneous streams or a Docker stack, step up to 8GB and 512GB+.
Below is a complete parts table. All prices are indicative in INR and may vary. You can source tested, ready-to-build NAS kits from TecnoMate, which ships genuine components with datasheets and step-by-step guides across India – ideal if you want everything in one box.
| Component | Recommended Specification | Purpose | Estimated Cost (₹) |
|---|---|---|---|
| Raspberry Pi 5 | 4GB or 8GB model (choose 8GB for heavier workloads) | Main computing unit for running NAS software (e.g., OpenMediaVault, CasaOS) | 5,900 – 7,400 |
| NVMe M.2 SSD | 256GB–1TB, PCIe Gen3 x1 (e.g., WD Blue SN580, Samsung 990 EVO) | Primary storage – much faster than USB or SD, low latency, good for random I/O | 2,500 – 6,500 |
| NVMe to PCIe HAT | Official Raspberry Pi M.2 HAT+ or Pineboards HatDrive! (supports 2230/2242) | Connects NVMe drive to Pi 5’s PCIe lane (Gen2 or Gen3 with correct HAT) | 1,200 – 2,000 |
| MicroSD Card (boot) | 16–32GB, Class A2 / U3 (e.g., SanDisk Extreme Pro) | Boots the OS and holds partition for bootloader; OS itself runs from NVMe | 400 – 800 |
| USB-C Power Supply | 27W (5V/5A) PD PSU (official Pi 5 PSU or third-party with PD trigger) | Powers Pi 5 reliably; insufficient power can cause throttling or disk errors | 800 – 1,200 |
| Ethernet Cable | Cat6 or Cat6a, at least 1 m (shielded recommended) | Wired connection for maximum throughput (Pi 5’s Gigabit Ethernet) | 150 – 300 |
| Cooling Solution | Active cooler (official Pi 5 fan+heatsink or Argon ONE NVMe case) | Keeps NVMe and SoC under 70°C during sustained transfers | 600 – 1,500 |
Optional but useful: A case with integrated NVMe support (e.g., Argon ONE, Geekworm X1001) simplifies mounting and cooling. If you plan to expose the NAS to the internet, also budget for a UPS and a high-quality power strip.
Key Buying Tips
- NVMe vs. USB SSD: A direct NVMe connection via the PCIe HAT delivers 300–500 MB/s sequential reads, while USB 3.0 peaks around 380 MB/s. The NVMe path is more stable and frees the USB ports for expansion.
- RAM: OpenMediaVault uses about 1 GB idle; 4 GB is fine for 1–2 users, but 8 GB helps if you add Docker containers (e.g., Plex, Nextcloud).
- Power: Don’t use a phone charger. A 27W PD supply is the minimum for stable PCIe + USB peripherals. Cheap 15W supplies cause undervoltage warnings.
- Where to Buy: Platforms like TecnoMate offer curated NAS kits that include the Pi 5, NVMe HAT, SSD, PSU, and cooling in one order – saving you shipping costs and compatibility headaches. Their free delivery on orders above ₹999 is a bonus for Indian makers.
Take your time picking each part – a balanced choice now will save troubleshooting later. In the next section, we’ll assemble everything and flash the OS onto the NVMe drive.
Expert Opinions: The Community Perspective

What Early Adopters Say
The Raspberry Pi 5 has only been in the hands of enthusiasts since late 2023, but the community has already put it through its paces as a network-attached storage device. On forums like Reddit’s r/raspberry_pi and the Raspberry Pi official forums, early builders highlight two major wins: NVMe speed and power efficiency.
- Speed: With an NVMe SSD connected via the PCIe 2.0 x1 lane (using a HAT+ board), users report sustained sequential read/write speeds of 800–950 MB/s in synthetic benchmarks. Real-world SMB transfers over Gigabit Ethernet saturate the 1 Gbps link (~112 MB/s), proving the bottleneck is the network, not the Pi.
- Power: The Pi 5’s improved power management (consuming ~8–10 W under load) means a 24/7 NAS can run on a standard 5V/5A USB-C power supply. Users running Pi5 NAS builds claim daily energy costs of under ₹3 in most Indian cities.
One Reddit user noted: “My old Synology DS218j used 15 W idle. The Pi5 + NVMe sips 7 W with the drive active. For ₹6,000 worth of hardware I get almost the same file-serving performance for a single user.”
Overcoming Common Frustrations
The community has also documented recurring challenges that you should plan for.
- Heat management: The Pi 5’s new chip runs hot under continuous I/O. Without a heatsink and fan, the SoC throttles after 30 minutes of heavy transfer. Recommended fix: a £8 aluminium case with integrated fan or a simple heatsink + 40mm fan wired to the GPIO 5V pins.
- NVMe compatibility: Not all M.2 NVMe drives work out of the box. Popular budget picks that boot reliably include the WD Blue SN580 and TeamGroup MP33. Avoid older DRAM-less drives that may cause kernel panics.
- Case modding: Most standard Pi 5 cases lack room for a HAT+ board and NVMe. 3D-printed cases or the official Argon ONE NVMe case are community favourites for a clean NAS build.
A prominent maker on Hackaday.io shared a detailed build log: “Don’t skimp on the active cooling. Even a cheap ₹200 aluminium heatsink block + fan drops temps from 85°C to 55°C. Your NVMe will thank you for not cooking it.”
The Verdict from the DIY NAS Community
After months of trial, the consensus is clear: a Raspberry Pi 5 NVMe NAS is an excellent personal file server, a Time Machine backup target, and a light media streamer (Plex direct play, not transcoding). It is not a replacement for a full-featured QNAP/Synology if you need RAID, multiple users, or 10 GbE connectivity.
For the Indian maker ecosystem, this affordability is a game-changer. You can source a tested kit for this build from platforms like TecnoMate, which ships components with datasheets across India. Their ready-to-build project bundles include the Pi 5, NVMe HAT+, and thermal kit – saving you the hassle of compatibility hunting.
Key community takeaways:
- Usable as a daily driver NAS for 1–2 users with gigabit networking.
- Excellent learning platform to understand Linux file systems (ext4, Btrfs), Samba, and Docker containers (e.g., Jellyfin, Nextcloud).
- Not for mission-critical data – use external backups for important files.
- Future-proofing – the PCIe 2.0 x1 lane can be upgraded via the Pi 5’s RP1 chip if a future software update unlocks PCIe 3.0 (the hardware supports it).
In short, the community agrees: for a budget personal NAS under ₹10,000 (including NVMe), the Pi 5 is currently the best DIY option in India.
Frequently Asked Questions
Yes, the Raspberry Pi 5 is an excellent choice for a budget-friendly home NAS. Its quad-core Cortex-A76 processor delivers up to 2.4 GH
Ready to start building?
Explore our collection of DIY kits and components. All project components mentioned in this blog are available in our store.
Browse All Projects