

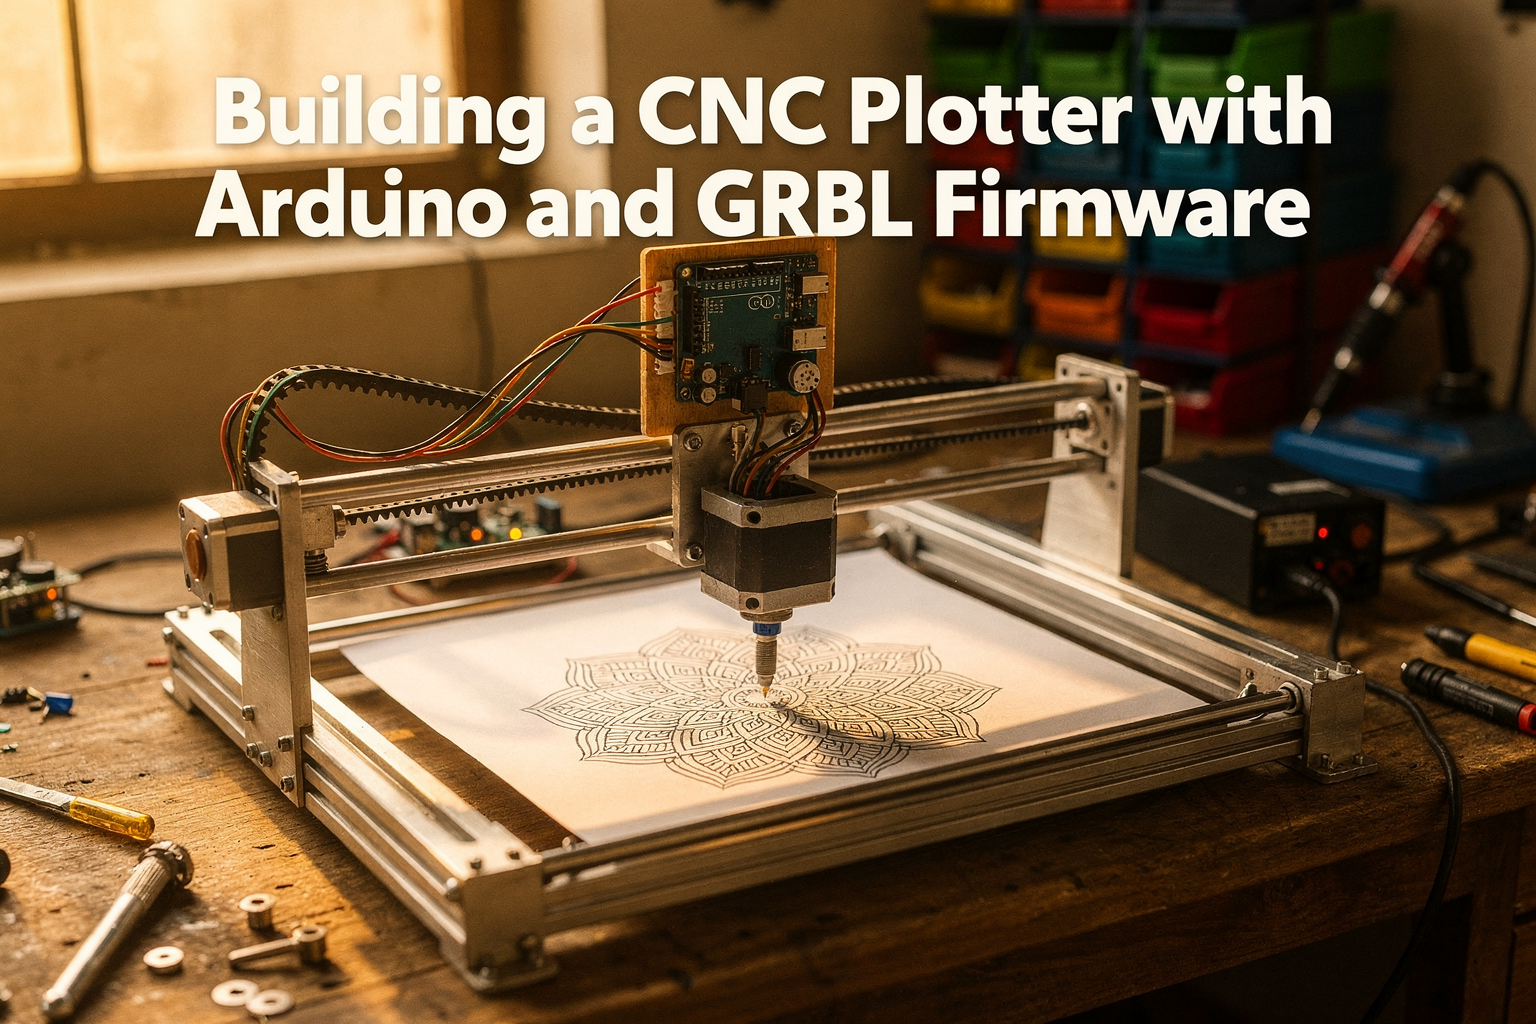
Introduction
Have you ever wanted to create precise drawings, carve designs into wood, or etch patterns onto metal? The world of CNC (Computer Numerical Control) machines has traditionally been expensive and complex, but what if I told you that you could build your own CNC plotter right here in India for under ₹3,000? This guide will walk you through the complete process of building a functional CNC plotter using Arduino and GRBL firmware - a perfect project for engineering students looking to dive into automation and precision manufacturing.
Building your own CNC plotter isn't just cost-effective; it's also an excellent learning experience that combines mechanical design, electronics, and programming. Whether you're working on a final year project, creating custom PCB traces, or just exploring the world of CNC, this project will give you the foundation you need to tackle more complex CNC projects.
Let's dive into the exciting world of CNC building and create something amazing with components that are easily available across India!
Components Required
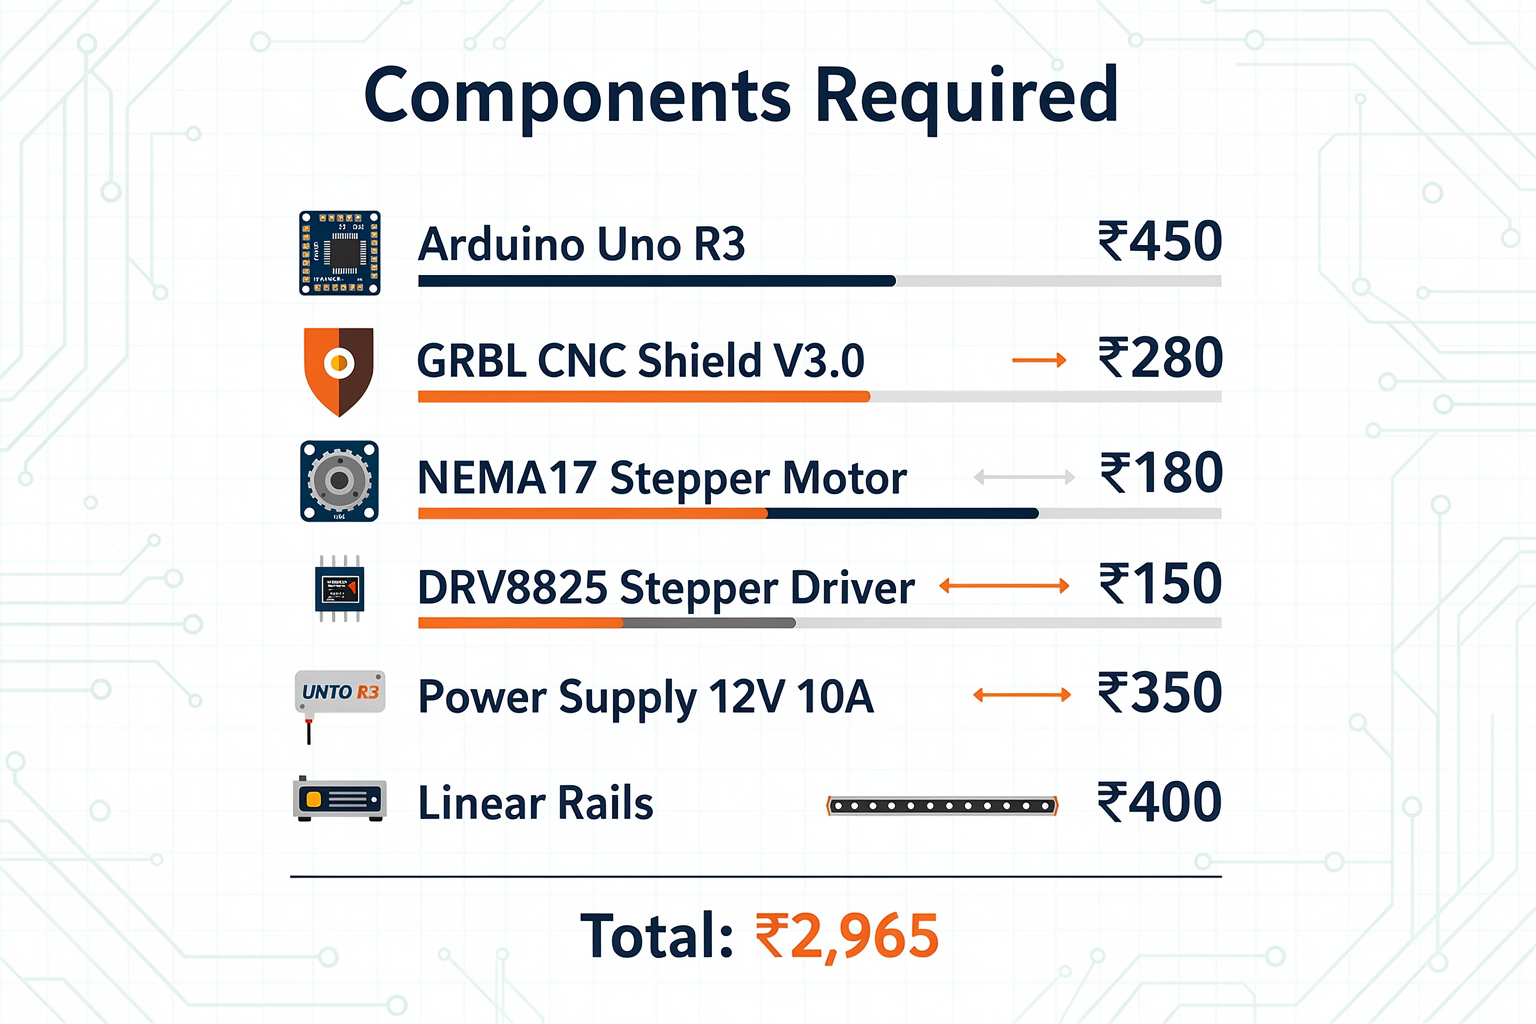
Before we begin the building process, let's gather all the necessary components. Here's a comprehensive list with prices available at TecnoMate stores across India:
| Component | Specification | Price (₹) |
|---|---|---|
| Arduino Uno R3 | 16MHz, ATmega328P | 450 |
| GRBL CNC Shield | V3.0, 4-axis | 280 |
| NEMA17 Stepper Motor | 1.8°, 1.5A | 180 |
| DRV8825 Stepper Driver | Microstepping, 1/16 | 150 |
| Power Supply | 12V 10A DC | 350 |
| Linear Rails | 300mm, 6mm diameter | 400 |
| Stepper Motor Coupler | 3mm bore | 60 |
| Ball Bearings | 623ZZ, 16x35x11mm | 40 |
| End Stops | Mechanical Switch | 30 |
| 8mm Linear Bearing | 40mm height | 25 |
| Ball Bushing | 8mm inner diameter | 20 |
| Plywood/MDF Board | 12mm thickness | 150 |
| Misc Components | Screws, Nuts, Wires | 200 |
| TOTAL | ~2,965 |
Recommended Tools
Don't forget these essential tools for the building process:
- Soldering iron (basic, ₹300)
- Multimeter (digital, ₹250)
- Drill with metal bits (₹800)
- Wrench set (₹200)
- 3D printer pen (optional, ₹1,200)
Pro Tip: All components listed are available at your nearest TecnoMate store or through our online portal with same-day delivery in major Indian cities.
Circuit Diagram and Assembly
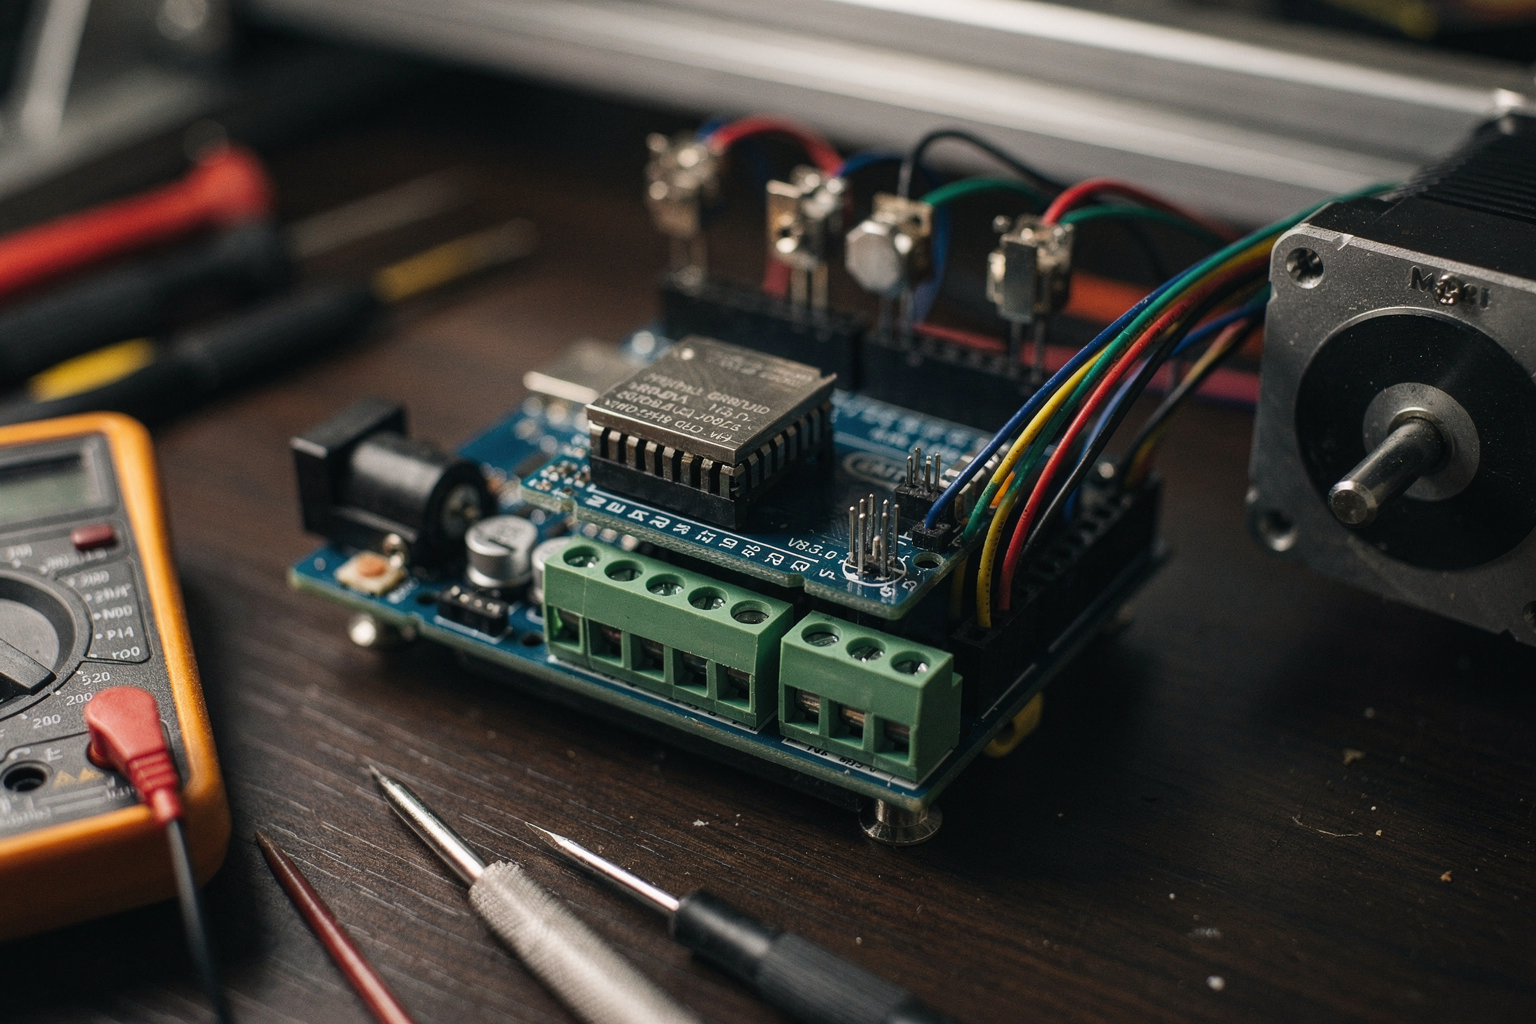
Understanding the Electronics
The core of our CNC plotter is the GRBL shield which interfaces directly with the Arduino Uno. This shield simplifies the process by providing all the necessary connections for stepper motors, end stops, and power management.
Here's the basic circuit configuration:
Arduino Uno ----> GRBL Shield ----> Stepper Motors (X, Y, Z)
       |                    |
       |                    +----> End Stops (X, Y, Z)
       |
       +----> USB Cable ----> Computer
Mechanical Assembly Steps
Step 1: Build the X-Axis
- Cut two 300mm aluminum profiles for the X-axis
- Attach linear bearings to the profiles using the 8mm ball bushings
- Mount the NEMA17 stepper motor at one end
- Install the coupler between the motor and the lead screw
- Secure everything using M4 screws and nuts
Step 2: Build the Y-Axis
- Place the X-axis assembly on a flat surface
- Build a perpendicular frame using similar aluminum profiles
- The Y-axis will move along the X-axis, so ensure smooth gliding
- Mount the second NEMA17 motor for Y-axis movement
Step 3: Z-Axis Assembly
- Create a vertical mounting structure
- This will control the pen/router height
- Use a smaller NEMA17 or a TB6600 driver for finer control
Common Pitfall: Don't rush the assembly! Test each axis individually before mounting them together. A misaligned X-axis will cause precision issues in the final plotter.
GRBL Firmware Configuration
Installing GRBL
- Connect your Arduino to the computer via USB
- Open Arduino IDE (download from arduino.cc)
- Add GRBL board support: Tools > Board > Boards Manager > Search "GRBL"
- Upload the GRBL firmware using the GRBL upload plugin
Basic Configuration Commands
Once installed, you'll need to configure GRBL through the serial monitor:
$0=1     ; Set GRBL to report soft limits
$1=0     ; Disable laser mode
$2=0     ; Disable homing cycle
$3=0     ; Disable pull-up for limits
$4=0     ; Disable pull-up for probe
$10=0    ; Set X-axis steplen
$11=0    ; Set Y-axis steplen
$12=0    ; Set Z-axis steplen
$13=1    ; Set step invert (adjust as needed)
$14=1    ; Set dir invert (adjust as needed)
$20=5000 ; Set max feed rate (mm/min)
$21=5000 ; Set acceleration (mm/sec²)
Practical Tip: Use a multimeter to check the voltage at the driver outputs when testing. You should see clean signals without noise interference.
Arduino Code Implementation
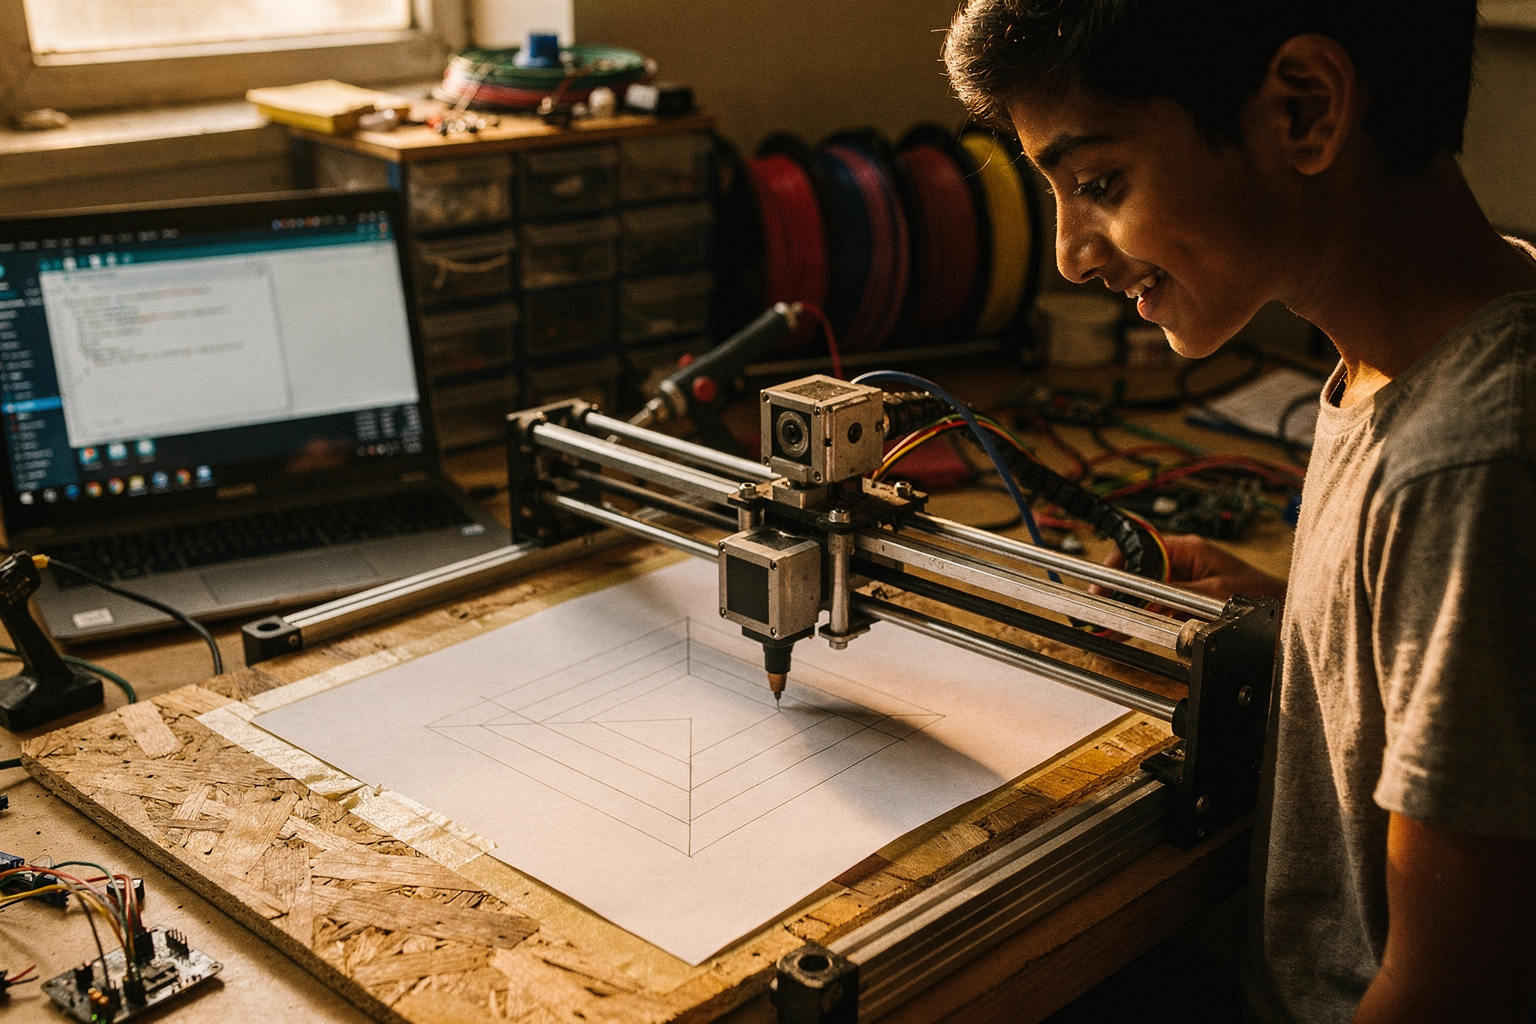
Creating the Control Interface
Here's a basic Arduino sketch for controlling your CNC plotter:
#include <SoftwareSerial.h>

// Create a software serial port for communication
SoftwareSerial cncSerial(10, 11); // RX, TX

void setup() {
  Serial.begin(9600);
  cncSerial.begin(115200); // GRBL default baud rate

  // Wait for GRBL to initialize
  delay(2000);

  // Set initial position and home
  sendCommand("G28"); // Home all axes
  delay(1000);
  sendCommand("G90"); // Absolute positioning
  sendCommand("G0 Z5"); // Move Z up
}

void loop() {
  // Check for commands from serial monitor
  if (Serial.available() > 0) {
    String command = Serial.readStringUntil('\n');
    sendCommand(command);
  }

  // Add your autonomous patterns here
  // Example: Draw a square
  drawSquare();

  delay(5000);
}

void sendCommand(String cmd) {
  cncSerial.println(cmd);
  Serial.print("Sent: ");
  Serial.println(cmd);
}

void drawSquare() {
  // Move to starting position
  sendCommand("G0 X0 Y0");
  delay(1000);

  // Draw square sides
  for (int i = 0; i < 4; i++) {
    sendCommand("G1 X100 F1000"); // Move X
    delay(1000);
    sendCommand("G1 Y100 F1000"); // Move Y
    delay(1000);
  }
}
Ready to start building?
Explore our collection of DIY kits and components. All project components mentioned in this blog are available in our store.
Browse All Projects