

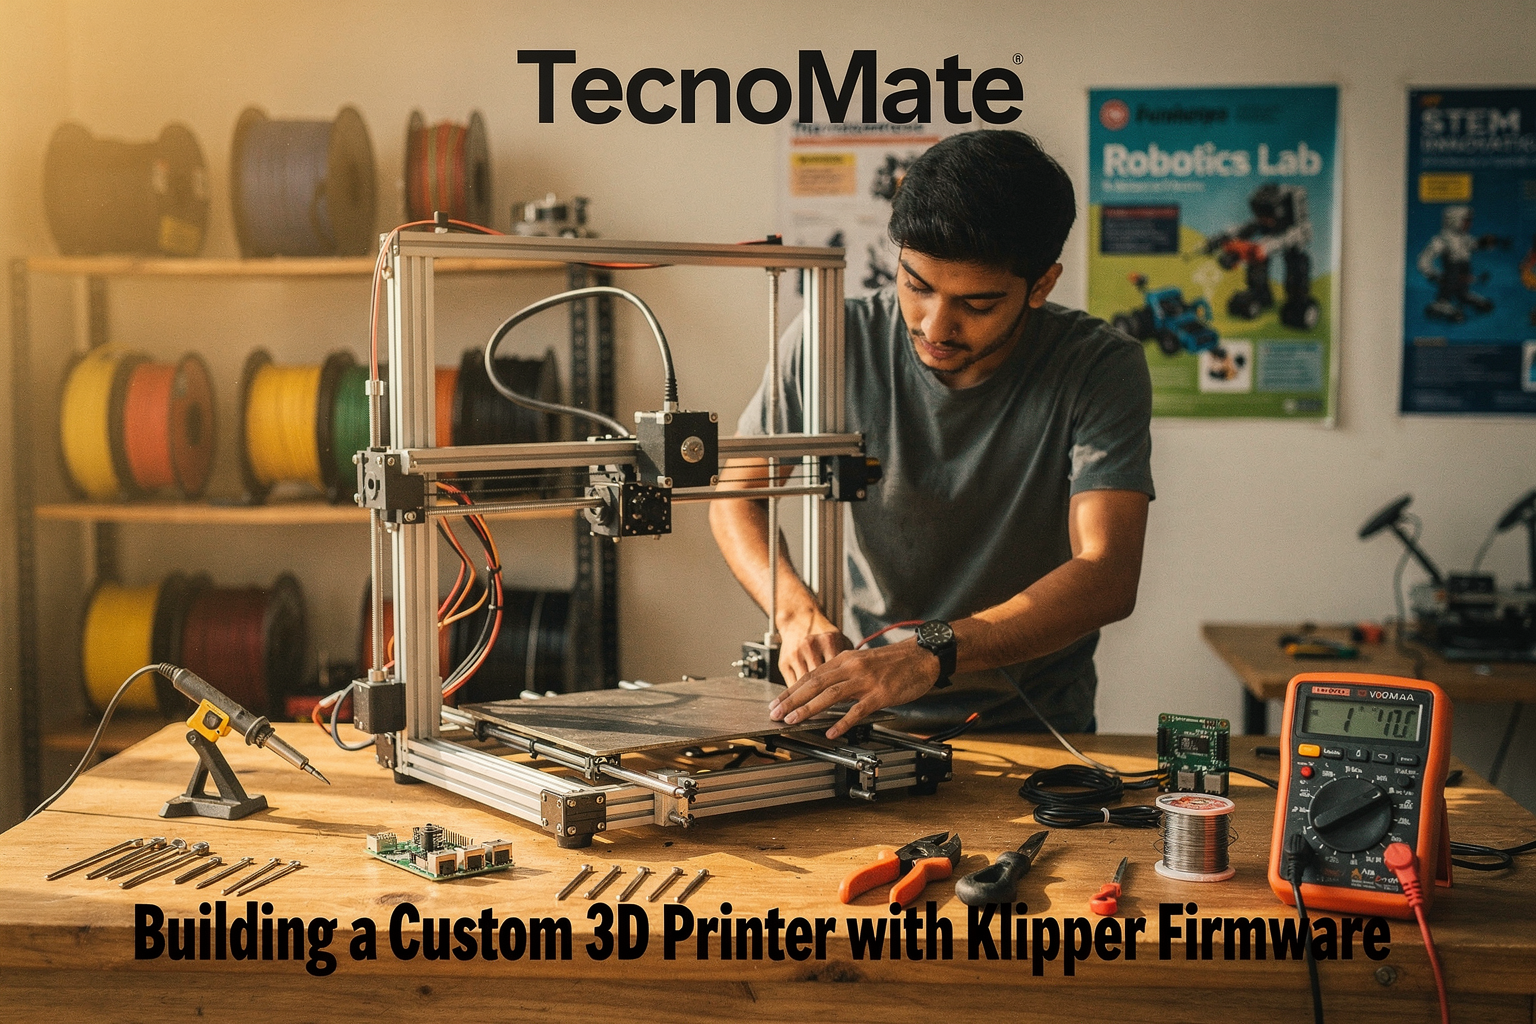
Introduction: The DIY 3D Printing Revolution in India
Welcome to the exciting world of custom 3D printing! Building your own 3D printer is not just a rewarding engineering project but also a cost-effective solution for prototyping, learning, and even small-scale production. Unlike traditional printers that come as pre-assembled units, custom 3D printers allow you to understand every component and customize according to your needs.
For Indian engineering students and DIY enthusiasts, building a 3D printer with Klipper firmware opens up a world of possibilities. Klipper is a next-generation firmware that brings advanced features, better performance, and incredible configurability to your custom printer. This guide will walk you through the entire building process, from component selection to a fully functional printer running on Klipper.
Components Required (Available at TecnoMate!)
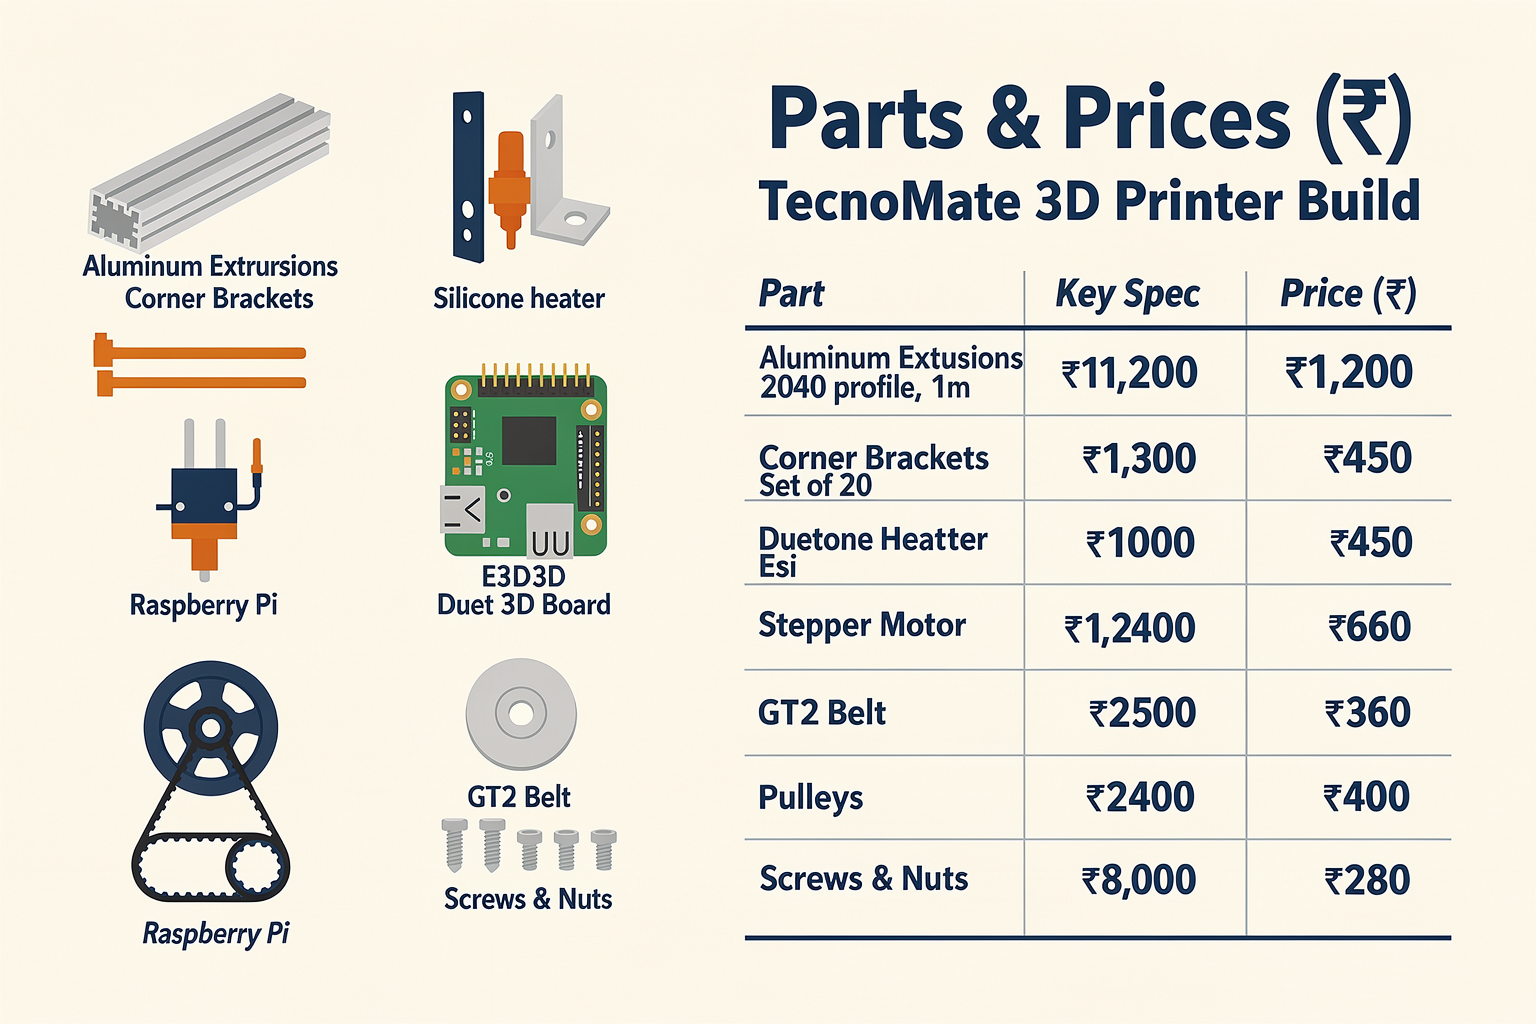
Before diving into the building process, let's assemble the necessary components. Here's a comprehensive list with Indian market pricing:
| Component | Specification | Price (₹) | Supplier |
|---|---|---|---|
| Frame Materials | |||
| 10x M8x300mm Aluminum Extrusion | 8mm diameter | 500 | TecnoMate |
| 20x M8x300mm Aluminum Extrusion | 8mm diameter | 1000 | TecnoMate |
| Corner Brackets (40x40mm) | 40mm x 40mm | 200 | Local Hardware |
| Linear Rails (150mm) | 8mm diameter | 300 | TecnoMate |
| Heat Bed | |||
| Silicone Heater 200x200mm | 12V, 300W | 800 | Amazon India |
| 4x M3x10mm Screws | - | 20 | Local |
| Hotend | |||
| E3D V6 Hotend | All-metal, 0.4mm nozzle | 1500 | Local 3D Printer Shop |
| 4x M3x8mm Screws | - | 16 | Local |
| Electronics | |||
| Raspberry Pi 4B | 4GB RAM | 2800 | Amazon India |
| Duet3D WiFi Board v3 | Klipper compatible | 3200 | Amazon India |
| 12V 25A Power Supply | Mean Well | 1200 | Local |
| 12V 100W Silicone Heater | 300x300mm | 1000 | TecnoMate |
| Motion System | |||
| 4x NEMA17 Stepper Motors | 1.8°/step | 400 | Amazon India |
| 16x DRV8825 Stepper Drivers | Microstepping | 600 | Amazon India |
| 24V 1.5mm GT2 Timing Belt | 1m length | 100 | Local |
| 10x GT2 Pulleys (12mm) | - | 200 | Online |
| Fittings & Hardware | |||
| 100x M3x12mm Screws | - | 200 | Local |
| 50x M3x6mm Screws | - | 100 | Local |
| 100x M3 Nuts | - | 150 | Local |
| Heat Sink for MOSFETs | - | 50 | Local |
| Miscellaneous | Wire, connectors, etc. | 500 | Local |
| Total Estimated Cost | ≈₈000 |
Additional Tools Needed
| Tool | Purpose | Price (₹) |
|---|---|---|
| Digital Multimeter | Testing connections | 800 |
| 3D Printer Filament | PLA/PETG for testing | 200 |
| Hex Key Set | Assembly | 300 |
| Wire Stripper/Cutter | Electronics | 250 |
| Soldering Iron | Electronics work | 400 |
Understanding Klipper Firmware
Klipper represents a paradigm shift in 3D printer control. Unlike traditional firmwares like Marlin, Klipper runs on a host computer (Raspberry Pi) and communicates with the mainboard via a serial connection. This architecture offers several advantages:
- Advanced features like input shaping, pressure advance, and adaptive meshing
- Better print quality with superior motion control
- Open-source nature allowing deep customization
- Active development with continuous feature additions
- Multi-tool support for printers with multiple extruders
Circuit Design and Connections
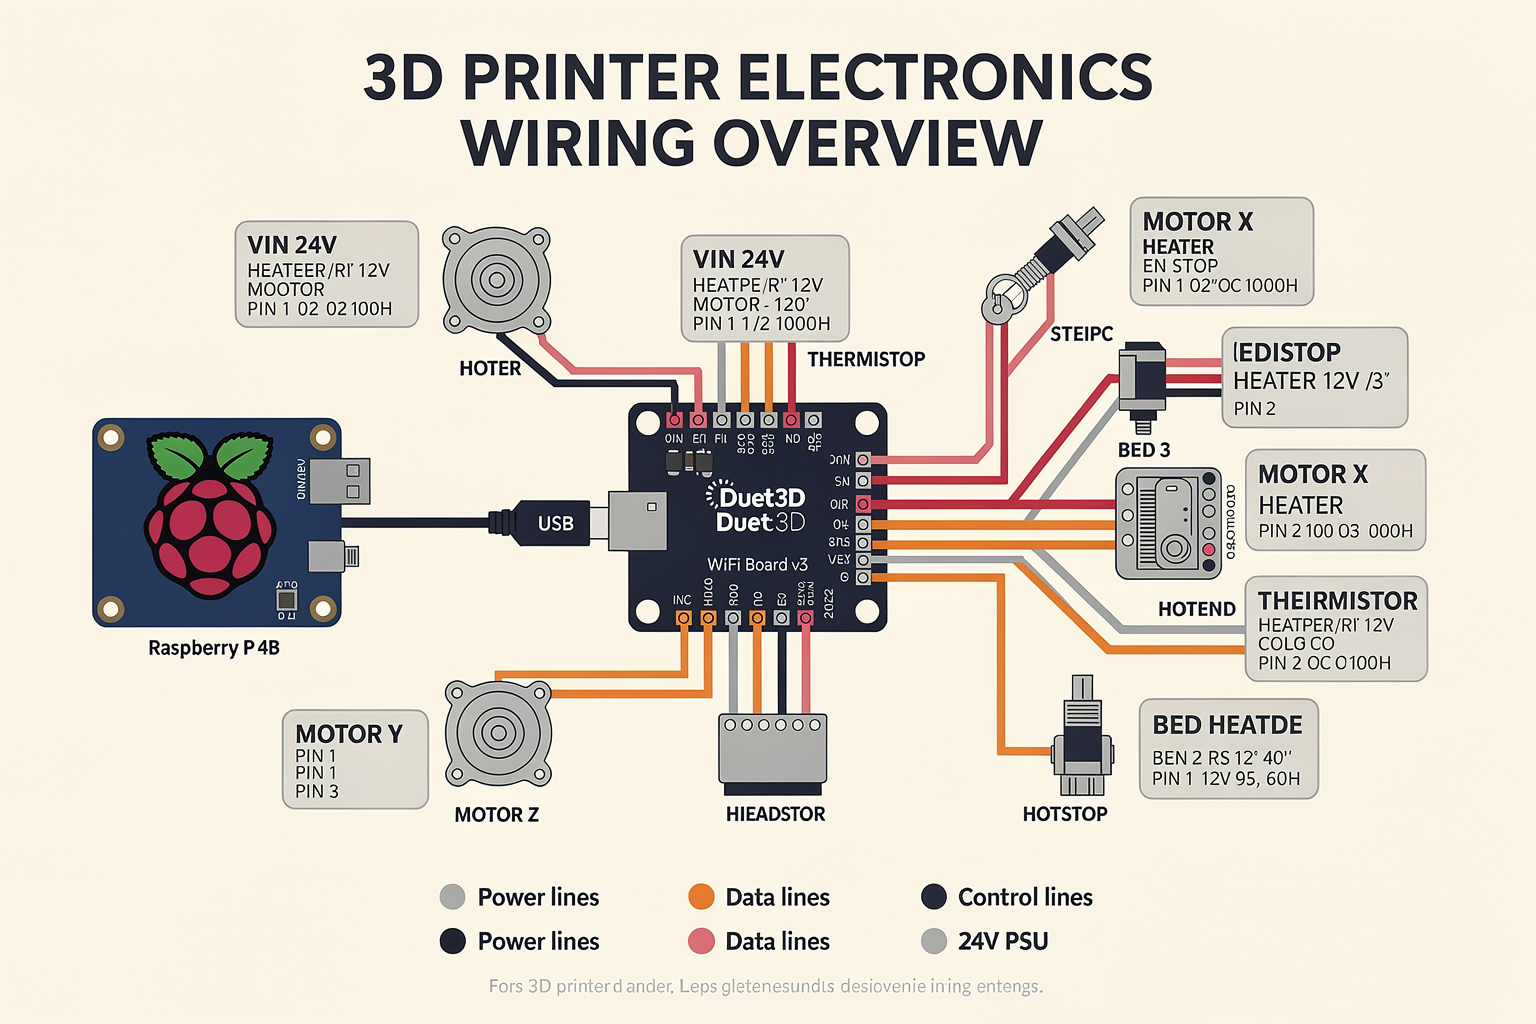
Hardware Setup Overview
The electronics setup consists of:
- Raspberry Pi 4B (computational hub)
- Duet3D WiFi Board v3 (motor control)
- Power supply (12V, 25A)
Pin Connections
| Duet Board Pin | Component | Raspberry Pi Pin | Notes |
|---|---|---|---|
| X_STEP | Motor X Step | GPIO 17 | |
| X_DIR | Motor X Dir | GPIO 27 | |
| X_ENABLE | Motor X Enable | GPIO 22 | |
| Y_STEP | Motor Y Step | GPIO 23 | |
| Y_DIR | Motor Y Dir | GPIO 24 | |
| Y_ENABLE | Motor Y Enable | GPIO 5 | |
| E0_STEP | Motor E Step | GPIO 25 | |
| E0_DIR | Motor E Dir | GPIO 12 | |
| HE0, HE1 | Heat Bed | MOSFET | Control |
| E0, E1 | Hotend | MOSFET | Control |
MOSFET Setup
For safety and efficiency, you'll need to wire MOSFETs for heater control:
Power Supply (+) → Heat Bed/Hotend (+)
Heat Bed/Hotend (-) → MOSFET Drain
MOSFET Source → Power Supply (-)
Gate Control → Duet Board via pull-up resistor
Step-by-Step Assembly Guide
Phase 1: Frame Construction
-
Cut Aluminum Extrusions: Measure and cut extrusions according to your printer dimensions (typically 300x300x300mm for beginners)
-
Assemble Base: Connect corner brackets using M8 bolts and nuts. Ensure squareness using a carpenter's square.
-
Build Y-Axis: Install vertical columns on the base frame, ensuring they're perfectly aligned.
Phase 2: Motion System Installation
-
Install Linear Rails: Mount linear rails on the Z-axis carriage and bed. Ensure smooth movement.
-
Mount Stepper Motors: Fix NEMA17 motors to the X and Y gantries. Connect DRV8825 drivers nearby.
-
Install Timing Belts:
- Mount pulleys on motor shafts and carriage
- Thread GT2 belts ensuring proper tension
- Check belt alignment for smooth operation
Phase 3: Z-Axis Assembly
- Mount Z-Axis Leadscrew: Install the leadscrew through the Z-axis carriage and bed
- Attach Z-Motor: Mount NEMA17 motor to drive the leadscrew
- Level Bed: Use feeler gauges to level the print surface
Phase 4: Hotend and Heat Bed Installation
- Mount Hotend: Secure E3D V6 to the X-axis carriage
- Install Heat Bed: Fix silicone heater to the glass bed using thermal adhesive
- Connect Thermistors: Wire bed and hotend thermistors to Duet board
Klipper Configuration and Setup
Initial Software Setup
- Install Raspberry Pi OS: Flash Raspberry Pi OS Lite to SD card
- Enable SSH: Configure headless operation
- Connect to WiFi: Set up Raspberry Pi for remote access
- Install Klipper: Follow official Klipper installation guide
Configuration File Structure
Your Klipper configuration should be organized as follows:
printer/
├── main.cfg
├── printer.cfg
├── modules/
│   ├── temperature_fan.cfg
│   ├── input_shaping.cfg
│   └── bltouch.cfg
└── extras/
    └── usb_printer.cfg
Basic Configuration Example
# main.cfg
[stepper_x]
step_pin: PC0
dir_pin: PC1
enable_pin: !PC2
microsteps: 16
rotation_distance: 40
endstop_pin: ^PC3
Firmware Compilation
cd ~/klipper
make menuconfig
make
sudo make install
Advanced Klipper Features
Input Shaping Implementation
Input shaping reduces vibration during high-speed printing:
# input_shaping.cfg
[input_shaper]
shaper_type: gauss
freq: 89
damping: 0.31
velocity: 3000
command_resume: resume_print
command_move: G1
Adaptive Meshing Setup
# adaptive_mesh.cfg
[adaptive_mesh]
probe_points: 9
min_x: 0
max_x: 300
min_y: 0
max_y: 300
Calibration and Testing
First Print Checklist
- Verify Hotend Temperature: Heat to 200°C for PLA
- Check Bed Leveling: Use paper method for fine adjustment
- Test Extrusion: Confirm proper filament flow
- Print Test Pattern: Start with 20mm cube
Common Calibration Tests
| Test | Purpose | Expected Result |
|---|---|---|
| Bed Leveling Test | Check surface flatness | Uniform gap under paper test |
| Extrusion Multiplier | Verify filament flow | Perfect square cross-section |
| Retraction Test | Minimize stringing | No oozing between prints |
| Temperature Test | Find optimal settings | No layer separation |
Troubleshooting Guide
| Problem | Possible Cause | Solution |
|---|---|---|
| Motor Skipping | Insufficient current | Increase stepper driver current |
| Poor First Layer | Wrong Z offset | Adjust probe height in firmware |
| Layer Separation | Low temperature | Increase hotend temperature by 5-10°C |
| Bed Not Sticking | Unlevel surface | Re-level bed using feeler gauges |
| Filament Jamming | Wrong retraction settings | Adjust retraction distance and speed |
| WiFi Connection Drops | Poor signal | Add USB WiFi adapter or move closer |
Common Pitfalls and Solutions
Problem: Motors overheat during long prints Solution: Reduce stepper driver current to 1.2A and add heatsinks
Problem: Print shows ghosting at high speeds Solution: Enable input shaping in Klipper configuration
Problem: Filament not extruding properly Solution: Check for clogs, increase extrusion multiplier to 1.05
Problem: Raspberry Pi crashes
Solution: Add cooling fan, monitor temperature with vcgencmd measure_temp
Frequently Asked Questions
Raspberry Pi 4B with 2GB RAM is the minimum, but 4GB is recommended for complex configurations. Ensure you have at least a 32GB SD card for smooth operation.
Ready to start building?
Explore our collection of DIY kits and components. All project components mentioned in this blog are available in our store.
Browse All Projects