

Introduction
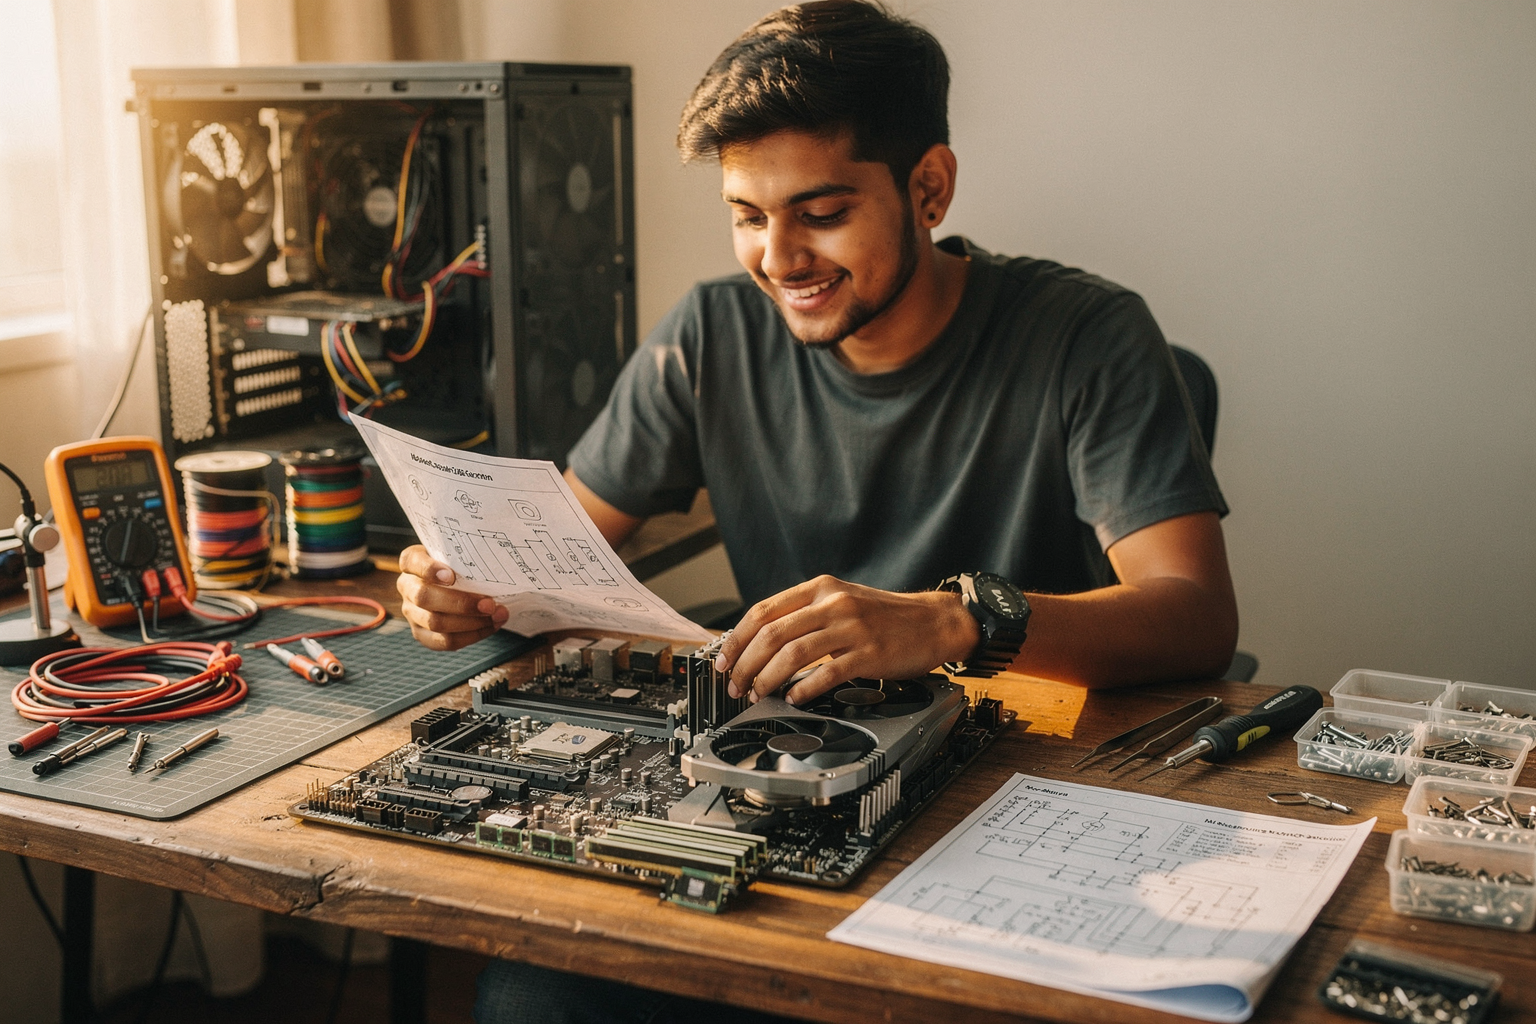
The trend of building local AI workstations has gained significant momentum among Indian engineering students and DIY electronics enthusiasts. With the rising cost of cloud computing and the increasing need for hands-on experience with AI development, creating your own AI workstation at home has become more accessible than ever. This comprehensive guide will walk you through every aspect of building a powerful AI workstation tailored for local development, ensuring you have the right GPU to handle demanding machine learning tasks while staying within budget.
Whether you're working on computer vision projects, natural language processing models, or deep learning research, having a dedicated local workstation provides the privacy, speed, and cost-efficiency that cloud alternatives can't match. Let's dive into the world of AI hardware selection and building your dream workstation.
Understanding AI Workstation Requirements
Before we begin selecting components, it's crucial to understand what makes a workstation truly suitable for AI workloads. Unlike traditional gaming or office setups, AI workstations have unique requirements:
- GPU Memory: More VRAM allows handling larger models and batch sizes
- CUDA Cores: Critical for parallel processing in deep learning
- Tensor Cores: Specialized hardware for accelerating matrix operations
- Memory Bandwidth: Higher bandwidth enables faster data transfer between GPU and VRAM
- Power Efficiency: AI workloads can stress components, requiring robust cooling
The current trend in AI development shows that larger models are becoming the norm, making GPU memory one of the most critical factors in your selection process.
Components Required for AI Workstation
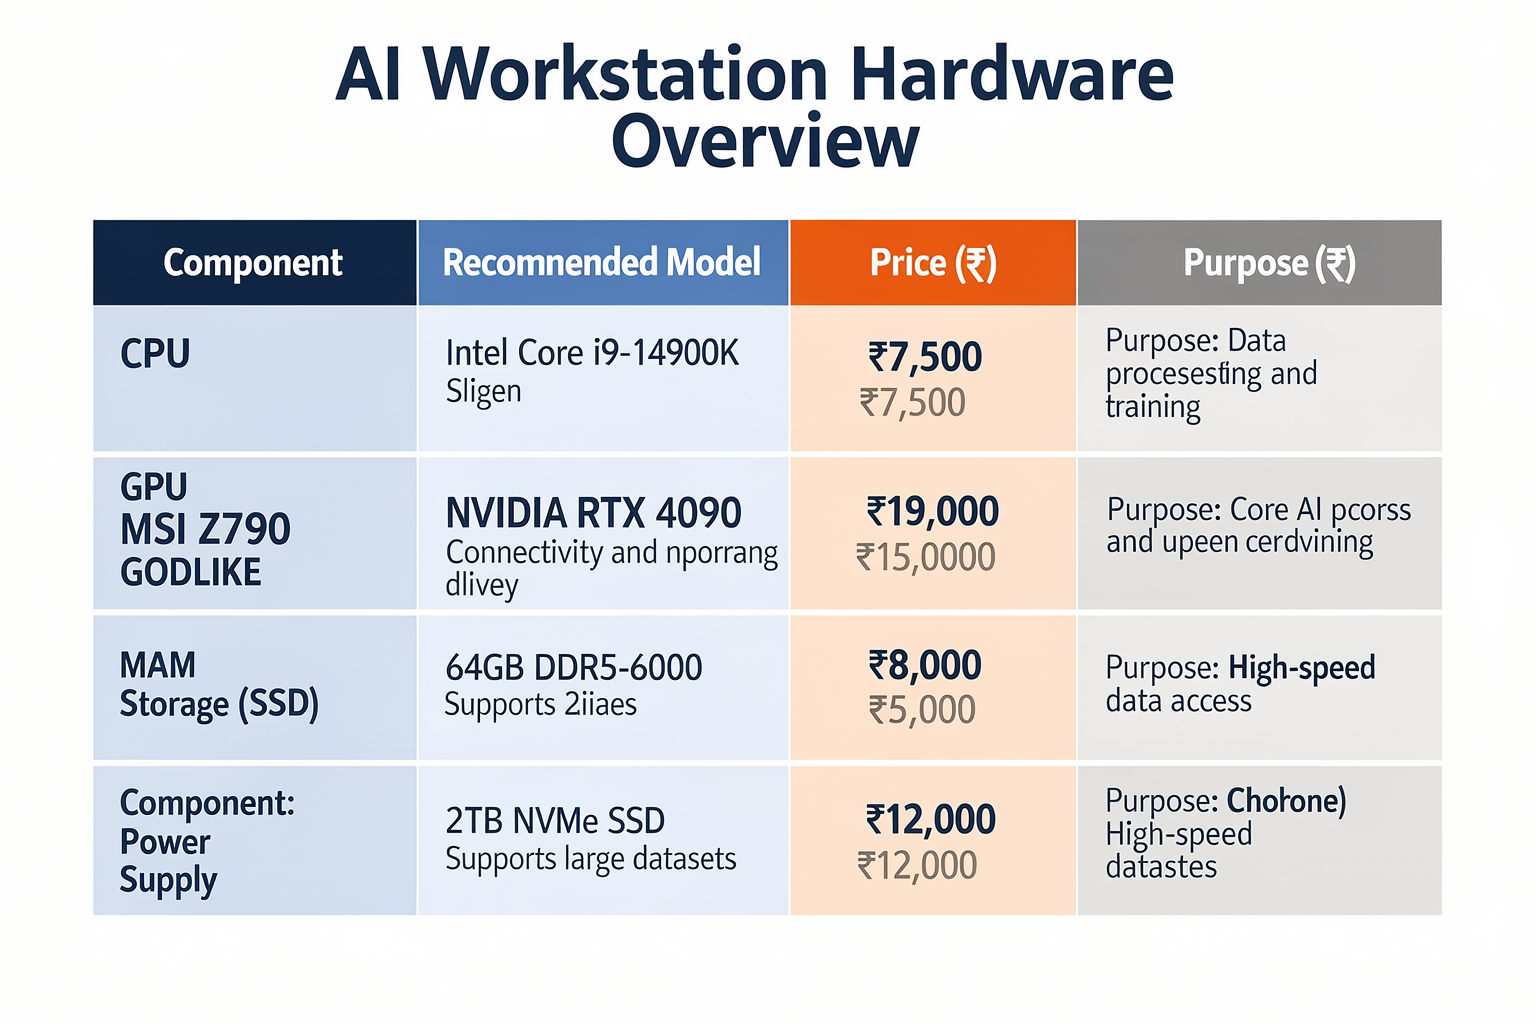
Building a local AI workstation requires careful component selection. Here's a comprehensive list with Indian market prices as of 2024:
| Component | Recommended Model | Price (₹) | Purpose |
|---|---|---|---|
| CPU | Intel Core i9-14900K | 7,500 | Handles data preprocessing and model training |
| GPU | NVIDIA RTX 4090 | 190,000 | Core AI processing and model training |
| Motherboard | MSI Z790 GODLIKE | 25,000 | Provides connectivity and power delivery |
| RAM | 64GB DDR5-6000 | 8,000 | Supports large datasets and models |
| NVMe SSD | 2TB Samsung 980 Pro | 8,500 | Fast storage for datasets and models |
| Power Supply | Corsair RM1000x | 12,000 | Stable power delivery for high-end components |
| CPU Cooler | Noctua NH-D15 | 3,000 | Efficient cooling for sustained workloads |
| Case | Fractal Design Torrent | 14,000 | Excellent airflow for GPU cooling |
For students on a budget, consider these alternative configurations:
| Budget Option | GPU | Price (₹) | Performance |
|---|---|---|---|
| Entry Level | GTX 1660 Super | 25,000 | Good for learning, limited for large models |
| Mid Range | RTX 3060 | 32,000 | Balanced performance for most projects |
| High Value | RTX 4070 | 75,000 | Excellent for most AI workloads |
GPU Selection Deep Dive
NVIDIA vs AMD: The AI Reality
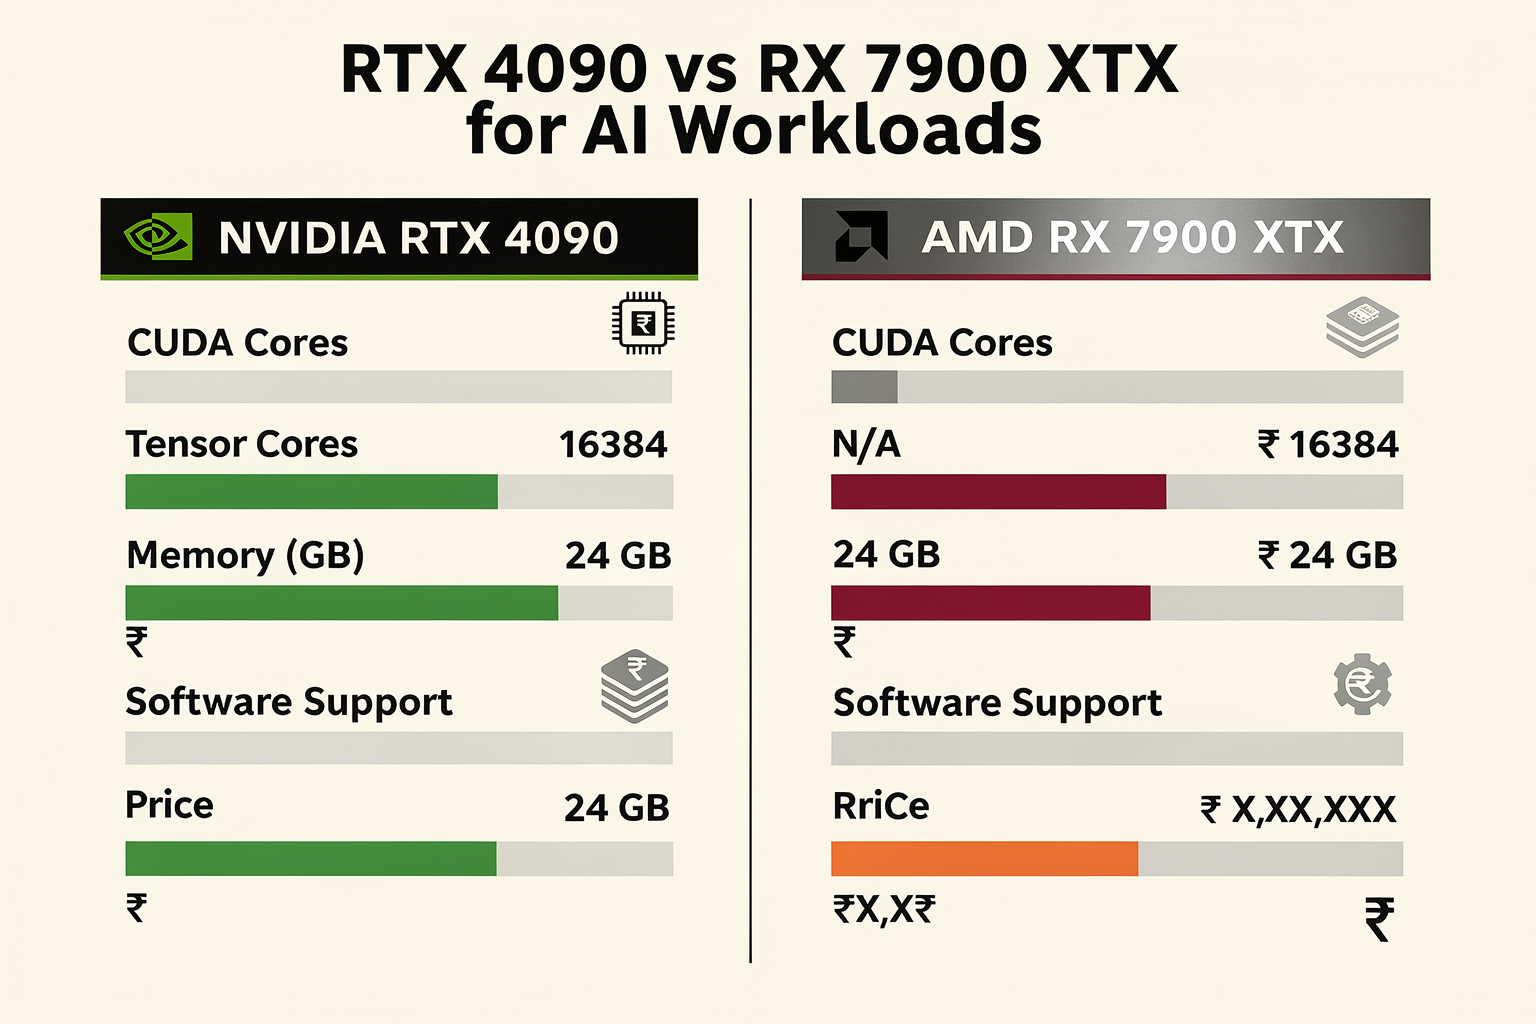
When it comes to AI workloads, NVIDIA GPUs dominate the market. Here's why this trend continues:
| Feature | NVIDIA (RTX 4090) | AMD (RX 7900 XTX) | Impact on AI |
|---|---|---|---|
| CUDA Cores | 16,384 | 5,376 | CUDA crucial for PyTorch/TensorFlow |
| Tensor Cores | 4th Gen | 5th Gen | Specialized in AI acceleration |
| Memory | 24GB GDDR6X | 24GB GDDR6 | VRAM essential for large models |
| Software Support | Excellent | Good | Better ecosystem for AI development |
| Price | ₹190,000 | ₹75,000 | Higher value for AI workloads |
Understanding GPU Specifications
Let's break down the key specifications that matter for AI:
VRAM (Video RAM): This is perhaps the most important specification for AI. Modern language models like Llama 2 70B require over 8GB of VRAM just to load. When choosing your workstation, always check model requirements:
# Check GPU memory requirements for different models
def get_model_requirements(model_name):
    requirements = {
        "llama-7b": {"vram_gb": 12, "vram_type": "GDDR6X"},
        "llama-13b": {"vram_gb": 20, "vram_type": "GDDR6X"},
        "llama-30b": {"vram_gb": 40, "vram_type": "GDDR6X"},
        "gpt-3-175b": {"vram_gb": 350, "vram_type": "HBM2e"}
    }
    return requirements.get(model_name.lower(), {})

# Example usage
model = "llama-13b"
req = get_model_requirements(model)
print(f"Requirements for {model}: {req}")
Tensor Cores: These specialized processing units dramatically accelerate matrix operations, which are fundamental to deep learning. Each new generation brings significant performance improvements:
import torch

# Check if your GPU supports tensor cores
def check_tensor_cores(device):
    if torch.cuda.is_available():
        props = torch.cuda.get_device_properties(device)
        print(f"GPU: {props.name}")
        print(f"Compute Capability: {props.major}.{props.minor}")

        # Most RTX 20xx and newer GPUs have tensor cores
        if props.major >= 7:
            print("✓ Tensor Cores Available")
            return True
        else:
            print("✗ Tensor Cores Not Available")
            return False
    else:
        print("CUDA not available")
        return False

# Check GPU capabilities
check_tensor_cores(0)
Power Supply and Cooling Considerations
High-end GPUs like the RTX 4090 require substantial power and produce significant heat. Ensure your workstation has:
- PSU: At least 1000W for RTX 4090, 750W for RTX 3090/4080
- Case: Excellent airflow, preferably with mesh front panels
- Cooling: Consider liquid cooling for CPU, high-end air for GPU
- Power Delivery: Motherboard with 16+ power phases for stable performance
Step-by-Step Assembly Guide
Step 1: Preparation and Workspace Setup
Before assembling your AI workstation, prepare your workspace:
- Static-Safe Area: Work on an anti-static mat
- Tools: Screwdrivers, thermal paste, cable management tools
- Component Preparation: Remove components from packaging carefully
Pro Tip: Install RAM first, then CPU, then motherboard into the case to make cable management easier.
Step 2: Motherboard Installation
- Install CPU and apply thermal paste
- Mount motherboard on I/O shield
- Install CPU cooler
- Insert RAM sticks (check motherboard manual for optimal slots)
# RAM configuration guide based on motherboard
def get_optimal_ram_slots(motherboard_name):
    slot_configurations = {
        "MSI Z790 GODLIKE": {
            "dual_channel": [2, 4],
            "quad_channel": [2, 4, 6, 8],
            "best_performance": "quad_channel"
        },
        "ASUS ROG STRIX": {
            "dual_channel
Ready to start building?
Explore our collection of DIY kits and components. All project components mentioned in this blog are available in our store.
Browse All Projects