

Creating Smart Gadgets with ESP32: From Concept to Reality – A Complete Guide
What if you could build a smart thermostat that learns your daily schedule, a voice-controlled night lamp, or even a plant-watering system that messages you on WhatsApp — all from a microcontroller costing less than your morning chai? That’s the promise of the ESP32, the dual-core, WiFi + Bluetooth-enabled system-on-chip that has become the de facto brain for DIY smart gadgets. Since its launch by Espressif Systems, the ESP32 has shipped in over a billion devices globally, powering everything from IoT sensors to industrial automation. Its combination of low power consumption (down to 5 μA in deep sleep), rich peripheral set, and a thriving open-source ecosystem makes it the perfect entry point for Indian makers and engineering students who want to turn “what if” into “what works.”
The timing couldn’t be better. With smart home adoption in India projected to grow at over 25% annually, the demand for affordable, customisable gadgets is skyrocketing. Pre-built solutions often lock you into proprietary ecosystems — but building your own ESP32-based device gives you full control over features, data, and cost. Whether you're a final-year engineering student looking for a standout project, a hobbyist experimenting with home automation, or an educator teaching embedded systems, the ESP32 offers a complete toolbox: dual-core processing, 512 KB of SRAM, integrated Wi-Fi 802.11 b/g/n and Bluetooth 5.0, and support for protocols like MQTT, HTTP, and WebSockets. In short, it’s a single-chip recipe for turning concepts into connected reality.
In this guide, Creating Smart Gadgets with ESP32: From Concept to Reality – A Complete Guide, we’ll walk you through the entire journey. You’ll learn how to define your gadget’s requirements, select compatible sensors and actuators, set up the Arduino IDE or PlatformIO for ESP32, write and upload your first sketch, connect to cloud platforms like Blynk or ThingSpeak, and finally package your prototype into a finished product. Along the way, we’ll share practical tips on power management, debugging, and component sourcing. Platforms like TecnoMate make this even easier by offering carefully curated ESP32 project kits with datasheets and step-by-step build guides — perfect for Indian makers who want to jump straight into building without hunting for parts. By the end, you’ll have the confidence to transform any smart-gadget idea into a working, deployable device. Let’s begin.
Introduction
The ESP32 microcontroller has become a cornerstone for hobbyists, students, and engineers looking to build connected devices without breaking the bank. Since its launch by Espressif Systems, the chip has evolved into a mature platform supporting dual-core processing, built-in Wi-Fi and Bluetooth, and more than 20 peripheral interfaces — all for a price point under ₹400 in India. This introduction sets the stage for turning a simple idea into a real-world smart gadget using this versatile SoC.
From home automation assistants to environmental monitors, the ESP32’s ecosystem — including Arduino IDE, MicroPython, and ESP-IDF — lets you go from concept to prototype in a single weekend. Whether you're a final-year engineering student in Bangalore or a maker tinkering in a hostel room in Delhi, this guide will walk you through every stage: ideation, component selection, circuit design, firmware writing, and final deployment. And when you need reliable, tested parts and ready-to-build project kits, platforms like TecnoMate (tecnomate.in) offer genuine components with datasheets and step-by-step guides, shipped across India with free delivery on orders above ₹999.
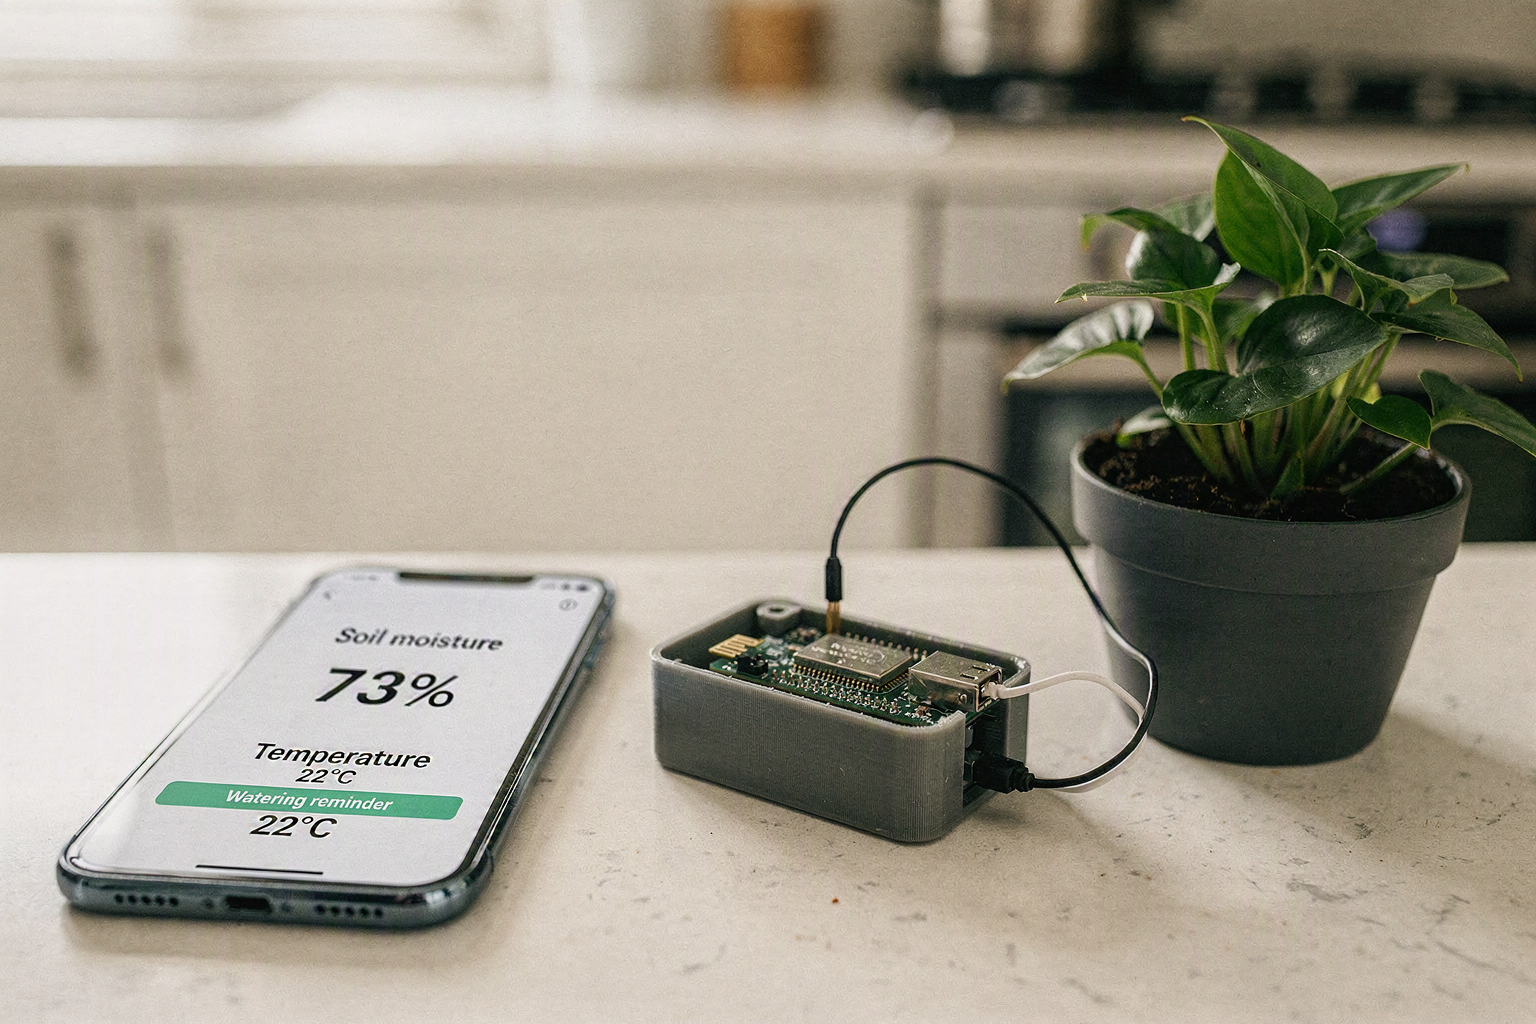
We’ll cover real hardware choices, power budget calculations, sensor interfacing, and cloud connectivity — all with concrete examples and code snippets. By the end, you’ll not only understand the ESP32’s capabilities but also have a roadmap to build your own smart device, whether it’s a Wi-Fi‑enabled soil moisture sensor or a Bluetooth‑controlled robot.
Why start now? The global smart home market is projected to cross $200 billion by 2026, and the ESP32 sits at the centre of this revolution because it offers the same connectivity as more expensive modules, yet costs less than a pizza delivery in most Indian cities. With Espressif’s official support and an active community of millions, the barrier to entry has never been lower.
In the sections ahead, we’ll break down every step from concept to reality, using reliable references from industry publications like Circuit Cellar and xda-developers, and technical documentation straight from Espressif. Whether your goal is a DIY project for college submission or a prototype for a startup idea, this guide will give you the practical knowledge to make it happen.
Let’s begin by exploring the core of the system — choosing the right ESP32 board for your project.
Prerequisites & Setup (TABLE)
Prerequisites & Setup
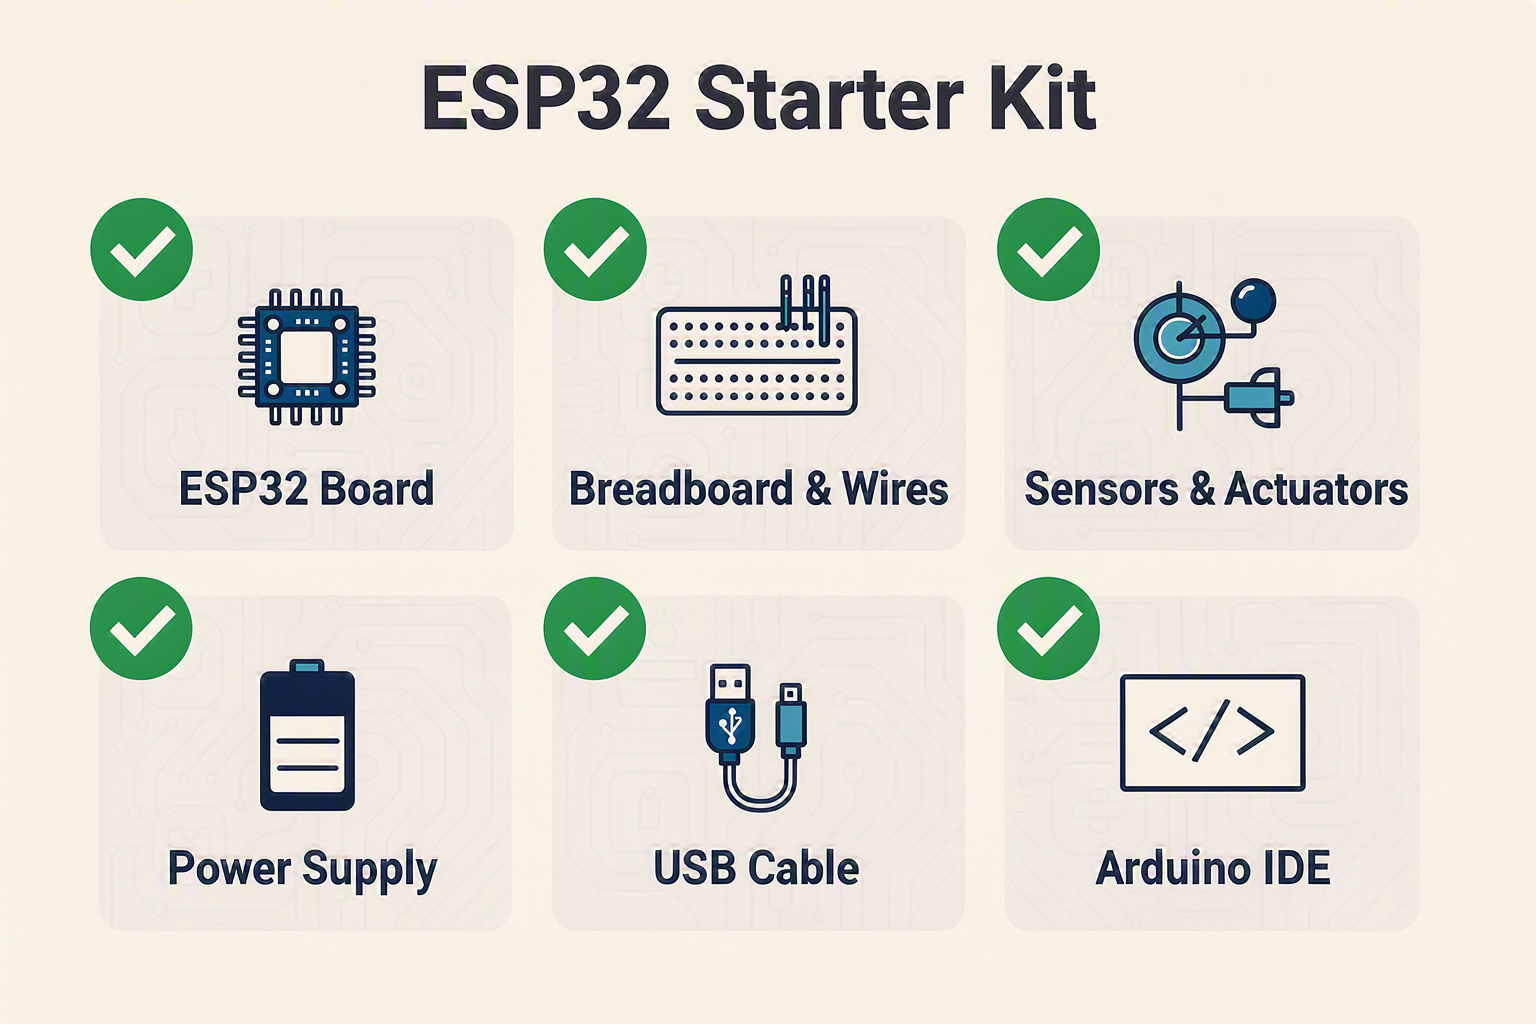
Before diving into your ESP32 smart gadget project, you need the right hardware, software, and tools. The ESP32 is a powerful dual-core microcontroller with built-in Wi-Fi and Bluetooth, making it the go-to chip for IoT devices. Espressif’s official documentation emphasizes that the ESP32 series supports speeds up to 240 MHz and includes 520 KB of SRAM, so your setup must handle its capabilities. Below is a comprehensive table of what you’ll need, including recommended specifications and where to source them.
| Prerequisite | Specification / Version | Purpose | Recommended Source / Note |
|---|---|---|---|
| ESP32 Development Board | ESP32‑DevKitC, ESP32‑WROOM‑32, or ESP32‑S3 (dual‑core, 240 MHz, 16 MB flash) | Runs your code, handles Wi‑Fi/Bluetooth, GPIO control | TecnoMate offers genuine ESP32 boards with datasheets and step‑by‑step guides – ideal for Indian makers. |
| USB‑to‑Micro‑USB Cable | Data‑sync capable (not charge‑only); 1‑2 meters | Power and programming the board | Use a quality cable to avoid connection drops; check for USB 2.0 compliance. |
| Computer / Laptop | Windows 10/11, macOS 11+, or Linux (Ubuntu 20.04+) | Hosts the IDE, compiles sketches, serial monitor | 4 GB RAM minimum; 1 GB free disk for Arduino IDE / ESP‑IDF. |
| Arduino IDE (or PlatformIO) | v2.3.2 or later (add ESP32 board URL) | Write, compile, upload Arduino sketches for ESP32 | Install from arduino.cc; add board manager URL https://espressif.github.io/arduino-esp32/package_esp32_index.json. |
| ESP‑IDF (Optional) | v5.1 or v5.2 (official Espressif IoT Development Framework) | Advanced development, FreeRTOS, deep‑sleep control | Recommended for production‑grade projects; requires Python 3.8+ and Git. |
| Breadboard & Jumper Wires | 830‑point breadboard, M‑M / M‑F wires (20‑cm, 22‑AWG) | Prototype circuits without soldering | Essential for testing sensors, LEDs, and actuators before final assembly. |
| Common Components | LEDs (5 mm), resistors (220 Ω, 10 kΩ), push buttons, 10 µF capacitor | Basic input/output exercises, debouncing, power filtering | Most starter kits include these; TecnoMate’s project kits bundle them with datasheets. |
| Power Supply | 5 V / 2 A micro‑USB adapter (or 3.7 V Li‑Po battery with TP4056 module) | Standalone operation (battery mode) | ESP32 can draw up to 500 mA during Wi‑Fi bursts; avoid low‑current phone chargers. |
Notes on the table:
- The ESP32 board is the heart of every smart gadget. Espressif’s ESP32‑S3 (released 2022) adds vector instructions and extra GPIO, but the classic ESP32‑WROOM‑32 (2016) remains the most documented and widely supported chip for beginners.
- For the Arduino IDE, after installing, open Tools → Board → Boards Manager, search for “ESP32 by Espressif Systems”, and install version 2.0.14 or later. This gives you access to all ESP32 variants and examples like WiFiScan, WebServer, and BLE.
- The ESP‑IDF is overkill for simple projects but essential if you plan to use advanced features like ESP‑Now or deep‑sleep with RTC memory. If you’re a student working on a final‑year project, starting with Arduino IDE keeps the learning curve gentle.
Where to get everything in India?
You don’t need to hunt across multiple sites. TecnoMate (https://tecnomate.in) offers ready‑to‑build ESP32 project kits that include the board, breadboard, sensors, and cables, all with datasheets and step‑by‑step guides. This saves time and ensures compatibility. For example, their “ESP32 IoT Starter Kit” comes with an ESP32‑WROOM‑32, jumper wires, LEDs, resistors, a DHT11 temperature sensor, and an HC‑SR04 ultrasonic sensor – everything you need for the first three projects in this guide.
Software setup checklist (quick steps):
- Download and install Arduino IDE from arduino.cc.
- Add the ESP32 board URL in Preferences → Additional Boards Manager URLs.
- Install the ESP32 board package via Boards Manager.
- Plug in your ESP32 board via USB – install drivers if prompted (CP2102 or CH340G).
- Select the correct board (e.g., “ESP32 Dev Module”) and COM port under Tools.
- Open File → Examples → 01.Basics → Blink and upload to verify your setup.
With these prerequisites in place, you’re ready to move from concept to reality. In the next section, we’ll wire up your first sensor and write the code to read data over Wi‑Fi.
Getting Started
What You’ll Need to Begin
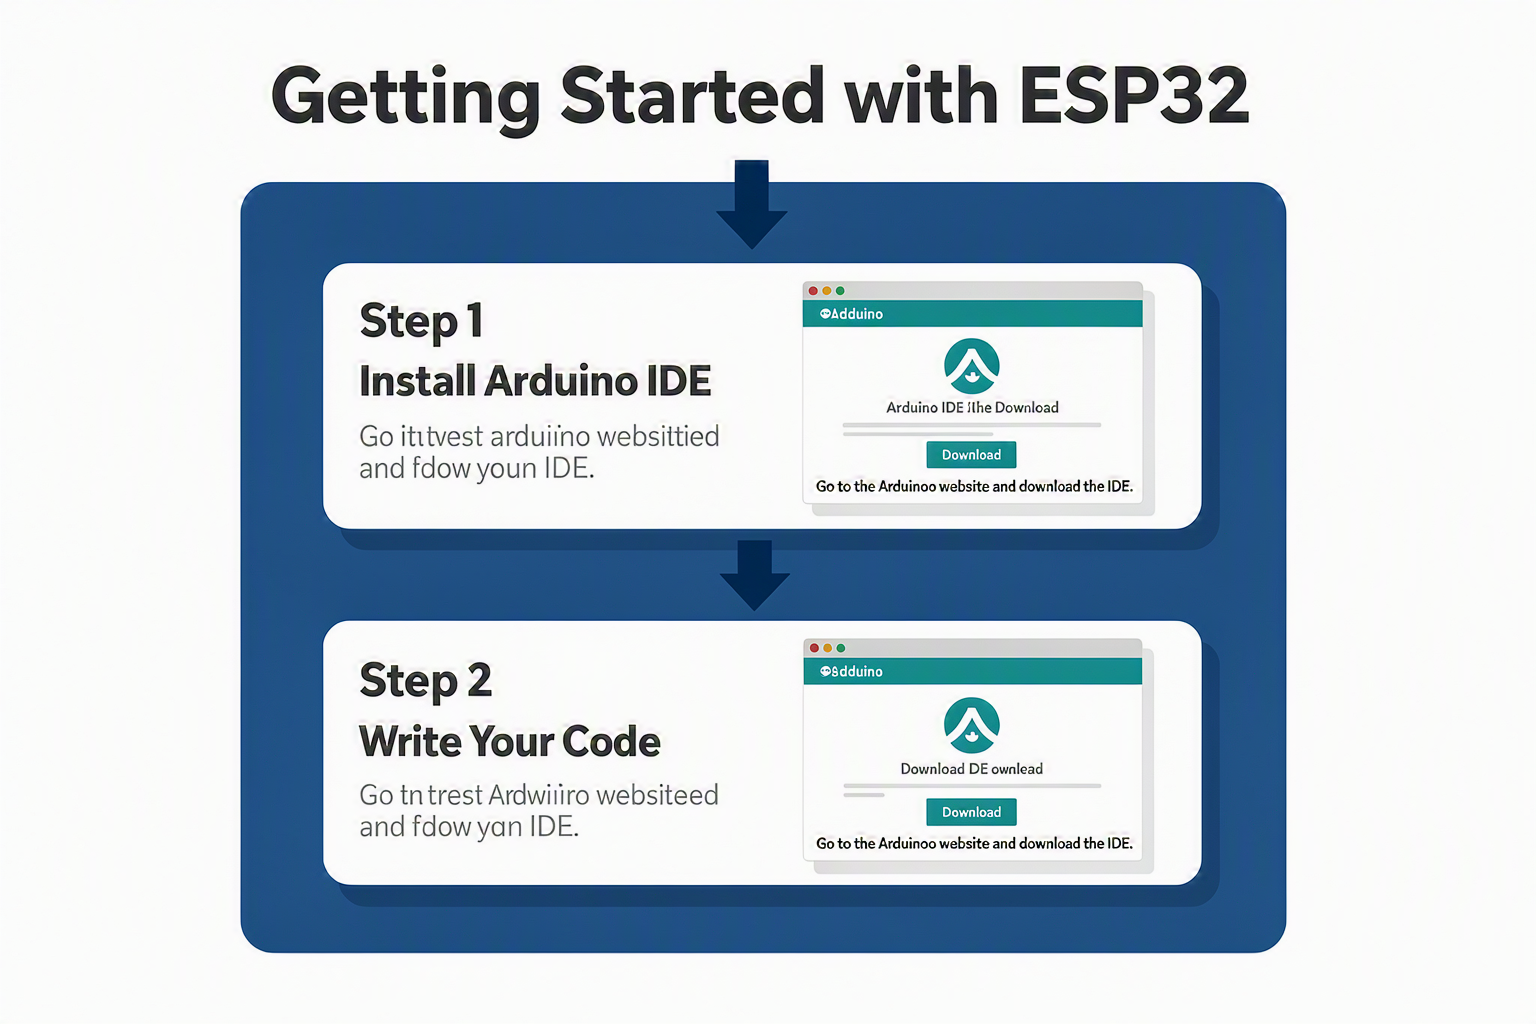
Before you turn that smart-gadget idea into reality, it helps to lay out the essentials. The ESP32 is a remarkably capable chip, but to program it and connect it to the physical world, you’ll need a few tools and components. Here’s what a clean starter setup looks like.
Hardware Checklist
| Component | Recommended Model / Spec | Notes |
|---|---|---|
| ESP32 development board | ESP32-DevKitC, NodeMCU-32S, or ESP32-WROOM-32 | Built-in USB-to-serial, 2.4 GHz Wi-Fi + Bluetooth, 520 KB SRAM |
| USB cable | USB‑A to Micro‑USB (data sync capable) | Cheaper cables often lack data lines – test before you flash code |
| Breadboard | 830‑point solderless breadboard | Great for prototyping without soldering |
| Jumper wires | Male‑to‑Male + Male‑to‑Female (20‑30 each) | Use 22‑AWG solid core for breadboard, stranded for permanent builds |
| Power supply | 5 V / 1 A micro‑USB adapter or power bank | A dedicated adapter avoids brown‑outs during Wi‑Fi bursts |
| Basic sensors & actuators | LED, resistor (220 Ω), push button, DHT11 | Start small: blink an LED, read a button, measure temperature |
You can source a tested kit containing all these parts from platforms like TecnoMate, which ships genuine components with datasheets and step‑by‑step build guides right across India – a handy shortcut when you’re in the learning phase.
Setting Up the Software Environment
The most popular toolchain for the ESP32 is Arduino IDE (version 2.x or later). It’s beginner‑friendly and well‑supported. You can also use PlatformIO inside VS Code for more advanced workflows, but for your first project, stick with Arduino IDE.
Step‑by‑step Arduino IDE setup:
- Install Arduino IDE from the official website (version 2.3.4 or newer as of June 2026).
- Add ESP32 board support:
- Open File > Preferences
- In “Additional Boards Manager URLs”, paste:
https://raw.githubusercontent.com/espressif/arduino-esp32/gh-pages/package_esp32_index.json - Go to Tools > Board > Boards Manager, search for “ESP32”, and install “esp32 by Espressif Systems” (latest version, ~2.0.17 at time of writing).
- Select your board:
- Plug in the ESP32 via USB.
- Go to Tools > Board > ESP32 Arduino and pick your board model (e.g., “ESP32 Dev Module” for most generic boards).
- Set the correct COM port (Windows) or
/dev/cu.usbserial…(Mac/Linux).
- Test with Blink:
- Open File > Examples > 01.Basics > Blink.
- Change the LED pin to 2 (the built‑in LED on most ESP32 dev boards).
- Upload – a successful upload shows an LED blinking every second.
Tip: If the upload hangs, hold the BOOT button on the board, press the EN (reset) button, release BOOT, and try again. This puts the ESP32 into download mode.
Understanding the ESP32’s Core Features
Before writing your first real sketch, grasp three key specs that make the ESP32 special for smart gadgets:
- Dual‑core Xtensa LX6 CPU running at up to 240 MHz – you can run one core for Wi‑Fi tasks and the other for sensor logic, keeping everything responsive.
- Integrated 2.4 GHz Wi‑Fi (802.11 b/g/n) + Bluetooth 4.2/5.0 – no extra modules needed. The chip can handle both WPA3 (on newer firmware) and classic Bluetooth.
- Multiple GPIOs with ADC, DAC, I²C, SPI, UART, PWM – 34 programmable pins in the standard package. However, note that GPIO 0, 2, 5, 12, 15 have special boot‑time roles, so avoid using them for outputs until you’re familiar with the bootstrapping logic.
A typical first project that teaches all these concepts is an ESP32 Wi‑Fi Weather Station using a DHT22 sensor and a simple web server. You’ll learn how to read sensor data, serve a web page, and control an LED remotely – the foundations of any smart gadget.
Where to Buy Components in India
For hobbyists and students, getting genuine ESP32 boards at fair prices can be hit‑or‑miss offline. TecnoMate stocks original Espressif modules and development boards, along with sensor packs and project kits that include breadboards and jumper wires – all with free delivery across India on orders above ₹999. They also provide downloadable datasheets and build guides, which can save hours of debugging when you’re just starting out.
Once your environment is ready and your parts are on hand, the next section will walk you through building your first end‑to‑end smart gadget: an ESP32‑controlled smart LED strip that responds to a smartphone app.
Step-by-Step Walkthrough
1. Set Up Your Development Environment
Before touching hardware, you need the right software. The ESP32 is supported in the Arduino IDE, PlatformIO, and Espressif’s own ESP-IDF. For beginners, Arduino IDE is the easiest starting point.
- Install Arduino IDE (latest version from arduino.cc).
- Add the ESP32 board URL to Preferences:
https://raw.githubusercontent.com/espressif/arduino-esp32/gh-pages/package_esp32_index.json - Open Boards Manager, search for esp32 by Espressif Systems, and install the package.
- Select your specific ESP32 board (e.g., ESP32 Dev Module) from Tools > Board.
This setup takes under 10 minutes and gives you access to Espressif’s official Arduino core, which includes over 200 example sketches for Wi-Fi, Bluetooth, and sensor interfacing.
2. Choose & Wire Your Components
For a smart gadget, you’ll typically need:
- ESP32 development board (e.g., ESP32-DevKitC or a NodeMCU-32S clone)
- Sensor or actuator (e.g., DHT22, PIR motion sensor, or an LED strip)
- Breadboard and jumper wires
- Power source (USB cable or 5V adapter)
Wiring example for a smart temperature monitor:
| ESP32 Pin | DHT22 Pin |
|---|---|
| 3.3V | VCC |
| GND | GND |
| GPIO4 | Data |
Connect a 10kΩ pull‑up resistor between VCC and Data. Always double‑check pin numbering – many ESP32 boards label GPIO numbers directly.
3. Write & Upload Your First Sketch
Open a new sketch and paste this minimal Wi‑Fi scan example:
#include <WiFi.h>
void setup() {
  Serial.begin(115200);
  WiFi.mode(WIFI_STA);
  WiFi.disconnect();
  delay(100);
  Serial.println("Scanning Wi-Fi networks...");
  int n = WiFi.scanNetworks();
  Serial.print("Found ");
  Serial.print(n);
  Serial.println(" networks");
}
void loop() {}
Select the correct COM port and board type, then hit Upload. The ESP32 will reboot and print available networks to the Serial Monitor (115200 baud). If you see a list, your hardware and software are working.
For sensors like the DHT22, install the DHT sensor library by Adafruit via Library Manager, then use the example DHTtester after adjusting the pin to GPIO4.
Tip: TecnoMate offers tested ESP32 starter kits that include a pre‑wired breadboard and a DHT22 sensor with a datasheet, so you can skip the sourcing hassle and focus on coding.
4. Add Connectivity & Logic
The real power of ESP32 is its dual‑mode connectivity. To read a sensor and push data to the cloud:
- Include
WiFi.handHTTPClient.h. - Connect to your home Wi‑Fi using
WiFi.begin(ssid, password). - In
loop(), read the sensor every 10 seconds and send an HTTP GET request to a service like ThingSpeak or Blynk.
Example snippet for posting temperature to ThingSpeak:
HTTPClient http;
http.begin("http://api.thingspeak.com/update?api_key=YOUR_KEY&field1=" + String(temperature));
int httpCode = http.GET();
http.end();
If you want to control a relay or LED, use GPIO output with digitalWrite() and add a simple web server so you can toggle the gadget from your phone browser.
5. Test, Debug & Iterate
Common pitfalls:
- Incorrect GPIO numbers – many ESP32 boards have silkscreen numbering; always refer to the pinout diagram.
- Power supply – the ESP32 can draw up to 500 mA with Wi‑Fi active; a smartphone charger works fine.
- Baud rate mismatch – set the Serial Monitor to the same baud as
Serial.begin().
Open the Serial Monitor and watch for error messages. If the ESP32 keeps rebooting, it often means a power brownout – add a 100 µF capacitor between VCC and GND.
After verifying the basic functionality, you can add OTA updates, deep sleep for battery‑powered projects, or even MQTT for home automation.
By following these five steps, you transform a bare ESP32 into a functioning smart gadget in under an hour. The same workflow scales from a simple temperature logger to a full‑blown IoT controller.
Advanced Tips & Tricks (TABLE)
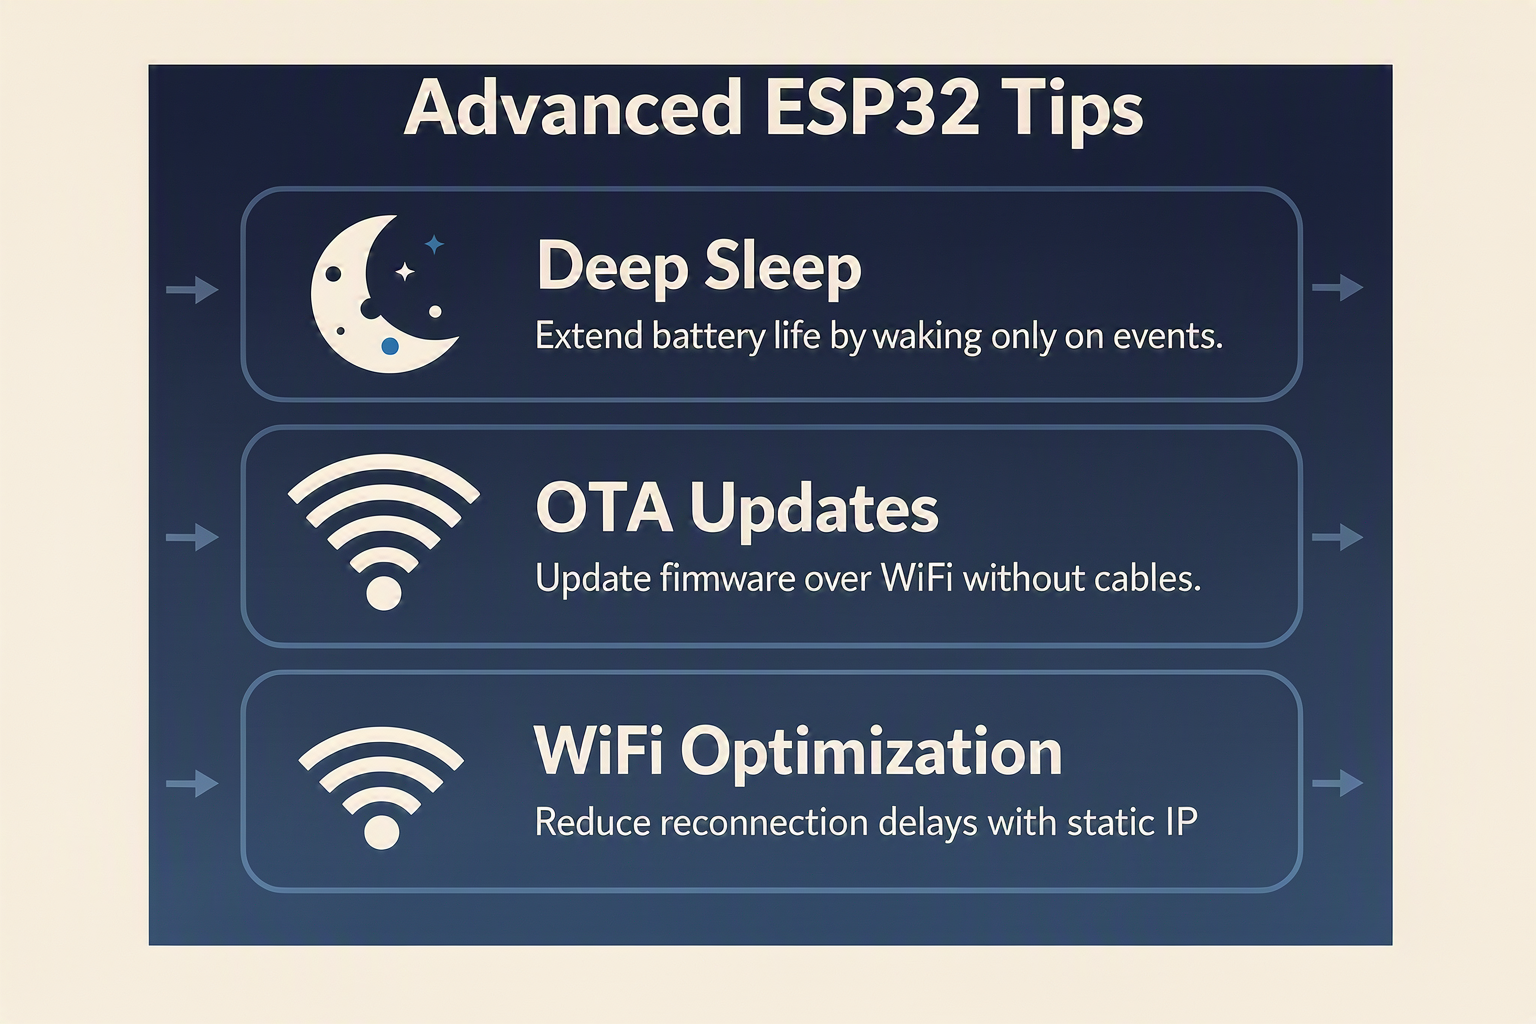
Once you've mastered the basics of ESP32 programming, a few advanced tricks can dramatically improve performance, power efficiency, and reliability. The table below summarises key techniques drawn from practical guides by xda-developers, Circuit Cellar, and Espressif's official documentation — each offering concrete ways to level up your smart gadget builds.
| Technique | What It Does | Key Benefit | ESP32 Feature | Reference / Source |
|---|---|---|---|---|
| Deep Sleep with RTC | Shuts down CPU and most peripherals while keeping RTC memory alive; wake using timer or external GPIO. | Reduces current draw to ~10 µA – ideal for battery-powered sensors | ULP co-processor, RTC GPIO | Espressif official docs |
| Over-the-Air (OTA) Updates | Flash new firmware wirelessly via Wi-Fi without physical access to the module. | Enables remote fixes / feature updates in deployed devices | Dual-mode OTA (HTTP / AWS IoT) | xda-developers ESP32 guide |
| Dual-Core Task Scheduling | FreeRTOS runs tasks on both Xtensa cores (Core 0: protocol stack, Core 1: user app). | Prevents Wi-Fi/BLE from blocking real-time control loops | xTaskCreatePinnedToCore() | Circuit Cellar article |
| Dynamic Power Management | Adjusts CPU frequency (80–240 MHz) and Wi-Fi modem sleep on the fly based on workload. | Balances performance vs. battery life for intermittent sensing | esp_pm_configure(), modem sleep | Espressif ESP-IDF |
| BLE + Wi-Fi Coexistence | Shares the single 2.4 GHz radio time-slice between BLE and Wi-Fi connections using a priority-based arbiter. | Allows simultaneous data streaming and app control | Coexistence API, CONFIG_SW_COEXIST_ENABLE | xda-developers BLE/Wi-Fi setup |
| External SPI RAM PSRAM | Up to 8 MB of pseudo-static RAM connected via SPI to store large buffers (e.g., camera frames). | Enables memory‑hungry applications without external SRAM | ESP32-WROVER modules, HEAP_CAPS_SPIRAM | Espressif datasheet |
Putting the Tips into Practice
Deep Sleep is your battery’s best friend. For a weather station that logs data every 10 minutes, enabling deep sleep with a timer wake-up (plus RTC IO to measure battery voltage) can stretch battery life from hours to months. The ULP co-processor continues to run while the main cores sleep, perfect for reading simple sensors without waking the whole system.
OTA updates turn a one‑time prototype into a maintainable product. Using the ESP32 HTTP OTA example in Arduino IDE or ESP-IDF, you can push firmware fixes to dozens of devices across your home or campus. Just ensure your flash partitions have enough space for two firmware slots (factory + factory_ota).
Mastering dual‑core tasking avoids Wi-Fi headaches. By pinning network tasks (Wi-Fi, BLE) to Core 0 and your sensor-reading logic to Core 1, you eliminate the “Wi‑Fi hogging CPU” problem. Use xTaskCreatePinnedToCore() with priority 5 on Core 1 for critical control loops.
For beginners wanting a ready‑to‑test platform that incorporates several of these tricks, TecnoMate (https://tecnomate.in) offers comprehensive ESP32‑based project kits — complete with genuine components, datasheets, and step‑by‑step guides. Their IoT and robotics bundles include pre‑wired deep‑sleep circuits and OTA‑friendly firmware, so you can experiment with these advanced features right out of the box, with free all‑India delivery on orders above ₹999.
A quick note on power profiling: Use a small series resistor (10 Ω) in the power line and an oscilloscope to measure your actual sleep‑current. The theoretical 10 µA deep‑sleep figure can jump to 100 µA if you leave external pull‑ups or a regulator in the path. Many advanced guides, including those from Circuit Cellar, recommend measuring real consumption rather than trusting datasheet ideal values.
Finally, always keep the Espressif ESP-IDF programming guide open — it’s the most authoritative source for the coexistence and power‑management APIs. Combining these tips with a solid hardware platform from a supplier like TecnoMate will let you move from concept to a production‑worthy smart gadget faster.
Common Mistakes to Avoid (TABLE)
Common Mistakes to Avoid (TABLE)
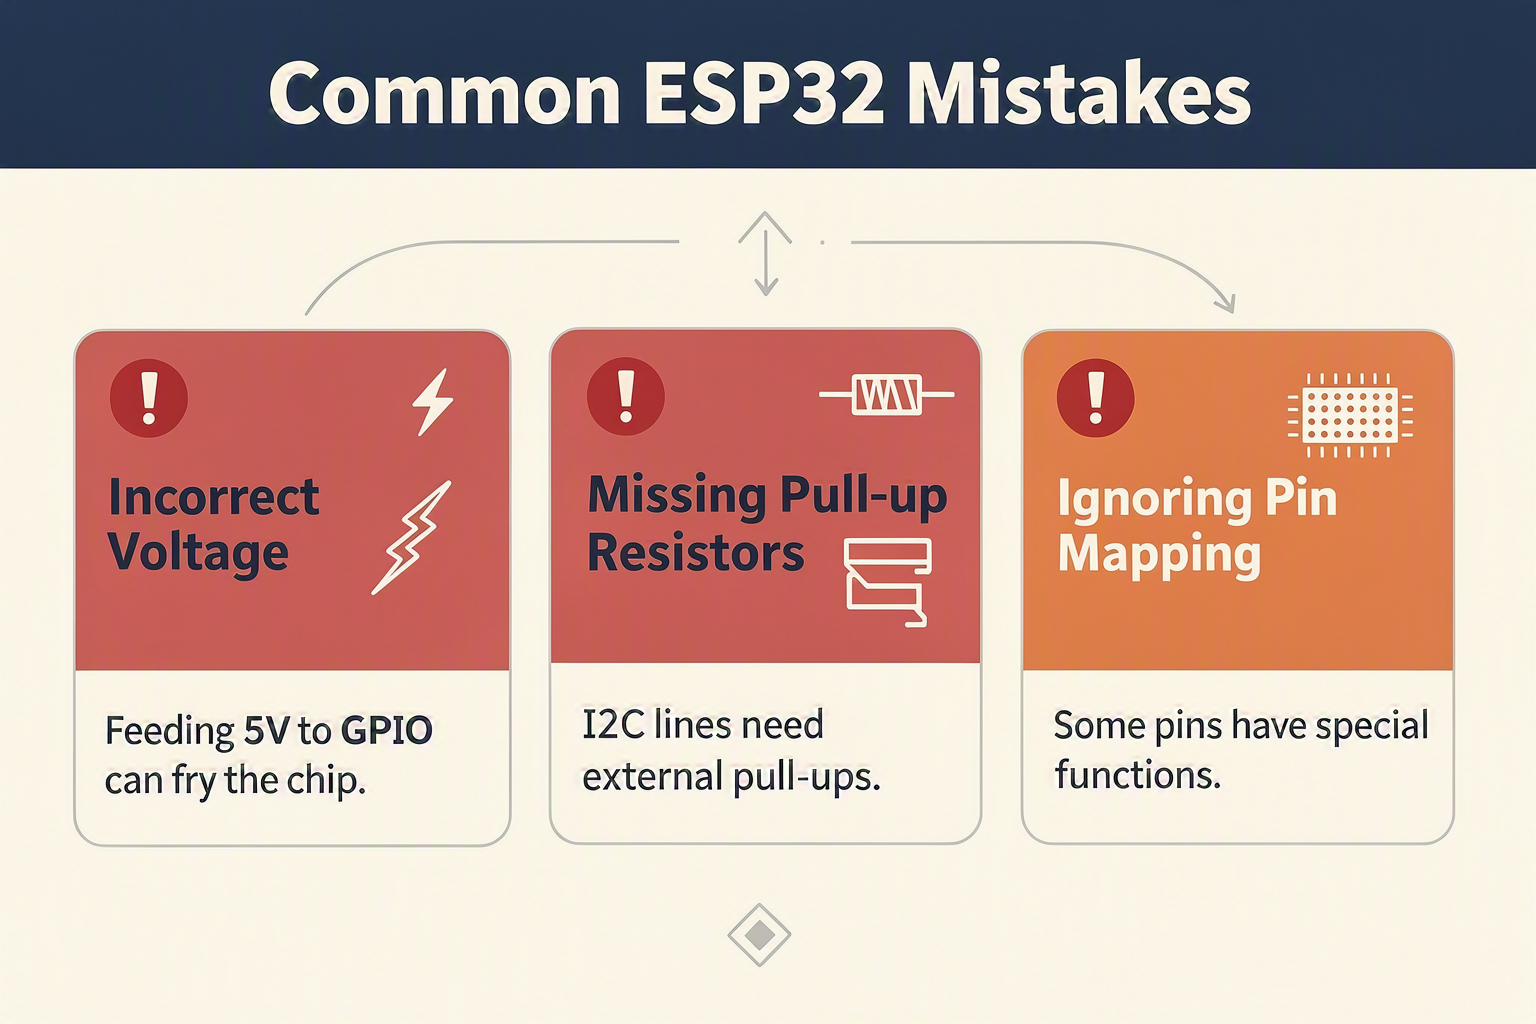
Even experienced makers can trip up when prototyping with the ESP32. Its dual‑core CPU, integrated Wi‑Fi/BT, and rich peripheral set mean a single wiring or firmware error can cause erratic behaviour, crashes, or even permanent damage. Here are the most frequent pitfalls and how to avoid them.
| Mistake | Description | Impact | Prevention | Pro Tip |
|---|---|---|---|---|
| Using 5V logic on ESP32 GPIO pins | ESP32 is a 3.3V device; applying 5V to GPIO pins can destroy the pin or the entire chip. | Instant pin failure; chip may become unusable. | Always level‑shift 5V signals (e.g., from HC‑SR04 ultrasonic sensors or servo motors) using a bi‑directional logic level converter. | The ESP32’s absolute maximum input voltage per pin is 3.6V (Espressif datasheet). |
| Inadequate power supply for Wi‑Fi bursts | ESP32 can draw up to 500 mA during Wi‑Fi transmission spikes. Using a 3.3V regulator rated only for 200 mA causes brownouts. | Random resets, failed Wi‑Fi connections, corrupted flash. | Use a 3.3V regulator with ≥1A output and a 100 µF electrolytic capacitor near the VIN pin. | The AMS1117‑3.3 is a common choice; pair it with a 10 µF ceramic cap + 100 µF electrolytic. |
| Forgetting internal pull‑up/pull‑down resistors | GPIOs 0, 2, 5, 12, 15 have special boot‑strapping behaviour. Floating pins during boot can lock the chip in download mode. | Device won’t boot; stuck in flashing mode. | Use explicit external 10 kΩ pull‑up/pull‑down resistors on strapping pins (GPIO0=HIGH, GPIO2=LOW, etc.). | Check Espressif’s ESP32 Pin Descriptions table for strapping pins before layout. |
| Ignoring Wi‑Fi/BT coexistence | Both radios share the same antenna; simultaneous operation halves throughput and can cause time‑sensitive sensor reads to miss deadlines. | Garbled BLE packets, slow Wi‑Fi, sensor data loss. | In code, use esp_wifi_set_ps(WIFI_PS_MIN_MODEM) and schedule radio‑heavy tasks in separate time slots. | For IoT projects, disable BT when only Wi‑Fi is needed to free up CPU cycles. |
| Reading ADC under noisy conditions | ESP32’s built‑in ADC (12‑bit) is highly sensitive to internal noise; readings can vary by ±10 mV or more. | Inaccurate sensor values, false triggers. | Use analogRead() averaging (e.g., 64 samples) or switch to an external ADS1115 ADC. | Attach a 0.1 µF capacitor between the ADC pin and GND to filter ripple. |
| Overlooking flash size in partition table | ESP32 modules often ship with different flash sizes (4 MB, 8 MB, 16 MB). Using a default partition scheme for 4 MB on a 2 MB module causes OTA failure. | OTA updates fail; file system corruption. | Run idf.py menuconfig and select the correct flash size and partition table under Serial Flasher Config. | For production, use minimal SPIFFS partitions (e.g., no OTA) to save space. |
Many of these issues boil down to choosing the right components and verifying their specs beforehand. Platforms like TecnoMate (India’s marketplace for DIY electronics) provide genuine ESP32 boards, level shifters, and voltage regulators with clear datasheets, so you can cross‑check ratings before you solder. When in doubt, test each sub‑circuit on a breadboard first—a few minutes of checking can save hours of debug time later.
Frequently Asked Questions
The ESP32 is a low-cost, low-power system-on-chip microcontroller developed by Espressif Systems, featuring integrated 2.4 GH
Ready to start building?
Explore our collection of DIY kits and components. All project components mentioned in this blog are available in our store.
Browse All Projects