

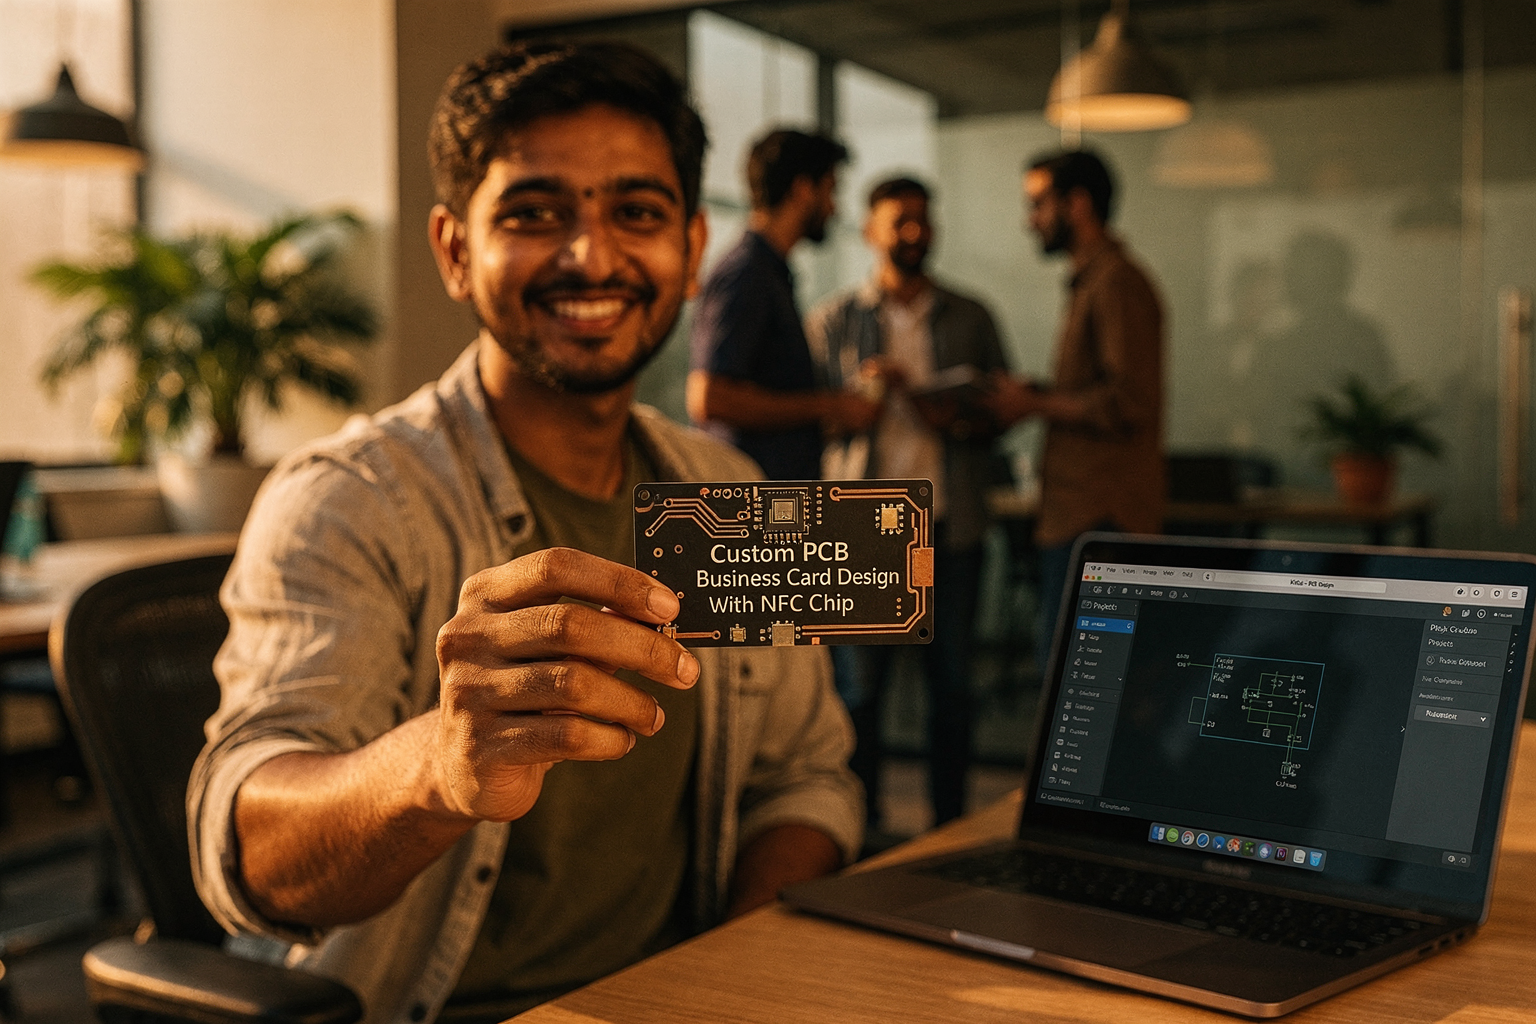
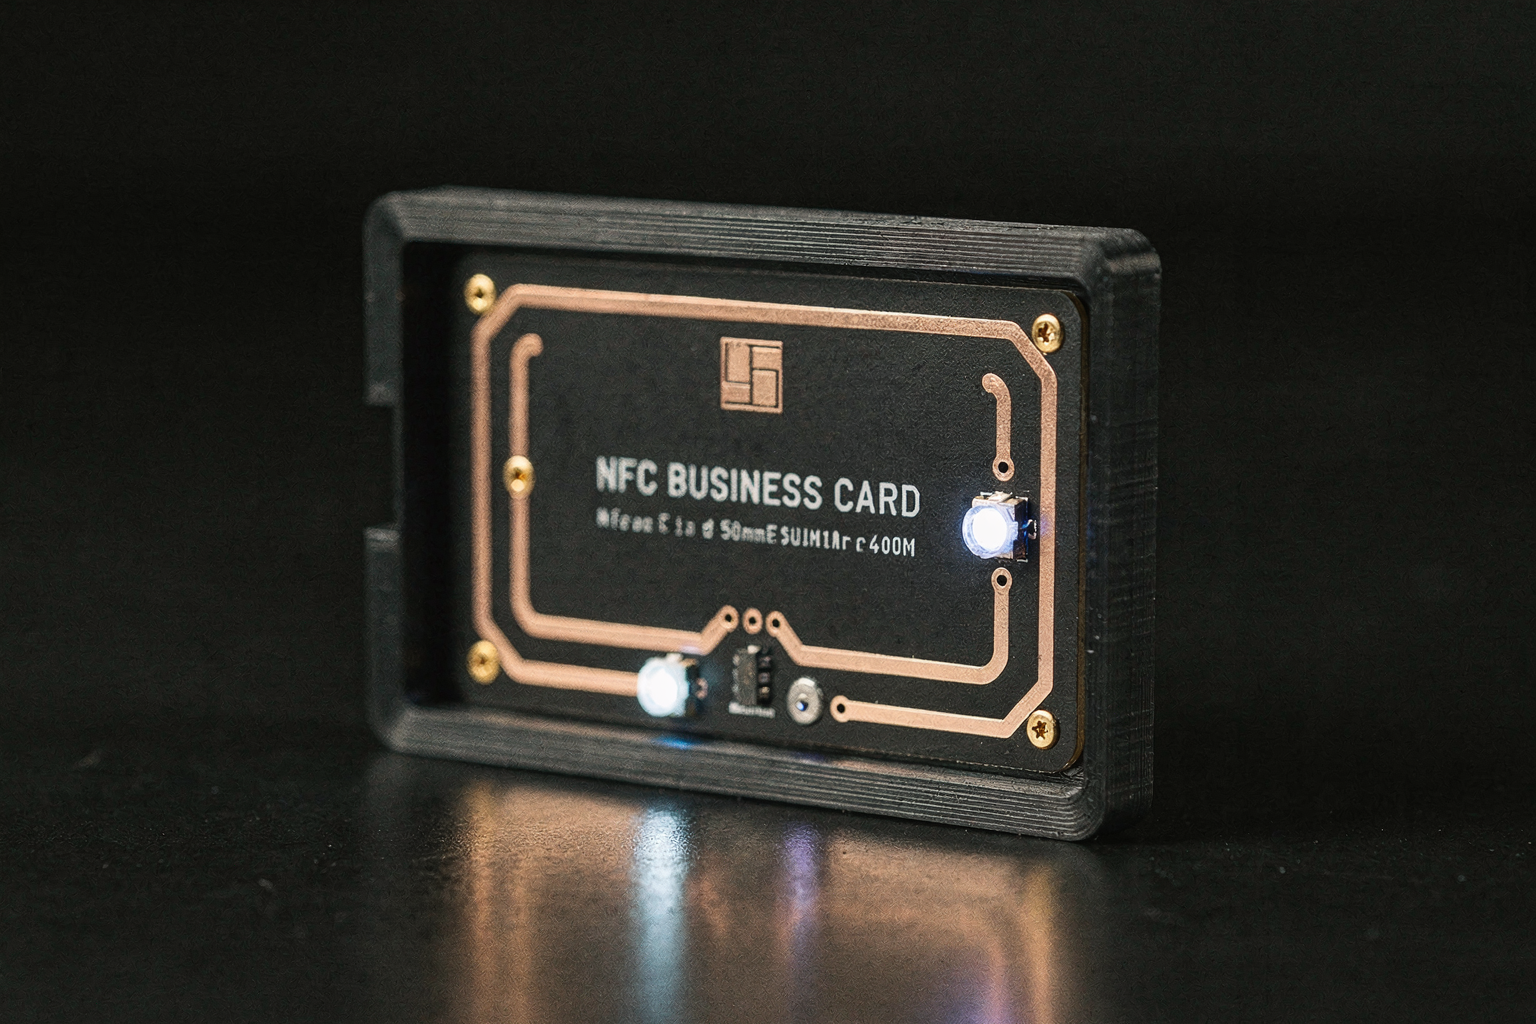
Are you tired of carrying traditional paper business cards that get lost in meetings? As an engineering student or DIY enthusiast in India, you're always looking for innovative ways to stand out. Imagine a business card that not only looks professional but also doubles as a mini-tech showcase - a custom PCB business card with an integrated NFC chip! This project combines electronics, programming, and professional networking into one sleek, functional accessory that will make you the most memorable person at any networking event.
In this comprehensive guide, we'll walk you through everything you need to know about designing and creating your custom NFC-enabled business card. From component selection to programming and troubleshooting, we'll cover every step of the process. By the end of this article, you'll have the knowledge to create professional-grade business cards that demonstrate your technical expertise while serving a practical purpose.
Prerequisites and Required Components
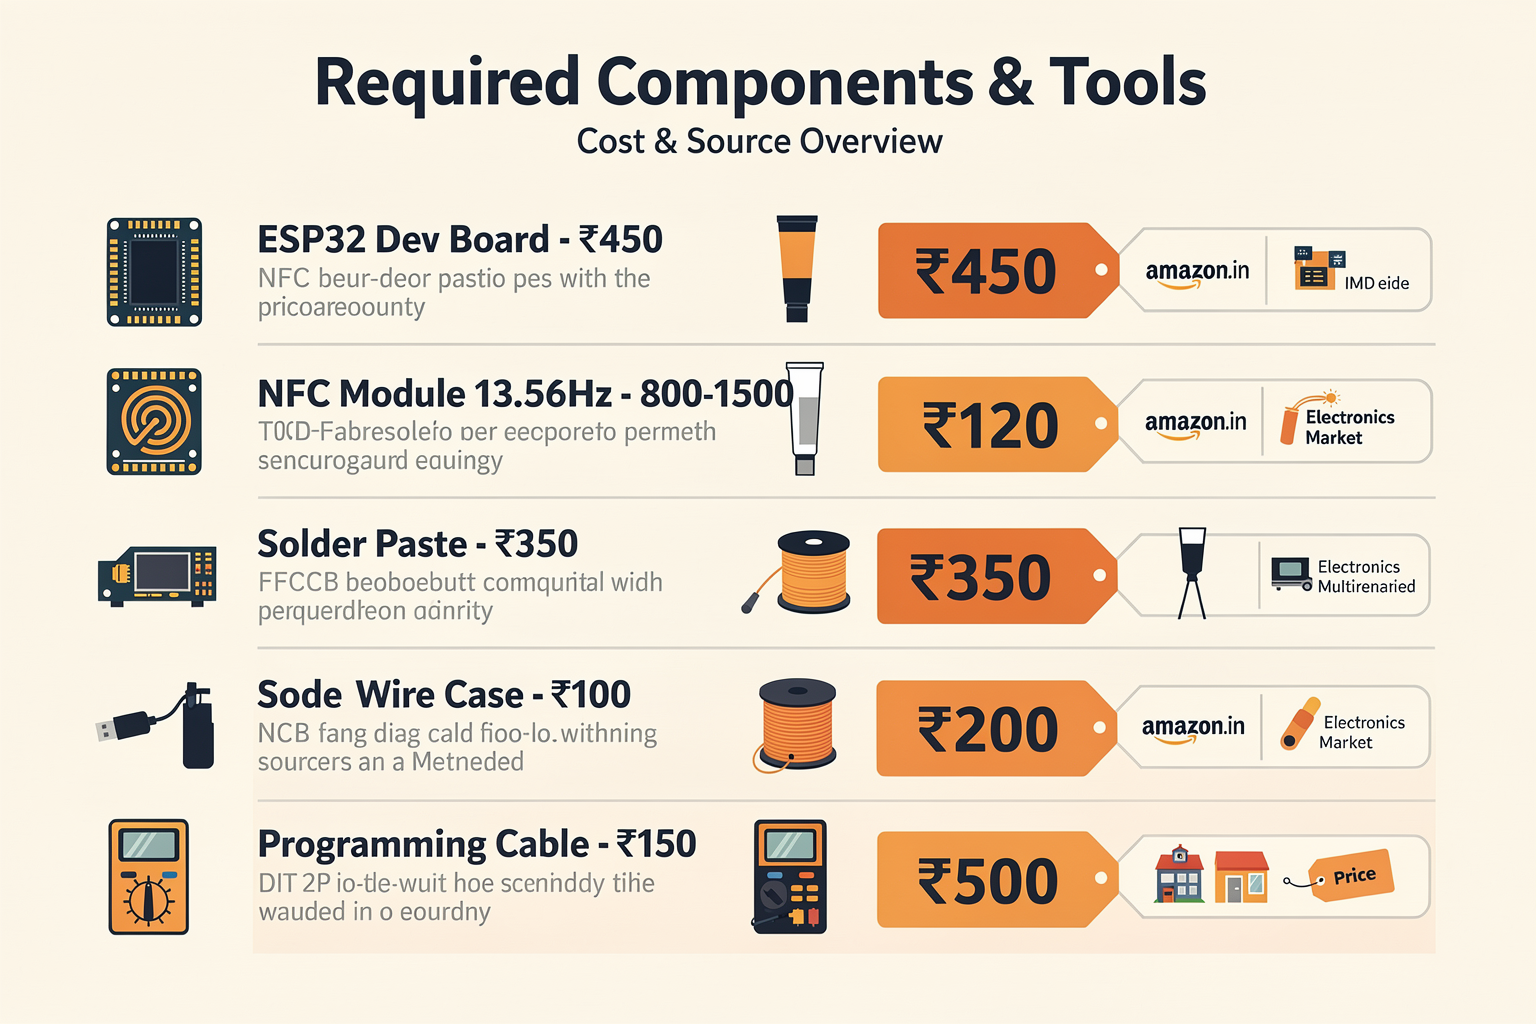
Before diving into this exciting project, let's gather all the necessary components. As a student or hobbyist in India, you'll find most of these parts readily available on popular electronics websites or at local markets like SP Road in Bangalore or Lamington Road in Mumbai.
| Component | Specification | Price (₹) | Where to Buy |
|---|---|---|---|
| ESP32 Dev Board | WiFi + Bluetooth + Multiple GPIO | 450 | Amazon India, Robu.in |
| NFC Module | Type A 13.56MHz | 120 | Electronicscomp.com, Local Electronics Markets |
| PCB Fabrication | 2-layer, 100mm x 60mm | 800-1500 | PCB Power, PCBWay India |
| Solder Paste | 0.05mm stencil compatible | 350 | Local Electronics Stores |
| Solder Wire | 0.8mm 60/40 SnPb | 200 | Electronics Markets |
| 3D Printed Case | ABS or PLA material | 100 | Local 3D Printing Services |
| Programming Cable | USB to TTL | 150 | Amazon India |
| Multimeter | Basic Digital | 500 | Local Electronics Shops |
Additional Tools and Software
You'll also need some essential tools for this project:
- Hot Air Rework Station (₹2000-3000) - Available at tool suppliers in electronics markets
- Microscope or Magnifying Glass (₹500-1000) - For inspecting small components
- Flux Pen (₹150) - Essential for SMD soldering
- Design Software - KiCad (Free), Altium (Paid), or EAGLE (Free version)
The total investment for this project ranges from ₹2,500 to ₹4,000 depending on whether you already own some tools. This is a small price to pay for a unique business card that can potentially land you valuable opportunities!
Getting Started: The Design Process
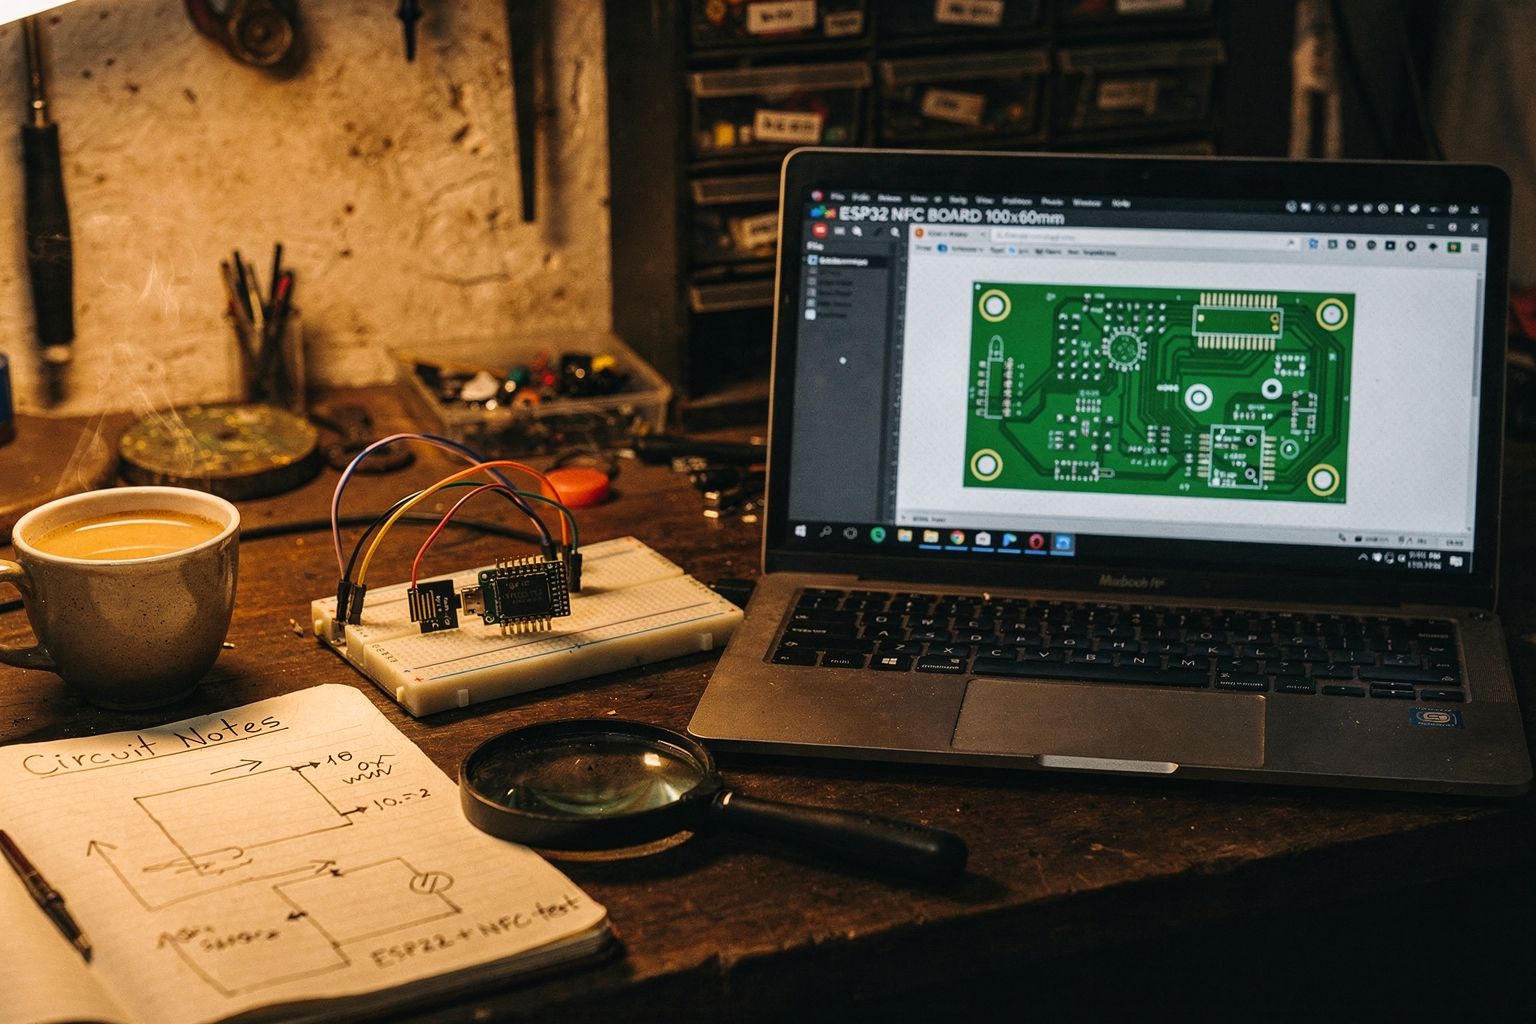
Step 1: Planning Your PCB Layout
The first crucial step in creating your custom business card PCB is careful planning. Business cards typically follow standard dimensions of 90mm x 50mm, but we'll design ours at 100mm x 60mm to accommodate the electronics comfortably.
Your PCB should include:
- ESP32 microcontroller (main processing unit)
- NFC module (for wireless communication)
- Battery charging circuit (if you want rechargeable option)
- Power management circuitry
- Optional status LEDs
Step 2: Circuit Design
Here's a basic circuit diagram for your NFC business card:
ESP32 (Master)  --- SPI --- NFC Module
ESP32 GPIO5     --- SWD --- Programming Interface
ESP32 GPIO13     --- LED1 --- Status LED
ESP32 GPIO12     --- LED2 --- Activity LED
ESP32 3V3        --- VBAT --- Battery Management
Step 3: PCB Design Software
For creating your custom PCB, I recommend using KiCad - it's free, powerful, and has good community support. Here's how to get started:
- Download and install KiCad from their official website
- Create a new project and set the board dimensions to 100mm x 60mm
- Place components strategically - keep the ESP32 and NFC module close together
- Route connections carefully, avoiding crossover points
- Create a silkscreen layer for component labels and your business information
Step 4: Component Placement Strategy
When placing components on your mini-board, consider these tips:
- Keep high-speed signals (SPI lines) as short as possible
- Separate analog and digital grounds
- Place the NFC module near the edge of the board (acts as antenna placement)
- Position the ESP32 centrally for balanced weight distribution
Programming Your NFC Business Card
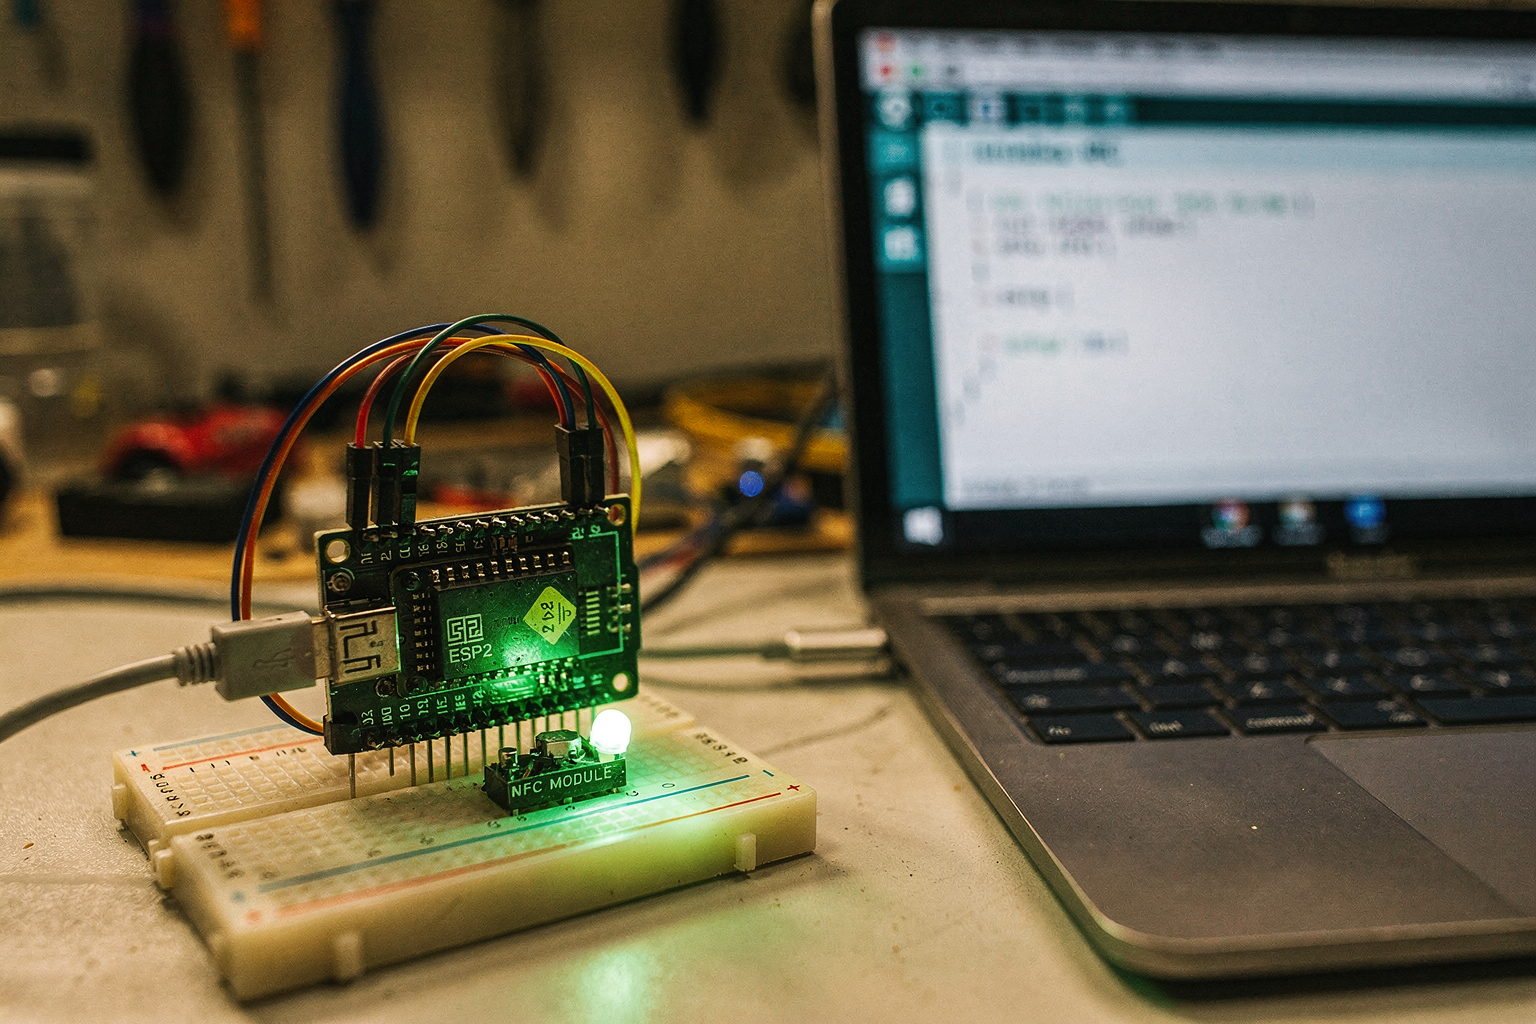
Step 1: Setting Up the Development Environment
Let's start with the basic Arduino code for your NFC business card. This example will read data from the NFC tag when a phone comes near:
#include <WiFi.h>
#include <NFCReader.h>
#include <WiFiMulti.h>
// WiFi credentials
const char* ssid = "YOUR_WIFI_SSID";
const char* password = "YOUR_WIFI_PASSWORD";
// Initialize WiFi
WiFiMulti wifiMulti;
void setup() {
Serial.begin(115200);
// Initialize NFC reader
nfc.begin();
// Connect to WiFi
wifiMulti.addAP(ssid, password);
Serial.println("NFC Business Card Initialized");
}
void loop() {
// Check WiFi connection
if (wifiMulti.run() == WL_CONNECTED) {
// Read NFC tag
String nfcId = nfc.readNFCID();
if (nfcId != "") {
// Connect to server or process data
processNFCData(nfcId);
}
}
delay(100);
}
void processNFCData(String id) {
Serial.println("NFC Tag Detected: " + id);
// Here you can:
// 1. Send data to a web service
// 2. Display information on an OLED
// 3. Trigger actions based on the NFC ID
// Example: Send to a simple API
String data = "card_id=" + id + "×tamp=" + String(millis());
// Process or transmit data
handleBusinessCardInfo(data);
}
Step 2: Implementing NFC Data Storage
To make your business card truly useful, you need to store information on the NFC chip. Here's how to implement this:
#include <NFCWriter.h>
#include <SoftwareSerial.h>

// Create a software serial for NFC communication
SoftwareSerial nfcSerial(2, 3); // RX, TX pins

void writeToNFC(String businessInfo) {
  nfcSerial.begin(9600);
  delay(100);

  // Write business information to NFC tag
  nfcSerial.println("WRITE:" + businessInfo);

  // Read back to verify
  String response = nfcSerial.readStringUntil('\n');

  if (response == "SUCCESS") {
    Serial.println("Successfully wrote to NFC tag");
  } else {
    Serial.println("Failed to write to NFC tag");
  }
}

// Example business information string
String createBusinessInfo() {
  String info = "NAME:Your Name&";
  info += "COMPANY:Your Company&";
  info += "PHONE:9876543210&";
  info += "EMAIL:[email protected]&";
  info += "WEBSITE:www.yourwebsite.com";
  return info;
}
Advanced Features and Customization
To make your custom business card stand out, consider these advanced features:
Feature 1: Interactive Display
Add a small OLED display to show dynamic information:
#include <Wire.h>
#include <Adafruit_GFX.h>
#include <Adafruit_SSD1306.h>

#define OLED_RESET -1
Adafruit_SSD1306 display(128, 64, &Wire, OLED_RESET);

void showBusinessCardInfo() {
  display.clearDisplay();
  display.setTextSize(1);
  display.setTextColor(WHITE);
  display.setCursor(0, 0);
  display.println("Your Name");
  display.println("Software Engineer");
  display.println("Call: 9876543210");
  display.println("www.yourprofile.com");
  display.display();
}
Feature 2: QR Code Generation and Display
Create a QR code that links to your digital business card:
#include <QRCode.h>

void generateQRCode() {
  String url = "https://yourprofile.com/contact";

  // Generate QR code
  QRCode qrcode(url);

  // Display QR code on OLED
  display.clearDisplay();
  qrcode.draw(display.getBuffer(), 0, 0, 128, 128);
  display.display();
}
Feature 3: Battery Management
For a portable solution, implement battery charging:
#include <BMS.h>

BMS battery(3); // Battery management system

void checkBatteryLevel() {
  int batteryLevel = battery.getChargePercent();

  if (batteryLevel < 20) {
    // Red LED flashing
    digitalWrite(2, HIGH);
    delay(200);
    digitalWrite(2, LOW);
    delay(200);
  }
  else if (batteryLevel < 50) {
    // Yellow LED
    digitalWrite(3, HIGH);
  }
  else {
    // Green LED
    digitalWrite(2, HIGH);
  }
}
Advanced Tips for Professional Results
| Tip | Description | Benefit |
|---|---|---|
| Use proper solder paste stencil | Essential for SMD component placement | Ensures clean, reliable connections |
| Implement proper grounding | Use ground planes for signal integrity | Reduces noise and improves performance |
| Add conformal coating | Protect PCB from moisture and corrosion | Increases durability in Indian climate |
| Use quality NFC chip | NXP or similar from authorized distributors | Better range and reliability |
| PCB material selection | FR4 with high TG rating for heat resistance | Prevents warping in high temperatures |
Pro Tips for PCB Fabrication in India
When fabricating your custom PCB in India, consider these practical tips:
- Choose local PCB manufacturers: Companies like PCB Power and PCB Power offer faster turnaround times within India
- Order in batches: Fabricating multiple boards at once can reduce costs by 30-40%
- Consider the monsoon season: Schedule fabrication during dry months (October-February) for better quality
- Local testing: Before making large batches, test one PCB thoroughly
- Custom silkscreen: Add your logo and tagline for personal branding
Common Mistakes and How to Avoid Them
| Common Mistake | Consequence | Solution |
|---|---|---|
| Incorrect component orientation | Damaged components | Double-check datasheets, use pin 1 markers |
| Poor solder joints | Intermittent connections | Use proper temperature, practice SMD soldering |
| Inadequate power supply | System instability | Design proper power regulation, add capacitors |
| RFID interference | NFC not working | Keep away from metal objects, proper antenna placement |
| Missing firmware upload | Blank device | Verify programming pins, use proper bootloader |
Troubleshooting Your NFC Business Card
Even with careful planning, you might encounter issues. Here's a systematic approach to troubleshooting:
- No Power: Check battery connections and charging circuit
- NFC Not Responding: Verify antenna placement and module compatibility
- WiFi Connection Issues: Check antenna placement and signal strength
- Programming Issues: Ensure correct pin connections and bootloader settings
- Physical Damage: Inspect for solder bridges or broken traces
Common Solutions for Indian Market Issues
- High Temperature: Use heat-resistant components and proper ventilation
- Power Fluctuations: Add voltage regulation and protection circuits
- Dust and Humidity: Apply conformal coating for protection
- Component Availability: Keep spare critical components from local markets
Frequently Asked Questions
With proper optimi
Ready to start building?
Explore our collection of DIY kits and components. All project components mentioned in this blog are available in our store.
Browse All Projects