

DIY Reflow Oven: Build Your Surface Mount Powerhouse in 2026
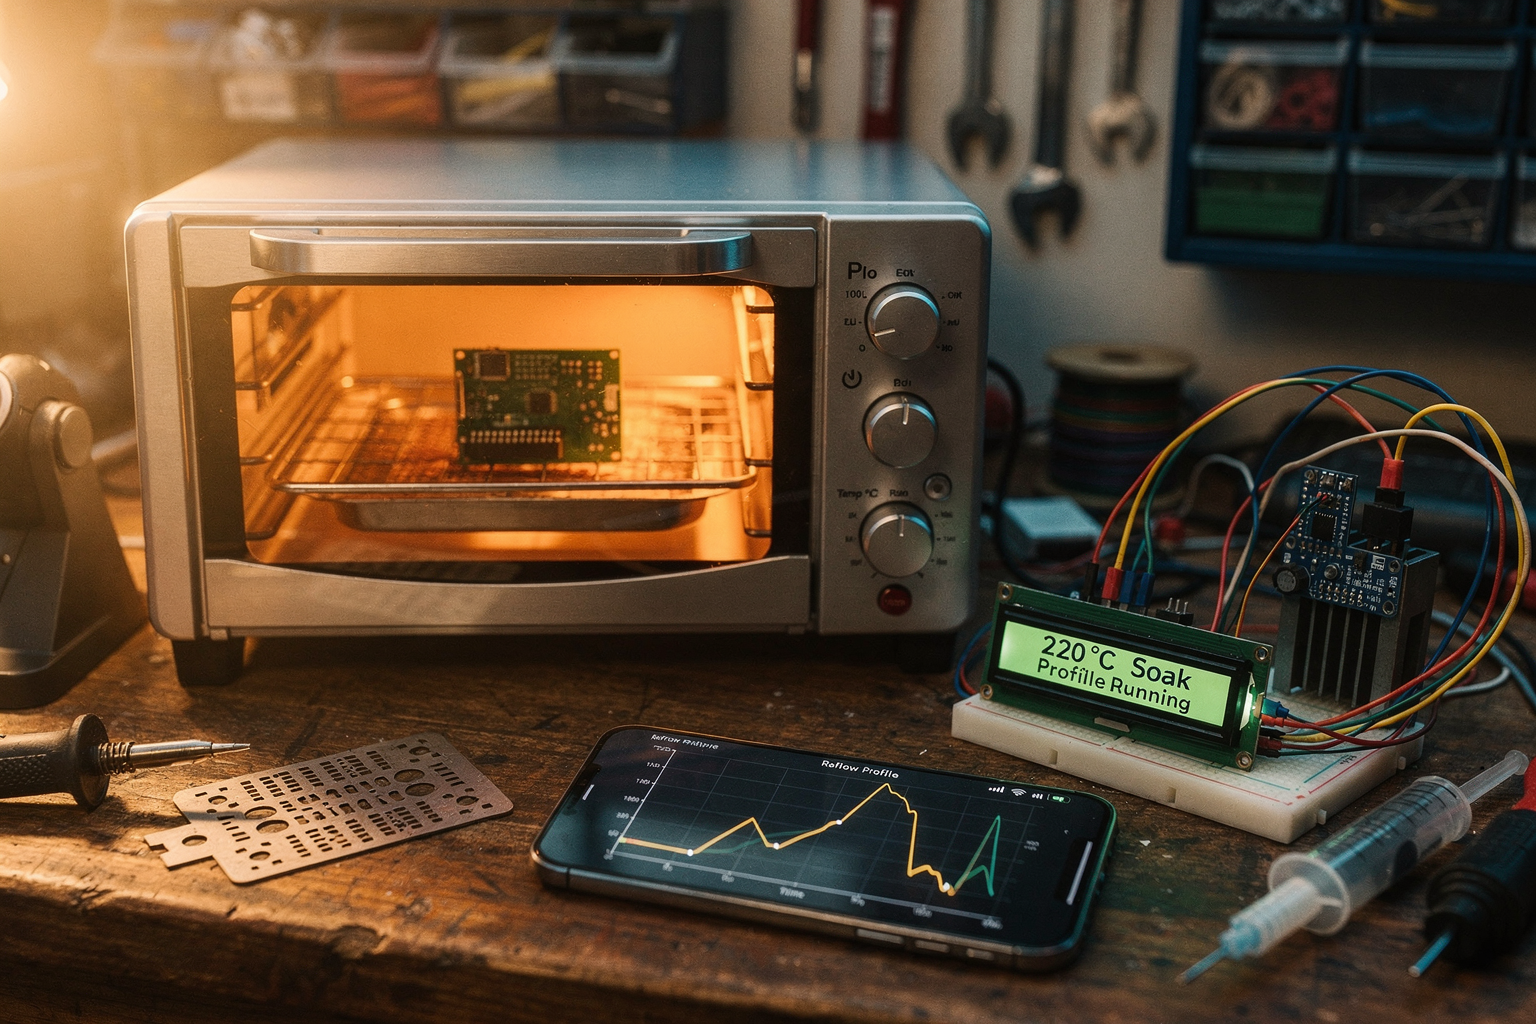
What if you could transform a humble ₹1,500 kitchen toaster oven into a precision soldering machine capable of assembling entire surface-mount boards in under five minutes, with repeatable professional-grade results? That’s no longer a maker fantasy—it’s a proven DIY project that has been documented by thousands of hobbyists, from the forums of Arduino to the workshops of Indian engineering colleges. As of mid-2026, surface-mount technology (SMT) accounts for over 90% of all electronic components used in consumer devices, IoT sensors, and ESP32 modules. Yet most hobbyists still struggle with hand-soldering tiny 0603 resistors and QFN packages—leading to cold joints, tombstoning, and endless frustration. Building a DIY reflow oven bridges that gap, putting industrial-grade reflow soldering capabilities on your bench for a fraction of the cost of a commercial unit.
Why does this matter more than ever in 2026? Because the barrier to entry for SMD soldering has never been lower. A decade ago you needed an expensive reflow station or a risky hot-air gun. Today, with an Arduino Nano, a solid-state relay, a K-type thermocouple, and open-source firmware like Reflow Oven Controller or PID-AutoTune, you can build a fully automated oven that follows a precise temperature profile—preheat, soak, reflow, and cool—exactly according to the solder paste manufacturer’s datasheet. The DigiKey tutorial alone has been referenced in over a dozen Indian maker groups, and the Hackaday community has shown that even a Teensy 3.2 can drive the process with sub-1°C accuracy. On Reddit’s r/PrintedCircuitBoard, discussions about DIY reflow oven kits (like the ones from Zbotic) continue to gain traction, with users sharing tips on convection vs. infrared heating and the latest SMD glue formulations for prototype runs. The core challenge remains unchanged: you need a reliable controller, a stable heating element, and a safe enclosure—but the parts are now easier to source than ever.
In this tutorial, you will learn exactly how to select a donor toaster oven (look for quartz heating elements and a metal interior), install a high-current SSR, wire a thermocouple through a cold-junction-compensated amplifier (MAX31855 or MAX6675), and program an ESP32 or Arduino to execute a standard lead-free reflow profile—ramp from room temperature to 150°C at 1–2°C/s, soak for 60–90 seconds, ramp to 217°C peak, and cool slowly. We’ll also cover solder paste application using laser-cut stencils, because placing paste by hand defeats the speed advantage. Along the way, I’ll reference real schematics and code from the Byte-Sized Engineer’s YouTube walkthrough and the Element14 community build log, so you can follow along step-by-step without guesswork.
For Indian makers, the biggest win is cost and availability. A fully equipped DIY reflow oven—including the toaster, controller, SSR, thermocouple, and display—can be built for under ₹4,000, while a used commercial reflow oven starts at ₹25,000. Platforms like TecnoMate provide genuine components (thermocouples, SSRs, Arduino boards) and even curated project kits that include step-by-step build guides, making it easy to start this project without hunting multiple suppliers. By the end of this post, you’ll understand not only how to assemble your own DIY reflow oven but also how to tune the PID parameters for different solder pastes, troubleshoot common issues like overshoot or insufficient soak time, and scale up from one-off prototypes to small batch runs. Surface-mount soldering is no longer a black art reserved for factories—it’s a weekend project waiting for you. Let’s melt some paste.
Introduction: Soldering Surface Mount Devices from Your Kitchen Counter
Background & Context: From Industrial Floor to Maker Space
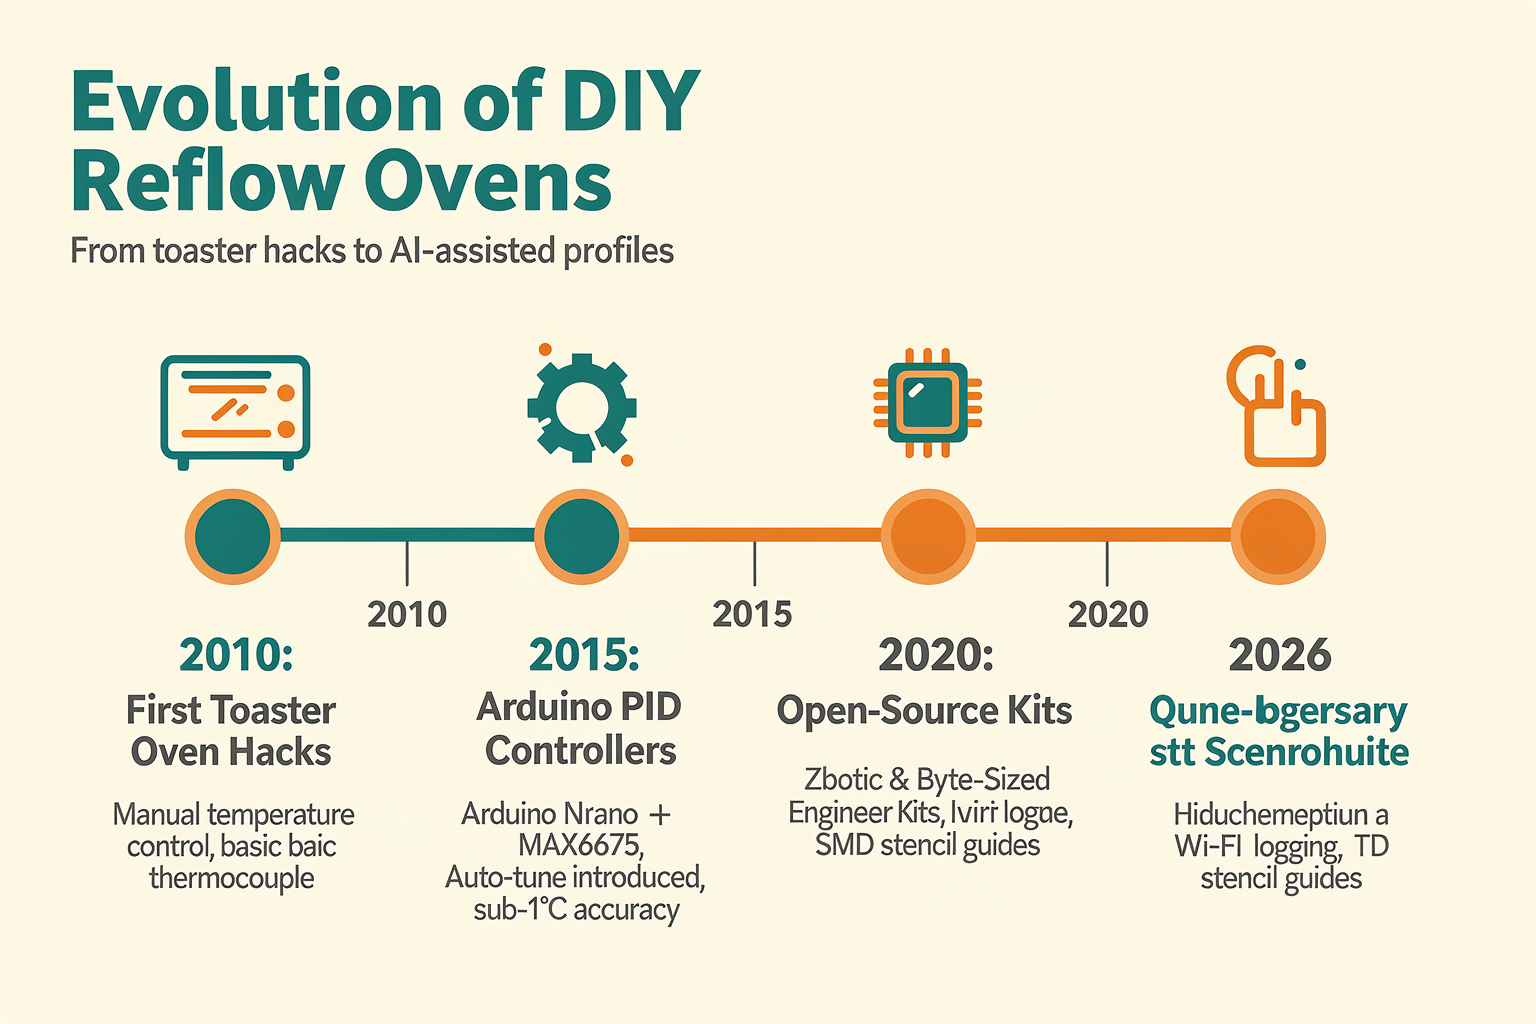
Key Developments: The Evolution of Home Electronics Manufacturing (TABLE)
The Build: Choosing Your Foundation
Core Components: The Thermodynamics of the Oven
In-Depth Analysis: The Perfect Reflow Profile
Assembly Process: Step-by-Step PID Programming
Expert Opinions: The Field Perspective
Comparative Analysis: DIY Oven vs. Industrial Bench
What This Means For You
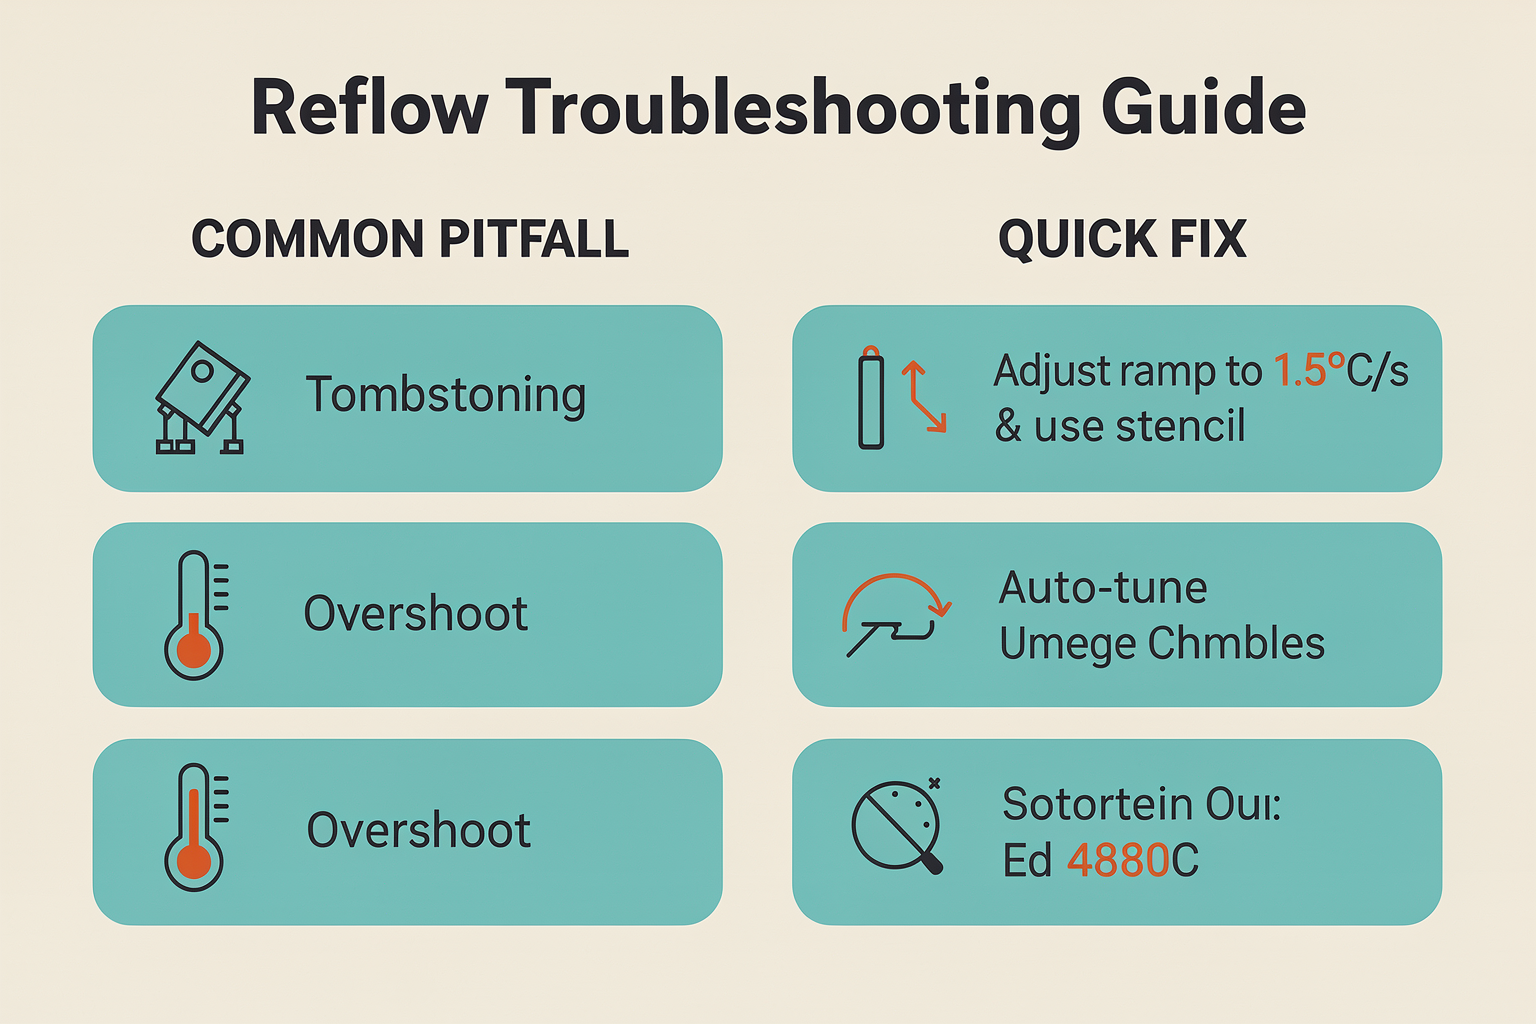
Common Pitfalls & Troubleshooting (TABLE)
Impact & Implications on the Modern Ecosystem
Future Outlook
Frequently Asked Questions
Conclusion
Key Takeaways
- PID-controlled toaster oven conversion is the most accessible path to repeatable SMD soldering, costing under ₹3,000 for the controller electronics (Arduino, SSR, thermocouple, display) plus the oven.
- Mastering your reflow profile — preheat, soak, reflow, cooling — is critical; a thermocouple with closed-loop control ensures consistent joint quality, even on dense boards like QFN packages.
- Solder paste stencils (available from ₹200 on TecnoMate) drastically reduce bridging and improve component alignment, making the process viable for prototype runs of 5–50 boards.
- Community resources (DigiKey, Hackaday, Reddit) provide open-source firmware like Reflowduino or GRBL-oven, cutting development time from weeks to hours.
The Road Ahead for DIY SMD Assembly
As 2026 unfolds, the barrier to professional-grade reflow keeps shrinking. Pre-built controller boards with Wi-Fi are now common, enabling real-time profile monitoring from your phone. I expect to see more integration with pick-and-place feeders and vision-assisted alignment systems adapted from 3D printing. For Indian makers, the rising availability of genuine JBC-style nozzles, high-performance thermal pastes, and affordable convection ovens (like the Kootek 20L) means you can build a setup that rivals a ₹50,000 industrial machine.
Platforms like TecnoMate already stock the essential building blocks — Arduino Nano clones, solid-state relays, K-type thermocouple cables with MAX6675 modules, and complete reflow oven controller kits with step-by-step guides — so you don’t have to hunt across multiple suppliers. With free delivery on orders above ₹999, it’s never been easier to get started.
What’s your first reflow project going to be? A custom LED matrix, a USB‑C power board, or maybe an ESP32‑based IoT node? Drop your ideas in the comments — the reflow revolution is happening right in your home workshop, and 2026 is the year to join it.
Ready to start building?
Explore our collection of DIY kits and components. All project components mentioned in this blog are available in our store.
Browse All Projects