

DIY Smart Home with Raspberry Pi: Complete Guide from Sensors to Automation
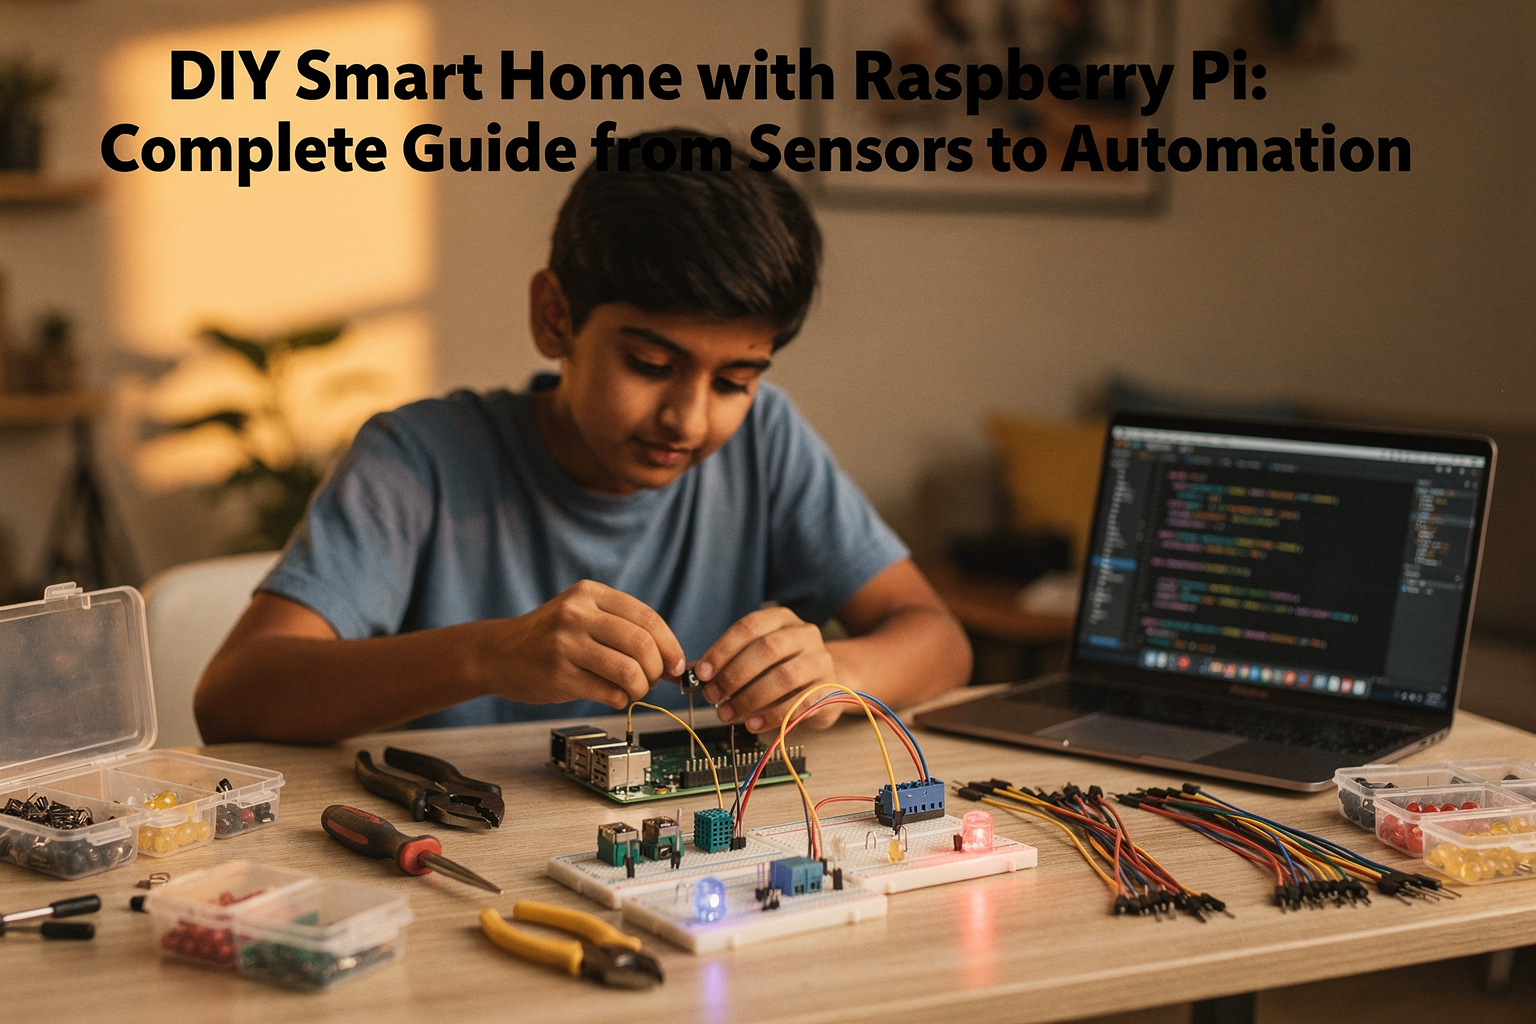
Welcome to the ultimate guide for building your own smart home system using Raspberry Pi! If you're an engineering student in India looking to dive into Internet of Things (IoT) projects, you've come to the right place. This complete guide will walk you through every step of creating a smart home automation system that's both affordable and powerful.
Introduction: The Smart Home Revolution in India
The concept of smart home technology is gaining immense popularity across Indian households. From major cities like Mumbai and Delhi to smaller towns, people are increasingly adopting smart solutions for security, energy efficiency, and convenience. As an engineering student, understanding this technology firsthand gives you a tremendous advantage in the job market.
Raspberry Pi, with its versatility and low cost (starting from ₹700 for the base model), has become the go-to platform for DIY enthusiasts across India. When combined with affordable sensors and components available at TecnoMate, you can build a complete smart home system for under ₹5,000!
This guide will focus on building a smart home system that includes:
- Motion detection and security
- Temperature and humidity monitoring
- Light control
- Voice command integration
- Mobile app control
Let's begin this exciting journey into the world of smart home automation!
Components Required
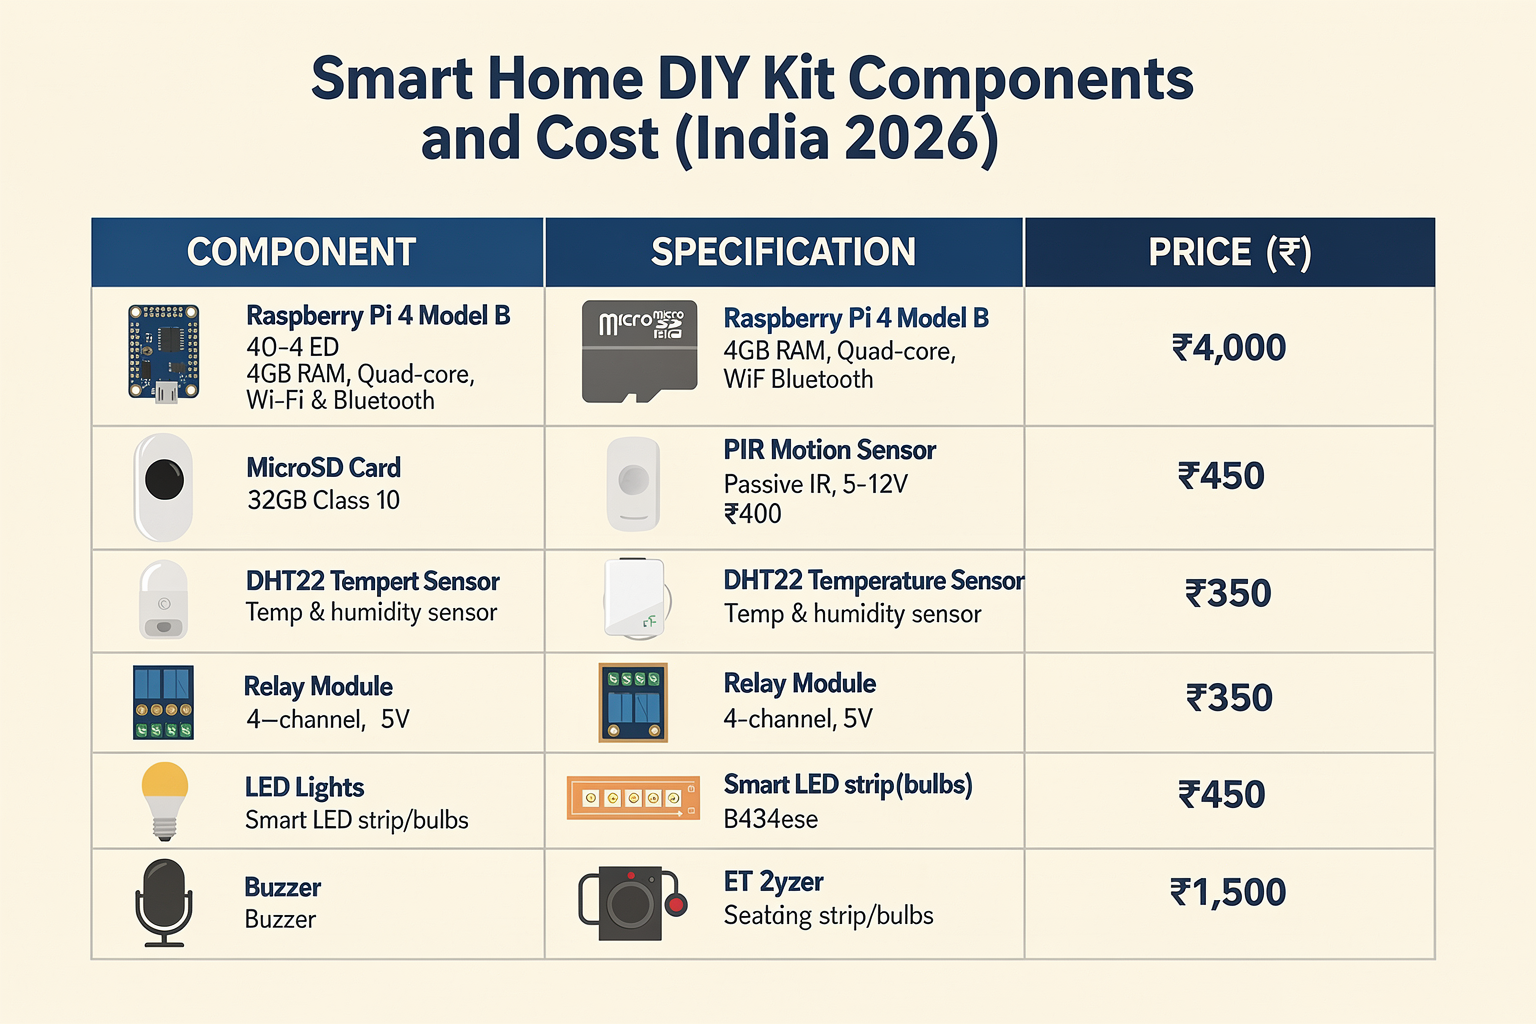
Before we dive into the technical details, let's gather all the components you'll need. You can find most of these components at TecnoMate's stores across India or order online.
| Component | Specification | Price (₹) | Purpose |
|---|---|---|---|
| Raspberry Pi 4 Model B | 2GB RAM, WiFi/BT | 4,500 | Main processing unit |
| MicroSD Card | 32GB, Class 10 | 450 | OS storage |
| PIR Motion Sensor | 3-5m range | 250 | Movement detection |
| DHT22 Temperature Sensor | ±0.5°C accuracy | 350 | Temperature/Humidity monitoring |
| Relay Module | 5V, Single channel | 180 | Control electrical devices |
| LED Lights | 5mm, Assorted colors | 150 | Visual indicators |
| Buzzer | 5V, Active | 120 | Audio alerts |
| Breadboard | 830 tie points | 200 | Prototyping |
| Jumper Wires | Male-to-Male/Female | 180 | Connections |
| Power Supply | 5V 3A for Pi | 650 | Power delivery |
| LDR Light Sensor | Photoresistor | 220 | Ambient light detection |
Total estimated cost: ₹8,580
Circuit Diagram and Connections
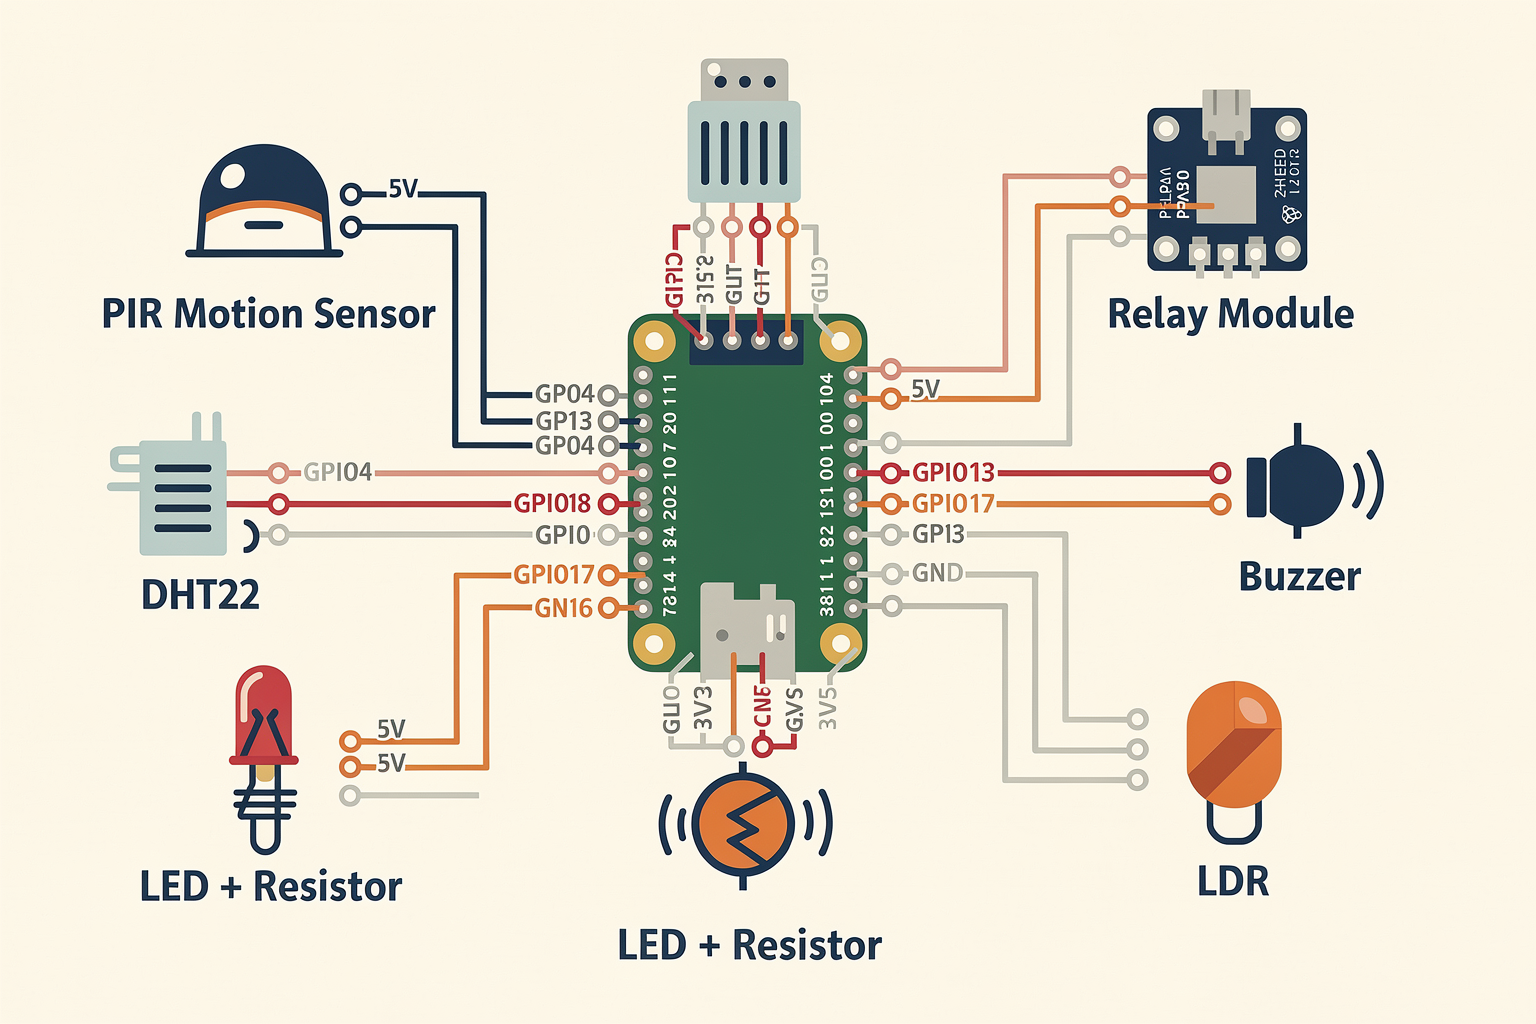
Understanding the hardware connections is crucial for a successful smart home project. Here's how to connect all the components:
Raspberry Pi GPIO Pinout
First, let's understand the GPIO pins we'll be using:
Physical Pin Numbers (Board view):
3V3    5V      GND     GPIO2   GPIO3   GPIO4
GPIO5   GPIO6   GPIO7   GPIO8   GPIO9   GPIO10
GPIO11  GPIO12  GPIO13  GPIO14  GPIO15  GPIO16
GPIO17  GPIO18  GPIO19  GPIO20  GPIO21  GPIO22
GPIO23  GPIO24  GPIO25  GPIO26  GPIO27  GPIO28
GPIO3V3 GPIO29  GPIO30  GPIO31  GPIO32  GPIO33
GPIO34  GPIO35  GPIO36  GPIO37  GPIO38  GPIO39
Connection Steps:
-
PIR Motion Sensor:
- VCC → Pin 2 (5V)
- GND → Pin 6 (GND)
- OUT → Pin 7 (GPIO4)
-
DHT22 Temperature Sensor:
- VCC → Pin 1 (5V)
- GND → Pin 6 (GND)
- Data → Pin 4 (GPIO4)
-
Relay Module:
- VCC → Pin 2 (5V)
- GND → Pin 6 (GND)
- IN → Pin 11 (GPIO17)
-
LED Indicators:
- LED Anode → 220Ω Resistor → Pin 10 (GPIO16)
- LED Cathode → Pin 6 (GND)
-
Buzzer:
- Positive Pin → Pin 12 (GPIO18)
- Negative Pin → Pin 6 (GND)
-
LDR Sensor:
- VCC → Pin 1 (5V)
- GND → Pin 6 (GND)
- A0 → Pin 25 (GPIO24)
Step-by-Step Guide: From Setup to Automation
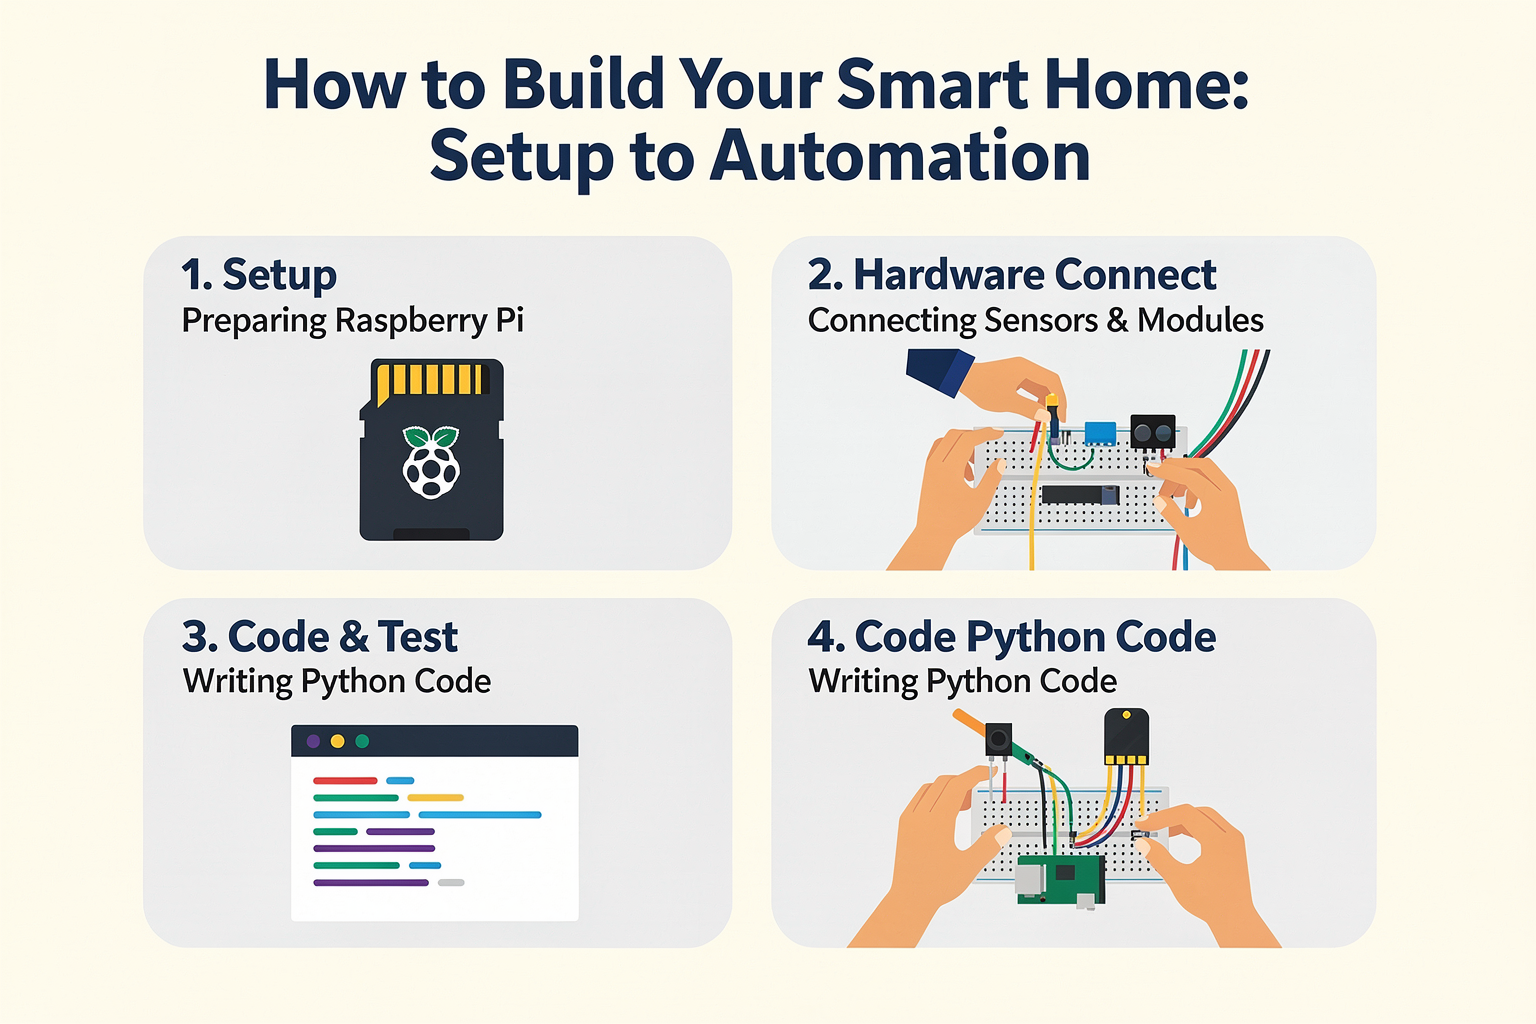
Step 1: Setting Up Raspberry Pi
First, let's prepare your Raspberry Pi for the smart home project.
-
Download Raspberry Pi OS: Visit raspberrypi.org and download the Lite version (recommended for server applications).
-
Flash the SD Card: Use Raspberry Pi Imager (available for Windows/Mac/Linux) to flash the OS onto your 32GB SD card.
-
Initial Configuration:
- Enable SSH:
sudo raspi-config→ Network Options → SSH → Enable - Set up WiFi:
sudo raspi-config→ Network Options → WiFi - Enable I2C/SPI if needed:
sudo raspi-config→ Interface Options
- Enable SSH:
-
Update System:
CodeTecnoMatesudo apt update && sudo apt upgrade -y
Step 2: Installing Required Python Libraries
Connect to your Raspberry Pi via SSH or connect a keyboard and monitor. Open a terminal and install the necessary Python libraries:
pip3 install RPi.GPIO
pip3 install adafruit-circuitpython-dht
pip3 install flask
pip3 install requests
Step 3: Setting Up the Smart Home System
Now, let's create the main smart home system. Create a project directory:
mkdir smart_home
cd smart_home
mkdir sensors control web_interface
Step 4: Creating the Sensor Modules
Let's create Python modules for reading different sensors.
Motion Detection Module (sensors/motion_sensor.py):
import RPi.GPIO as GPIO
import time

class MotionSensor:
    def __init__(self, pin=7):
        self.pin = pin
        GPIO.setmode(GPIO.BCM)
        GPIO.setup(self.pin, GPIO.IN)
        self.callback = None

    def set_callback(self, callback):
        self.callback = callback
        GPIO.add_event_detect(self.pin, GPIO.RISING,
                            callback=self.motion_detected,
                            bouncetime=300)

    def motion_detected(self, channel):
        if self.callback:
            self.callback(True)

    def is_motion_detected(self):
        return GPIO.input(self.pin)

    def cleanup(self):
        GPIO.cleanup()
Temperature & Humidity Module (sensors/temperature_sensor.py):
import time
import adafruit_dht

class TemperatureSensor:
    def __init__(self, pin=4):
        import board
        self.dht_device = adafruit_dht.DHT22(getattr(board, f'D{pin}'))

    def read_sensor(self):
        try:
            temperature = self
Ready to start building?
Explore our collection of DIY kits and components. All project components mentioned in this blog are available in our store.
Browse All Projects