

Edge Impulse Tutorial: Training ML Models for Microcontrollers
Introduction
The trend of edge AI computing is revolutionizing how we develop smart devices in India. Gone are the days when machine learning was confined to powerful servers and cloud infrastructure. Today, you can run sophisticated ML models directly on tiny microcontrollers, bringing intelligence to the edge of your projects. This paradigm shift is particularly exciting for engineering students and DIY electronics enthusiasts across India's engineering colleges and maker spaces.
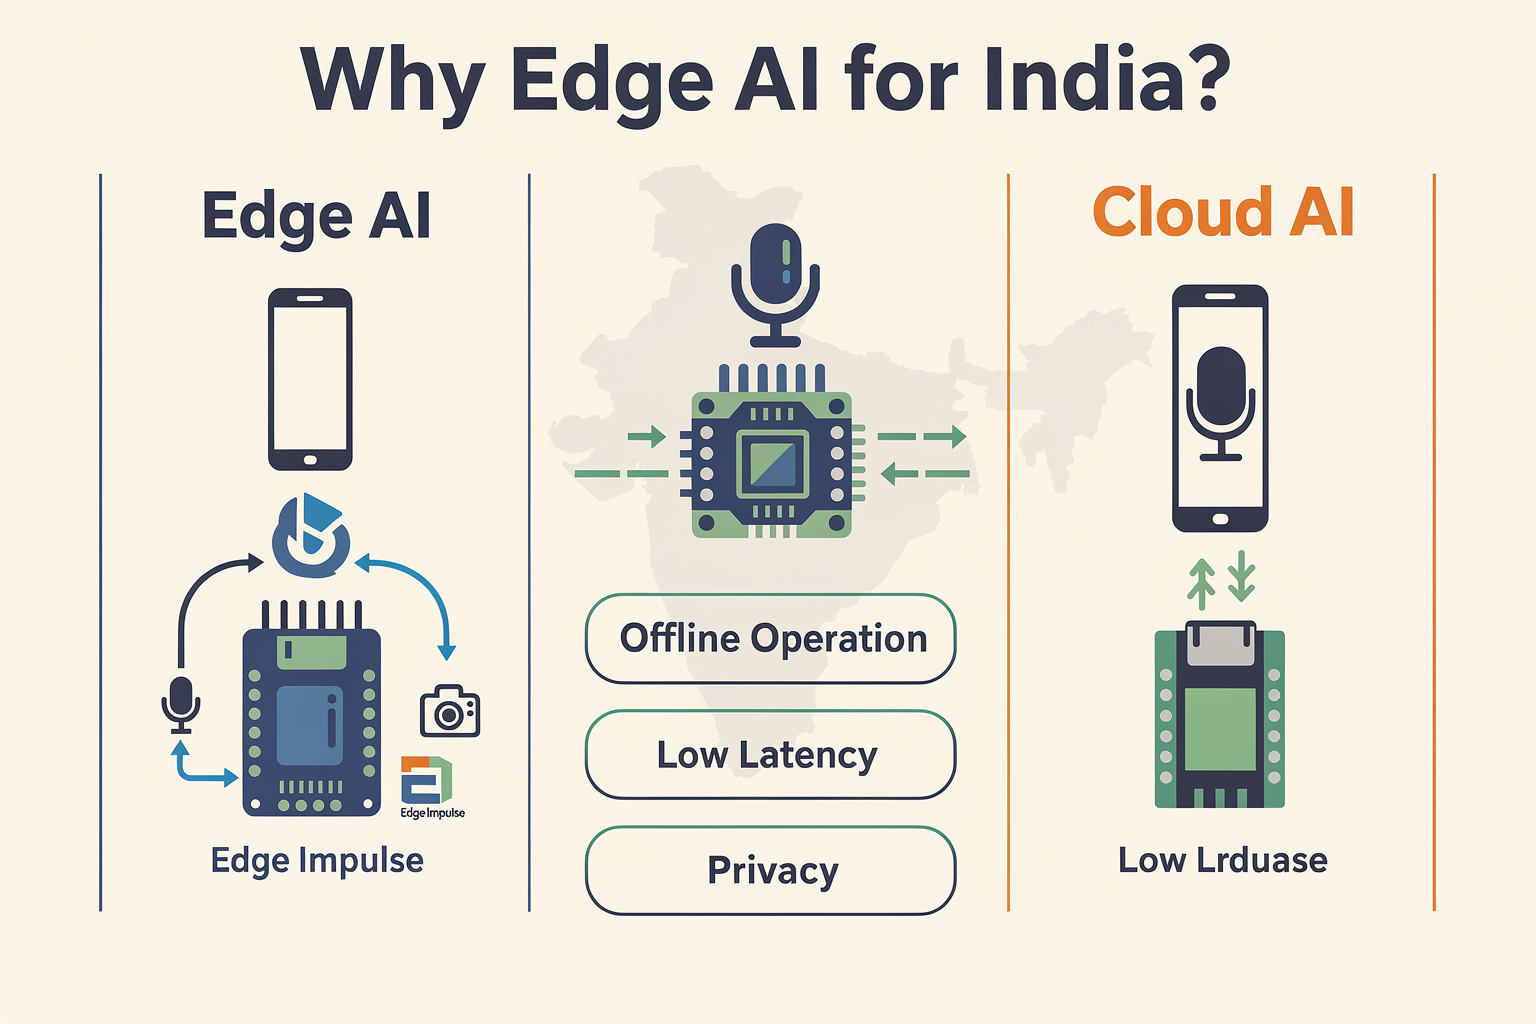
Edge AI offers several compelling advantages: lower latency, reduced bandwidth requirements, improved privacy, and the ability to operate offline. Leading this revolution is Edge Impulse, an open-source machine learning platform specifically designed for edge devices. In this comprehensive tutorial, we'll guide you through the entire process of training and deploying ML models on microcontrollers, all while staying within budget constraints typical of student projects.
Whether you're building smart wearables, industrial IoT sensors, or environmental monitoring systems, this guide will equip you with the skills to harness the power of edge computing. Let's dive into the world of embedded machine learning!
Components Required
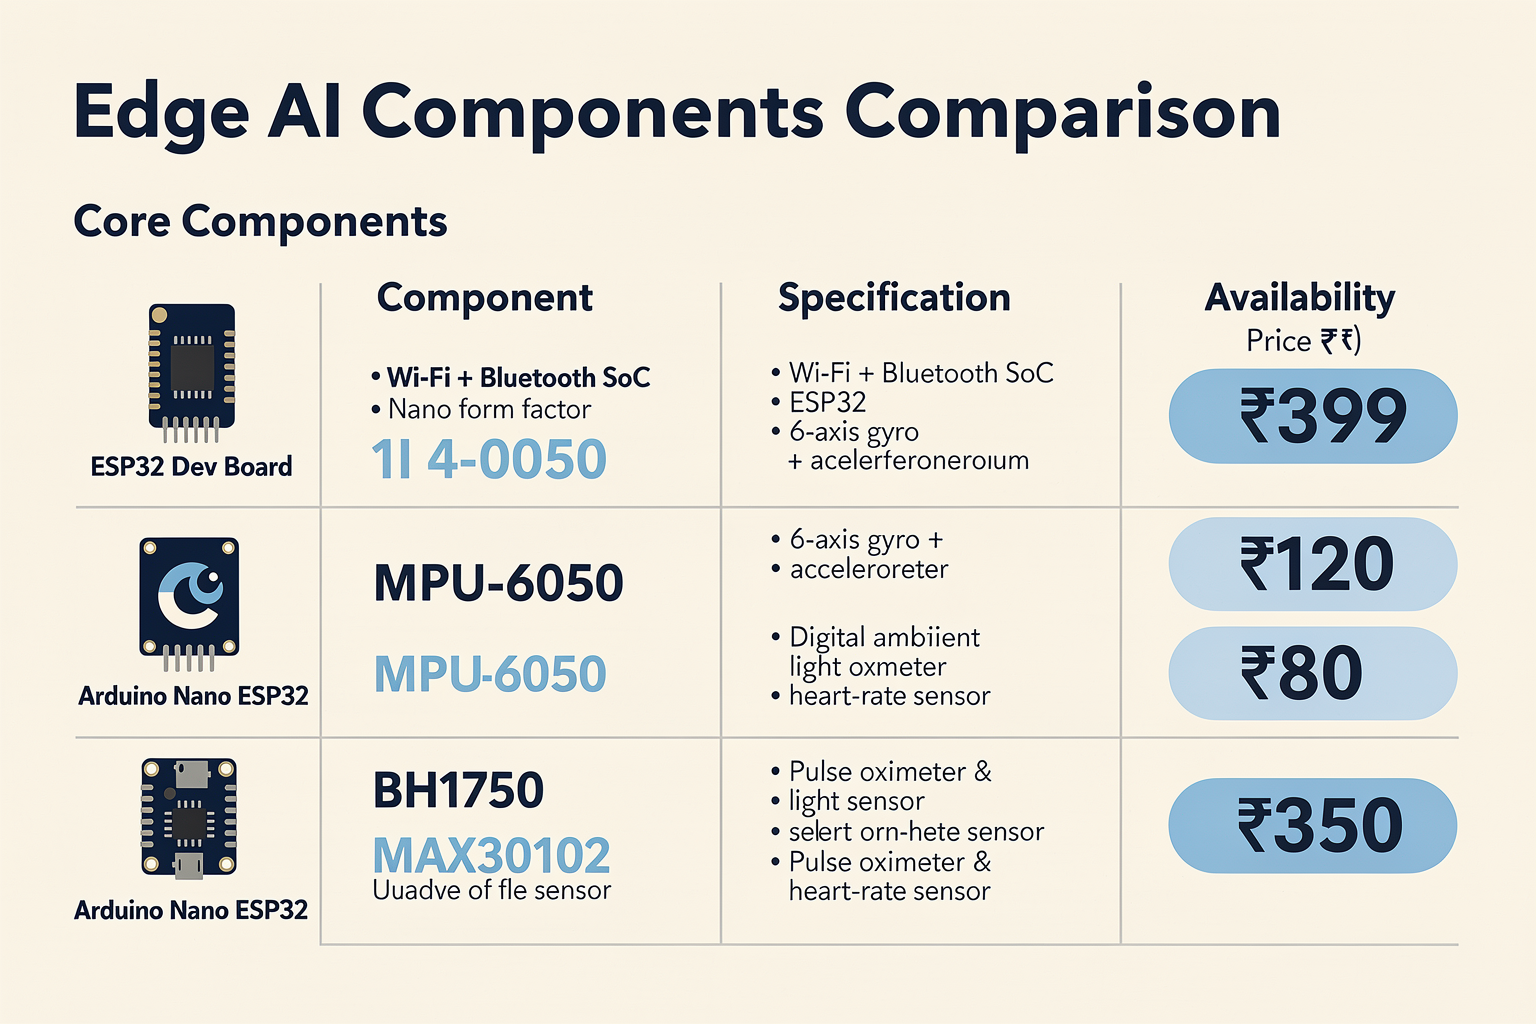
Before we begin our journey into edge AI, let's gather the necessary hardware and software components. Here's a comprehensive list with availability and pricing information from Indian suppliers like Robokits India, Embedded Labs, and Amazon India:
| Component | Specification | Price (₹) | Availability |
|---|---|---|---|
| ESP32 Dev Board | WiFi + Bluetooth, 3.3V | 450 | Robokits India |
| Arduino Nano ESP32 | AI-capable, 32-bit | 380 | Embedded Labs |
| MPU-6050 | 6-axis IMU sensor | 180 | Robokits India |
| BH1750 | Light sensor | 220 | Amazon India |
| MAX30102 | Heart rate sensor | 450 | Embedded Labs |
| USB-C Cable | Data transfer | 150 | Local electronics store |
| Breadboard & Jumper Wires | Prototyping | 300 | Robokits India |
| 9V Battery with Adapter | Power supply | 200 | Local market |
Software Requirements:
- Edge Impulse Studio (Free tier available)
- Arduino IDE (Free)
- Python 3.8+ (Free)
- Git (Free)
Optional Components for Advanced Projects:
| Component | Specification | Price (₹) | Use Case |
|---|---|---|---|
| OLED Display 128x64 | I2C interface | 350 | Real-time ML results |
| MicroSD Card Module | SPI interface | 120 | Data logging |
| LoRa Module | Long-range communication | 800 | IoT applications |
Understanding Edge AI and Edge Impulse
What is Edge AI?
Edge AI refers to running artificial intelligence algorithms directly on edge devices rather than relying on cloud-based processing. This approach is gaining traction in India's smart cities initiatives, industrial automation, and IoT sector. Traditional cloud-based AI models face challenges in rural areas of India where internet connectivity can be unreliable or expensive.
The trend toward edge AI is driven by several factors:
- Reducing data transmission costs in bandwidth-constrained regions
- Meeting data privacy requirements under India's Digital Personal Data Protection Act
- Providing real-time responses critical for applications like robotics and automotive
- Operating in offline environments where connectivity is impossible
Why Edge Impulse?
Edge Impulse is specifically designed for embedded developers and stands out for several reasons:
- Simplified Workflow: From data collection to deployment, everything happens in one platform
- Hardware Support: Extensive support for popular microcontrollers including ESP32, Arduino, and STM32
- Automatic Feature Extraction: Saves time by handling preprocessing steps automatically
- Model Optimization: Compresses models to run efficiently on resource-constrained devices
The platform is particularly well-suited for Indian developers because:
- It offers a generous free tier for students and hobbyists
- Supports Hindi language in the interface (helps non-English speakers)
- Has active community support for Indian time zones
- Compatible with locally available development boards
Setting Up Your Environment
Hardware Setup
- Power Connection: Connect your ESP32 to USB power or a 9V battery
- Sensor Wiring: Connect MPU-6050 using I2C protocol (SDA to GPIO 21, SCL to GPIO 22 on ESP32)
- Breadboard Layout: Arrange components for easy access during testing
Software Installation
# Install Arduino IDE with ESP32 support
# Visit: https://docs.espressif.com/projects/arduino-esp32/en/latest/installing.html

# Install Edge Impulse CLI
npm install -g edge-impulse-cli

# Verify installation
edge-impulse-cli --version
Creating Your Edge Impulse Account
- Visit studio.edgeimpulse.com
- Sign up using your institutional email (students get some benefits)
- Verify your email address
Step-by-Step Implementation
Project 1: Gesture Recognition System
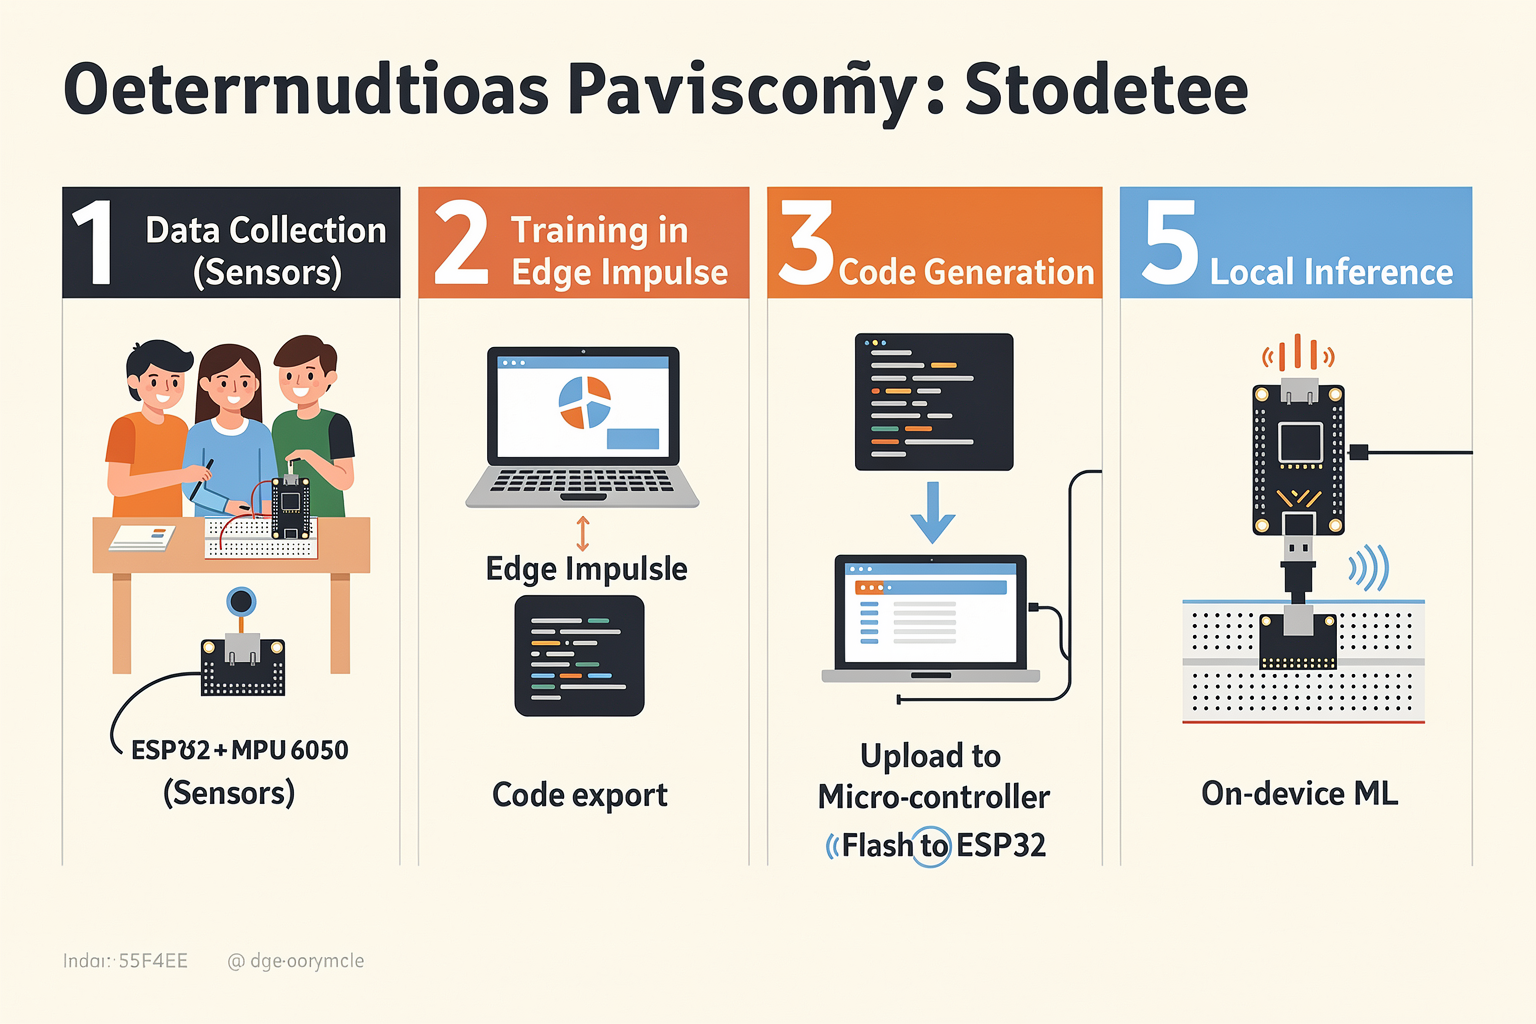
Let's start with a practical project that's perfect for learning: a gesture recognition system using the MPU-6050 accelerometer and gyroscope.
Step 1: Create a New Project
- Click "New project" in Edge Impulse Studio
- Name your project (e.g., "GestureRecog_ESP32")
- Select "Learn" as your project type
- Choose "Template: Time Series" for accelerometer data
Step 2: Data Collection Setup
Create a data collection script in Python to capture raw sensor data:
# data_collection.py
import serial
import time
import json
import csv
from datetime import datetime

# Configure serial port
SERIAL_PORT = '/dev/ttyUSB0'  # Change based on your OS
BAUD_RATE = 115200

def collect_gestures(duration=30):
    """Collect accelerometer and gyroscope data for different gestures"""
    gestures = ['wave', 'circle', 'flat']
    data = []

    with serial.Serial(SERIAL_PORT, BAUD_RATE) as ser:
        print("Starting data collection...")
        print("Perform gestures as prompted")

        for gesture in gestures:
            print(f"\nPerforming {gesture} gesture for 5 seconds...")
            time.sleep(2)  # Preparation time

            gesture_data = {
                'gesture': gesture,
                'timestamp': datetime.now().isoformat(),
                'samples': []
            }

            # Collect 5 seconds of data at 25Hz
            for _ in range(125):  # 25Hz * 5 seconds
                if ser.in_waiting >= 28:  # MPU-6050 sends 28 bytes
                    raw_data = ser.read(28)
                    # Parse sensor data (simplified parsing)
                    ax, ay, az, gx, gy, gz = parse_mpu6050(raw_data)

                    gesture_data['samples'].append({
                        'ax': ax, 'ay': ay, 'az': az,
                        'gx': gx, 'gy': gy, 'gz': gz
                    })
                time.sleep(0.04)  # 25Hz sampling rate

            data.append(gesture_data)
            print(f"Collected {len(gesture_data['samples'])} samples for {gesture}")

    # Save to CSV
    save_to_csv(data)
    print("Data collection complete!")

def parse_mpu6050(raw_data):
    """Parse MPU-6050 raw data (simplified)"""
    import struct
    # Unpack sensor data (adjust based on your sensor configuration)
    data = struct.unpack('<6h', raw_data[:14])
    ax, ay, az, gx, gy, gz = [d * 0.001 for d in data]  # Convert to m/s² and rad/s
    return ax, ay, az, gx, gy, gz

def save_to_csv(data):
    filename = f"gesture_data_{datetime.now().strftime('%Y%m%d_%H%M%S')}.csv"
    with open(filename, 'w', newline='') as csvfile:
        if data:
            fieldnames = ['gesture', 'timestamp'] + \
                        [f'{axis}_{axis}' for axis in ['ax', 'ay', 'az', 'gx', 'gy', 'gz'] for _ in range(len(data[0]['samples']))]
            writer = csv.DictWriter(csvfile, fieldnames=fieldnames)
            writer.writeheader()

            for gesture in data:
                for sample in gesture['samples']:
                    row = {'gesture': gesture['gesture'], 'timestamp': gesture['timestamp']}
                    for axis, value in sample.items():
                        row[f'{axis}_{axis}'] = value
                    writer.writerow(row)
    print(f"Data saved to {filename}")

if __name__ == "__main__":
    collect_gestures()
Step 3: Upload Data to Edge Impulse
- In Edge Impulse Studio, go to "Data acquisition"
- Click "Create impulse"
- Upload your CSV file
- Set "Label" field as the class (e.g., 'wave', 'circle', 'flat')
Step 4: Data Preprocessing
Edge Impulse automatically applies several preprocessing steps:
- Resampling: Ensures consistent sampling rate
- Segmentation: Breaks continuous data into fixed-length windows
- Normalization: Scales values to [-1, 1] range
- Bandpass filtering: Removes noise outside frequency range of interest
You can customize these steps in the "Impulse" tab by clicking the edit icon next to each step.
Step 5: Feature Extraction
Features are statistics that summarize the data patterns. Edge Impulse automatically extracts:
- Mean, standard deviation, minimum, maximum for each sensor axis
- Zero-crossing count
- Energy in frequency bands
- Correlation between axes
To view extracted features:
- Go to "Features" in the left menu
- Select your impulse
- Click "Run feature extraction"
Step 6: Model Training
-
Navigate to "Classifier" in the left menu
-
Choose "Create new model"
-
Select "Image Classification" (even for time series) or "Audio Classification"
-
Set training parameters:
- Training iterations: 500-1000
- Learning rate: 0.001
- Regularization: 0.0001
-
Click "Create model" and wait for training to complete
Edge Impulse will show you:
- Loss curve (how well the model learns)
- Confusion matrix (classification accuracy)
- Feature importance (which features matter most)
Step 7: Model Evaluation
// Example evaluation results you might see
{
  "model": "simple_rf",
  "accuracy": 94.5,
  "training_time": "2:34",
  "model_size": "23 KB",
  "flash_memory": "8 KB",
  "ram_memory": "2 KB"
}
Step 8: Deployment to ESP32
- In Edge Impulse, click "Deployment"
- Select "Project: ESP32"
- Choose "Edge Impulse SDK"
- Download the generated ZIP file
- Extract to a new folder
Step 9: Arduino Integration
Extract the generated files and modify the Arduino code:
// gesture_recognition.ino
#include <edge-impulse-sdk.h>
#include <Wire.h>

// MPU-6050 configuration
#define MPU6050_ADDRESS 0x68
#define POWER_MGMT_1 0x6B
#define CONFIG 0x1A
#define GYRO_CONFIG 0x1B
#define ACCEL_CONFIG 0x1C

// Sensor readings
int16_t ax, ay, az, gx, gy, gz;
static float input_raw[6];

// Initialize Edge Impulse
ei_impulse_t impulse;
ei_model_t model;

void setup() {
  Serial.begin(115200);
  Wire.begin();

  // Initialize MPU-6050
  initMPU6050();

  // Initialize Edge Impulse
  init_edge_impulse(&impulse, &model);

  // Configure model
  ei_model_config(model, INPUT_SIZE, OUTPUT_SIZE);

  Serial.println("Edge Impulse Gesture Recognition Ready!");
}

void loop() {
  // Collect sensor data
  readMPU6050(&ax, &ay, &az, &gx, &gy, &gz);

  // Convert to raw format for Edge Impulse
  input_raw[0] = ax;
  input_raw[1] = ay;
  input_raw[2] = az;
  input_raw[3] = gx;
  input_raw[4] = gy;
  input_raw[5] = gz;

  // Run inference
  ei_impulse_run(&impulse, model, input_raw);

  // Get results
  ei_impulse_result_t result;
  if (ei_impulse_get_result(&impulse, &result)) {
    Serial.printf("Gesture: %s (Confidence: %.2f%%)\n",
                 result.labels[0], result.scores[0] * 100);

    // Trigger action based on gesture
    if (result.scores[0] > 0.8) {
      triggerAction(result.labels[0]);
    }
  }

  delay(100); // 10Hz processing rate
}

void initMPU6050() {
  Wire.beginTransmission(MPU6050_ADDRESS);
  Wire.write(POWER_MGMT_1);
  Wire.write(0x00); // Wake up MPU-6050
  Wire.endTransmission();

  // Set sample rate divider
  Wire.beginTransmission(MPU6050_ADDRESS);
  Wire.write(CONFIG);
  Wire.write(0x00); // 1kHz sample rate
  Wire.endTransmission();

  // Configure gyroscope and accelerometer
  Wire.beginTransmission(MPU6050_ADDRESS);
  Wire.write(GYRO_CONFIG);
  Wire.write(0x00); // ±250°/s range
  Wire.endTransmission();

  Wire.beginTransmission(MPU6050_ADDRESS);
  Wire.write(ACCEL_CONFIG);
  Wire.write(0x00); // ±2g range
  Wire.endTransmission();
}

void readMPU6050(int16_t *ax, int16_t *ay, int16_t *az,
                 int16_t *gx, int16_t *gy, int16_t *gz) {
  Wire.beginTransmission(MPU6050_ADDRESS);
  Wire.write(0x3B); // Starting register
  Wire.endTransmission();

  Wire.requestFrom(MPU6050_ADDRESS, 14); // 6*2 bytes

  *ax = (Wire.read() << 8 | Wire.read());
  *ay = (Wire.read() << 8 | Wire.read());
  *az = (Wire.read() << 8 | Wire.read());
  *gx = (Wire.read() << 8 | Wire.read());
  *gy = (Wire.read() << 8 | Wire.read());
  *gz = (Wire.read() << 8 | Wire.read());
}

void triggerAction(const char* gesture) {
  if (strcmp(gesture, "wave") == 0) {
    Serial.println("Action: LED ON");
    // Control an LED or servo
  }
  else if (strcmp(gesture, "circle") == 0) {
    Serial.println("Action: Buzzer ON");
    // Control a buzzer
Ready to start building?
Explore our collection of DIY kits and components. All project components mentioned in this blog are available in our store.
Browse All Projects