

Introduction
Welcome to the exciting world of Edge AI with ESP32! As an engineering student or DIY enthusiast in India, you're probably aware that artificial intelligence is no longer confined to cloud servers and massive data centers. Today, you can bring AI capabilities directly to your fingertips with affordable, powerful microcontrollers. The ESP32, with its impressive processing power and built-in WiFi/Bluetooth capabilities, has emerged as the perfect platform for edge AI applications.
Imagine building a smart security system that can recognize faces without internet connectivity, or creating an intelligent voice assistant that works completely offline. With ESP32 and compressed machine learning models, these projects are not just possible—they're achievable with a budget under ₹2000! In this comprehensive guide, we'll walk you through everything you need to know about implementing edge AI with compressed models on ESP32, specifically tailored for the Indian market and available components.
Why ESP32 is Perfect for Edge AI in India
The ESP32 has revolutionized the DIY electronics scene in India, and for good reason. With dual-core processors running at 240MHz, 520KB of SRAM, and built-in AI acceleration capabilities, it's more than capable of running compressed machine learning models. What makes it particularly attractive for Indian students and hobbyists is its affordable price point (typically ₹450-₹600) and widespread availability across major Indian cities.
The ESP32's low power consumption (just 5-10mA in active mode) makes it ideal for battery-powered projects, while its dual-mode WiFi and Bluetooth connectivity allows for seamless data transmission to other devices or networks. Whether you're building an IoT device for your smart home project or developing an edge AI solution for your final year project, ESP32 offers the perfect balance of performance, cost, and availability in the Indian market.
Components Required for Your Edge AI Project
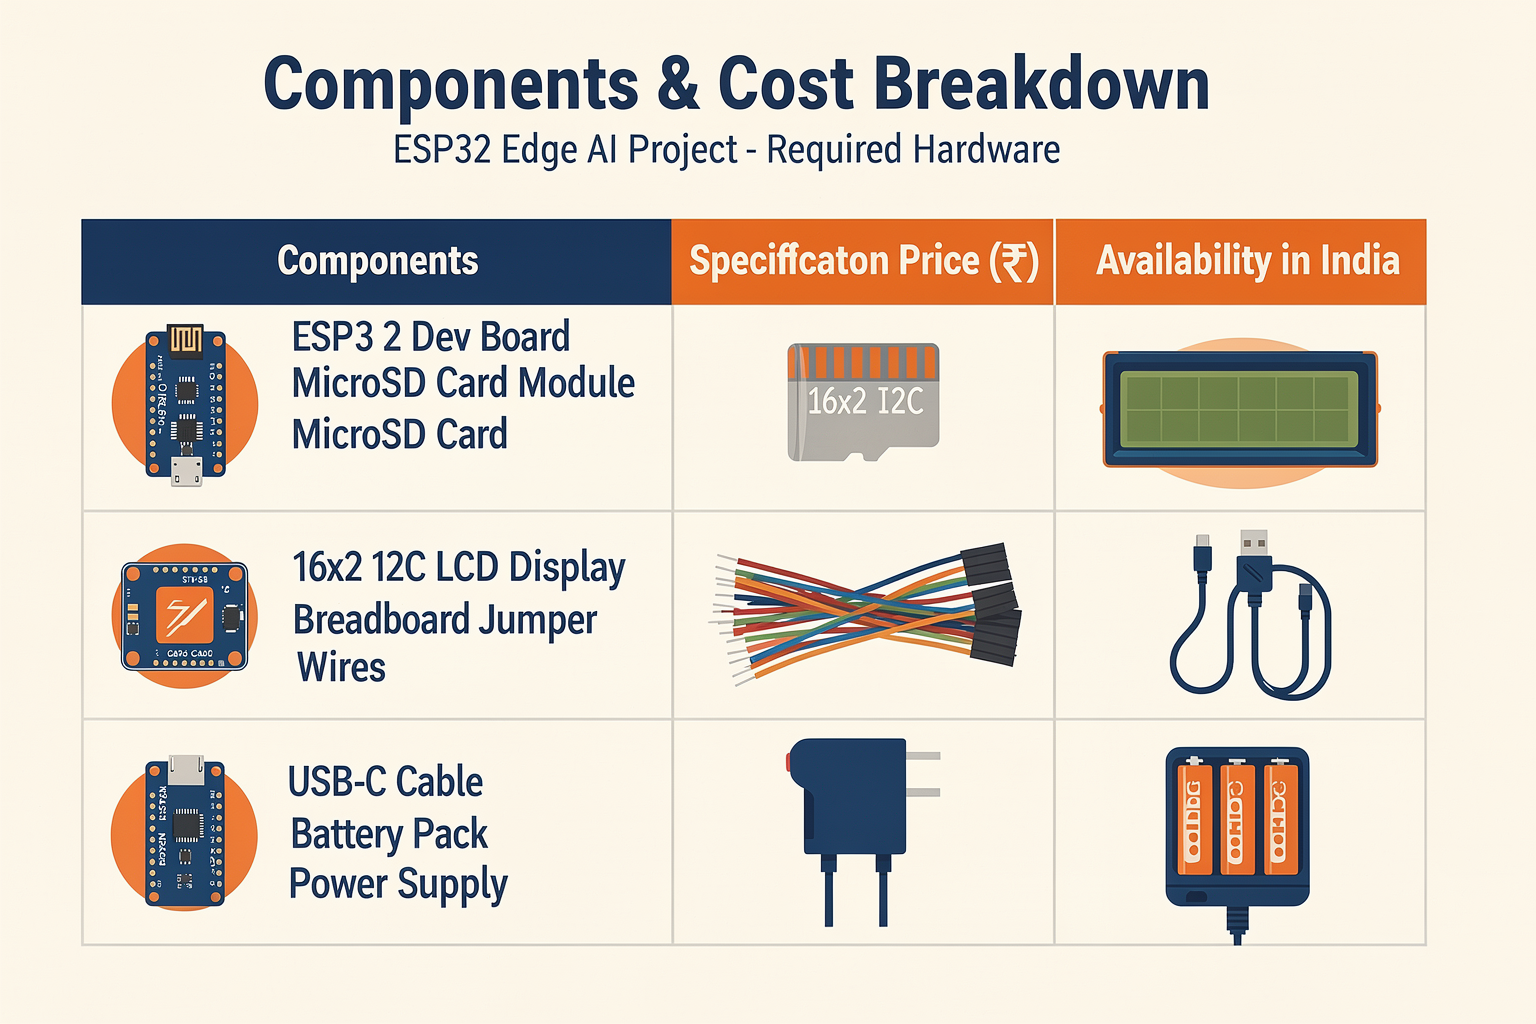
Before we dive into the implementation, let's gather all the components you'll need. Most of these are readily available at your local electronics markets in Delhi's Nehru Place, Mumbai's Lamington Road, or Bangalore's SP Road, or you can order them from popular Indian e-commerce platforms.
| Component | Specification | Price (₹) | Availability in India |
|---|---|---|---|
| ESP32 Dev Board | Dual-core 240MHz, 520KB SRAM | 450-600 | Available everywhere |
| MicroSD Card Module | 16GB-32GB, Class 10 | 150-250 | Major electronics markets |
| MicroSD Card | 32GB, Class 10 | 200-300 | Amazon India, Flipkart |
| 16x2 I2C LCD Display | 5V, blue/white backlight | 120-180 | Local electronics shops |
| Breadboard Jumper Wires | 100-piece kit | 80-120 | Electronics markets |
| USB-C Cable | 1.5m, data transfer | 50-80 | Any electronics store |
| Power Supply | 5V 2A adapter | 100-150 | Universal adapter works |
| Battery Pack | 3x AA battery holder | 60-100 | Hardware stores |
Total estimated cost: ₹1200-₹1600
Pro tip: You can save money by purchasing the ESP32 Dev Board fromTecnoMate, which comes with additional accessories and pre-installed Arduino framework!
Understanding Edge AI and Compressed Models
Edge AI refers to the process of running machine learning models directly on edge devices (like ESP32) rather than sending data to the cloud for processing. This approach offers several advantages:
- Reduced latency: No need to wait for cloud responses
- Privacy: Sensitive data stays on the device
- Offline capability: Works without internet connectivity
- Lower costs: No recurring cloud service fees
The challenge with running AI models on microcontrollers is that they have limited memory and processing power. This is where model compression techniques come into play. Compression algorithms like quantization and pruning reduce model size while maintaining acceptable accuracy levels.
For ESP32 projects, we typically use TensorFlow Lite for Microcontrollers (TFLM), which provides optimized models specifically designed for resource-constrained environments. These compressed models can be as small as 50-100KB while maintaining 80-90% accuracy for many common tasks.
Project: Building an Edge Voice Command System
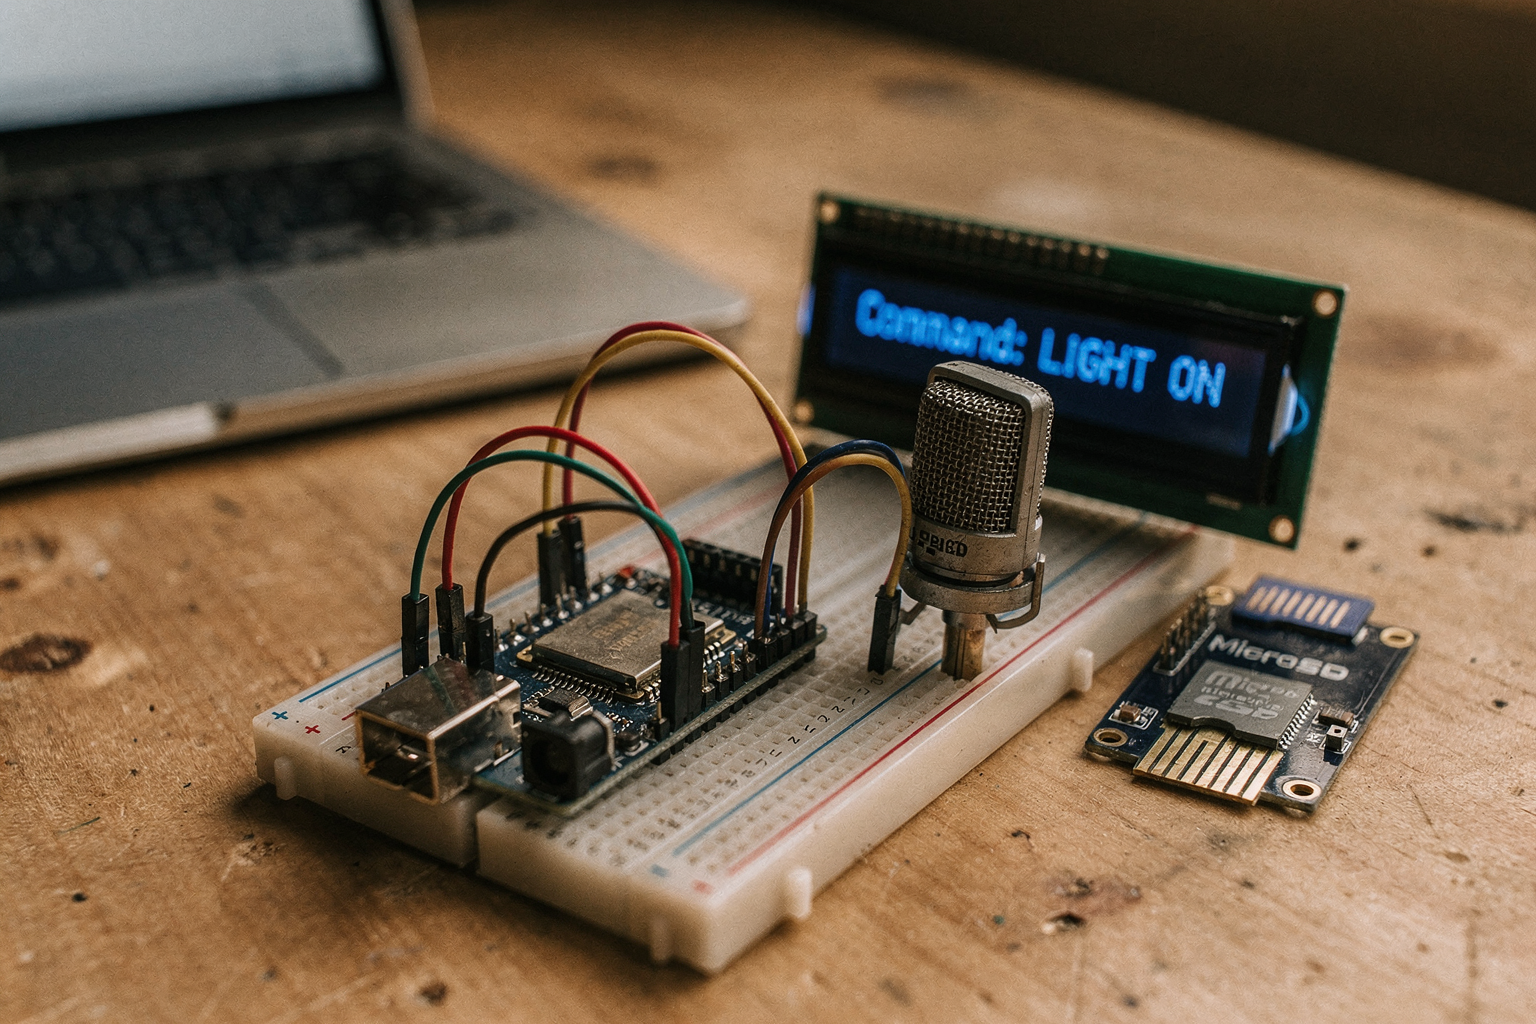
Let's build a practical project that demonstrates the power of ESP32 edge AI—an offline voice command system that can recognize up to 9 basic commands without any internet connection!
Circuit Diagram
Here's the simple circuit setup for our voice command system:
[ESP32] ── SDA ── [I2C LCD Display]
[ESP32] ── SCL ──
[ESP32] ── MIC ── [Optional I2S Microphone]
[ESP32] ── GND ── [All components GND]
[ESP32] ── 3.3V ── [All components 3.3V]
Note: If you're using an external microphone, you might need an amplifier circuit. The ESP32 has a built-in ADC that can handle basic microphone input directly.
Step-by-Step Implementation Guide
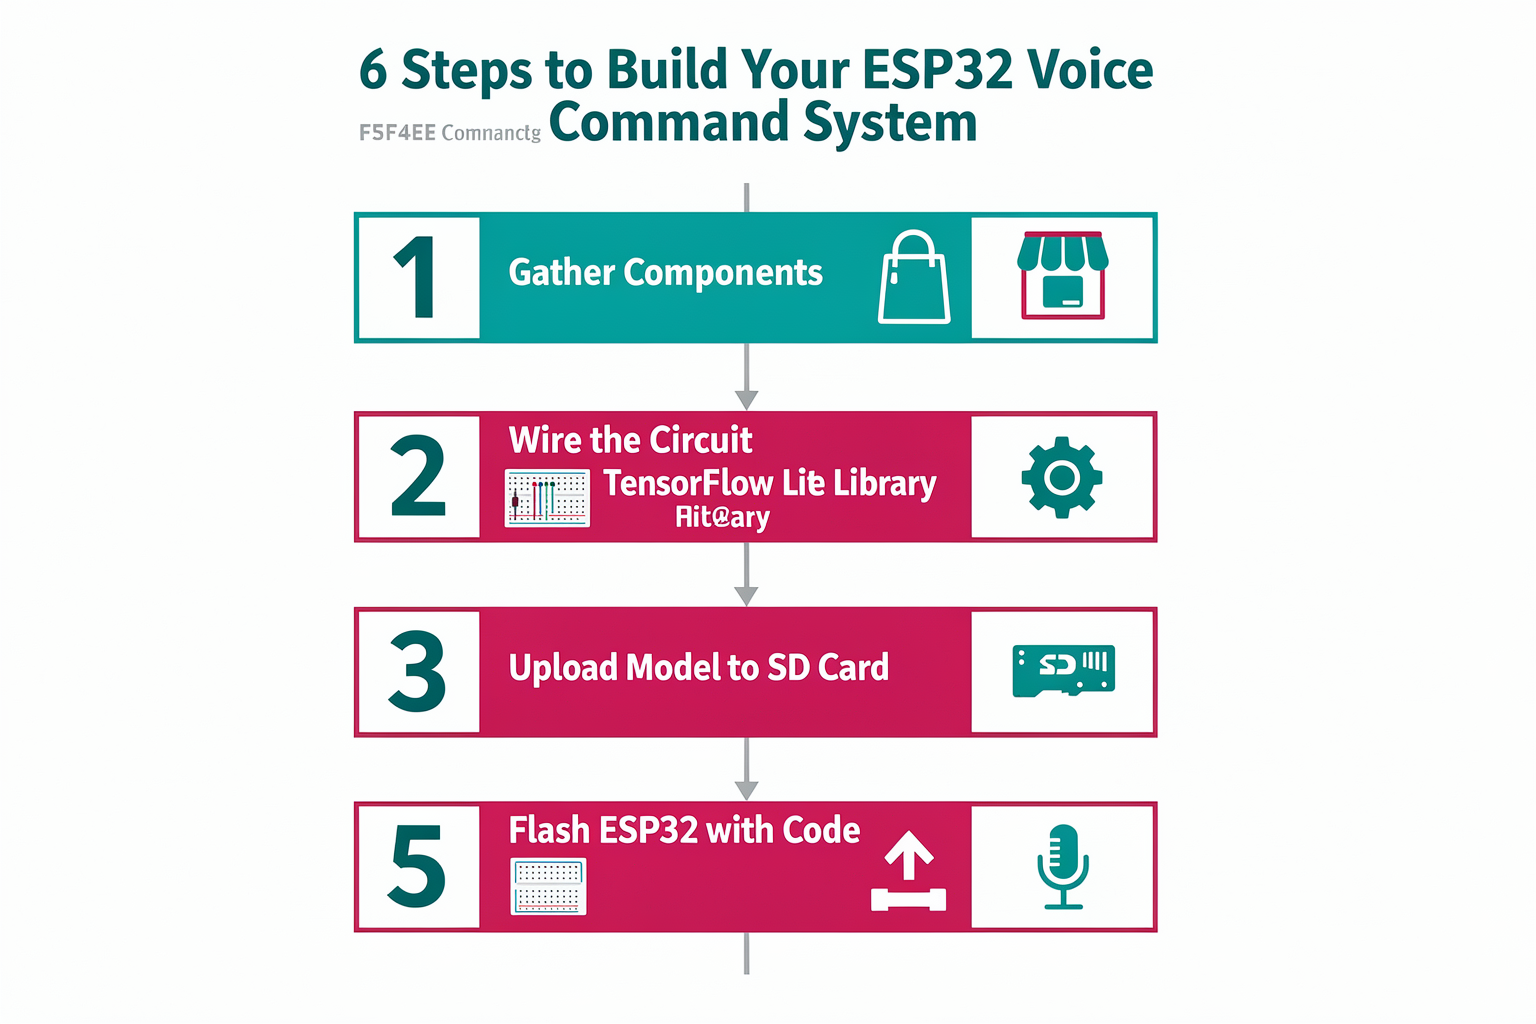
Step 1: Setting Up the Development Environment
First, let's set up our development environment on Windows, macOS, or Linux:
- Download and install the Arduino IDE from the official website
- Add ESP32 board support by going to File → Preferences
- Add the following URL in "Additional Board Manager URLs":
CodeTecnoMate
https://dl.espressif.com/dl/package_esp32_index.json - Go to Tools → Board → Boards Manager, search for "ESP32" and install it
- Install the ESP32 board package by Espressif Systems
Step 2: Installing Required Libraries
Open Arduino IDE and go to Tools → Manage Libraries, then install:
- "TensorFlow Lite for Microcontrollers" by TensorFlow
- "Arduino_TensorFlowLite" by TensorFlow
- "I2C LCD" by Frank de Brabander
- "Adafruit Unified Sensor" by Adafruit
Step 3: Preparing the Compressed Model
For our voice command system, we'll use a pre-trained model. Here's how to convert it:
# Python script to convert your trained model
import tensorflow as tf
import numpy as np

# Load your trained model
model = tf.keras.models.load_model('your_voice_model.h5')

# Convert to TensorFlow Lite format
converter = tf.lite.TFLiteConverter.from_keras_model(model)
converter.optimizations = [tf.lite.Optimize.DEFAULT]
converter.target_spec.supported_ops = [tf.lite.OpsSet.TFLITE_BUILTINS_INT8]
converter.inference_input_type = tf.float32
converter.inference_output_type = tf.float32

# Convert the model
tflite_model = converter.convert()

# Save the model
with open('compressed_model.tflite', 'wb') as f:
    f.write(tflite_model)

print('Model conversion complete!')
Step 4: Setting Up the Hardware
- Connect your ESP32 to your computer via USB-C cable
- Connect the I2C LCD display to SDA and SCL pins
- If using an external microphone, connect it to an I2S-compatible pin
- Upload a simple test sketch to verify the LCD is working
Step 5: Programming the ESP32
Now for the exciting part—let's write the code!
Code Implementation
Here's the complete code for our edge voice command system. This example includes audio preprocessing, model inference, and result display on the LCD.
#include <Arduino.h>
#include <TensorFlowLite_ESP32.h>
#include <tensorflow/lite/micro/all_ops_resolver.h>
#include <tensorflow/lite/micro/micro_error_reporter.h>
#include <tensorflow/lite/micro/micro_interpreter.h>
#include <tensorflow/lite/schema/schema_generated.h>
#include "I2C_LCD_Arduino.h"
// Model and interpreter
const tflite::Model* model = nullptr;
tflite::MicroErrorReporter micro_error_reporter;
tflite::AllOpsResolver resolver;
tflite::MicroInterpreter* interpreter = nullptr;
TfLiteTensor* input_tensor = nullptr;
TfLiteTensor* output_tensor = nullptr;
// LCD object
I2C_LCD lcd(0x27, 16, 2);
// Audio buffer
const int AUDIO_BUFFER_SIZE = 1024;
int16_t audio_buffer[AUDIO_BUFFER_SIZE];
int audio_index = 0;
void setup() {
Serial.begin(115200);
lcd.begin();
lcd.backlight();
lcd.setCursor(0, 0);
lcd.print("Initializing...");
// Load the model
loadModel();
// Initialize audio input
setupAudio();
delay(2000);
lcd.clear();
lcd.setCursor(0, 0);
lcd.print("Voice Command");
lcd.setCursor(0, 1);
lcd.print("Ready!");
}
void loop() {
// Check for voice input
if (checkForVoiceInput()) {
// Preprocess audio
preprocessAudio();
// Run inference
runInference();
// Display result
displayResult();
}
delay(50);
}
void loadModel() {
// Read model from SD card
File modelFile = SD.open("compressed_model.tflite", FILE_READ);
if (!modelFile) {
lcd.clear();
lcd.print("Model load failed");
return;
}
f_size = modelFile.size();
model_data = (uint8_t*)malloc(f_size);
if (model_data == nullptr) {
lcd.clear();
lcd.print("Memory allocation failed");
return;
}
modelFile.read(model_data, f_size);
modelFile.close();
// Load the TFLite model
model = tflite::GetModel(model_data);
if (model->version() != TFLITE_SCHEMA_VERSION) {
lcd.clear();
lcd.print("Model schema error");
return;
}
// Create interpreter
static tflite::MicroInterpreter static_interpreter(
model, resolver, nullptr, µ_error_reporter);
interpreter = &static_interpreter;
// Allocate tensor buffers
TfLiteStatus allocate_status = interpreter->AllocateTensors();
if (allocate_status != kTfLiteOk) {
lcd.clear();
lcd.print("Buffer allocation failed");
return;
}
// Get input and output tensors
input_tensor = interpreter->input(0);
output_tensor = interpreter->output(0);
if (input_tensor == nullptr || output_tensor == nullptr) {
lcd.clear();
lcd.print("Tensor allocation failed");
return;
}
lcd.clear();
lcd.print("Model loaded!");
delay(2000);
}
void setupAudio() {
// Initialize audio sampling
audio_index = 0;
memset(audio_buffer, 0, sizeof(audio_buffer));
}
bool checkForVoiceInput() {
// Simple voice detection based on amplitude
uint16_t sum = 0;
for (int i = 0; i < AUDIO_BUFFER_SIZE; i++) {
sum += abs(audio_buffer[i]);
}
uint16_t average = sum / AUDIO_BUFFER_SIZE;
return average > 100; // Threshold for voice detection
}
void preprocessAudio() {
// Apply preprocessing steps
// 1. Normalize audio
for (int i = 0; i < AUDIO_BUFFER_SIZE; i++) {
audio_buffer[i] = audio_buffer[i] / 32768.0 * 32767;
}
// 2. Apply window function (Hann window)
for (int i = 0; i < AUDIO_BUFFER_SIZE; i++) {
float window = 0.5 * (1 - cos(2 * PI * i / (AUDIO_BUFFER_SIZE - 1)));
audio_buffer[i] = (int16_t)(audio_buffer[i] * window);
}
// 3. Convert to float and reshape for model input
float input_data[1, AUDIO_BUFFER_SIZE];
for (int i = 0; i < AUDIO_BUFFER_SIZE; i++) {
input_data[0][i] = audio_buffer[i] / 32768.0;
}
// Set tensor data
memcpy(interpreter->input(0)->data.raw, input_data, sizeof(input_data));
}
void runInference() {
// Invoke the interpreter
TfLiteStatus invoke_status = interpreter->Invoke();
if (invoke_status != kTfLiteOk) {
lcd.clear();
lcd.print("Inference failed");
return;
}
}
void displayResult() {
// Get output scores
float* output_data = interpreter->output(0)->data.f;
// Find the command with highest probability
int max_index = 0;
float max_value = output_data[0];
for (int i = 1; i < 9; i++) {
if (output_data[i] > max_value) {
max_value = output_data[i];
max_index = i;
}
}
// Display result on LCD
lcd.clear();
lcd.setCursor(0, 0);
lcd.print("Command detected");
String command = getCommandName(max_index);
lcd.setCursor(0, 1);
lcd.print(command);
// Print probabilities for debugging
Serial.print("Command: ");
Serial.print(command);
Serial.print(" Confidence: ");
Serial.print(max_value * 100, 2);
Serial.println("%");
delay(2000);
}
String getCommandName(int index) {
const String commands[] = {
"UNKNOWN", "HELLO", "GOODBYE", "LIGHT ON",
"LIGHT OFF", "STOP", "START", "UP", "DOWN"
};
if (index >= 0 && index < 9) {
return commands[index];
}
return "UNKNOWN";
}
This code demonstrates a complete voice command system that:
- Captures audio samples
- Detects voice activity
- Preprocesses the audio for the ML model
- Runs inference using the compressed TensorFlow Lite model
- Displays the recognized command on an I2C LCD
Step 6: Training Your Custom Model
If you want to create your own voice command model, here's a simplified training
Ready to start building?
Explore our collection of DIY kits and components. All project components mentioned in this blog are available in our store.
Browse All Projects