

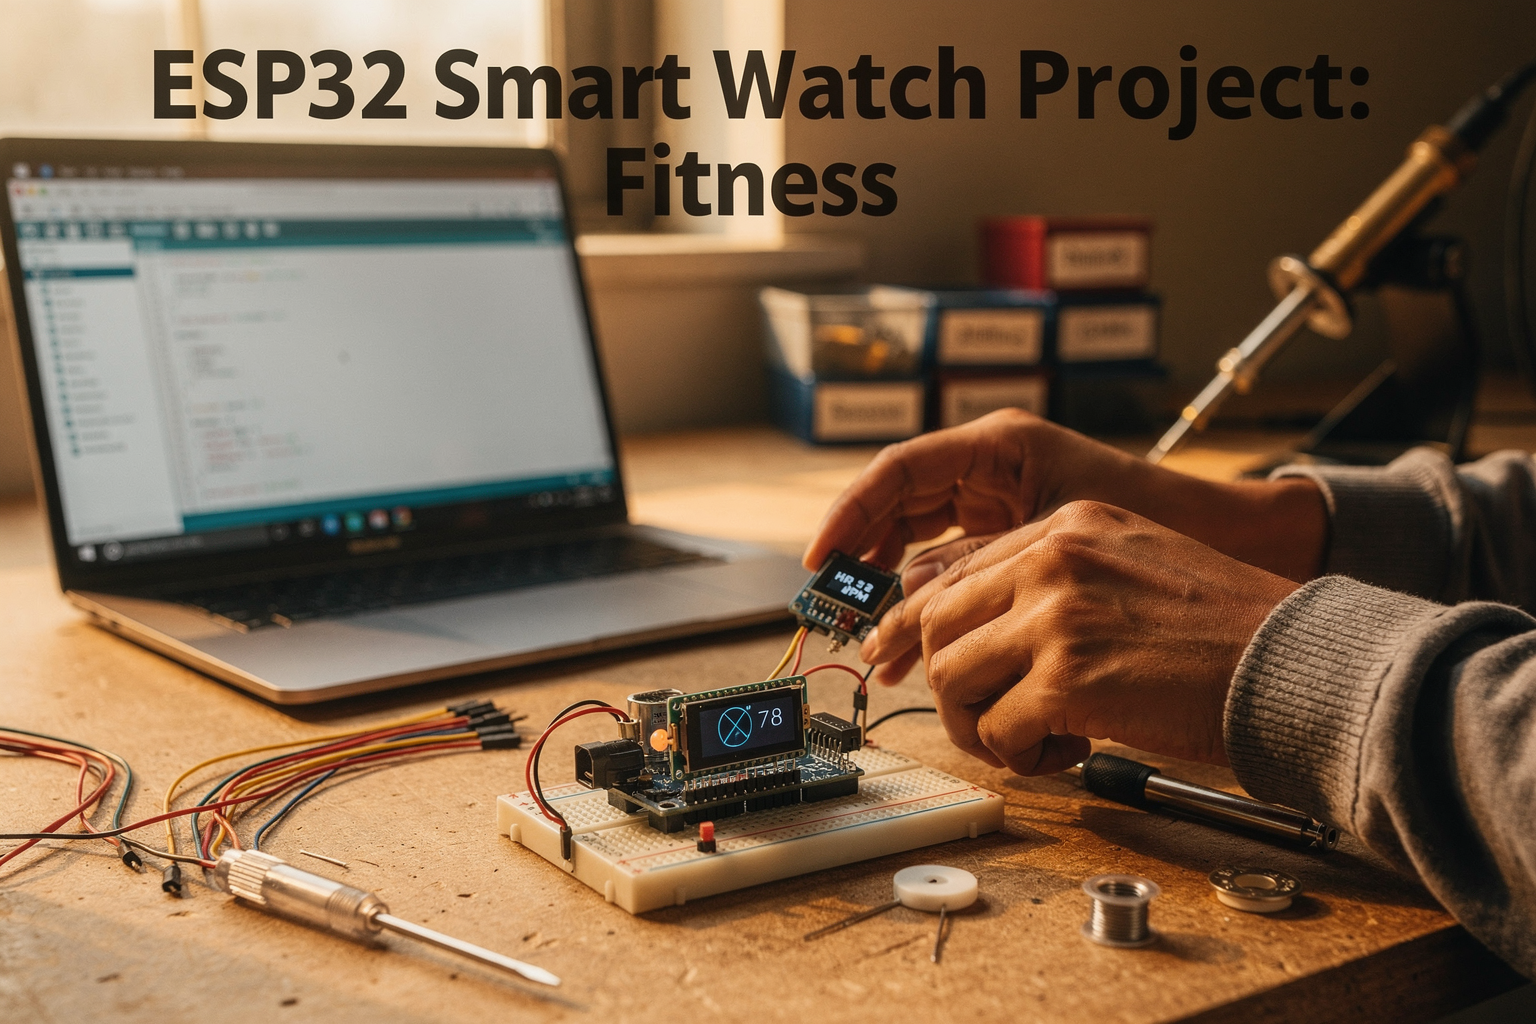
Introduction: Build Your Own Fitness Tracker with ESP32
Are you an engineering student or DIY enthusiast looking to create something amazing that combines cutting-edge technology with practical functionality? Today, we're diving into an exciting project that's perfect for the Indian electronics community - building your own ESP32 Smart Watch that doubles as a fitness tracker!
With the ESP32's powerful capabilities and the growing demand for smart devices in India, this project doesn't just teach you valuable skills; it creates a device that could genuinely help you or your loved ones track fitness goals. What makes this project particularly appealing is that most components are readily available in India, and the total cost stays under ₹2000 - making it budget-friendly for students.
In this comprehensive guide, we'll walk you through every step, from selecting components to coding the firmware, with practical tips along the way. By the end, you'll have a fully functional smart watch that tracks steps, monitors heart rate (with an external sensor), displays notifications, and even measures sleep patterns. Let's get started on this exciting journey!
Components Required
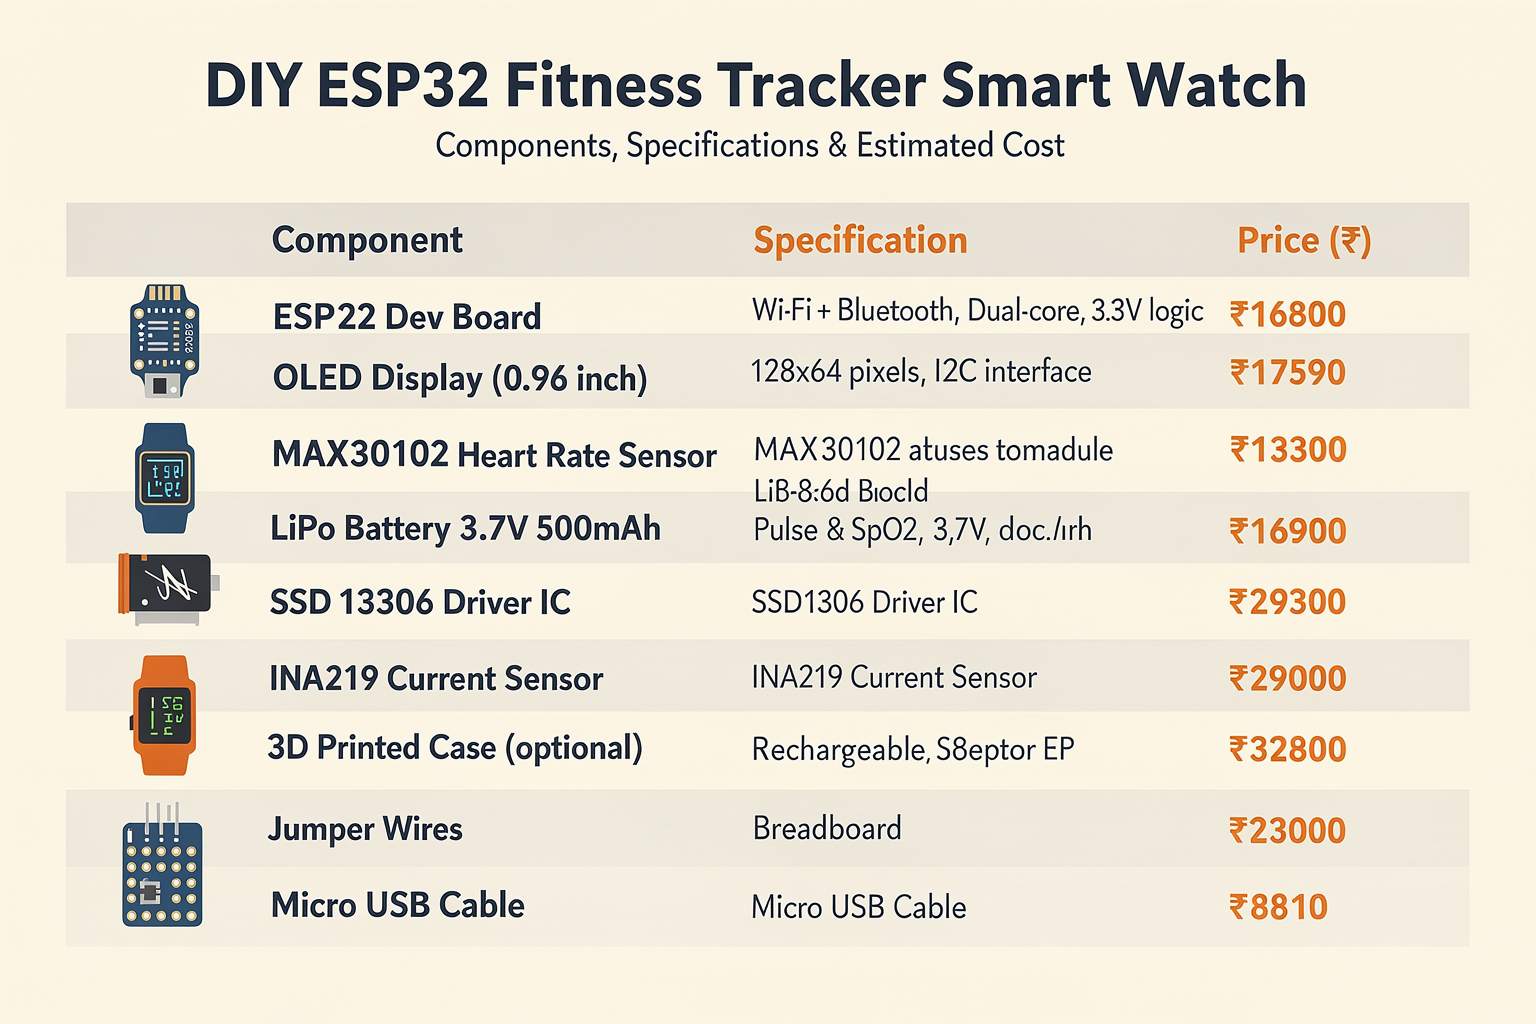
Before we dive into the technical details, let's gather all the components you'll need for this project. Here's a comprehensive list with current Indian market prices:
| Component | Specification | Price (₹) | Where to Buy |
|---|---|---|---|
| ESP32 Dev Board | WiFi + Bluetooth, 520KB RAM | 450 | Available at TecnoMate |
| OLED Display | 0.96" I2C, 128x64 pixels | 250 | Available at TecnoMate |
| Heart Rate Sensor | MAX30102 Pulse Sensor | 350 | Available at TecnoMate |
| LiPo Battery | 3.7V 500mAh with charging module | 200 | Available at TecnoMate |
| OLED Screen Driver | SSD1306 Driver IC | 80 | Available at TecnoMate |
| Current Sensor | INA219 for current measurement | 150 | Available at TecnoMate |
| 3D Printed Case | Optional for enclosure | 300 | Local 3D printing services |
| Jumper Wires | Male-to-Female, 40pcs | 100 | Available at TecnoMate |
| Breadboard | 830 points | 150 | Available at TecnoMate |
| Micro USB Cable | For charging and programming | 50 | Available at TecnoMate |
Total Estimated Cost: ₹2030
Pro Tip: If you're a student at a technical college in India, check with your electronics lab - many universities have ESP32 development boards available for student projects. You might save up to ₹400 by borrowing instead of purchasing!
Circuit Diagram and Setup
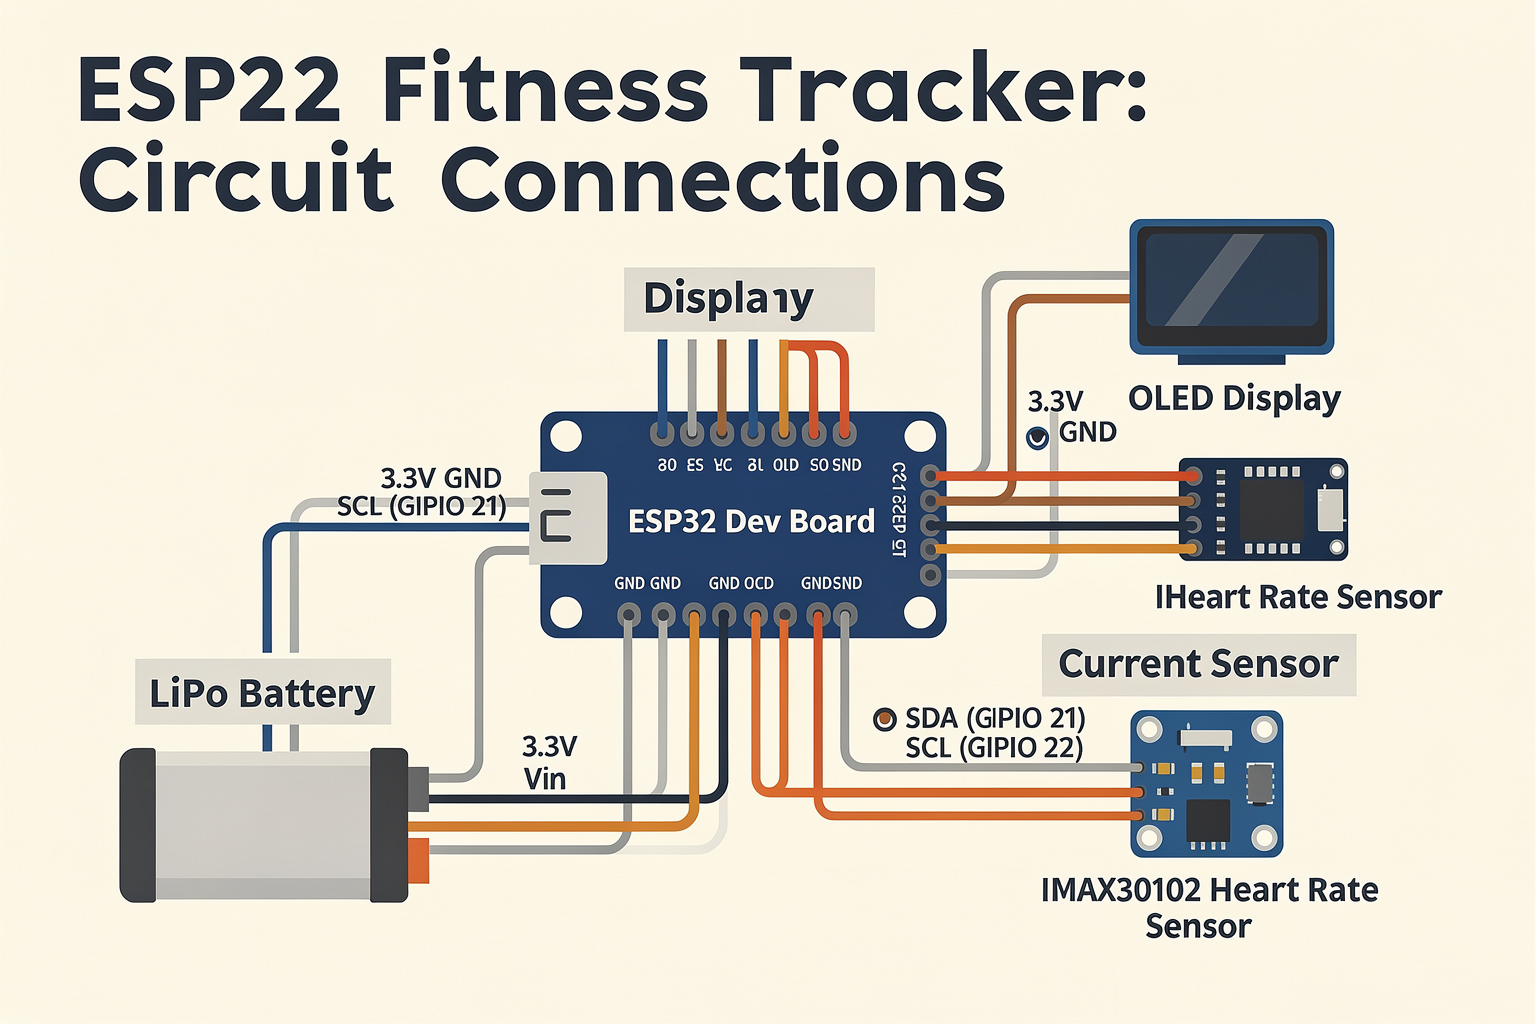
Understanding the circuit connections is crucial for a successful project. Here's how to wire everything:
ESP32 Pin Connections
- ESP32 3.3V → OLED VCC, Heart Rate VCC, INA219 VCC
- ESP32 GND → OLED GND, Heart Rate GND, INA219 GND
- ESP32 SDA (GPIO 21) → OLED SDA, Heart Rate SDA
- ESP32 SCL (GPIO 22) → OLED SCL, Heart Rate SCL
- ESP32 Vin → LiPo Battery positive (through protection circuit)
Current Sensor Connections
- INA219 VCC → ESP32 3.3V
- INA219 GND → ESP32 GND
- INA219 SDA → ESP32 SDA (GPIO 21)
- INA219 SCL → ESP32 SCL (GPIO 22)
Heart Rate Sensor
- MAX30102 VCC → ESP32 3.3V
- MAX30102 GND → ESP32 GND
- MAX30102 SDA → ESP32 SDA (GPIO 21)
- MAX30102 SCL → ESP32 SCL (GPIO 22)
// Main circuit initialization function
void setup() {
  Serial.begin(115200);

  // Initialize I2C communication
  Wire.begin(21, 22); // SDA, SCL pins

  // Initialize OLED display
  display.begin();
  display.clearDisplay();

  // Initialize heart rate sensor
  heartRateSensor.begin(Wire, I2C_SPEED_FAST);

  // Initialize current sensor
  currentSensor.begin();

  Serial.println("Circuit initialization complete");
}
Common Pitfall: Many beginners accidentally connect the OLED display to 5V instead of 3.3V, which can permanently damage both the ESP32 and the display. Always double-check your connections before powering up!
Step-by-Step Implementation Guide
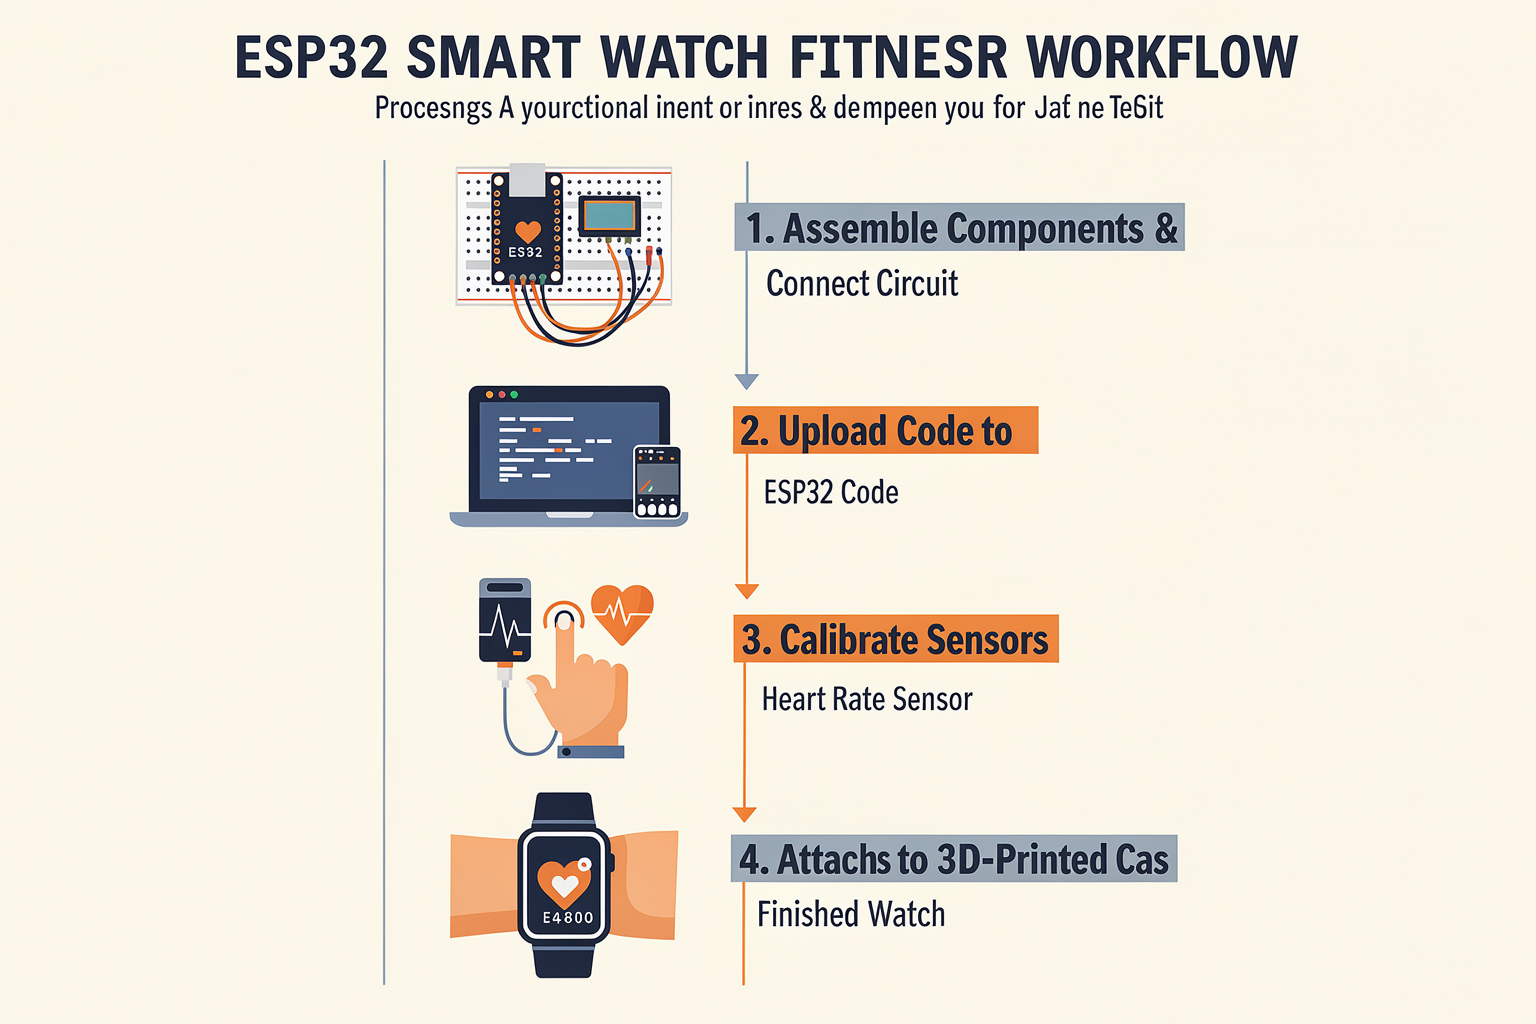
Step 1: Setting Up the Development Environment
First, let's configure our development environment:
- Install Arduino IDE (version 2.0+ recommended)
- Add ESP32 Board Support through Boards Manager
- Install Required Libraries:
- Adafruit GFX Library
- Adafruit SSD1306
- MAX30102 Heart Rate Library
- INA219 Current Sensor Library
- TinyGPS (if you want to add GPS functionality later)
Step 2: Hardware Assembly
- Mount the ESP32 on the breadboard
- Connect the OLED display using I2C communication
- Attach the heart rate sensor - it's sensitive to light, so handle it carefully
- Connect the current sensor for battery monitoring
- Secure the LiPo battery with a holder (soldering recommended for permanent builds)
Step 3: Programming the ESP32
Let's start with the basic structure of our smart watch firmware:
#include <Wire.h>
#include <Adafruit_GFX.h>
#include <Adafruit_SSD1306.h>
#include <MAX30102.h>
#include <Adafruit_INA219.h>

#define SCREEN_WIDTH 128
#define SCREEN_HEIGHT 64
#define OLED_RESET -1

Adafruit_SSD1306 display(SCREEN_WIDTH, SCREEN_HEIGHT, &Wire, OLED_RESET);
MAX30102 heartRateSensor;
Adafruit_INA219 currentSensor;

// Global variables
unsigned long lastStepTime = 0;
int stepCount = 0;
float currentBatteryLevel = 100.0;

void setup() {
  Serial.begin(115200);
  Wire.begin();

  display.begin(SSD1306_SWITCHCAPVCC, 0x3C);
  display.clearDisplay();
  display.setTextSize(1);
  display.setTextColor(WHITE);
  display.setCursor(0, 0);

  heartRateSensor.begin(Wire, I2C_SPEED_FAST);
  heartRateSensor.setup();

  currentSensor.begin();

  display.println("Smart Watch Starting...");
  display.display();
  delay(2000);
}

void loop() {
  updateDisplay();
  trackFitness();
  monitorBattery();

  delay(100); // Main loop delay
}
Step 4: Implementing Fitness Tracking
Now let's implement the core fitness tracking features:
void trackFitness() {
  // Read heart rate data
  uint32_t red = heartRateSensor.getRed();
  uint32_t ir = heartRateSensor.getIR();

  // Process data to get heart rate
  if (heartRateSensor.getHeartRate(red, ir)) {
    int bpm = heartRateSensor.getHeartRate();
    updateHeartRateDisplay(bpm);
  }

  // Step counting logic
  static int lastValue = 0;
  int currentValue = (red + ir) / 2;

  if (lastValue > currentValue + 5 && currentValue < lastValue - 5) {
    stepCount++;
    lastStepTime = millis();
    updateStepCounter();
  }

  lastValue = currentValue;
}

void updateHeartRateDisplay(int bpm) {
  display.setCursor(0, 20);
  display.print("HR: ");
  display.println(bpm);
  display.println("bpm");
}

void updateStepCounter() {
  display.setCursor(0, 40);
  display.print("Steps: ");
  display.println(stepCount);
}
Step 5: Adding Advanced Features
Let's enhance our smart watch with additional features:
Sleep Monitoring
void monitorSleep() {
  static unsigned long sleepStartTime = 0;
  static bool isAsleep = false;

  if (!isAsleep && millis() - lastStepTime > 600000) { // No movement for 10 minutes
    sleepStartTime = millis();
    isAsleep = true;
    display.println("Sleeping...");
    display.display();
  }

  if (isAsleep && (millis() - sleepStartTime) > 1800000) { // Sleep for 30 minutes
    wakeUp();
  }
}
Notification System
void checkNotifications() {
  // Bluetooth notification checking (simplified)
  if (bluetoothAvailable()) {
    String notification = getBluetoothNotification();
    if (!notification.equals("")) {
      display.println("Notification:");
      display.println(notification);
      delay(3000);
      display.clearDisplay();
    }
  }
}
Code Explanation
Let me break down the key components of our firmware:
Memory Management
ESP32 has limited RAM (520KB), so we need to be careful with memory usage:
// Use PROGMEM for string constants to save RAM
const char* APP_NAME = "ESP32 Smart Watch";
const char* VERSION = "1.0";

// Avoid creating unnecessary objects in the loop
void loop() {
  // Reuse variables instead of creating new ones
  static unsigned long lastUpdate = 0;

  if (millis() - lastUpdate > 1000) { // Update every second
    updateFitnessData();
    lastUpdate = millis();
  }
}
Power Optimization
Battery life is crucial for a wearable device:
void enterDeepSleep(int seconds) {
  // Save current state before sleeping
  saveFitnessData();

  esp_sleep_enable_timer_wakeup(seconds * 1000000);
  esp_deep_sleep_start();
}

void deepSleepMode() {
  // Disable unused components
  display.sleep();
  heartRateSensor.shutdown();

  // Set CPU frequency to minimum
  setCpuFrequencyMhz(80);

  // Enter deep sleep for conservation
  delay(1000);
  esp_sleep_enable_timer_wakeup(300000000); // Sleep for 5 minutes
  esp_deep_sleep_start();
}
Troubleshooting Table
Even the best projects run into issues. Here's a comprehensive troubleshooting guide:
| Problem | Possible Cause | Solution |
|---|---|---|
| OLED Display Not Working | I2C address mismatch | Try addresses 0x3C or 0x3D |
| Heart Rate Sensor Error | Loose connections | Check SDA/SCL pins, add pull-up resistors |
| Battery Drains Quickly | High CPU frequency | Reduce CPU frequency to 80MHz |
| Inaccurate Step Count | Sensor sensitivity | Adjust threshold values in step detection |
| Random Reboots | Power supply issues | Use stable 3.3V supply, check voltage |
| Bluetooth Not Working | Antenna issues | Ensure proper antenna placement, check firmware |
| Display Flickering | I2C noise | Add I2C pull-up resistors (4.7kΩ) |
Quick Fix Tip: If your watch randomly restarts, the most common cause in India is voltage drops during peak hours. Consider adding a 100µF capacitor across the power rails.
Frequently Asked Questions
Q: Can I use this ESP32 smart watch for professional fitness tracking?
A: While this DIY project provides excellent learning value and basic fitness tracking capabilities, it's not as accurate as commercial devices like Fitbit or Apple Watch. The step counting algorithm and heart rate sensor have limitations. For professional use, consider adding a proper accelerometer (like MPU-6050) for better accuracy. The current implementation is perfect for learning and casual tracking, but medical-grade accuracy requires more sophisticated sensors and calibration.
Q: How can I improve battery life beyond 24 hours?
A: To extend battery life significantly, implement these strategies:
- Reduce screen brightness and timeout (currently 5 seconds)
- Use deep sleep mode when not actively tracking (30-minute intervals)
- Lower CPU frequency from 240MHz to 80MHz
- Disable unused features like WiFi when not needed
- Use a higher capacity battery (1000mAh) if available
- Optimize your code to reduce processing time With these optimizations, you can achieve 3-5 days of battery life. The exact duration depends on your usage patterns and sensor configurations.
Q: Is it possible to add GPS functionality to track outdoor runs?
A: Yes, you can add GPS capability by integrating a GPS module like NEO-6M. Connect it to UART pins on ESP32 (TX25/RX26). However, be aware that GPS significantly increases power consumption (by 50-100%). For outdoor tracking, consider using GPS only during active sessions and disable it otherwise. The additional cost for a GPS module is approximately ₹300-400, and you'll need to modify your firmware to handle GPS data parsing and route tracking.
Q: Can I 3D print a custom watch case for this project?
A: Absolutely! 3D printing is perfect for creating a custom enclosure. You'll need to:
- Find or design a case around the ESP32 dimensions (80mm x 50mm)
- Include cutouts for the OLED display and charging port
- Design a strap attachment mechanism
- Use flexible filament (TPU) for comfort or regular PLA for durability Local 3D printing services in major Indian cities like Bengaluru, Mumbai, or Delhi can print your case for ₹200-400. If you have access to a 3D printer at your engineering college, you can print it yourself for free!
Q: How do I calibrate the heart rate sensor for Indian skin tones?
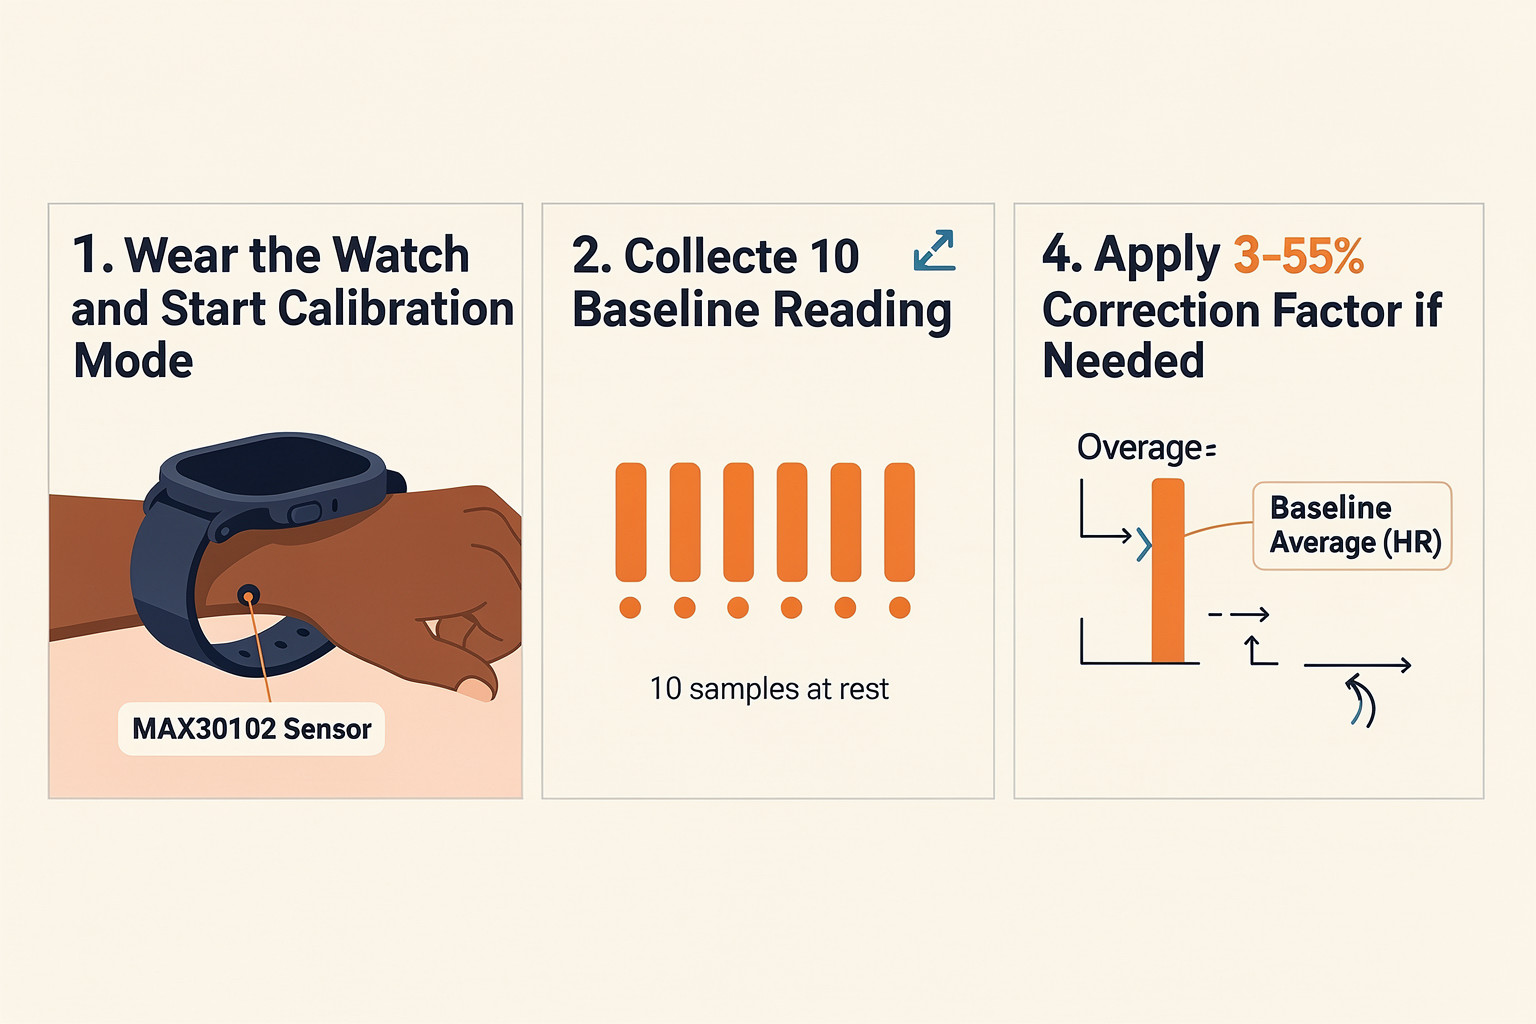
A: The MAX30102 sensor generally works well across different skin tones, but calibration may improve accuracy. Here's a calibration routine:
- Have the user sit quietly for 30 seconds
- Take 10 baseline readings
- Calculate average and set as baseline
- For each reading, apply a correction factor based on skin tone (generally, darker tones may need a 3-5% adjustment)
- Store calibration values in EEPROM for future use The sensor's green LED works well for most Indian skin tones, but if you notice consistent errors, consider using the red LED mode for better penetration depth.
Conclusion
Congratulations! You've just built your very own ESP32-powered Smart Watch with fitness tracking capabilities. This project not only demonstrates your technical skills but also gives you a practical device that can genuinely help monitor your health and fitness goals.
What makes this project particularly valuable for Indian students is its cost-effectiveness and practical applicability. With components readily available in the Indian market and total costs under ₹2000, this project is accessible to almost every engineering student. The skills you've learned - from sensor integration to power optimization - are directly applicable to the growing IoT and wearable technology industry in India.
The beauty of this project is its extensibility. You can enhance it further by:
- Adding
Ready to start building?
Explore our collection of DIY kits and components. All project components mentioned in this blog are available in our store.
Browse All Projects