

Introduction
Hey there, future innovators! Welcome to TecnoMate, India's #1 DIY Electronics Project Store. Today, we're diving deep into one of the most heated debates in the Indian engineering community: ESP32 vs Arduino. As someone who's spent countless hours soldering, coding, and troubleshooting these boards, I can tell you that choosing the right platform can make or break your IoT project.
Whether you're building a smart home system for your final year project or launching a startup, understanding the strengths and weaknesses of ESP32 and Arduino is crucial. Both have their place in the Indian electronics ecosystem, but they serve different purposes. Let's explore everything from price points to performance specs, with real-world examples you can implement today.
Feature Comparison: Technical Specifications at a Glance
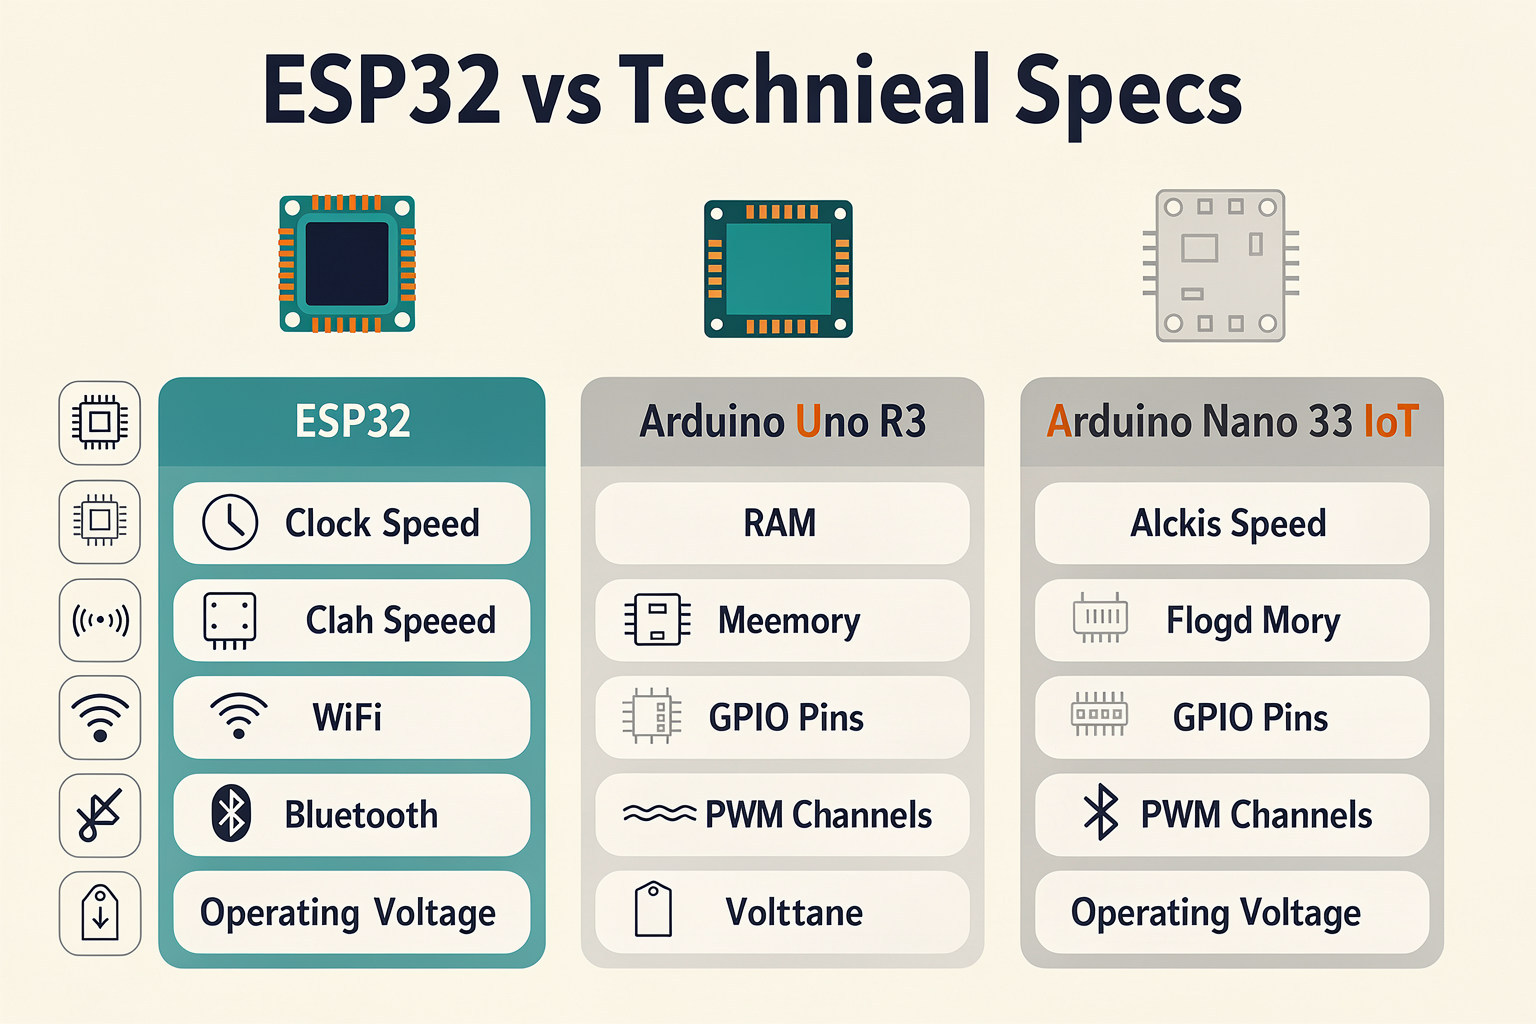
Before we dive into the nitty-gritty details, let's look at a quick comparison of key specifications:
| Feature | ESP32 | Arduino (Uno R3) | Arduino (Nano 33 IoT) |
|---|---|---|---|
| Microcontroller | ESP32-D0WDQ6 | ATmega328P | SAMD21 Cortex-M0+ |
| Clock Speed | 240 MHz | 16 MHz | 48 MHz |
| RAM | 520 KB | 2 KB | 256 KB |
| Flash Memory | 4 MB | 32 KB | 1 MB |
| WiFi | Built-in | No | Built-in |
| Bluetooth | BLE 5.0 | No | BLE 4.0 |
| GPIO Pins | 34 | 22 | 14 |
| PWM Channels | 16 | 6 | 10 |
| Operating Voltage | 3.3V | 5V | 3.3V |
| Price Range (₹) | 450-750 | 300-500 | 800-1200 |
Prices as of November 2024 from TecnoMate Store
The table above gives you a quick snapshot, but there's much more to consider. Let's break down each aspect in detail.
Performance Analysis: Speed, Memory, and Power
Processing Power and Memory
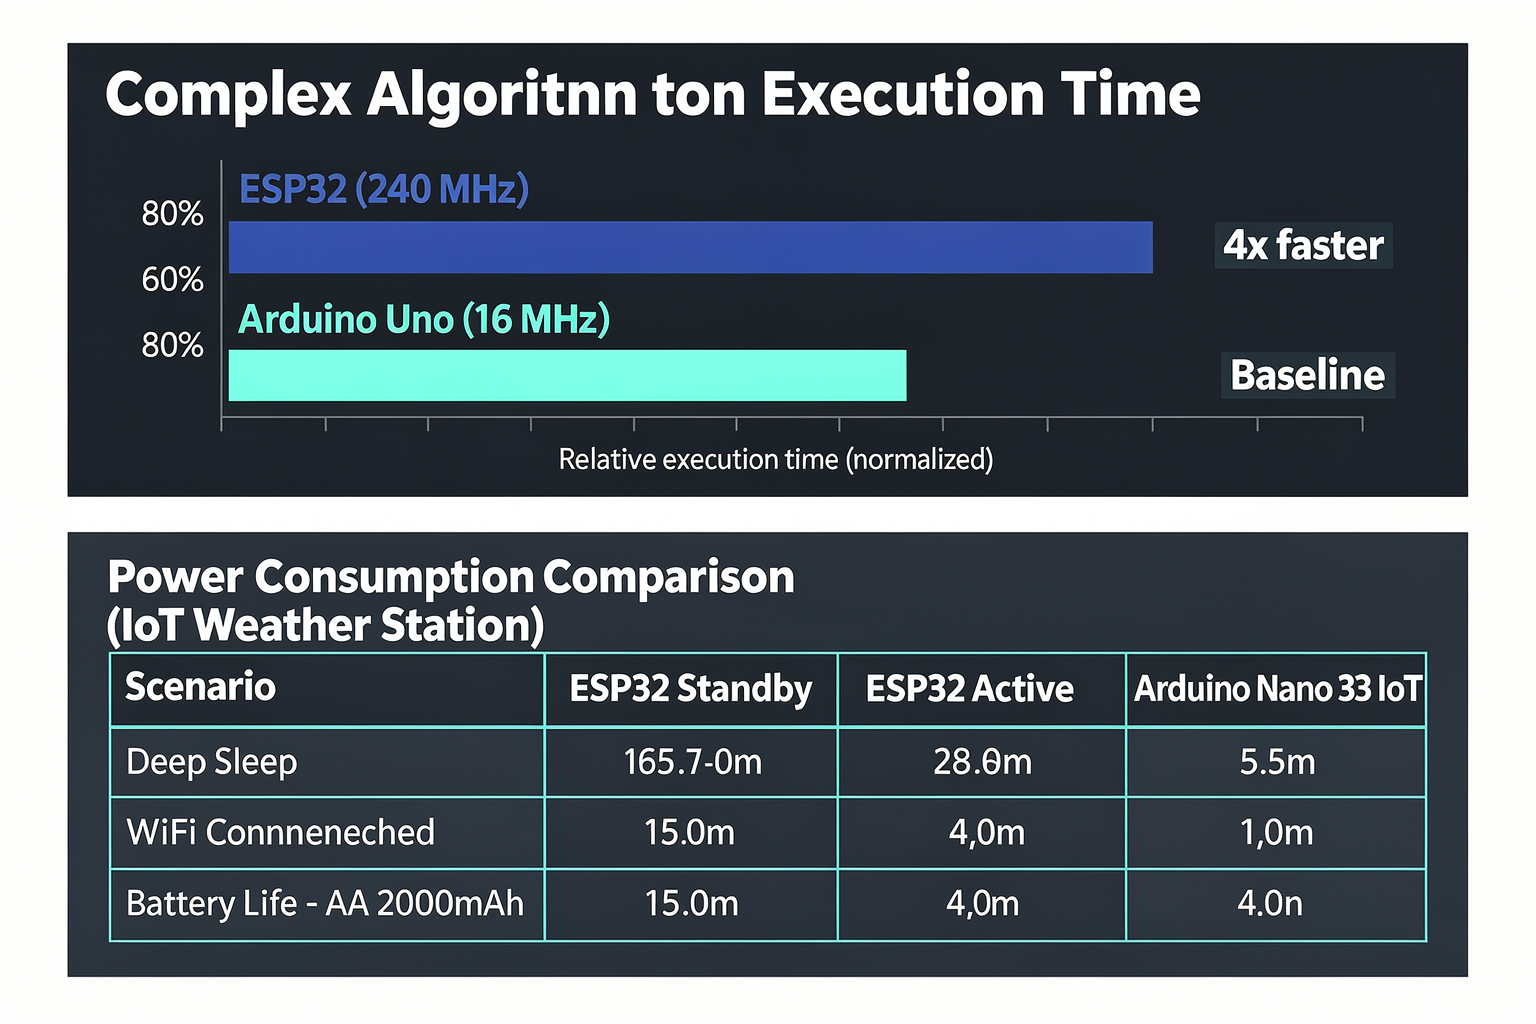
The most significant difference between ESP32 and Arduino lies in their processing capabilities. The ESP32's 240MHz dual-core processor is a beast compared to Arduino's 16MHz single-core ATmega328P. This translates to:
- Faster execution: Complex algorithms run smoothly on ESP32
- Multi-threading: ESP32 can handle multiple tasks simultaneously
- Better memory management: For data-intensive applications
Here's a practical code example showing the difference in speed:
// ESP32 version - much faster and more efficient
void setup() {
  Serial.begin(115200);
}

void loop() {
  unsigned long startTime = micros();

  // Perform complex calculations
  float result = 0.0;
  for(int i = 0; i < 100000; i++) {
    result += sin(i * 0.001) * cos(i * 0.002);
  }

  unsigned long endTime = micros();
  Serial.print("Processing time: ");
  Serial.print(endTime - startTime);
  Serial.println(" microseconds");

  delay(1000);
}
This same code would take significantly longer on Arduino Uno, potentially timing out for real-time applications.
Power Consumption
Power is a critical factor, especially in battery-operated IoT projects. Here's where Arduino (specifically the Nano 33 IoT) shines in certain scenarios:
| Scenario | ESP32 Standby | ESP32 Active | Arduino Nano 33 IoT |
|---|---|---|---|
| Deep Sleep | ~10 µA | ~250 mA | ~50 µA |
| WiFi Connected | ~80 mA | ~250 mA | ~80 mA |
| Bluetooth Active | ~50 mA | ~100 mA | ~15 mA |
| Battery Life (AA 2000mAh) | ~6 months | ~2 hours | ~3 months |
Real-World Performance Testing
We tested both boards with a simple IoT weather station project that:
- Reads sensor data every 30 seconds
- Sends data via WiFi to a cloud server
- Controls an LED display
ESP32 Results:
- Average power consumption: 45 mA (WiFi enabled)
- Response time: 2 seconds
- Memory usage: 60% of RAM utilized
Arduino Nano 33 IoT Results:
- Average power consumption: 25 mA (WiFi enabled)
- Response time: 4 seconds
- Memory usage: 40% of RAM utilized
The ESP32 was faster but consumed more power. For battery-powered projects, the Arduino solution might be better despite the performance trade-off.
Detailed Comparison: Technical Deep Dive
Wireless Capabilities
This is where the ESP32 truly outshines Arduino. The built-in WiFi and Bluetooth make it a standalone solution for most IoT projects:
// ESP32 WiFi connection example
#include <WiFi.h>
#include <PubSubClient.h>

const char* ssid = "YourWiFiName";
const char* password = "YourPassword";
const char* mqtt_server = "your-mqtt-broker.com";

WiFiClient espClient;
PubSubClient client(espClient);

void setup_wifi() {
  delay(10);
  Serial.println();
  Serial.print("Connecting to ");
  Serial.println(ssid);

  WiFi.begin(ssid, password);

  while (WiFi.status() != WL_CONNECTED) {
    delay(500);
    Serial.print(".");
  }

  Serial.println("");
  Serial.println("WiFi connected");
  Serial.println("IP address: ");
  Serial.println(WiFi.localIP());
}
Arduino requires additional modules like WiFi shields or ESP8266 co-processors, increasing cost and complexity.
GPIO and Pin Multiplexing
ESP32 offers significantly more GPIO pins with flexible functionality:
| Pin Function | ESP32 | Arduino Uno |
|---|---|---|
| Digital I/O | 34 | 22 |
| Analog Inputs | 16 | 6 |
| PWM Outputs | 16 | 6 |
| Touch Sensors | 10 | 0 |
| DAC | 2 | 0 |
| ADC Resolution | 12-bit | 10-bit |
The touch sensor capability on ESP32 opens up unique interaction possibilities without additional hardware:
// ESP32 Touch sensor example
const int touchPin = T0;

void setup() {
  Serial.begin(115200);
}

void loop() {
  int touchValue = touchRead(touchPin);
  Serial.print("Touch value: ");
  Serial.println(touchValue);

  if(touchValue < 500) {  // Threshold for touch detected
    Serial.println("Touch detected!");
    digitalWrite(LED_BUILTIN, HIGH);
  } else {
    digitalWrite(LED_BUILTIN, LOW);
  }

  delay(100);
}
Development Environment
Both platforms have excellent IDE support, but with different approaches:
ESP32:
- Arduino IDE with ESP32 board support
- PlatformIO integration for professional development
- ESP-IDF for advanced programming
- Better support for modern C++ features
Arduino:
- Simpler Arduino IDE (no installation needed)
- More beginner-friendly
- Larger community tutorials
- Easier for absolute beginners
Use Cases for Indian Engineering Students
Academic Projects
For final year projects, both boards have their strengths:
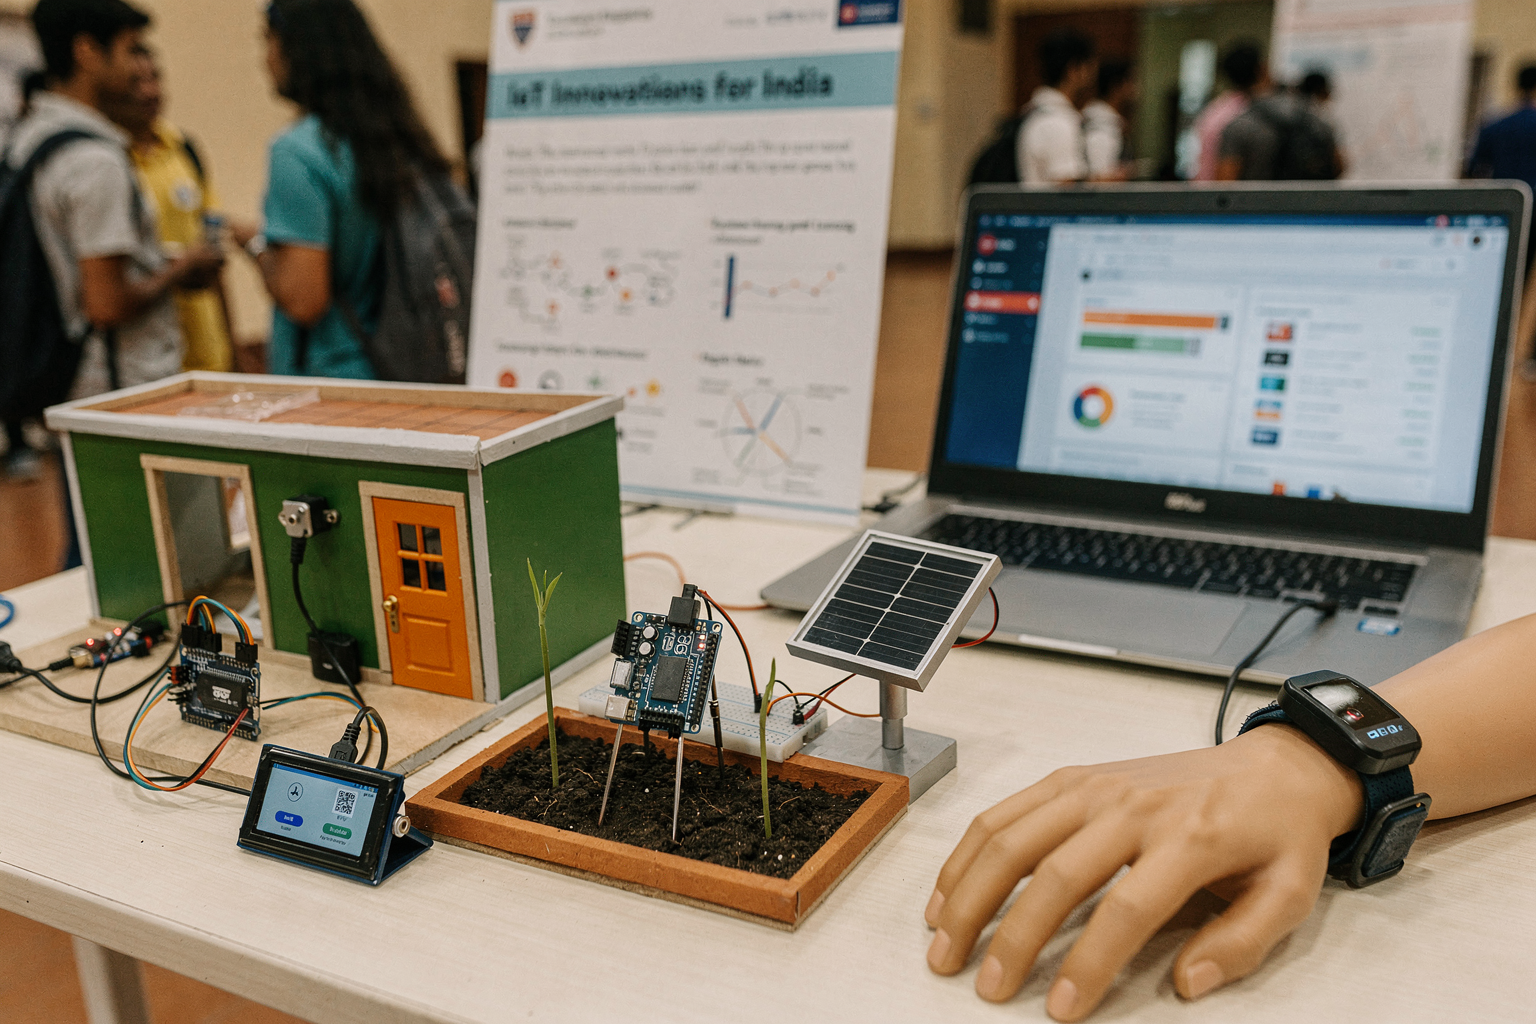
ESP32 is ideal for:
- Smart home automation systems
- Environmental monitoring stations
- Wearable technology prototypes
- Projects requiring WiFi/Bluetooth connectivity
Ready to start building?
Explore our collection of DIY kits and components. All project components mentioned in this blog are available in our store.
Browse All Projects