

Introduction
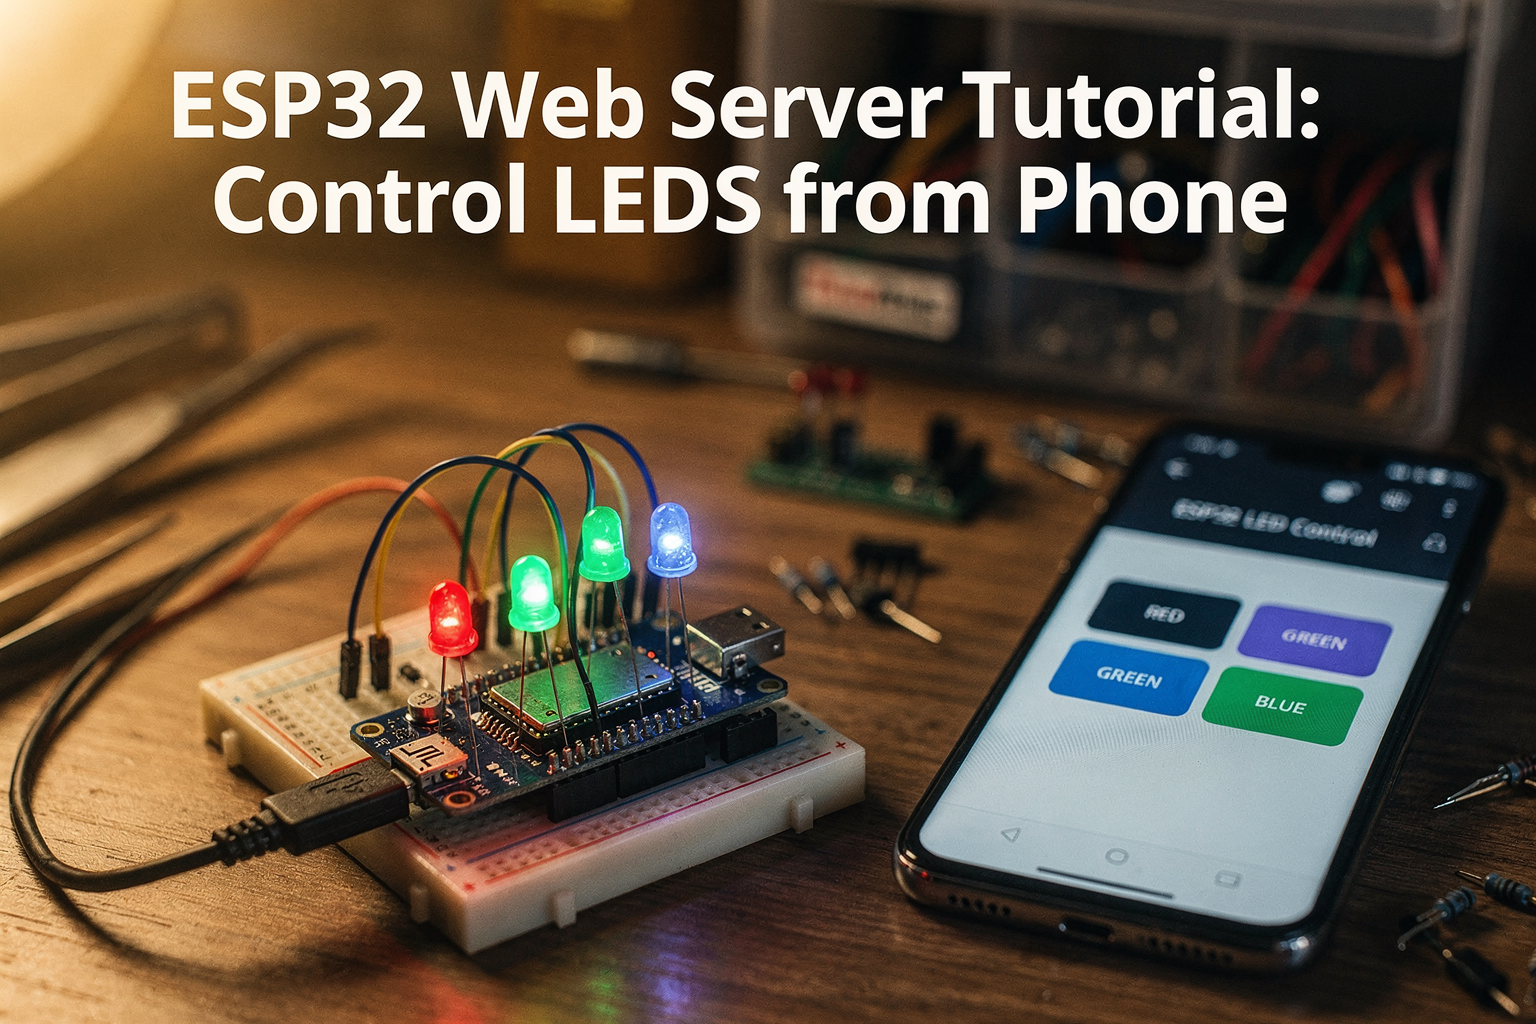
Welcome to this comprehensive ESP32 web server tutorial! Today, we'll build a fully functional web server using the ESP32 microcontroller that allows you to control LEDs directly from your smartphone. This project is perfect for engineering students and DIY enthusiasts who want to learn about IoT (Internet of Things) and web-based control systems.
The ESP32 is an incredibly powerful and popular microcontroller in the Indian electronics market, valued for its WiFi and Bluetooth capabilities, low cost, and extensive documentation. With its built-in WiFi support, we can create a web server that runs on the device itself, eliminating the need for additional hardware.
In this tutorial, we'll explore how to:
- Set up an ESP32 as a WiFi access point
- Create a web server with embedded HTML, CSS, and JavaScript
- Control multiple LEDs remotely
- Handle real-time communication between your phone and ESP32
Let's dive in and build something amazing with the ESP32!
Components Required
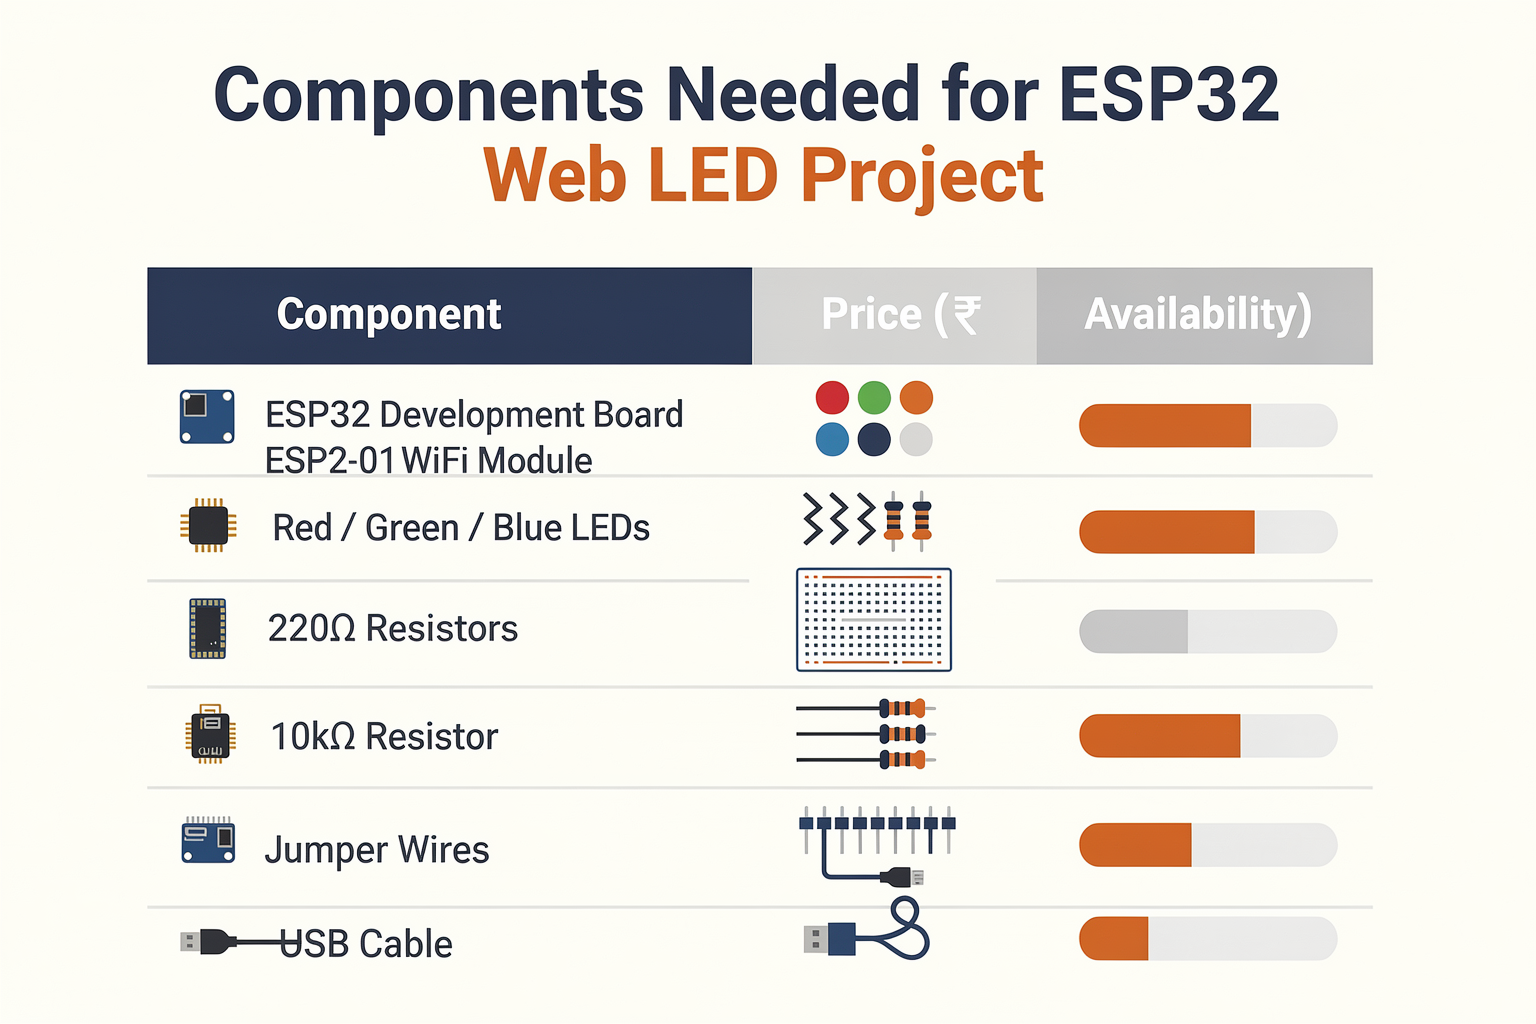
Before we start building, let's gather all the necessary components. You can find most of these items at your local electronics market or online stores like Amazon India, Flipkart, or directly at TecnoMate.
| Component | Specification | Price (₹) | Availability |
|---|---|---|---|
| ESP32 Development Board | Dual-core 240MHz, WiFi + Bluetooth | 450 | Widely Available |
| ESP32-01 WiFi Module | 3.3V, 16MHz | 120 | Common in markets |
| Red LEDs (3-5 pieces) | 5mm, 20mA | 20 | Electronics shops |
| Green LEDs (3-5 pieces) | 5mm, 20mA | 20 | Electronics shops |
| Blue LEDs (3-5 pieces) | 5mm, 20mA | 20 | Electronics shops |
| 220Ω Resistors | 1/4 watt | 50 | Electronics shops |
| 10kΩ Resistor | For ESP32 reset pin | 20 | Electronics shops |
| Breadboard | 830 tie points | 80 | Electronics shops |
| Jumper Wires | Male-to-male | 100 | Electronics shops |
| USB Cable | Type-A to Micro-USB | 30 | Common accessory |
Total Estimated Cost: ₹1,120
For this project, I recommend using the ESP32 development board as it comes with all necessary pins accessible and on-board USB programming support. If you're working with the ESP32-01 module, you'll need additional components like a level shifter for programming.
You can purchase all these components from TecnoMate's ESP32 Starter Kit, which includes everything you need at a competitive price.
Circuit Diagram
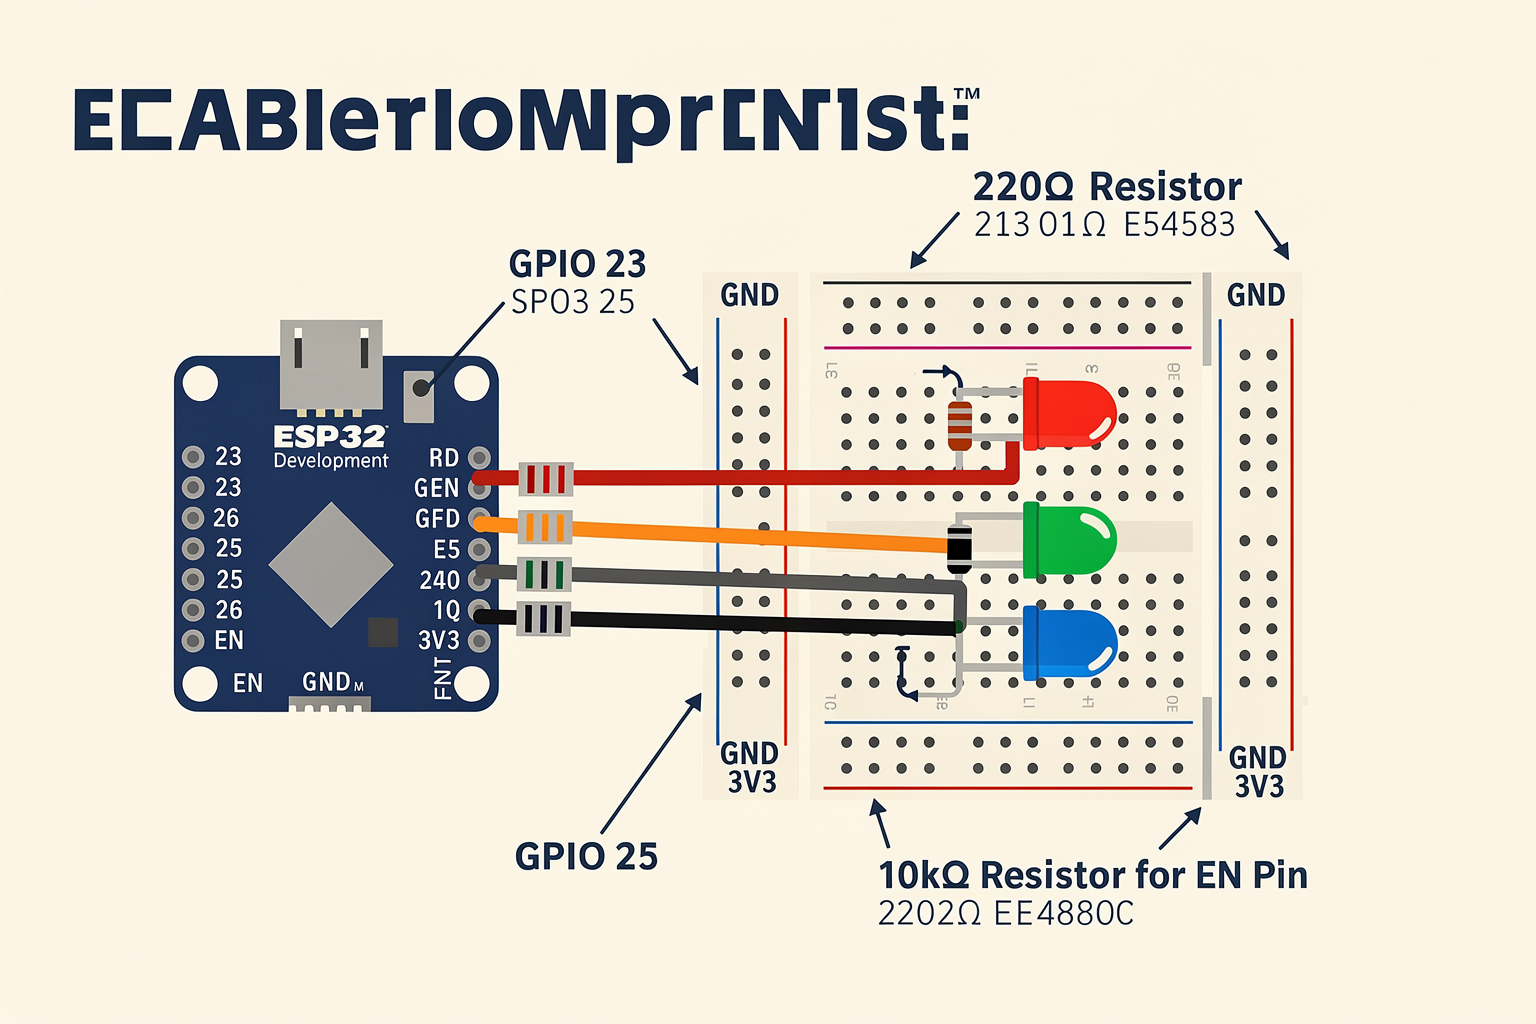
Let's set up our circuit diagram first. We'll control three different colored LEDs (Red, Green, Blue) connected to GPIO pins on the ESP32. Here's how to wire everything:
ESP32 Development Board:
├── GPIO 23 → 220Ω Resistor → Red LED → GND
├── GPIO 25 → 220Ω Resistor → Green LED → GND
└── GPIO 26 → 220Ω Resistor → Blue LED → GND

ESP32 Pinout:
├── 3V3 → Power for LEDs (through resistors)
├── GND → Common ground for all LEDs
├── GPIO 23 → Red LED control
├── GPIO 25 → Green LED control
├── GPIO 26 → Blue LED control
└── EN (Boot) → 10kΩ to GND (prevent auto-reset)
Important Note: Always use resistors with LEDs to prevent burning them out. The 220Ω resistors are perfect for 5mm LEDs at 3.3V.
Remember to connect the 10kΩ resistor from the EN pin to GND on your ESP32 board to prevent it from automatically entering bootloader mode.
Step-by-Step Guide
Hardware Setup
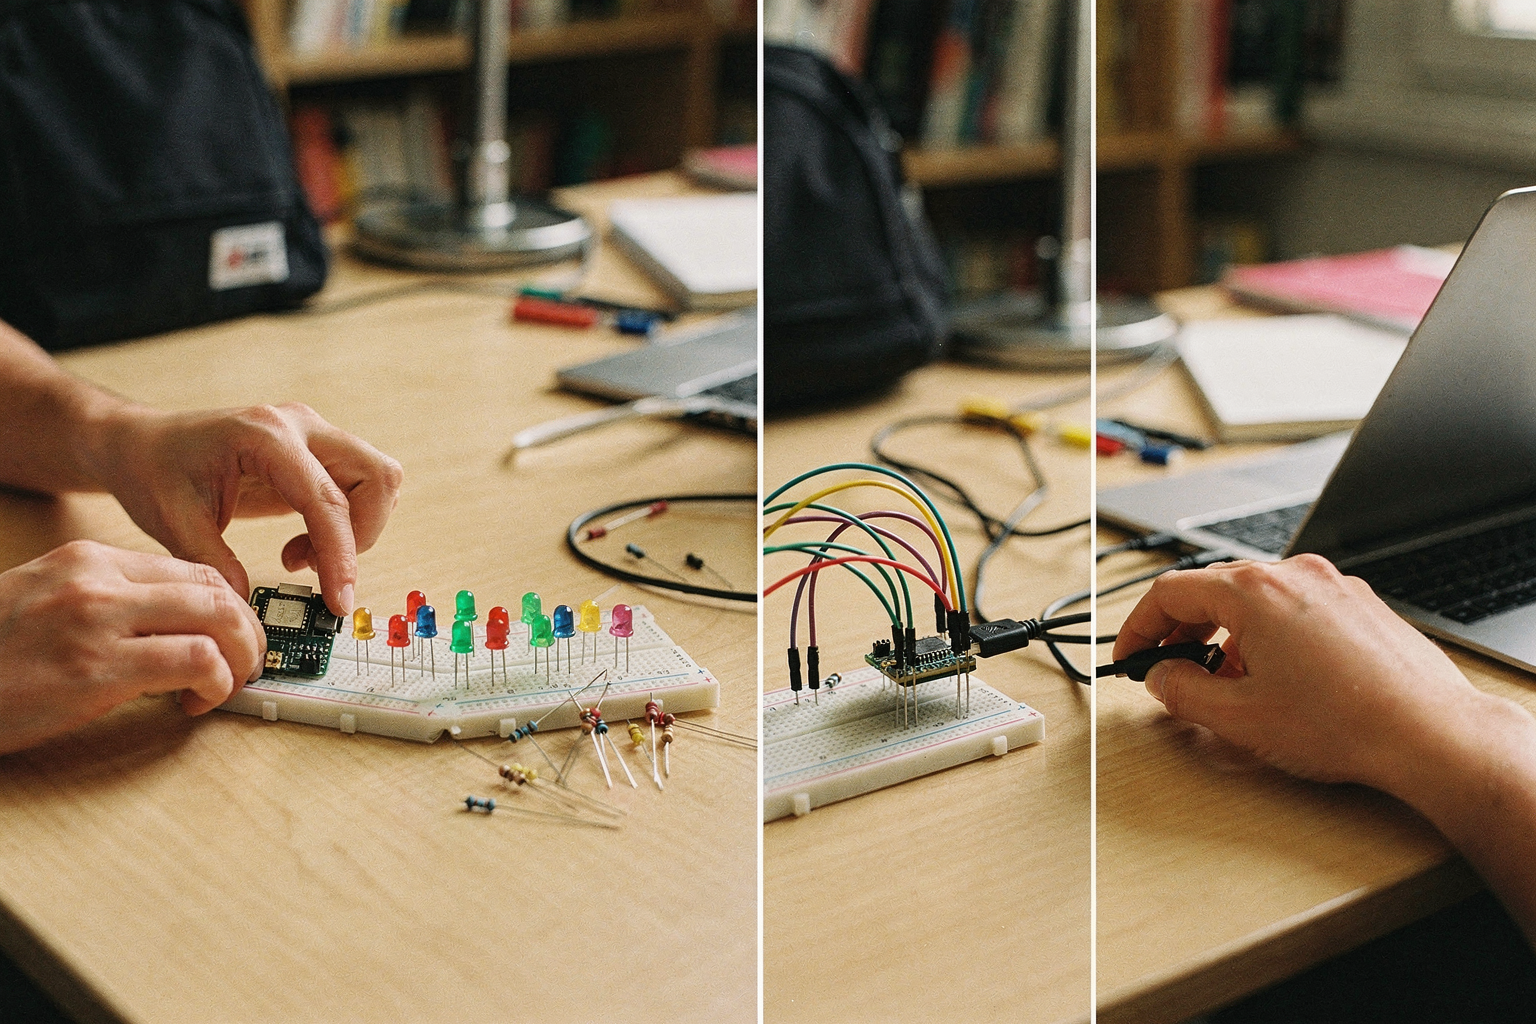
Follow these steps to complete your hardware setup:
-
Place the ESP32 on the breadboard: Insert the ESP32 development board into the breadboard, making sure it's stable and well-secured.
-
Connect the LEDs: Insert one end of each 220Ω resistor into the breadboard row (GPIO pin row), then place the LED on top of the resistor with the longer leg (anode) touching the resistor.
-
Complete the connections:
- Connect the shorter leg of the LED (cathode) to a ground row
- Connect GPIO 23 to the Red LED resistor
- Connect GPIO 25 to the Green LED resistor
- Connect GPIO 26 to the Blue LED resistor
-
Power connections:
- Connect 3V3 pin on ESP32 to the positive rail of the breadboard
- Connect any GND pin on ESP32 to the negative rail
-
Reset pin protection: Connect a 10kΩ resistor from the EN pin to GND to prevent auto-reset issues.
Software Setup
Now let's set up the Arduino IDE for ESP32 development:
-
Install Arduino IDE: If you haven't already, download and install Arduino IDE from the official website.
-
Add ESP32 Board Manager:
- Open Arduino IDE
- Go to File → Preferences
- Add this URL to "Additional Board Manager URLs":
CodeTecnoMate
https://raw.githubusercontent.com/espressif/arduino-esp32/gh-pages/package_esp32_index.json - Go to Tools → Board → Boards Manager
- Search for "ESP32" and install the package
-
Install ESP32 Board Core:
- Go to Tools → Board → Boards Manager again
- Search for "ESP32" and install the ESP32 core
- Restart Arduino IDE
-
Select your board:
- Go to Tools → Board → ESP32 Arduino → [Your ESP32 Board Model]
- Go to Tools → Port → Select your ESP32 port
- Set the correct upload speed (should be 115200 for most ESP32 boards)
Now you're ready to upload the code!
Code Explanation
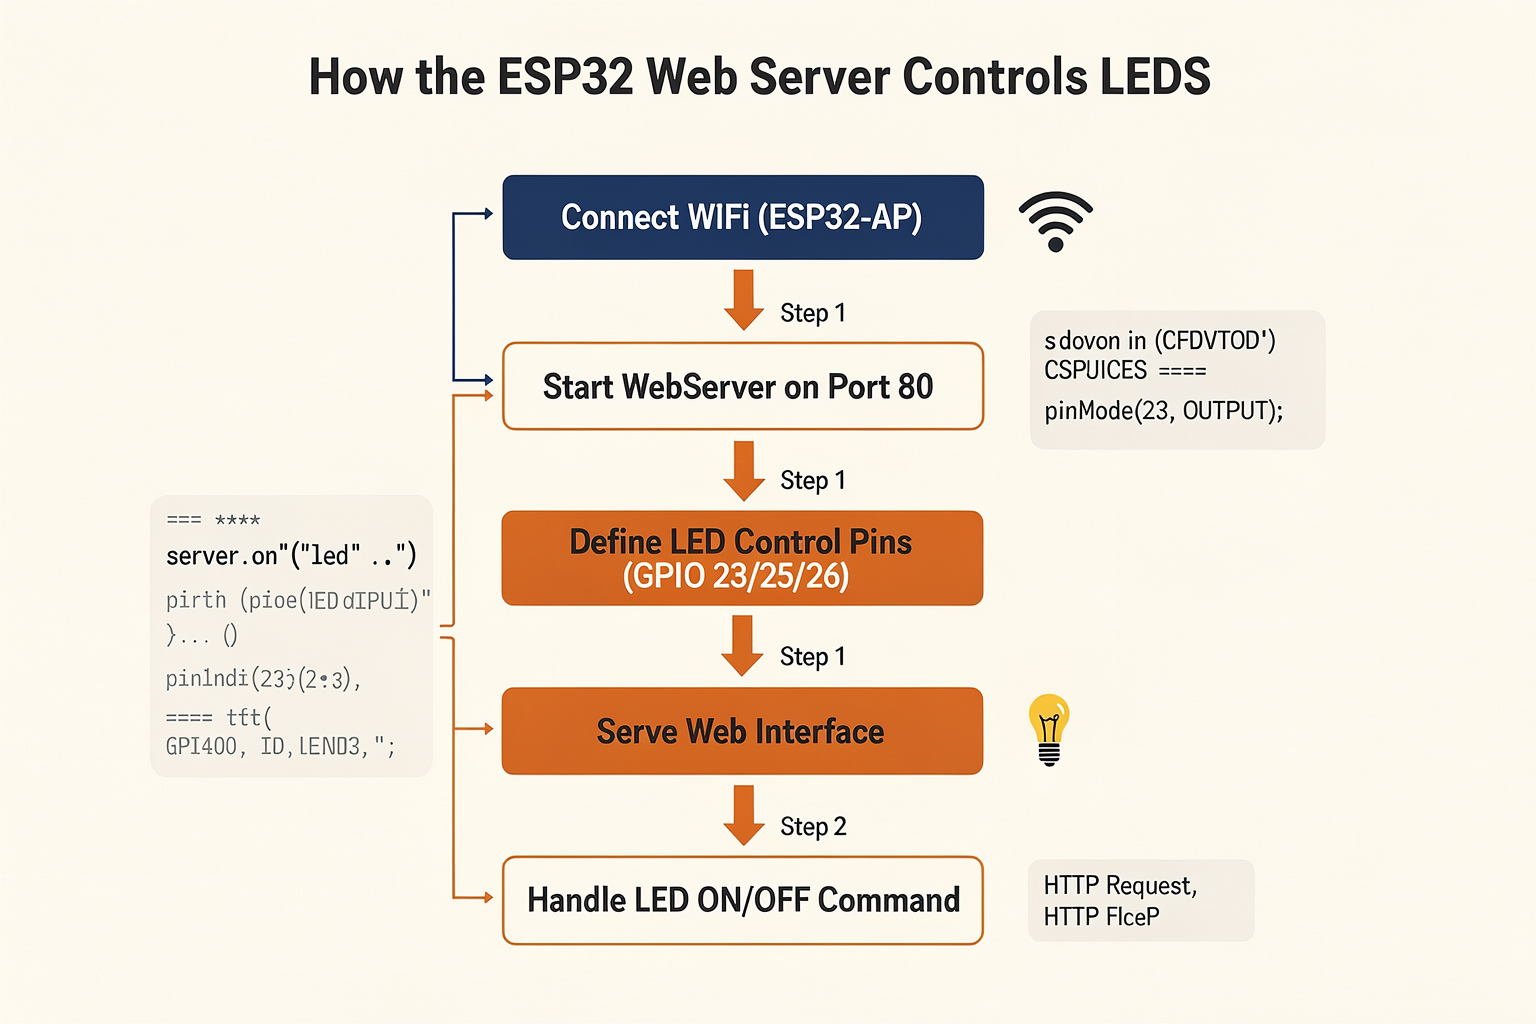
Here's the complete code for our ESP32 web server. I'll break it down section by section to help you understand each part.
#include <WiFi.h>
#include <WebServer.h>

// WiFi credentials
const char* ssid = "ESP32-AP";
const char* password = "12345678";

// Create web server on port 80
WebServer server(80);

// LED pins
const int redPin = 23;
const int greenPin = 25;
const int bluePin = 26;

// HTML content for the web page
String htmlContent = "<!DOCTYPE html><html><head><title>ESP32 LED Control</title>"
                     "<style>body{font-family: Arial; background-color: #2c3e50; color: white; "
                     "display: flex; justify-content: center; align-items: center; height: 100vh; margin: 0;}"
                     "h1{text-align: center; margin-bottom: 30px; font-size: 2.5em;}"
                     ".container{background-color: #34495e; padding: 30px; border-radius: 10px; "
                     "box-shadow: 0 4px 6px rgba(0,0,0,0.
Ready to start building?
Explore our collection of DIY kits and components. All project components mentioned in this blog are available in our store.
Browse All Projects