

Introduction
Starting your journey in electronics prototyping can feel overwhelming, especially when you're in India's bustling engineering community where innovation meets practical needs. Whether you're building your first blinking LED circuit or developing an IoT device for smart cities, understanding the essential electronics components is crucial for success. At TecnoMate, we've seen thousands of engineering students and hobbyists transform their ideas into reality, and we're here to guide you through the foundational components that will power your DIY electronics projects.
The beauty of DIY electronics lies in its accessibility - you don't need a massive budget or advanced laboratory equipment to get started. With the right components and knowledge, you can create everything from simple circuits to complex embedded systems. This guide will walk you through the must-have components available in the Indian market, complete with pricing, specifications, and practical examples that you can implement immediately.
Core Electronics Components You Need
Microcontrollers: The Brain of Your Project
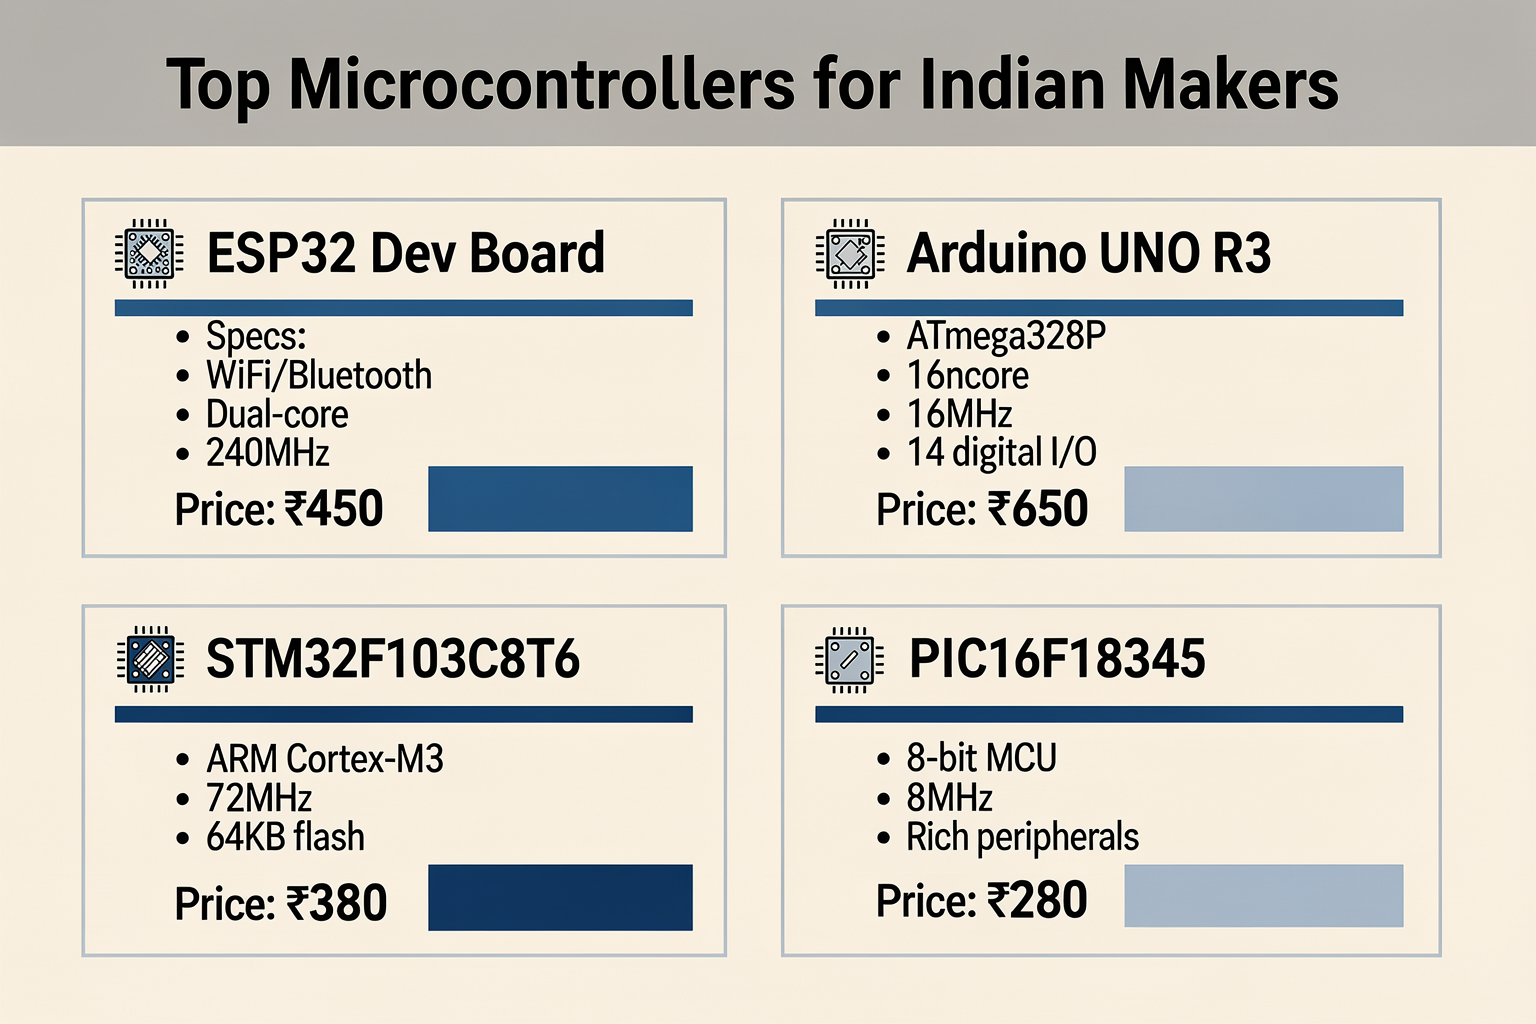
Microcontrollers form the heart of most DIY electronics projects. They're essentially tiny computers on a single chip that can process inputs and control outputs. For students in India starting their electronics journey, here are the most popular options:
| Microcontroller | Specifications | Price (₹) | Best For |
|---|---|---|---|
| ESP32 Dev Board | WiFi/Bluetooth, Dual-core, 240MHz | 450 | IoT projects, Wireless communication |
| Arduino UNO R3 | ATmega328P, 16MHz, 14 digital I/O | 650 | Beginners, Simple projects |
| STM32F103C8T6 | ARM Cortex-M3, 72MHz, 64KB flash | 380 | Complex applications, Performance-focused |
| PIC16F18345 | 8-bit MCU, 8MHz, Rich peripherals | 280 | Cost-sensitive projects |
Sensors: Making Your Projects Intelligent
Sensors allow your DIY electronics to interact with the physical world. Here's a comprehensive list of essential sensors available across Indian markets:
| Sensor Type | Application | Price Range (₹) | Integration Difficulty |
|---|---|---|---|
| Temperature & Humidity DHT22 | Weather stations, HVAC | 180-250 | Easy |
| Ultrasonic HC-SR04 | Distance measurement, Parking | 120-180 | Easy |
| PIR Motion Sensor | Security systems, Automation | 90-150 | Very Easy |
| Light Sensor LDR | Automatic lighting, Day-night detection | 30-80 | Very Easy |
| Gas MQ-2 | Air quality monitoring | 250-350 | Medium |
| Accelerometer MPU6050 | Motion detection, Gaming | 180-280 | Medium |
Power Components: Keeping Everything Running
No DIY electronics project can function without proper power management. Understanding these components will save you hours of troubleshooting:
| Component | Type | Voltage Range | Price (₹) | Key Features |
|---|---|---|---|---|
| Breadboard Power Module | DC-DC Buck | 5V to 3.3V | 150 | Adjustable output |
| 9V Battery Clip | Battery Holder | 9V DC | 45 | Standard connector |
| Li-Po Battery Charger | USB Charger | 7.4V-12.6V | 350 | Safe charging IC |
| Voltage Regulator LM7805 | Linear Regulator | 7-12V input | 25 | Stable 5V output |
| Solar Panel 5V | Renewable Power | 12V max output | 450 | Weatherproof |
Basic Passive Components
These might seem simple, but mastering their use is fundamental to electronics:
| Component | Common Values | Uses | Price per 100 pcs (₹) |
|---|---|---|---|
| Resistors | 100Ω, 1kΩ, 10kΩ, 1MΩ | Current limiting, Voltage division | 200 |
| LEDs | Red, Green, Blue, White | Indicators, Display | 300 |
| Push Buttons | Tactile, Momentary | User input | 150 |
| Capacitors | 100µF, 22pF | Filtering, Energy storage | 250 |
| Transistors (BC547) | NPN, 45V, 100mA | Switching, Amplification | 180 |
Getting Started: Your First Circuit
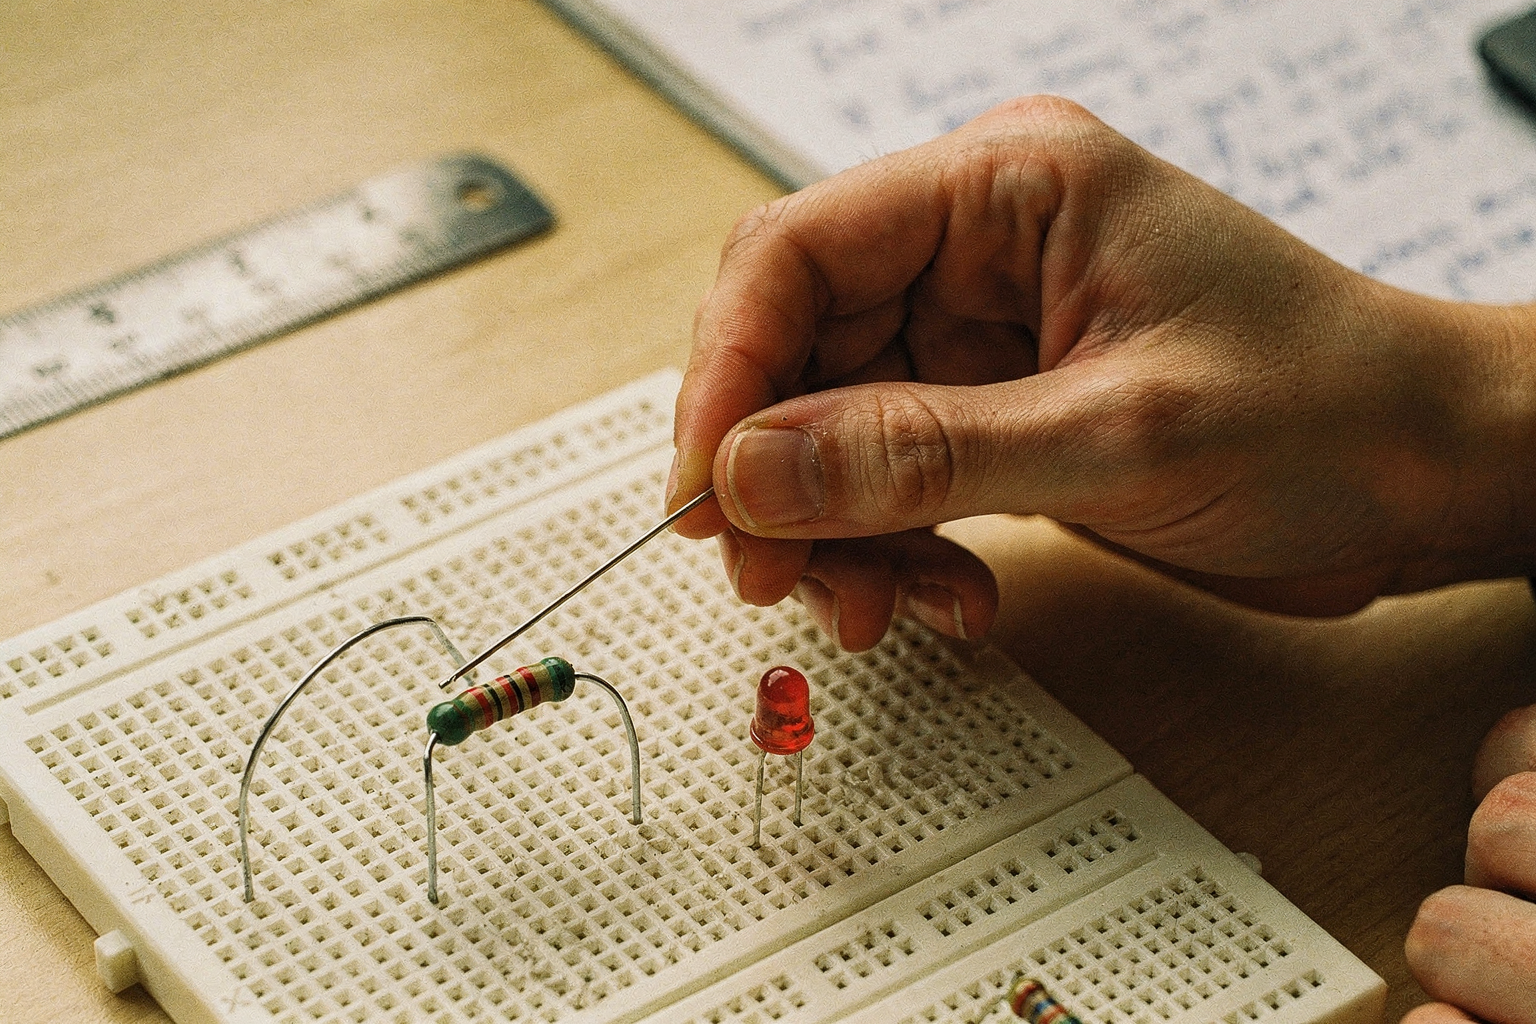
Let's build a practical example - a simple automated night lamp using components easily available in India. This circuit combines several essential electronics components you'll frequently use:
Circuit Components List
- ESP32 Dev Board: ₹450
- LDR (Light Dependent Resistor): ₹40
- 10kΩ Resistor: ₹2
- 5V LED: ₹15
- Resistor 220Ω: ₹2
- Breadboard: ₹120
- Jumper Wires: ₹80
- 5V Power Supply: ₹150
Total Cost: ~₹859
Circuit Diagram
LDR --- 10kΩ --- ESP32 Analog Pin A0
                     |
                    5V LED --- 220Ω --- GND
                     |
ESP32 Digital Pin D2 --- ESP32 Relay Module (if using AC)
                     |
                   5V Power Supply
Step-by-Step Guide to Building Your First Electronics Project
Step 1: Planning and Component Selection
Before diving into soldering or breadboarding, always plan your project requirements. Ask yourself:
- What's the main function of your device?
- Do you need wireless connectivity? (Choose ESP32)
- Is it for learning or a practical application?
- What's your budget?
Step 2: Setting Up Your Workspace
A clean, organized workspace is crucial for electronics projects. Here's what you need:
- Good lighting
- Anti-static mat (₹350)
- Helping hands tool (₹450)
- Multimeter (₹800-1200)
- Basic soldering iron (₹600)
Step 3: Breadboarding Your Circuit
Never solder directly on your first attempt. Use a breadboard to test your circuit:
- Place the microcontroller in the center divider
- Connect power rails (red for 5V, blue for GND)
- Add components following your schematic
- Double-check all connections before powering
Step 4: Writing and Uploading Code
Here's a complete code example for our night lamp project:
#include <Arduino.h>

#define LDR_PIN A0
#define LED_PIN D2
#define THRESHOLD 400  // Adjust based on your environment

void setup() {
  Serial.begin(115200);
  pinMode(LED_PIN, OUTPUT);
  digitalWrite(LED_PIN, LOW);
  Serial.println("Night Lamp System Initialized");
}

void loop() {
  int sensorValue = analogRead(LDR_PIN);
  Serial.print("Light Level: ");
  Serial.println(sensorValue);

  // If light is below threshold, turn on LED
  if (sensorValue > THRESHOLD) {
    digitalWrite(LED_PIN, HIGH);
    Serial.println("LED
Ready to start building?
Explore our collection of DIY kits and components. All project components mentioned in this blog are available in our store.
Browse All Projects