

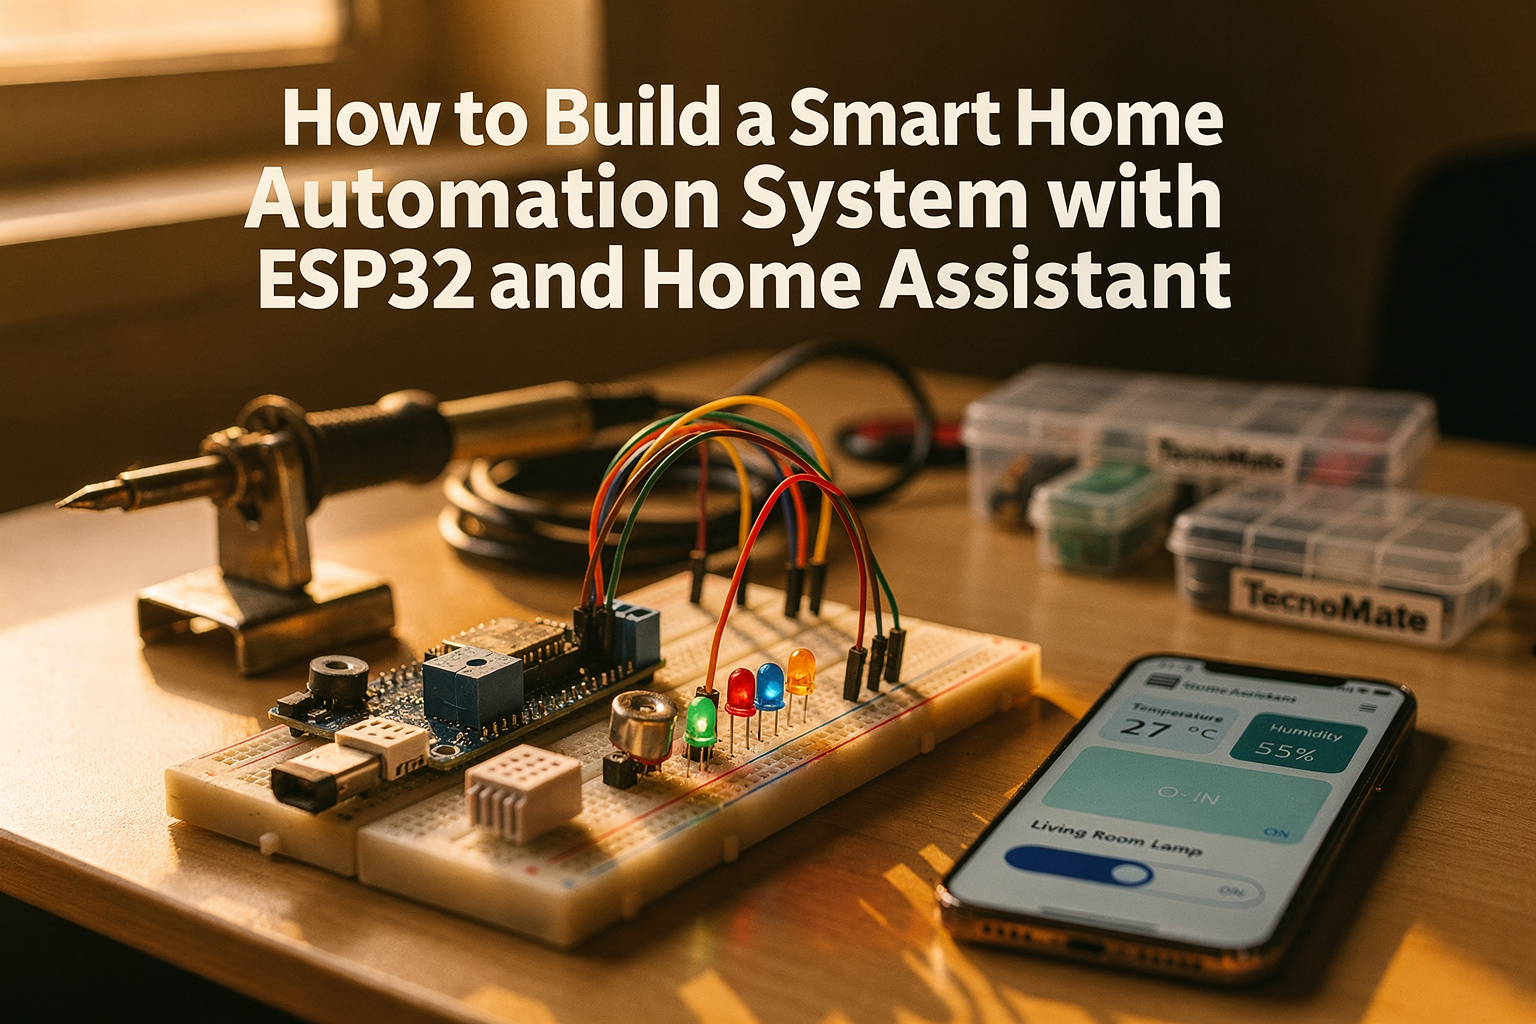
How to Build a Smart Home Automation System with ESP32 and Home Assistant
Introduction
Welcome to your comprehensive guide on building a smart home automation system! In today's digital age, transforming your home into a smart living space has never been easier or more affordable. This tutorial will walk you through creating an intelligent home automation setup using the powerful ESP32 microcontroller and the versatile Home Assistant platform. Perfect for engineering students and DIY enthusiasts in India, this project combines cutting-edge technology with practical implementations that you can actually build and use in your own home.
Building a smart home automation system doesn't require expensive commercial products. With the right components and a bit of programming knowledge, you can create a fully functional smart home system that controls lights, monitors temperature, and even manages your appliances - all from your smartphone! The ESP32, available at just ₹450 from TecnoMate, serves as the brain of your system, while Home Assistant provides the user-friendly interface to control everything.
Let's dive into this exciting journey of home automation and learn how to build a smart system that will make your home more intelligent, efficient, and convenient.
Components Required
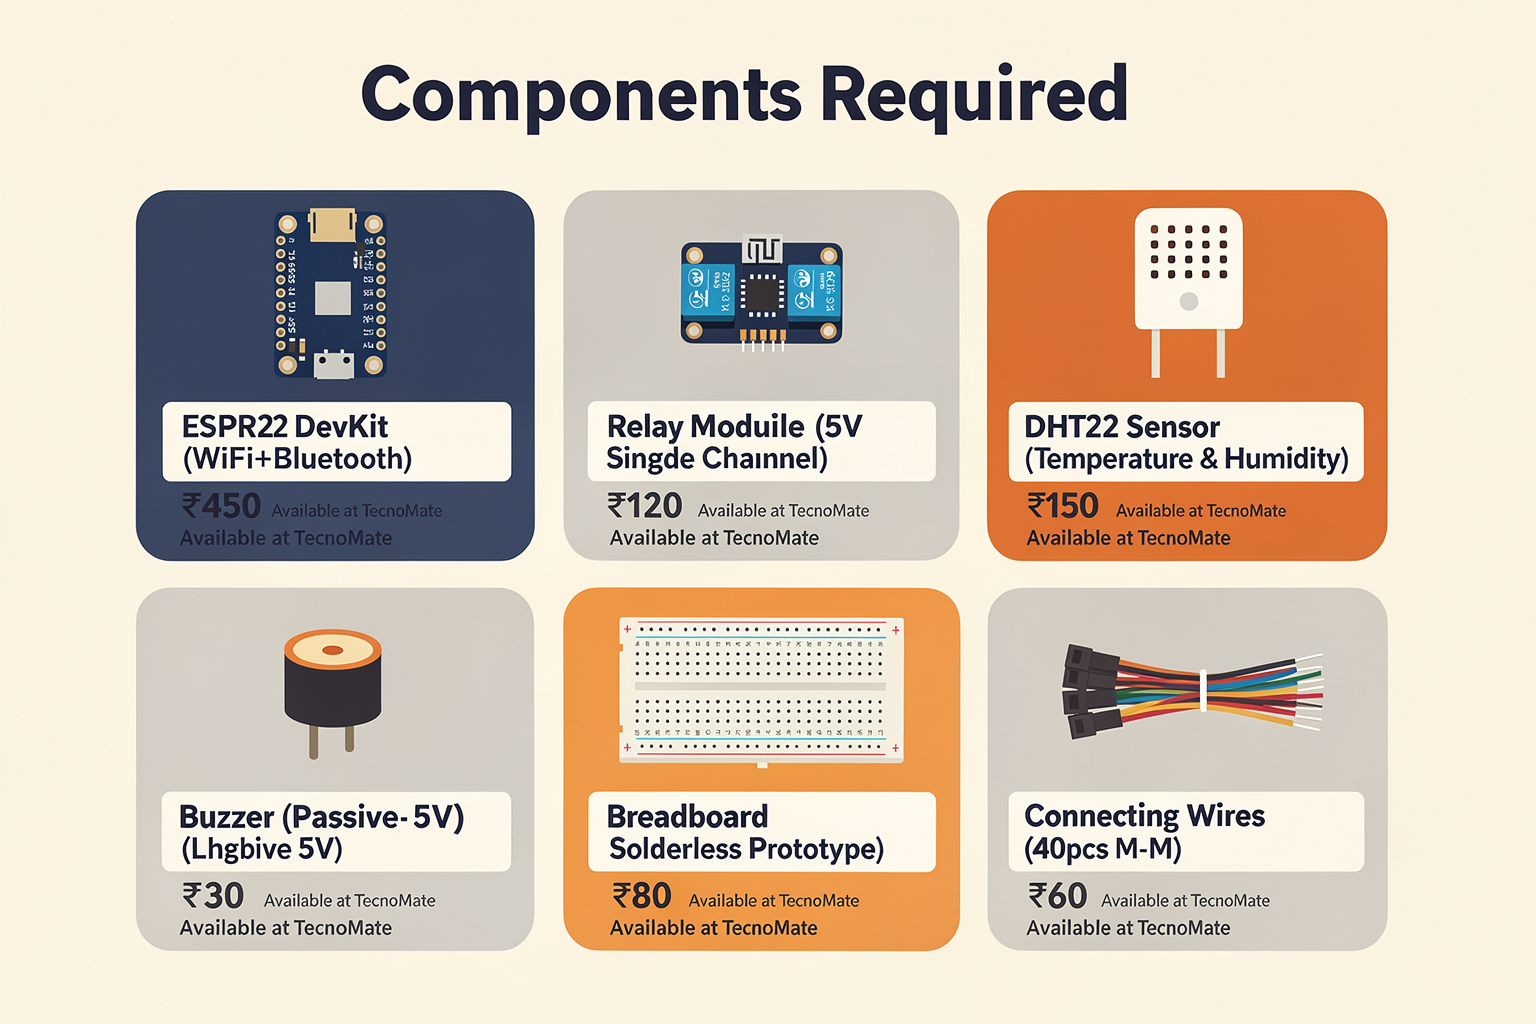
Before we begin building, let's gather all the necessary components. Here's what you'll need to create your smart home automation system:
| Component | Specification | Price (₹) | Availability |
|---|---|---|---|
| ESP32 DevKit | WiFi + Bluetooth | 450 | Available at TecnoMate |
| Relay Module | 5V Single Channel | 120 | Available at TecnoMate |
| DHT22 Sensor | Temperature & Humidity | 150 | Available at TecnoMate |
| LDR (Light Dependent Resistor) | Light Sensor | 40 | Available at TecnoMate |
| Buzzer | Passive 5V | 30 | Available at TecnoMate |
| Breadboard | Solderless Prototype Board | 80 | Available at TecnoMate |
| Connecting Wires | 40pcs M-M | 60 | Available at TecnoMate |
| LED (Assorted Colors) | 5mm | 20 | Available at TecnoMate |
| Push Buttons | Tactile | 50 | Available at TecnoMate |
Additional Tools Needed
- USB Cable (Type-A to Micro-B)
- Computer with Arduino IDE installed
- Smartphone with Home Assistant app
- Soldering iron (optional, for permanent connections)
- Power adapter (5V 2A recommended)
Total Estimated Cost: ₹1,000 (excluding tools)
Pro Tip: All these components are available at competitive prices through TecnoMate's online store with free shipping across India for orders above ₹500.
Circuit Diagram and Setup
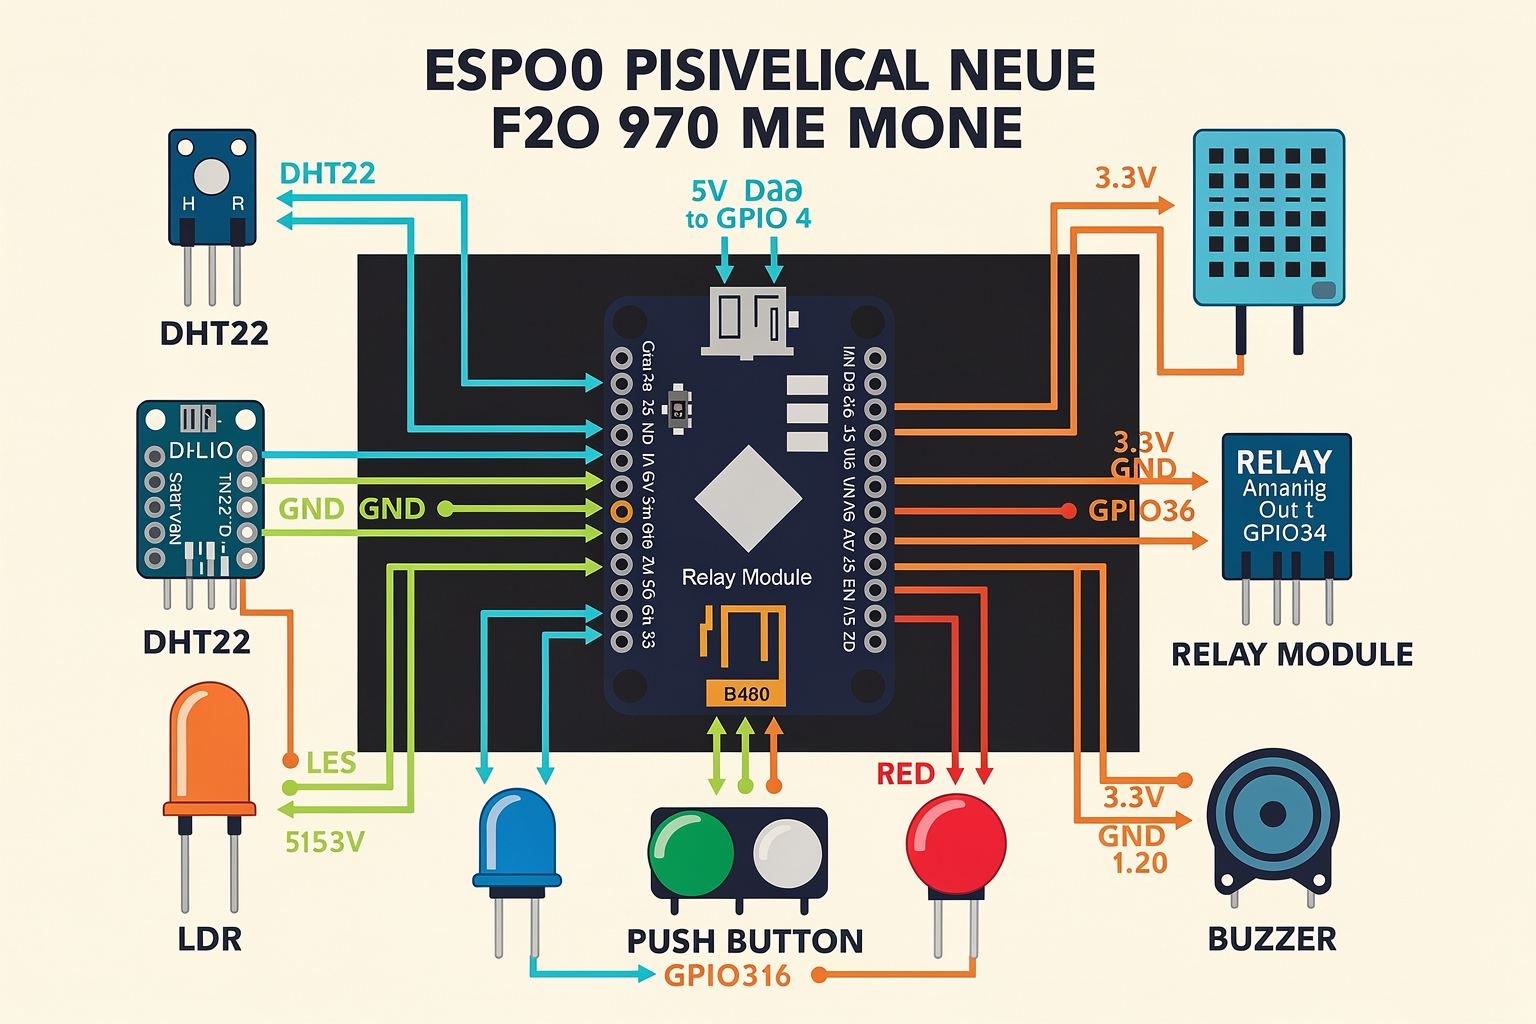
For this smart home automation project, we'll create a circuit that can:
- Monitor temperature and humidity using DHT22
- Detect ambient light levels with LDR
- Control a relay for switching appliances
- Provide visual feedback through LEDs
- Generate alerts using a buzzer
Wiring Connections
Here's a step-by-step guide to connecting all components:
-
ESP32 to DHT22 Sensor:
- VCC → 5V
- GND → GND
- Data → GPIO 4
-
ESP32 to LDR:
- VCC → 3.3V
- GND → GND
- Analog Out → GPIO 36 (ADC1_CH0)
-
ESP32 to Relay Module:
- VCC → 5V
- GND → GND
- IN → GPIO 23
-
ESP32 to LEDs:
- Blue LED → GPIO 22
- Green LED → GPIO 21
- Red LED → GPIO 20
-
ESP32 to Push Buttons:
- Button 1 → GPIO 18
- Button 2 → GPIO 17
-
ESP32 to Buzzer:
- Positive → GPIO 19
- Negative → GND
Circuit Diagram Description
The circuit follows a modular approach where the ESP32 acts as the central controller. The DHT22 sensor provides environmental data, the LDR monitors light conditions, and the relay module controls an external load (like a lamp or fan). The LEDs provide status updates, while push buttons allow manual override, and the buzzer alerts when certain conditions are met.
Step-by-Step Guide to Building Your Smart Home
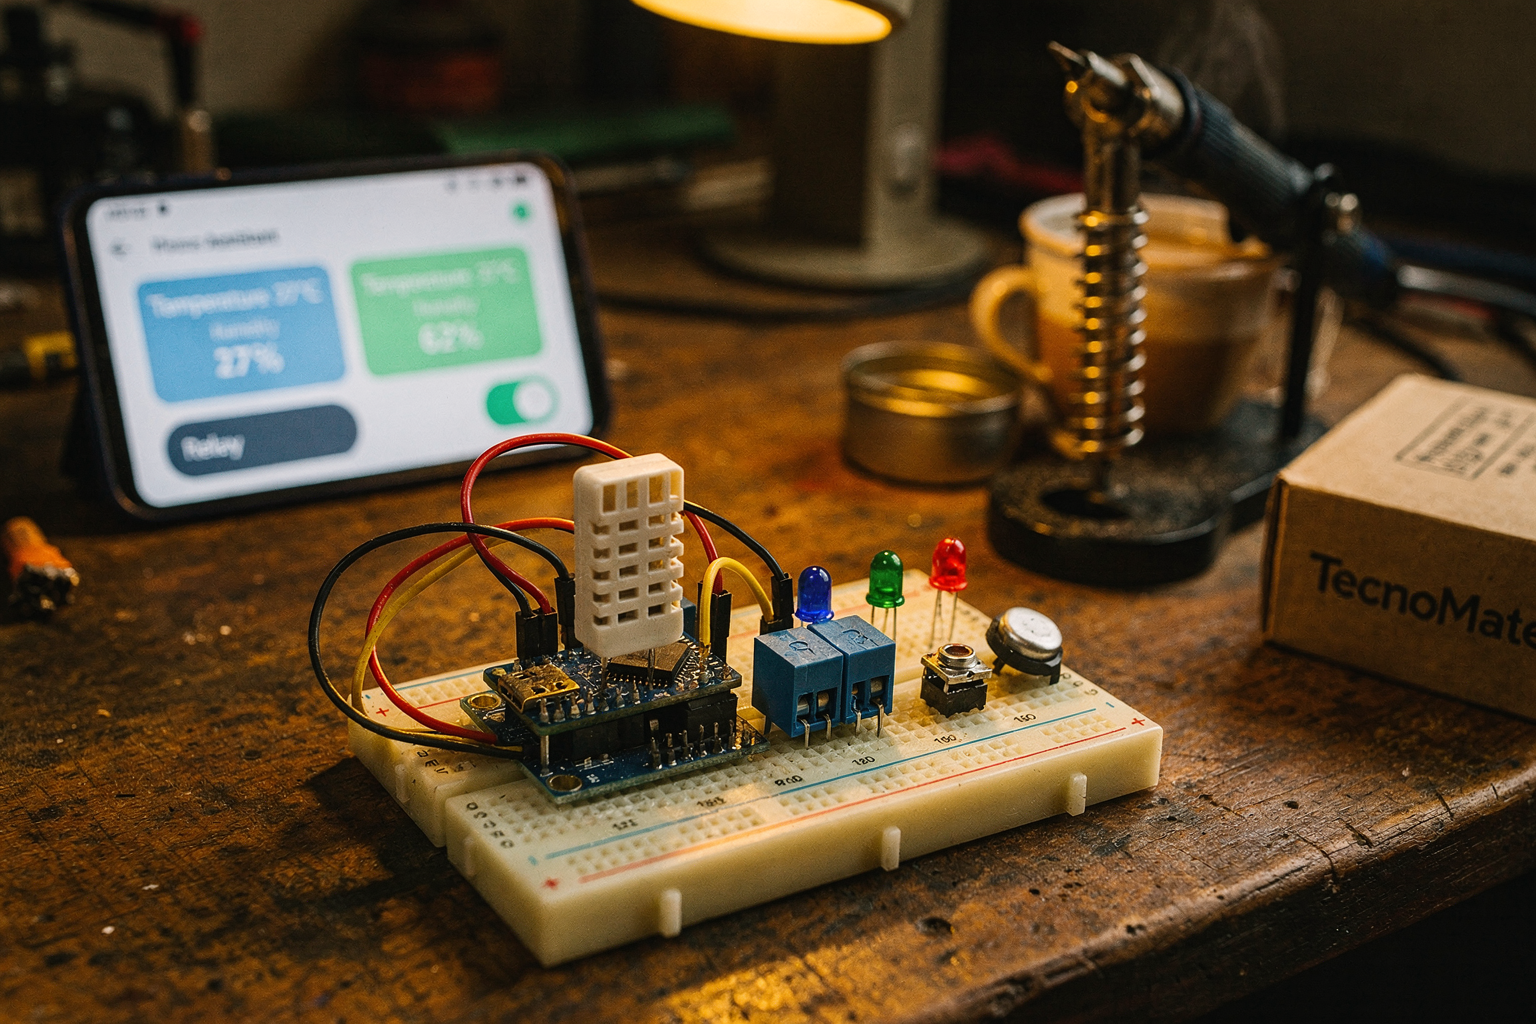
Step 1: Setting Up Arduino IDE
First, let's configure your Arduino IDE for ESP32 development:
- Download and install Arduino IDE from arduino.cc
- Add ESP32 board support:
- Go to File → Preferences
- Add this URL to "Additional Board Manager URLs":
https://raw.githubusercontent.com/espressif/arduino-esp32/gh-pages/package_esp32_index.json
- Go to Tools → Board → Boards Manager
- Search for "ESP32" and install the package
- Select your board from Tools → Board → ESP32 Arduino
Step 2: Installing Home Assistant ESP32 Integration
Home Assistant offers seamless integration with ESP32 devices. Here's how to set it up:
- Download the ESP32 Flasher utility from Home Assistant GitHub
- Follow the installation instructions for your operating system
- Add your ESP32 device to Home Assistant:
- Run the flasher utility
- Follow the on-screen instructions to flash Home Assistant OS
Step 3: Writing the Arduino Code
Now let's write the code that will run on your ESP32. Create a new sketch in Arduino IDE and paste the following code:
#include <WiFi.h>
#include <ArduinoJson.h>
#include <DHT.h>
#include <Wire.h>

#define DHTPIN 4
#define DHTTYPE DHT22
#define LDR_PIN 36
#define RELAY_PIN 23
#define BLUE_LED_PIN 22
#define GREEN_LED_PIN 21
#define RED_LED_PIN 20
#define BUZZER_PIN 19
#define BUTTON1_PIN 18
#define BUTTON2_PIN 17

DHT dht(DHTPIN, DHTTYPE);
WiFiClient client;

const char* ssid = "YOUR_WIFI_SSID";
const char* password = "YOUR_WIFI_PASSWORD";
const char* mqtt_server = "YOUR_HOME_ASSISTANT_IP";
const int mqtt_port = 1883;

unsigned long lastMsgTime = 0;
char msg[50];
int value = 0;

void setup() {
  Serial.begin(115200
Ready to start building?
Explore our collection of DIY kits and components. All project components mentioned in this blog are available in our store.
Browse All Projects