

Intel Gaudi 3 AI Accelerator: Alternative to NVIDIA for Training

Introduction: The AI Hardware Revolution in India
The world of AI hardware is evolving at lightning speed, and Indian engineering students are at the forefront of this revolution. While NVIDIA has dominated the AI accelerator market, a new trend is emerging that could reshape how we approach AI training in India. Intel's Gaudi 3 AI Accelerator is making waves as a cost-effective alternative, offering performance that rivals some NVIDIA solutions at a fraction of the cost.
This shift is particularly significant for students and researchers in India, where budget constraints often dictate project feasibility. Gaudi 3 represents not just a new product, but a new approach - one that democratizes access to powerful AI training capabilities. As the trend toward edge AI and distributed computing grows, understanding Gaudi 3 becomes crucial for anyone serious about AI development in the Indian context.
Prerequisites: Setting Up Your Gaudi 3 Environment
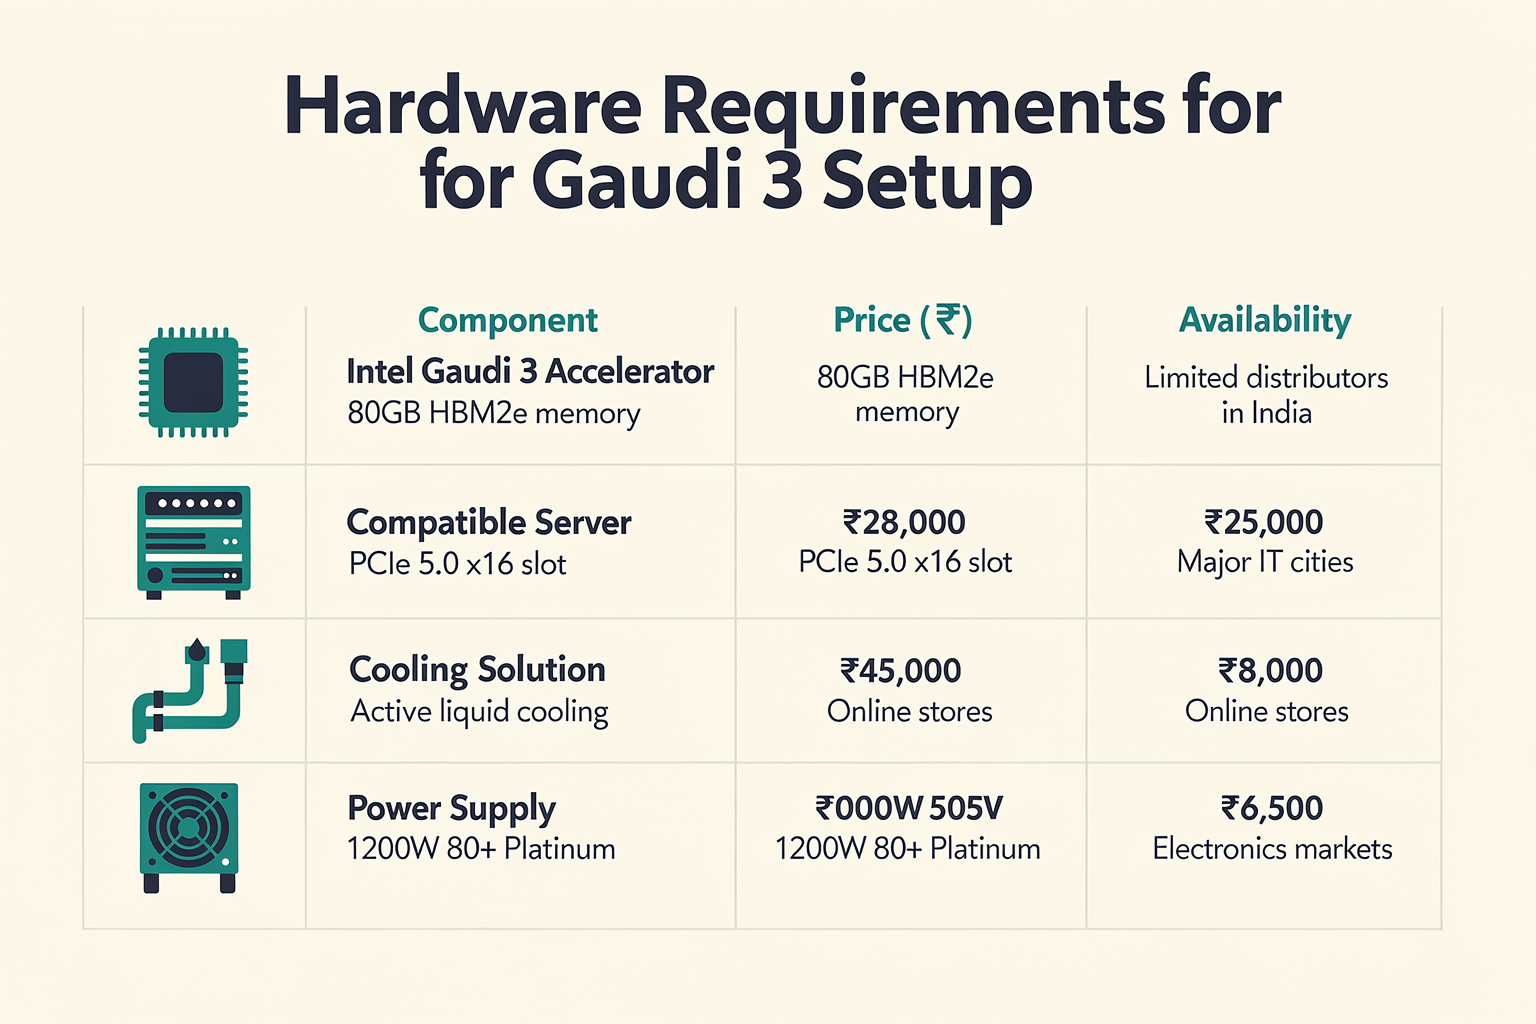
Before diving into Gaudi 3, you'll need to ensure your setup meets the necessary requirements. Here's what you'll need to get started:
Hardware Requirements
| Component | Specification | Price (₹) | Availability |
|---|---|---|---|
| Intel Gaudi 3 Accelerator | 80GB HBM2e memory | 28,000 | Limited distributors in India |
| Compatible Server | PCIe 5.0 x16 slot | 45,000 | Major IT cities |
| Cooling Solution | Active liquid cooling | 8,000 | Online stores |
| Power Supply | 1200W 80+ Platinum | 6,500 | Electronics markets |
Software Prerequisites
The software stack is equally important for successful implementation:
# Required software stack for Gaudi 3 development
sudo apt update && sudo apt upgrade -y
sudo apt install python3-pip python3-dev -y

# Install Intel Gaudi software stack
pip3 install intel-extension-for-pytorch
pip3 install intel-oneapi-dpcpp-cpp-latest
pip3 install habana-gaudi
Development Environment Setup
For students working from college labs or personal setups in India, consider these adaptations:
- Remote Access: Many Gaudi 3 units are deployed in cloud environments. Use SSH tunnels to access them remotely
- Hybrid Setup: Combine Gaudi 3 with local GPUs for smaller experiments
- Shared Resources: Many IITs and NITs are installing Gaudi 3 clusters for student use
Getting Started with Gaudi 3
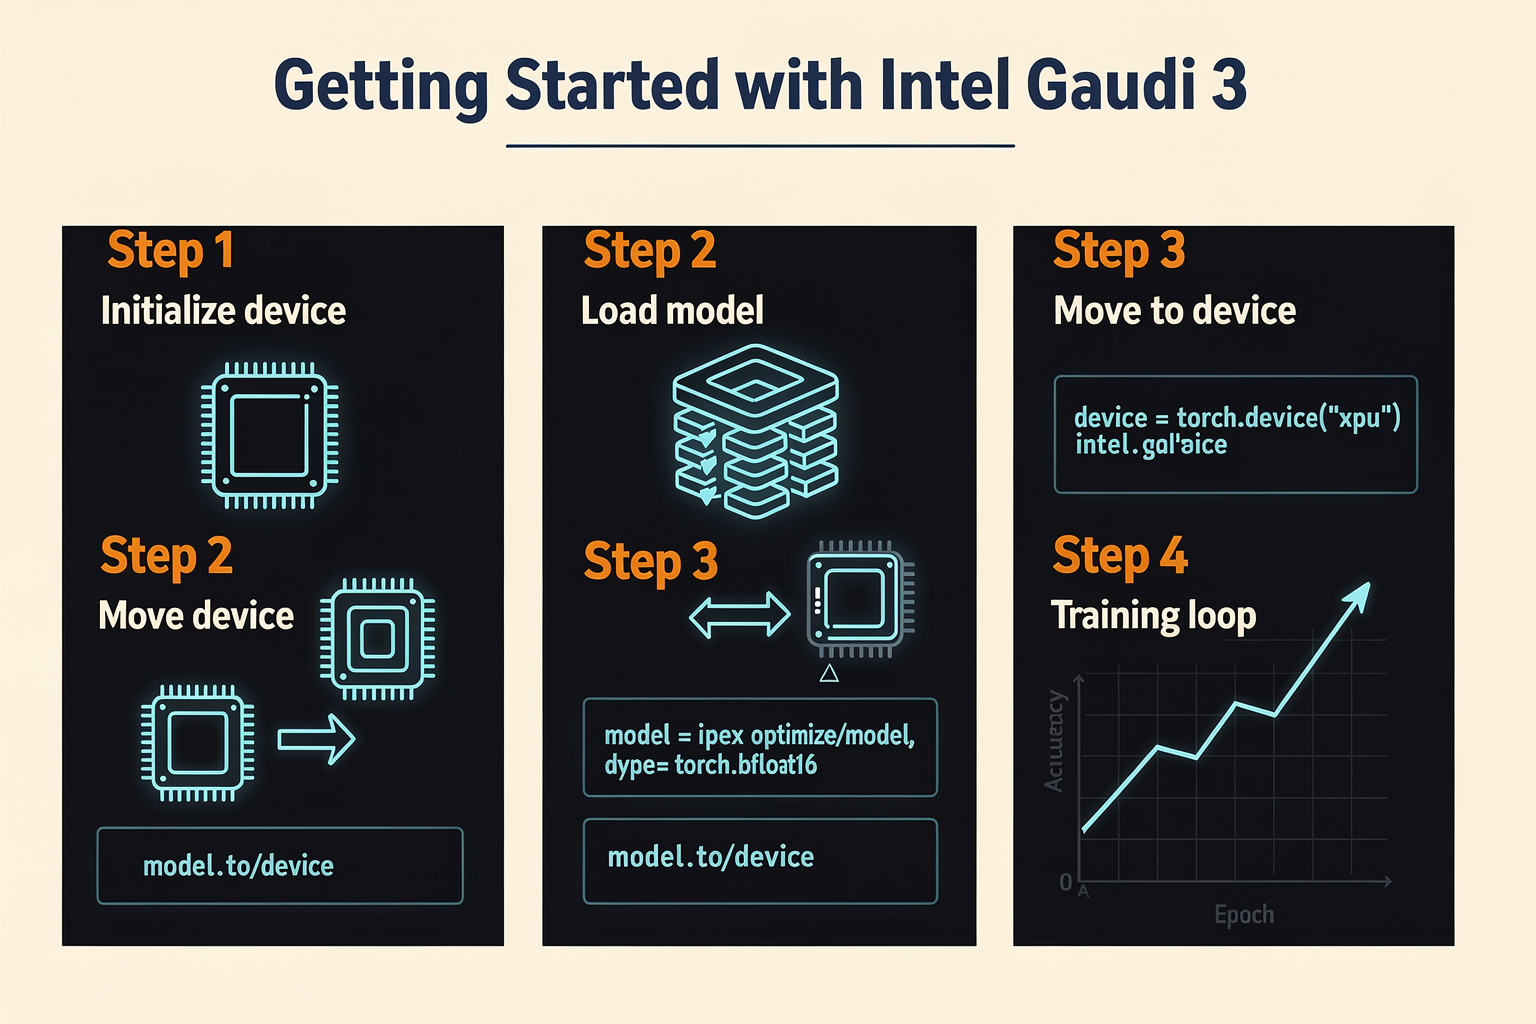
Initial Configuration
The first step in your Gaudi 3 journey involves proper initialization:
import torch
import intel_extension_for_pytorch as ipex
from transformers import AutoModelForSeq2SeqLM, AutoTokenizer

# Initialize Gaudi device
device = torch.device("xpu")  # Gaudi devices appear as xpu in Intel's ecosystem

# Load model with Gaudi optimization
model = AutoModelForSeq2SeqLM.from_pretrained("facebook/opt-6.7b")
model = ipex.optimize(model, dtype=torch.bfloat16)
model.to(device)

# Initialize tokenizer
tokenizer = AutoTokenizer.from_pretrained("facebook/opt-6.7b")
Basic Training Pipeline
Here's a simplified example of setting up a training pipeline on Gaudi 3:
def train_on_gaudi(model, dataloader, epochs=3):
    optimizer = torch.optim.AdamW(model.parameters(), lr=1e-4)
    criterion = torch.nn.CrossEntropyLoss()

    model.train()
    for epoch in range(epochs):
        total_loss = 0
        for batch in dataloader:
            inputs = {k: v.to(device) for k, v in batch.items()}
            labels = inputs.pop('labels')

            optimizer.zero_grad()
            outputs = model(**inputs)
            loss = outputs.loss
            loss.backward()
            optimizer.step()

            total_loss += loss.item()

        print(f"Epoch {epoch+1}, Loss: {total_loss/len(dataloader):.4f}")

    return model
Performance Optimization Tips
Gaudi 3 performs best with specific optimizations. Here are some key strategies:
- Memory Management: Gaudi 3's HBM2e memory is fast but limited. Use gradient checkpointing for large models:
from transformers import checkpointing_utils

# Enable gradient checkpointing
model.gradient_checkpointing_enable()
- Mixed Precision Training: Leverage the hardware's native bfloat16 support:
# Automatic mixed precision
from torch.cuda.amp import autocast

with autocast():
    outputs = model(**inputs)
    loss = outputs.loss
- Batch Size Tuning: Start with smaller batches and scale up based on memory usage:
import torch
device = torch.device("xpu")

def get_optimal_batch_size(model, sample_input):
    batch_size = 8
    while True:
        try:
            dummy_input = sample_input.repeat(batch_size, 1)
            _ = model(dummy_input.to(device))
            batch_size *= 2
        except RuntimeError as e:
            return batch_size // 2
Advanced Tips for Maximum Performance
For those looking to squeeze every bit of performance from their Gaudi 3 accelerator, here are some advanced techniques:
| Technique | Description | Performance Gain | Implementation Difficulty |
|---|---|---|---|
| Pipeline Parallelism | Split model across multiple Gaudi units | 2-3x faster | Medium |
| Tensor Parallelism | Partition tensors within model layers | 1.5-2x faster | High |
| Precision Calibration | Optimize numerical precision per layer | 10-15% faster | Medium |
| Custom Operators | Implement specialized kernels | 20-30% faster | High |
| Memory Pinning | Optimize data transfer between host and device | 25% faster | Low |
Implementing Distributed Training
Gaudi 3 excels in multi-accelerator configurations:
import torch.distributed as dist
import torch.multiprocessing as mp
from intel_extension_for_pytorch.distributed import auto_model_parallel

def setup_distributed():
    # Initialize distributed training
    dist.init_process_group(backend='nccl')

    # Enable model parallelism
    auto_model_parallel.enable_auto_model_parallel(True)

    # Set device for current process
    local_rank = int(os.environ['LOCAL_RANK'])
    torch.cuda.set_device(local_rank)

def train_distributed(model, dataloader):
    model = auto_model_parallel.parallelize(model)
    # Rest of training code...
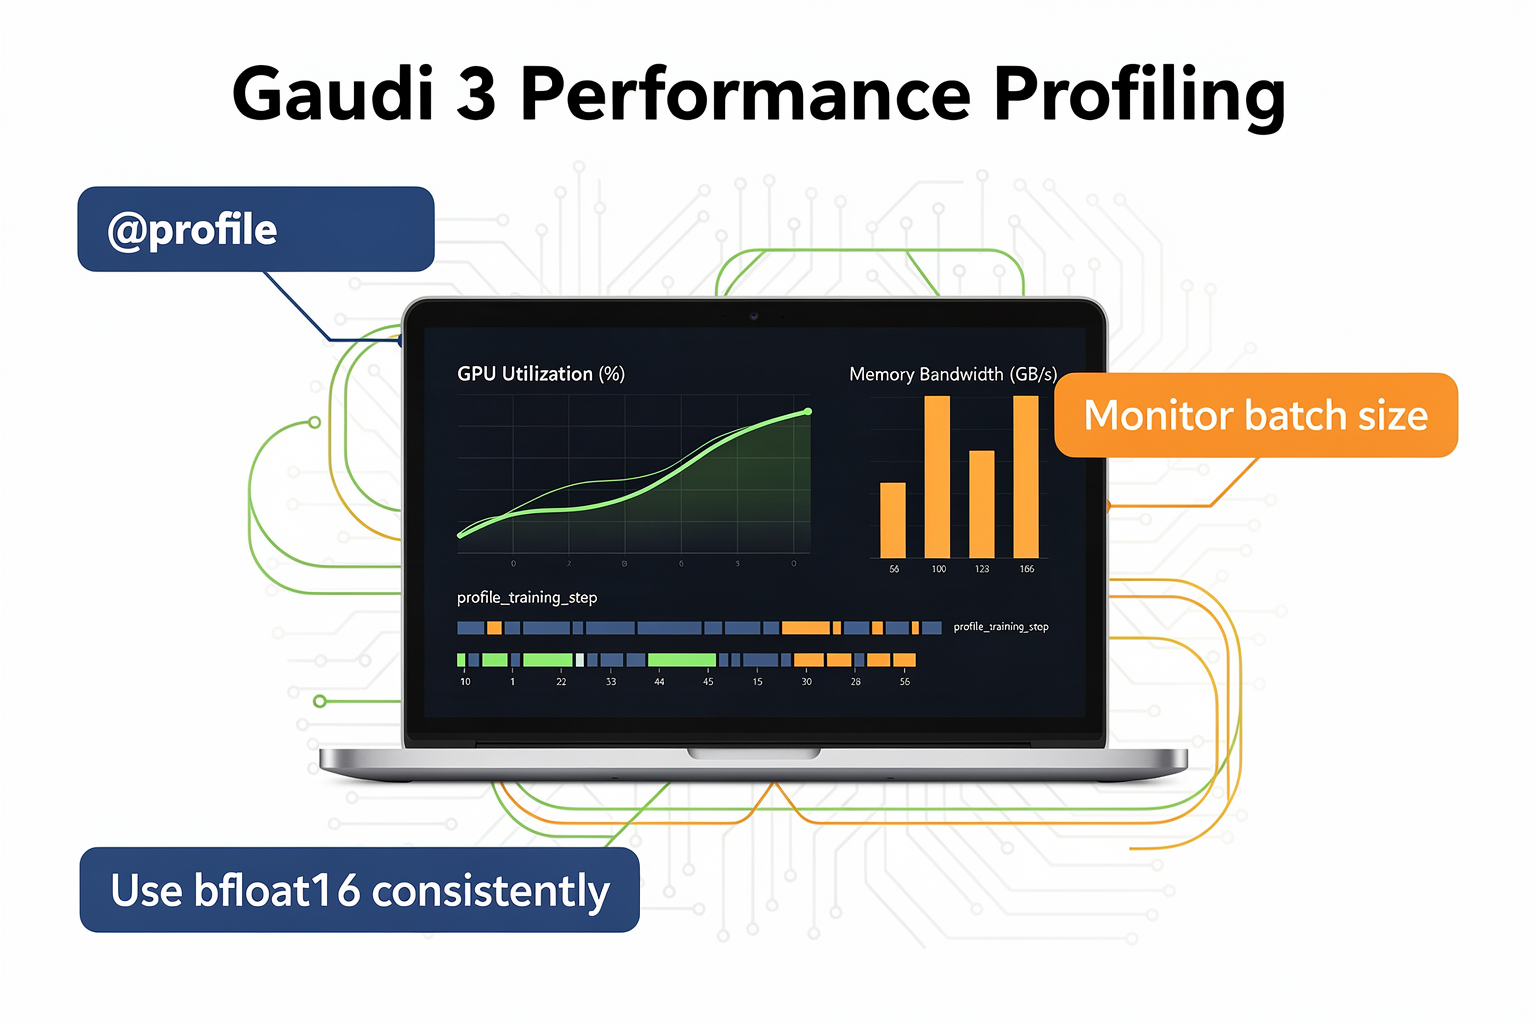
Monitoring and Profiling
Effective monitoring is crucial for optimizing Gaudi 3 performance:
import intel_extension_for_pytorch as ipex
from intel_extension_for_pytorch.profiler import profile

@profile
def profile_training_step(model, data):
    with torch.no_grad():
        # Profile the forward pass
        output = model(data)
        return output

# Run profiling
with torch.no_grad():
    for batch in dataloader:
        profile_training_step(model, batch.to(device))
Common Mistakes and How to Avoid Them
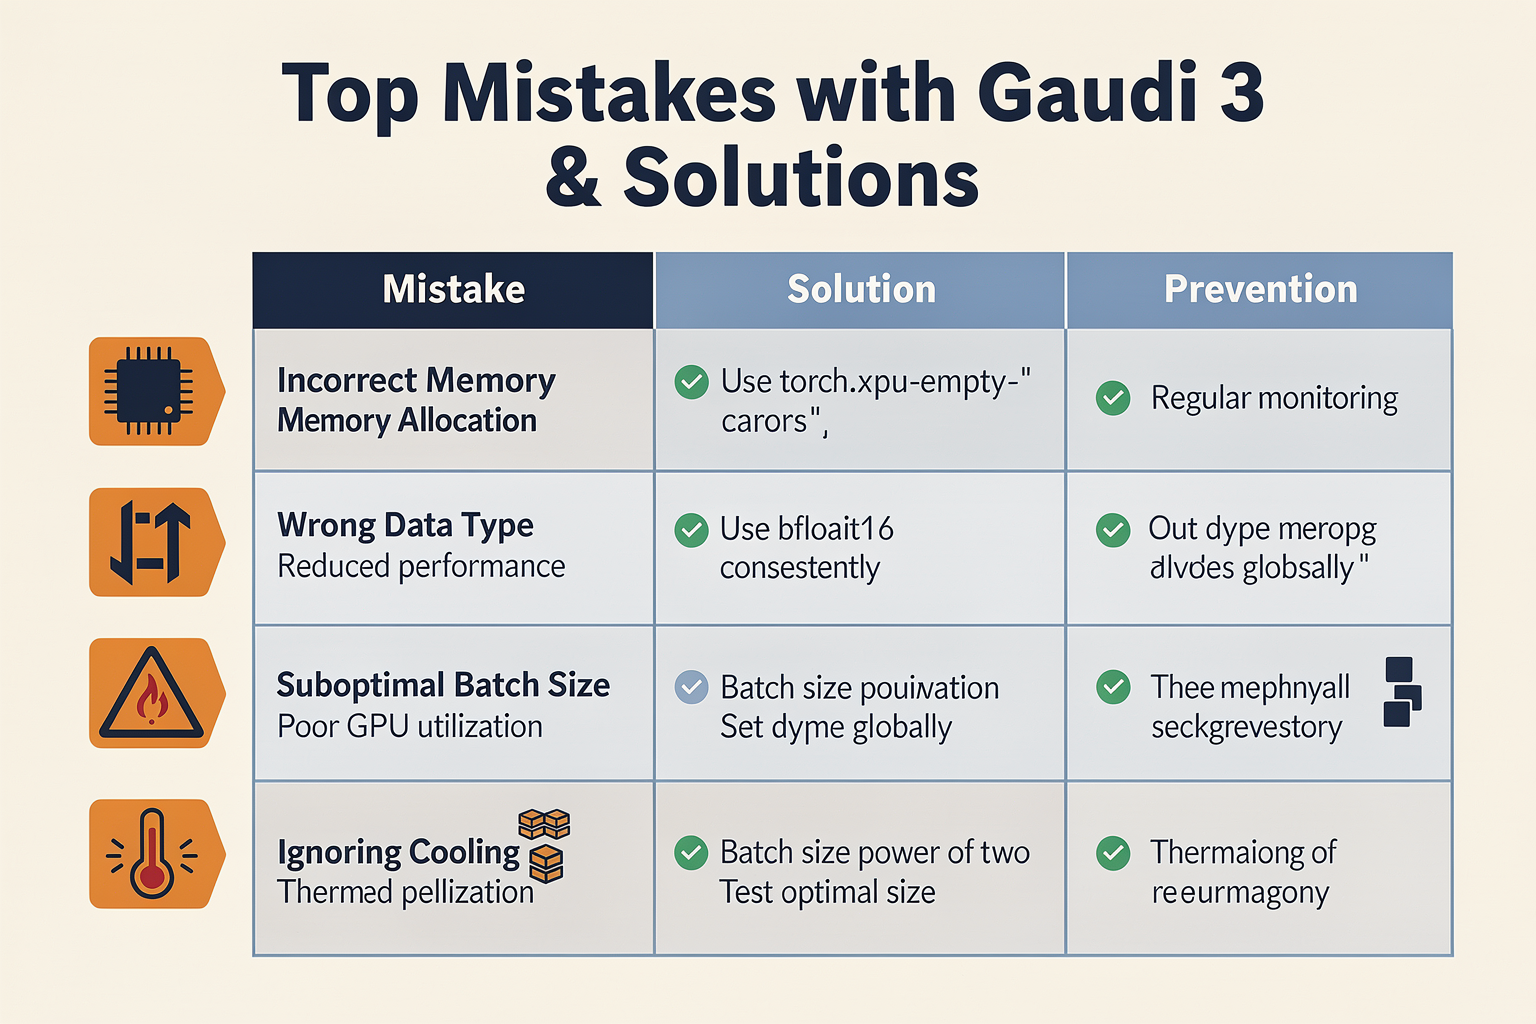
Even experienced developers can make mistakes when working with new hardware. Here are common pitfalls to avoid:
| Mistake | Impact | Solution | Prevention |
|---|---|---|---|
| Incorrect Memory Allocation | Out of memory errors | Use torch.cuda.empty_cache() or torch.xpu.empty_cache() | Regular memory monitoring |
| Wrong Data Type | Reduced performance | Use bfloat16 consistently | Set dtype globally |
| Suboptimal Batch Size | Poor GPU utilization | Batch size should be power |
Ready to start building?
Explore our collection of DIY kits and components. All project components mentioned in this blog are available in our store.
Browse All Projects