

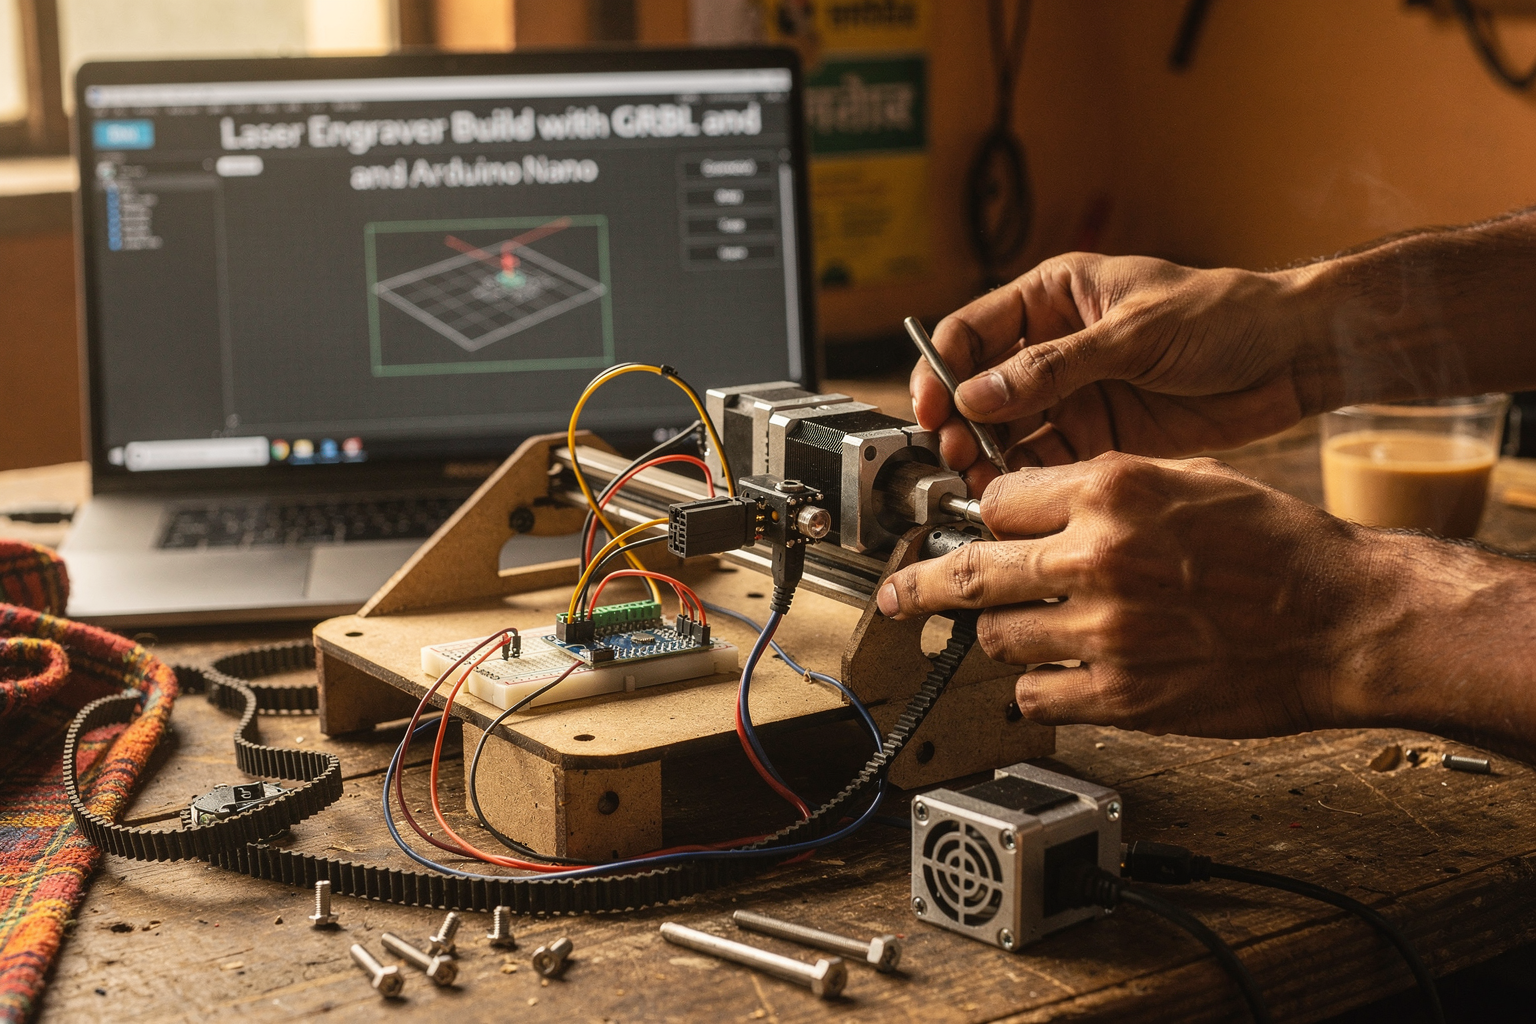
Introduction: The Laser Engraving Revolution
Imagine carving intricate designs into wood, engraving serial numbers on PCBs, or creating personalized gifts with remarkable precision - all from a DIY project you built yourself. The laser engraver has become an essential tool for engineering students, makers, and hobbyists across India, offering capabilities that were once only available in expensive commercial equipment.
Building your own laser engraver is not just a cost-effective solution; it's an excellent learning project that teaches you about Arduino programming, CNC mechanics, and laser safety. In this comprehensive guide, we'll walk you through building a fully functional laser engraver using affordable components available right here in India. Whether you're a first-year engineering student or an experienced maker, this project will enhance your skills and provide a powerful tool for your future projects.
Components Required
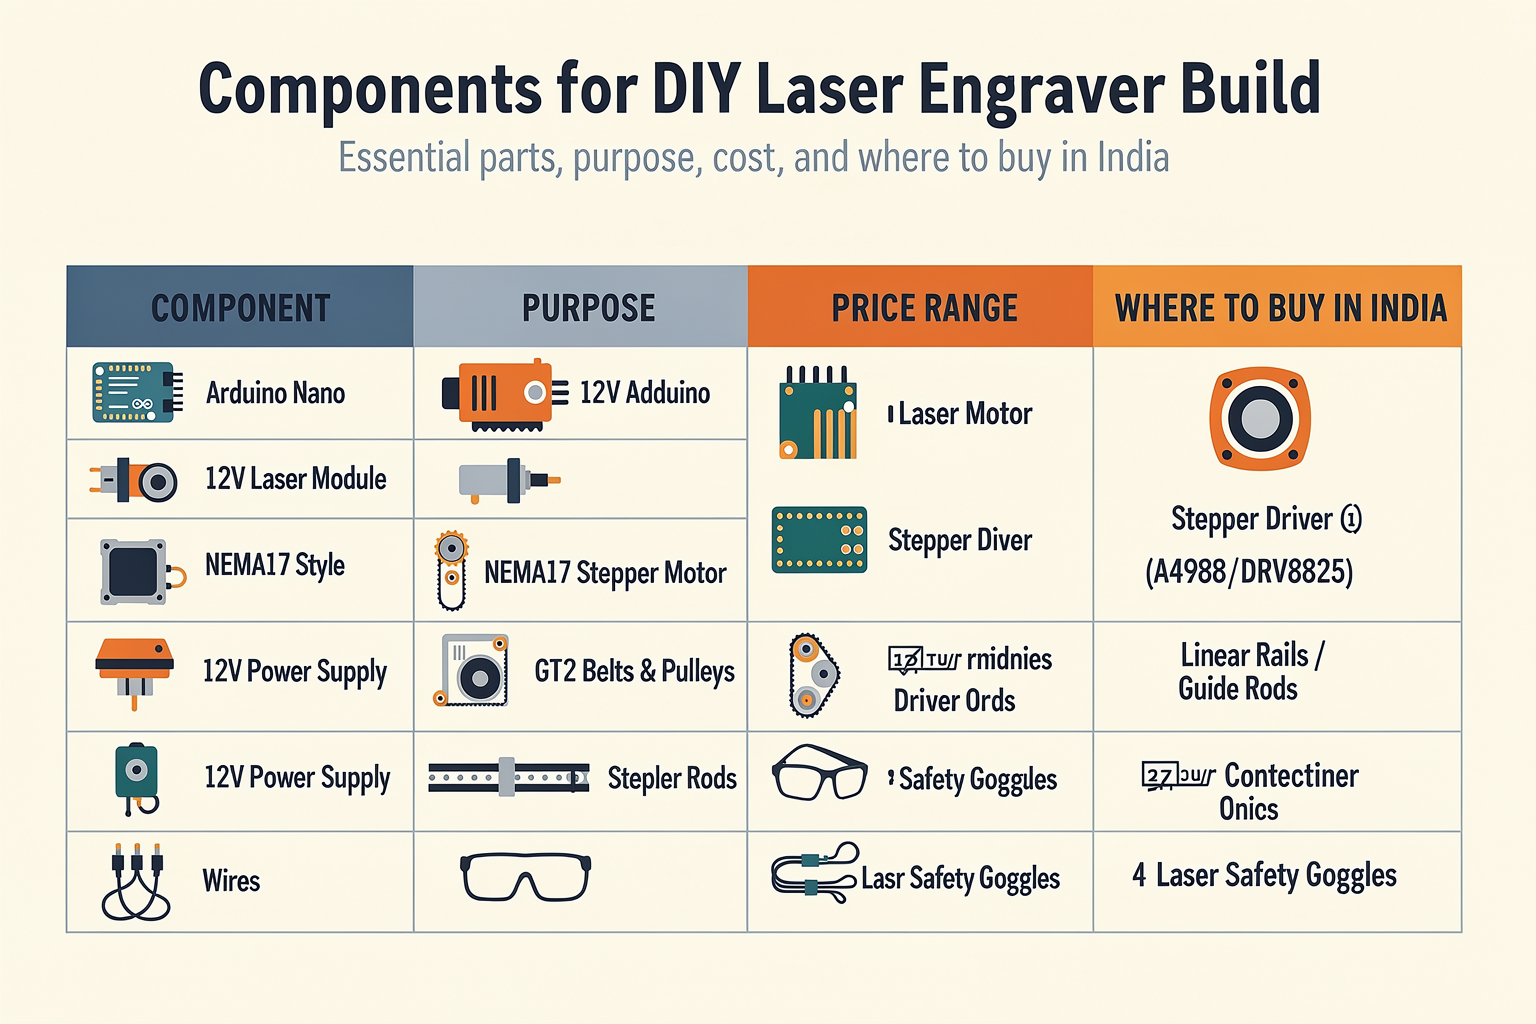
Before we dive into the build process, let's gather all the necessary components. Here's a complete list of what you'll need to build your laser engraver:
| Component | Purpose | Price Range (₹) | Where to Buy in India |
|---|---|---|---|
| Arduino Nano | Control microcontroller | 150-200 | Robu.in, Embedded Labs |
| 12V Laser Module (4W/5W) | Main laser cutting/engraving element | 300-500 | Robu.in, Amazon India |
| NEMA17 Stepper Motor (2x) | Linear motion for X and Y axes | 100-150 each | Embedded Labs, Amazon |
| Stepper Motor Drivers (2x) | Control stepper motors | 80-120 each | Robu.in, Local Electronics Market |
| GT2 Timing Belt & Pulleys | Belt drive system | 50-100 | Robu.in, Amazon India |
| MDF or Acrylic Sheet (3mm) | Building the base frame | 200-400 for 30x30cm | Local Hardware Store |
| Linear Bearings & Rods (8mm) | Smooth linear motion | 150-200 | Embedded Labs, Online Stores |
| 12V Power Supply | Power for motors and laser | 200-300 | Local Electronics Market |
| DFRobot Laser Engraver Shield | Interface between Arduino and laser | 400-600 | Robu.in, DFRobot India |
| Opto-isolators (2x) | Safety for laser control | 20-30 each | Any Electronics Store |
Total estimated cost: ₹1,800-2,500 - significantly cheaper than commercial laser engravers that can cost upwards of ₹15,000-20,000!
Understanding Laser Engravers and GRBL
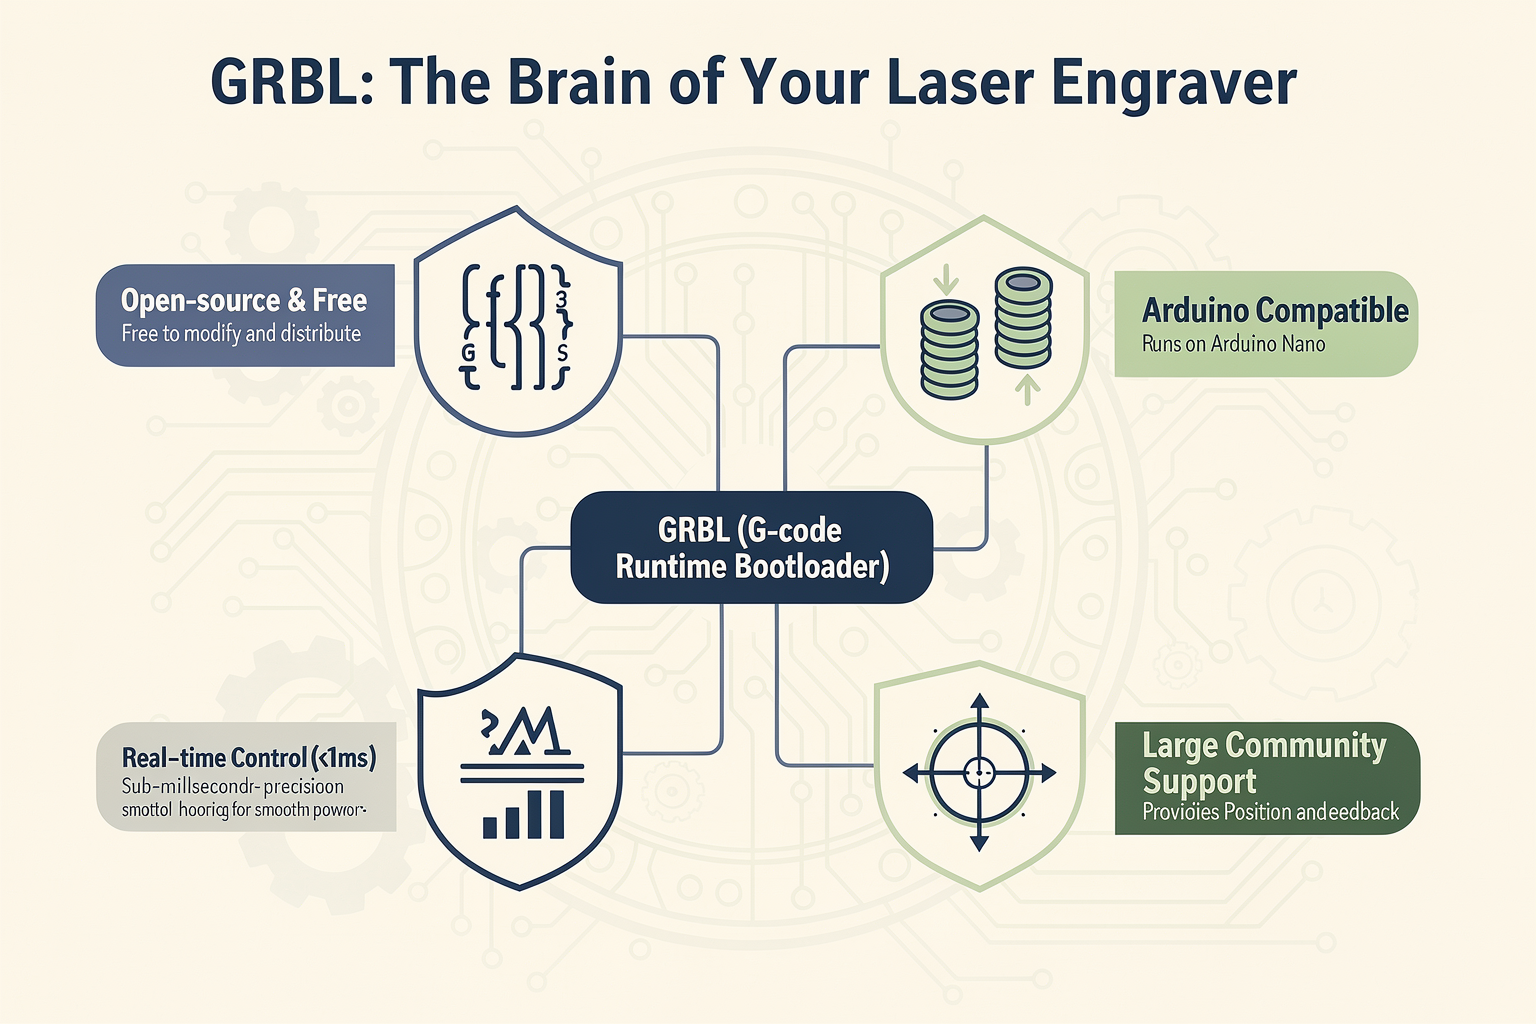
What is GRBL?
GRBL (G-code Runtime Bootloader) is an open-source, high-performance CNC machining controller that runs on Arduino-compatible boards. It's written in C and designed for 3D printers and CNC machines. For our laser engraver build, GRBL will be responsible for:
- Interpreting G-code commands
- Controlling stepper motors for precise movement
- Managing laser power modulation
- Providing real-time position feedback
- Handling safety features and limits
Why GRBL is Perfect for DIY Laser Engravers
GRBL offers several advantages for our project:
- Open-source: Free to use and modify
- Well-documented: Extensive community support and tutorials
- Arduino-compatible: Runs on cheap, widely available hardware
- Real-time control: Sub-millisecond response times for precise engraving
- Community features: Built-in homing, soft limits, and spindle speed control
Setting Up the Hardware
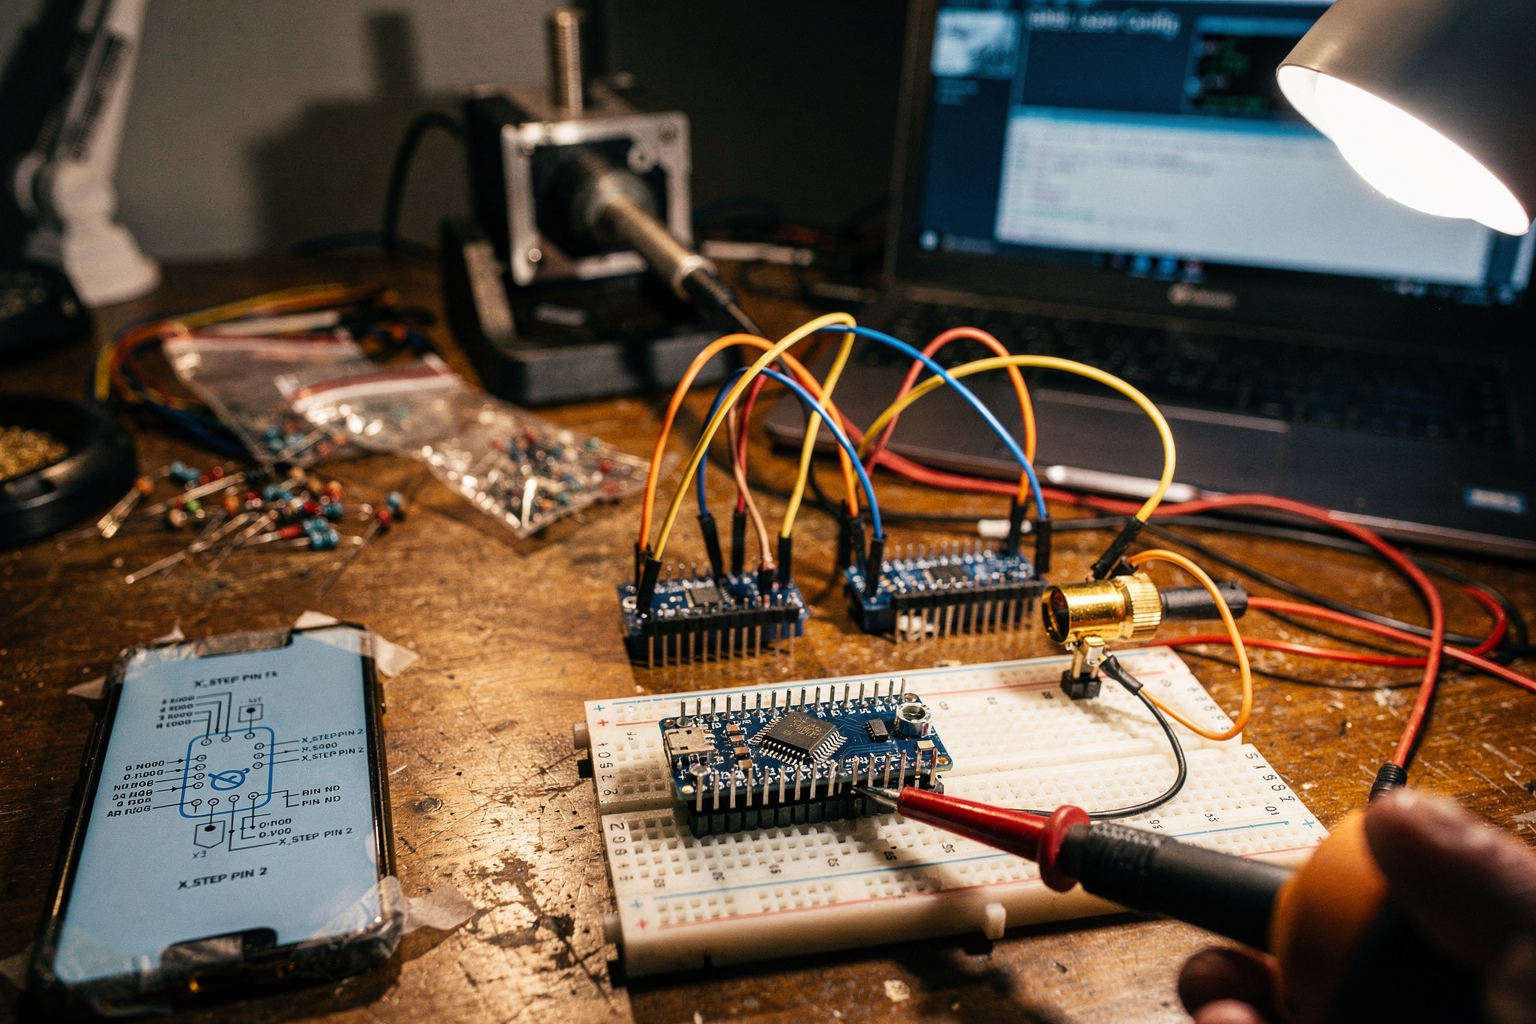
Arduino Nano Configuration
First, let's prepare our Arduino Nano. You'll need to:
- Install the Arduino IDE if you haven't already
- Add the GRBL library from the Arduino Library Manager
- Configure the pins according to our wiring diagram
// GRBL Pin Configuration for Laser Engraver
#define X_STEP_PIN 2
#define X_DIR_PIN 3
#define X_ENABLE_PIN 4

#define Y_STEP_PIN 5
#define Y_DIR_PIN 6
#define Y_ENABLE_PIN 7

#define LASER_PIN 9  // PWM pin for laser control
#define LIMIT_X_PIN 8
#define LIMIT_Y_PIN A0
Physical Assembly Steps
- Frame Construction: Build a square frame using MDF or acrylic. A 30x30cm base provides ample workspace for most projects.
- Motor Mounting: Secure the NEMA17 motors on opposite corners of the frame. Use vibration-dampening material to reduce noise.
- Linear Guide Installation: Mount the linear bearings and rods for smooth motion. Ensure they're perfectly parallel.
- Belt Drive Setup: Install GT2 belts connecting the motors to the carriage system. Tension should be firm but not excessive.
Circuit Diagram
Power Supply (12V) ──┐
                    ├──► Laser Module (+)
                    │       └─► Arduino Digital Pin 9 (via opto-isolator)
                    │
                    ├──► Stepper Drivers VCC ── GND
                    │
Arduino Nano ────────► Stepper Drivers (STEP, DIR)
                    │
Lim Switches ────────► Arduino (LIMIT_X, LIMIT_Y)
Important Safety Note: Always use opto-isolators between Arduino and laser module to prevent ground loops and potential damage to your Arduino.
Software Installation and Setup
Installing GRBL
- Open Arduino IDE
- Go to Sketch > Include Library > Manage Libraries
- Search for "GRBL" and install the latest version
- Select your board as "Arduino Nano" and port as COM3 (or your connected port)
Configuring GRBL Settings
Upload the GRBL sketch to your Arduino Nano. Then, open the Serial Monitor and set the baud rate to 115200. Send the following commands:
$0=1  // Enable soft limits
$1=1  // Enable laser mode
$2=1  // Enable spindle speed override
$3=0  // Number of arc segments between interpolated moves
$4=1  // Enable laser mode
$5=1  // Enable software debounce for limit pins
$10=1000  // Set acceleration to 1000 mm/s²
$11=1000  // Set maximum velocity to 1000 mm/s
$12=0  // Set minimum segment length to 0
$13=500  // Set junction deviation to 500 (0.5mm)
Building the Engraver Frame
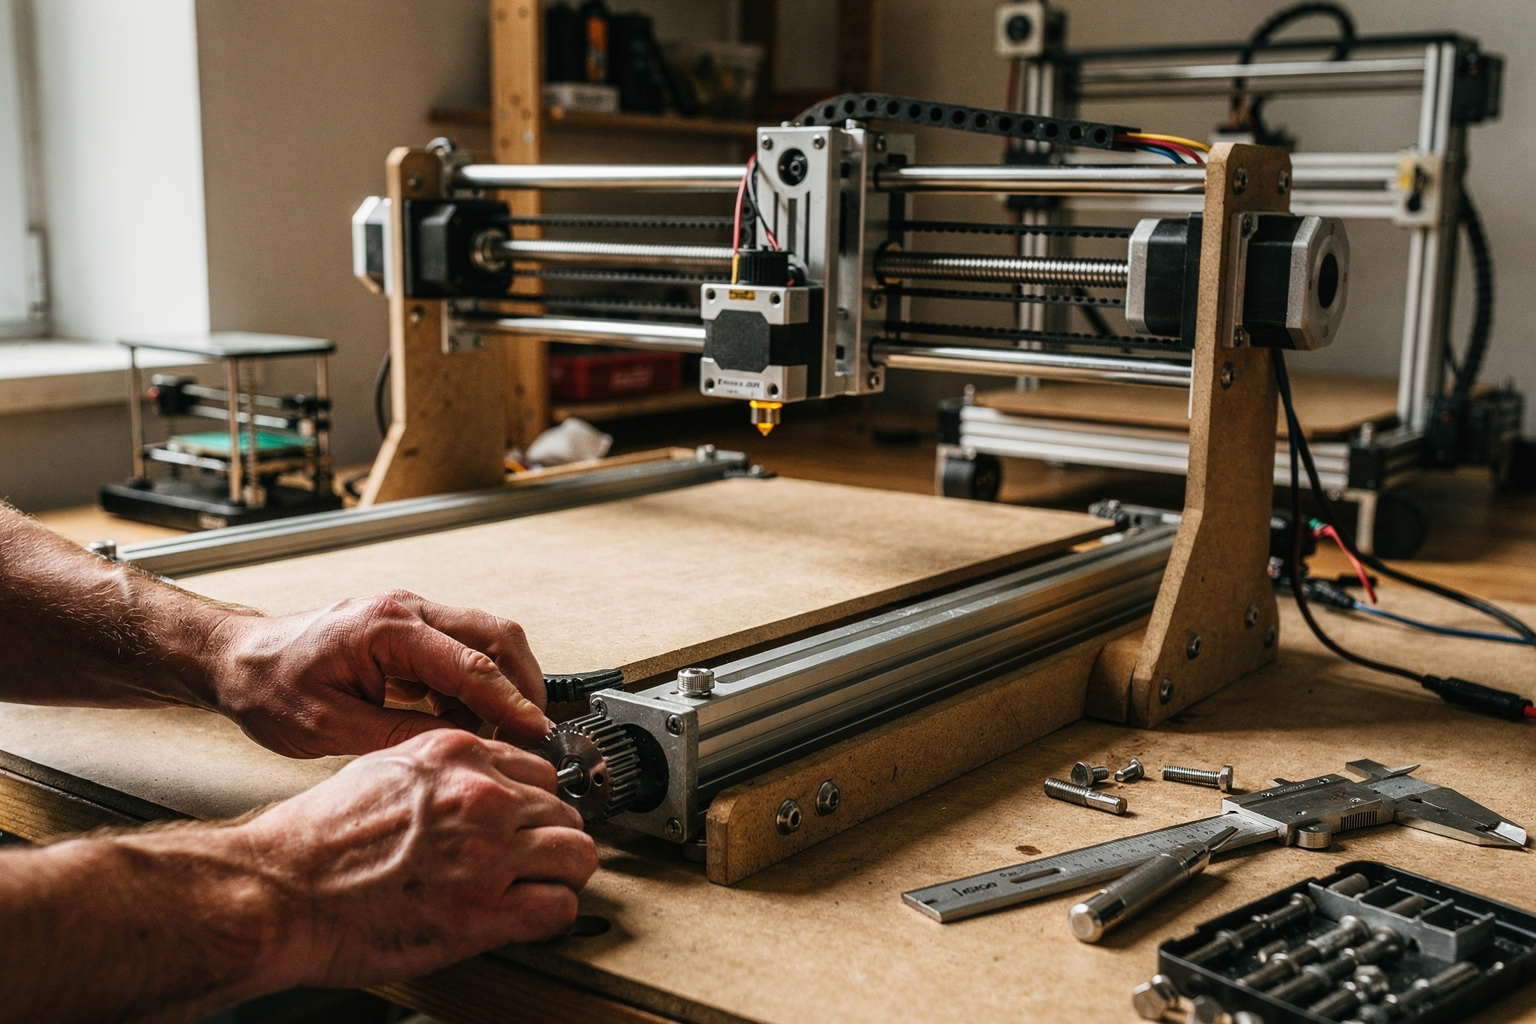
Frame Design Considerations
For optimal performance in the Indian climate:
- Use marine-grade plywood or BWR (Boiling Water Resistant) plywood instead of regular MDF to prevent warping in humid conditions
- Consider adding temperature and humidity sensors to monitor environmental conditions
Step-by-Step Frame Construction
- Cut the Base: Cut four pieces of 3cm wide strips, each 30cm long for the base
- Assemble the Frame: Use 3D-printed corner brackets or metal L-brackets for reinforcement
- Install Linear Guides: Mount the 8mm linear bearings on the inside edges
- Carriage Assembly: Create a gantry that holds the laser module and moves along the X-axis
- Y-Axis Assembly: Mount the Y-axis carriage that slides vertically
Calibration Tips
- Level the Frame: Use a bubble level to ensure the frame is perfectly square
- Check Belt Tension: Belts should have about 1-2mm deflection when pressed firmly
- Zero Position: Establish your origin point (0,0) at one corner of the workspace
Code Implementation
Basic G-Code for Laser Engraving
Here's a sample G-code file for engraving a simple pattern:
; Basic Laser Engraving Pattern
G90; Absolute positioning
M3 S200; Turn laser on at 200 (0-100% power)
G1 X0 Y0; Move to origin
G4 P500; Wait 500ms for laser stabilization
G1 X50 Y0; Engraving line 1
G1 X50 Y50; Engraving line 2
G1 X0 Y50; Engraving line 3
G0 X0 Y0; Return to origin
M5; Turn laser off
Arduino Code for Custom Control
For more control, you can create a custom Arduino sketch:
#include <GRBL.h>

int laserPin = 9;
int mode = 0;  // 0=off, 1=on

void setup() {
  pinMode(laserPin, OUTPUT);
  Serial.begin(115200);
  while (!Serial) {}  // Wait for serial connection
}

void loop() {
  if (Serial.available()) {
    String command = Serial.readStringUntil('\n');
    processCommand(command);
  }
  GRBL_Loop();
}

void processCommand(String cmd) {
  if (cmd == "LASER_ON") {
    analogWrite(laserPin, 255);  // Full power
    mode = 1;
  } else if (cmd == "LASER_OFF") {
    analogWrite(laserPin, 0);
    mode = 0;
  }
}
Engraving Speed and Power Calibration
| Material | Recommended Power | Recommended Speed | Passes |
|---|---|---|---|
| Cardboard | 20-30% | 100-150 mm/s | 1-2 |
| Plywood (3mm) | 40-60% | 60-100 mm/s | 2-3 |
| Acrylic | 70-85% | 40-80 mm/s | 1-2 |
| Leather | 35-50% | 80-120 mm/s | 1-2 |
Safety Considerations
CRITICAL SAFETY WARNINGS FOR LASER PROJECTS:
-
Laser Safety: Never look directly at the laser beam or its reflections. Always wear appropriate laser safety glasses (OD 4+ for 5W lasers).
-
Ventilation: Laser cutting produces fumes. Always work in a well-ventilated area or use an exhaust fan. Consider adding a HEPA filter for your workspace.
-
Fire Safety: Keep a Class D fire extinguisher nearby. Never leave the laser unattended while operating.
-
Electrical Safety: Ensure all connections are properly insulated. Use a proper 12V power supply with overcurrent protection.
-
Enclosure: Build an enclosure around your laser engraver with acrylic windows and proper ventilation holes.
Safety Equipment Checklist
| Safety Item | Specification | Price (₹) | Priority |
|---|---|---|---|
| Laser Safety Glasses | OD 4+ for 4W/5W laser | 500-800 | Critical |
| Fire Extinguisher | Class D rated | 1,500-2,500 | Critical |
| Exhaust Fan | 12V DC, 2000 RPM | 250-400 | Recommended |
| Enclosure Material | 6mm Acrylic | 300-500 | Recommended |
Testing and Calibration
Initial Power Test
Before engraving anything valuable:
- Test the laser on a scrap piece of cardboard
- Start with 10% power and 100 mm/s speed
- Gradually increase power until you see a clear engraving mark
- Document your settings for each material
Focus Adjustment
The focal distance is crucial for clean cuts:
- For engraving: Focus slightly below the surface
- For cutting: Focus on the surface
- Use a test pattern to find the optimal focus setting for your material thickness
Testing Pattern
; Test Pattern for Calibration
G90; Absolute positioning
$10=500; Set feed rate to 500 mm/min

; Grid test
%
O0 G90 G0 X-50 Y-50 F5000
G1 X50 Y-50 F5000
G1 X50 Y0 F5000
G1 X0 Y0 F5000
G1 X0 Y50 F5000
G1 X-50 Y50 F5000
G1 X-50 Y-50 F5000
M5
%
Troubleshooting
| Issue | Possible Causes | Solutions |
|---|---|---|
| Laser not turning on | Loose connections, power supply issues | Check all wiring, verify 12V supply |
| Uneven engraving | Belt tension issues, motor misalignment | Adjust belt tension, recalibrate frame |
| Car vibrating excessively | Loose frame components | Tighten all screws, add dampening |
| Inconsistent power | Power supply voltage drop | Use thicker wires, check power supply |
| Arduino resets during operation | Power supply insufficient, ground loop | Add capacitor near Arduino, use opto-isolator |
Common Pitfalls and How to Avoid Them
- Over-tightened belts: Can cause motor strain and reduce precision
- Ignoring safety features: Always implement emergency stop functionality
- Poor ventilation: Can lead to health issues from fumes
- Skipping calibration: Leads to poor quality engraving
- Using wrong power supply: Can damage Arduino and laser module
Frequently Asked Questions
While a 10W laser provides more power, it's overkill for most beginner projects and significantly increases safety risks. Stick with 4-5W modules for your first build. The 4W laser module available on our website costs around ₹350-450 and is perfect for most engraving tasks. Remember to upgrade your safety equipment if you go above 5W.
Ready to start building?
Explore our collection of DIY kits and components. All project components mentioned in this blog are available in our store.
Browse All Projects