

In the rapidly growing landscape of IoT and wireless communication, LoRa (Long Range) technology has emerged as a game-changer for applications requiring extended range, low power consumption, and reliable connectivity. For engineering students and DIY enthusiasts in India, building a LoRa mesh network presents an excellent opportunity to understand real-world wireless communication systems while working with affordable components readily available in the Indian market.
This comprehensive guide will walk you through every step of creating your own LoRa mesh network, from understanding the technology to building, coding, and optimizing your system. Whether you're planning to build a smart agriculture monitoring system, a remote area surveillance network, or an industrial IoT solution, this tutorial will provide you with the knowledge and practical skills needed to succeed.
Understanding LoRa Technology
What is LoRa and How Does It Work?
LoRa is a low-power, wide-area network (LPWAN) modulation technique based on Chirp Spread Spectrum (CSS) technology. Unlike traditional wireless communication methods that use fixed frequencies, LoRa spreads the signal across a wide frequency band using chirp pulses, making it highly resistant to interference and capable of achieving remarkable range.
The technology operates in sub-gigahertz frequency bands (typically 433MHz, 868MHz in Europe, 915MHz in North America, and 865-867MHz in India), allowing signals to travel several kilometers in rural areas and up to 15 kilometers in line-of-sight conditions. LoRa's key advantages include:
- Extreme range capability (2-15 km in rural, 1-5 km in urban environments)
- Low power consumption (devices can operate for years on a single battery)
- High capacity (can support thousands of devices per gateway)
- Secure communication with built-in encryption
- Resistance to interference and multipath fading
LoRa vs Other Wireless Technologies
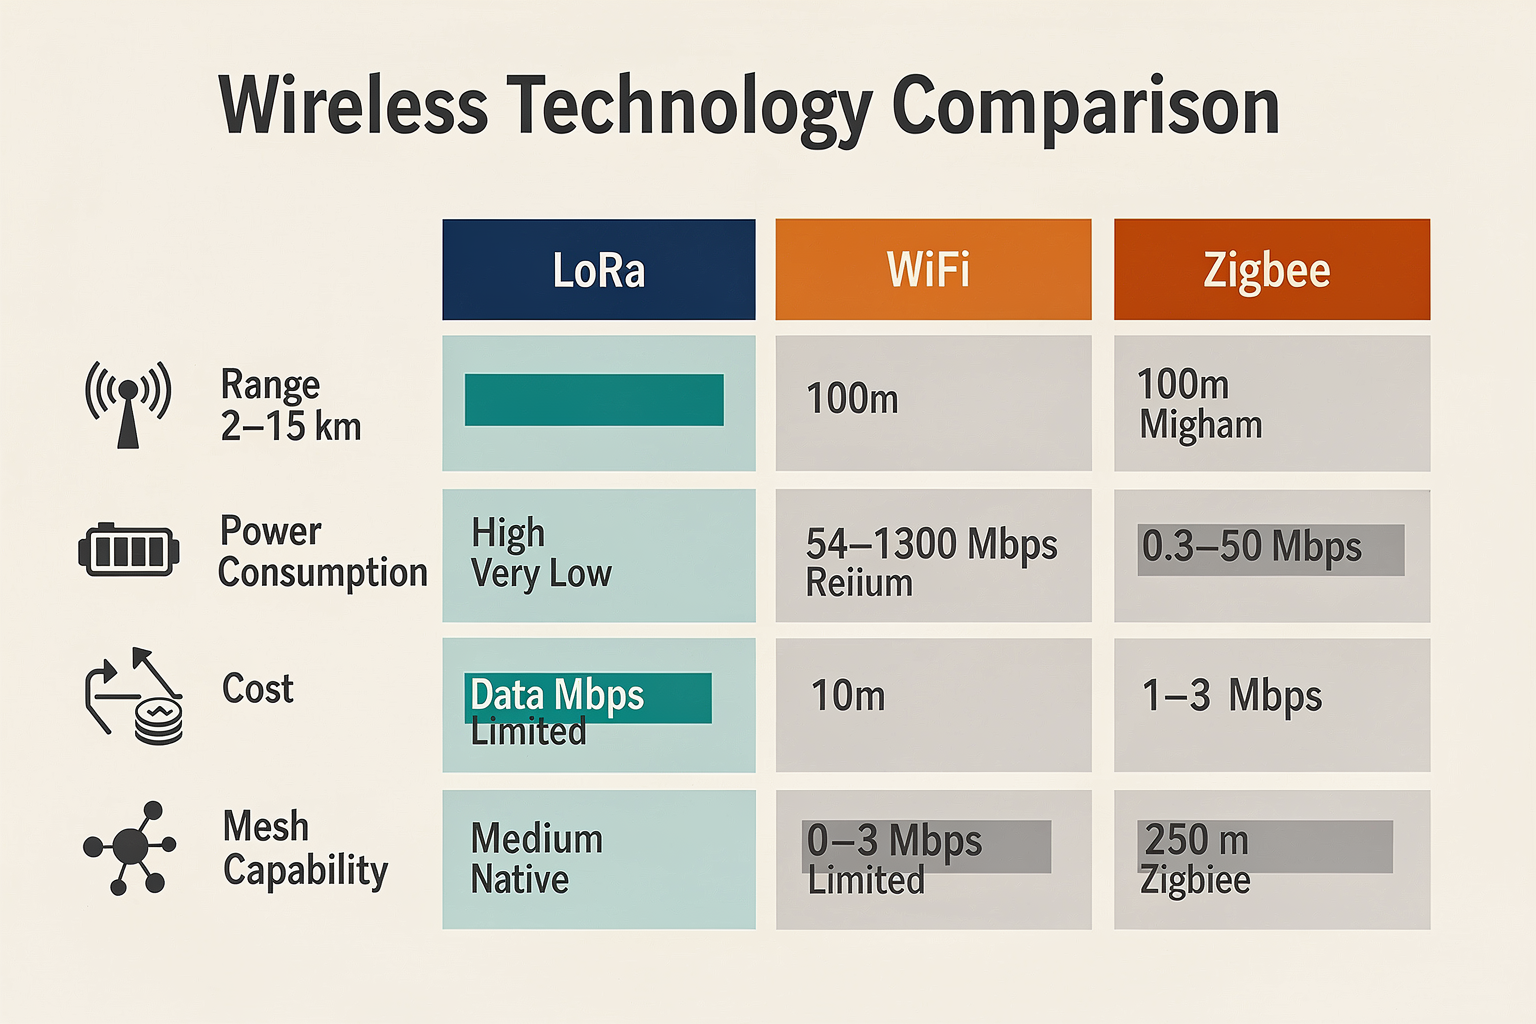
| Feature | LoRa | WiFi | Bluetooth | Zigbee |
|---|---|---|---|---|
| Range | 2-15 km | 100m | 10m | 100m |
| Power Consumption | Very Low | High | Low | Medium |
| Data Rate | 0.3-50 kbps | 54-1300 Mbps | 1-3 Mbps | 250 kbps |
| Cost | Low | Medium | Low | Medium |
| Mesh Capability | Native | Limited | Limited | Native |
| In Indian Market | Growing | Ubiquitous | Ubiquitous | Limited |
LoRa's unique combination of long range and low power makes it particularly suitable for Indian applications where infrastructure challenges and cost constraints are common concerns.
Components Required for LoRa Mesh Network
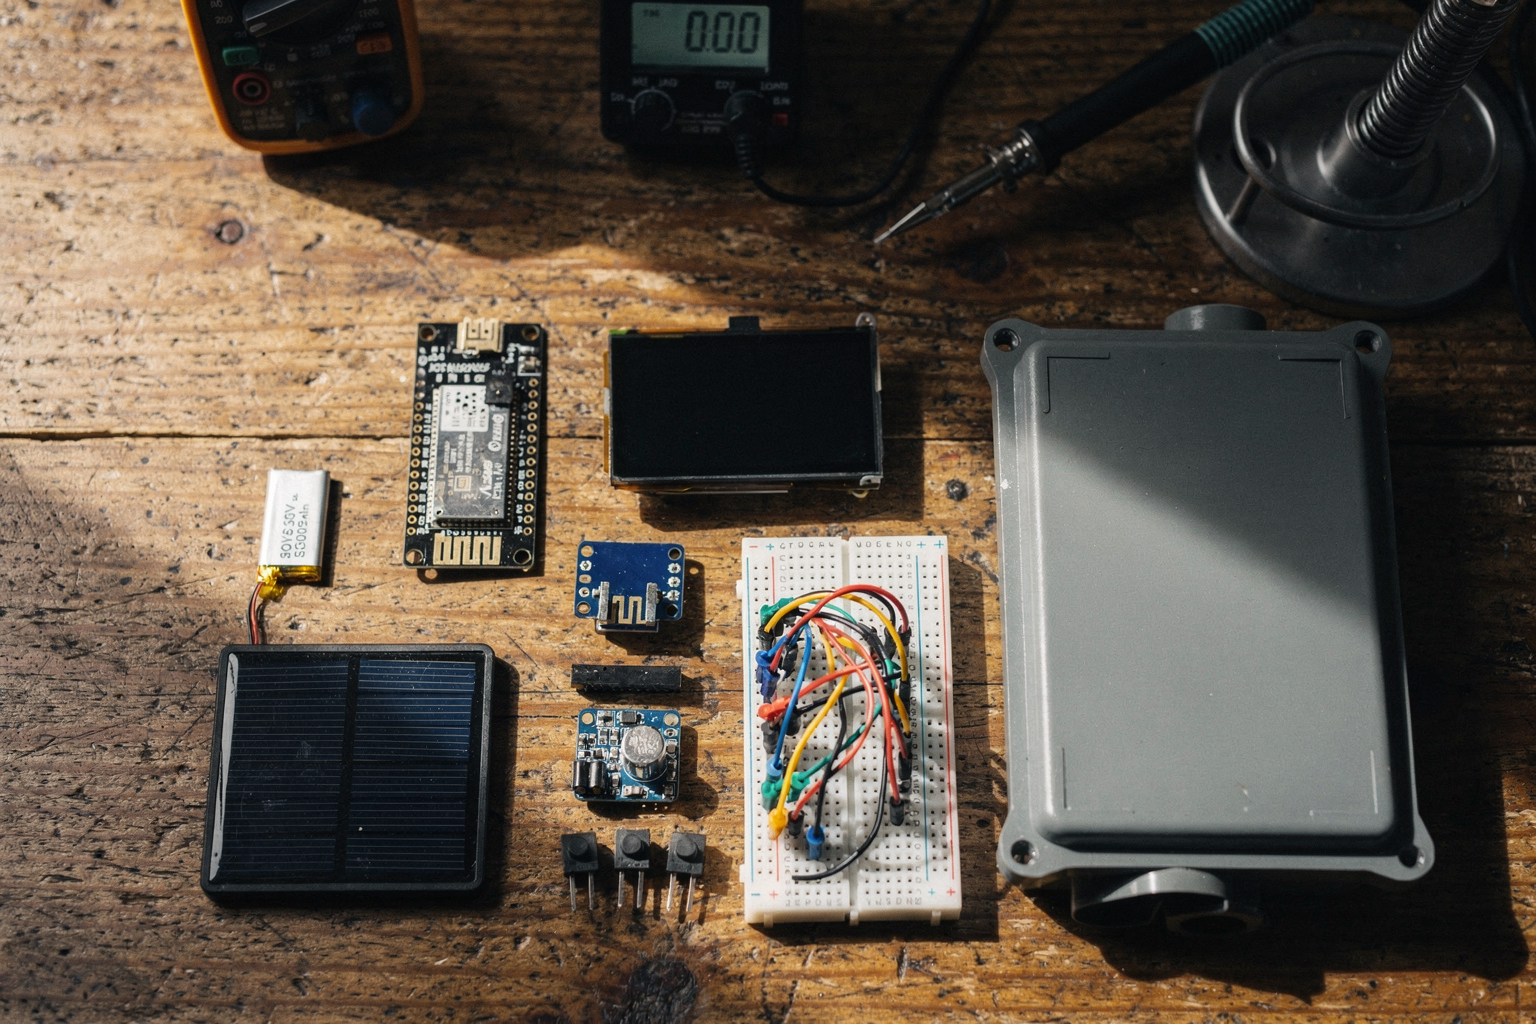
Building a LoRa mesh network doesn't require expensive equipment. Here's a list of components readily available in India through TecnoMate and other distributors:
| Component | Specification | Price (₹) | Availability |
|---|---|---|---|
| ESP32 Development Board | WiFi + Bluetooth + LoRa | 450 | TecnoMate Store |
| LoRa Module SX1276 | 433/865 MHz, 14dBm output | 320 | Available in Delhi/Mumbai |
| LiPo Battery 500mAh | 3.7V, with charging circuit | 120 | Local electronics markets |
| Breadboard Jumper Wires | 40pcs set | 50 | Available everywhere |
| Mini Push Buttons | Tactile, 5mm | 30 | Local market |
| OLED Display 0.96" | I2C, 128x64 pixels | 180 | Tech shops |
| DC-DC Buck Converter | 3.3V/5V adjustable | 80 | Available online |
| Solar Panel 6V 1W | For outdoor applications | 250 | Solar shops |
| Weatherproof Enclosure | IP65 rated | 150 | Industrial suppliers |
Total Estimated Cost: ₹1,660 for a complete single node
For building a multi-node mesh network, calculate the cost per node and multiply by the number of nodes. The modular nature of LoRa allows you to start with a single node and expand as needed.
Setting Up the LoRa Mesh Network
Hardware Configuration
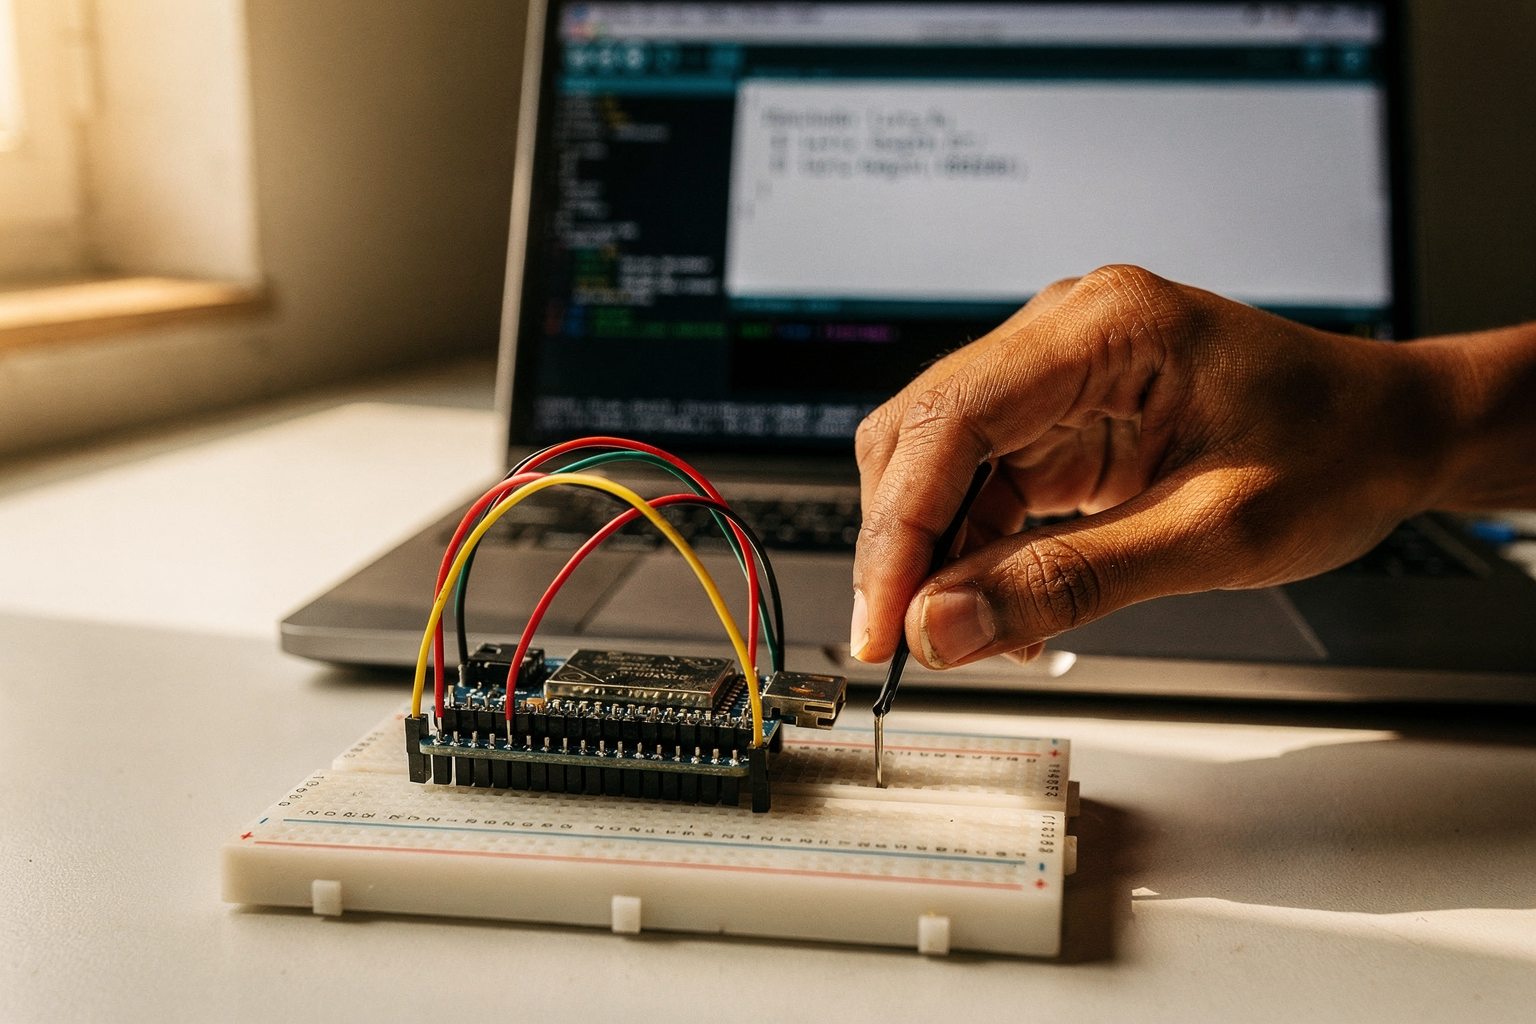
The ESP32 serves as the brain of our LoRa mesh network, handling both the LoRa modulation and providing IoT connectivity through WiFi and Bluetooth. Here's how to connect the components:
- Connect the LoRa module to ESP32 using UART (TX to RX, RX to TX)
- Connect OLED display via I2C (SDA to 21, SCL to 22 on ESP32)
- Wire the push button to GPIO pins for manual configuration
- Connect the LiPo battery with appropriate voltage regulation
- Add the DC-DC converter for stable power supply
Software Installation and Setup
Before programming your ESP32, you need to install the necessary software components:
- Install Arduino IDE (latest version)
- Add ESP32 board support: Tools > Board > Boards Manager > Search "esp32"
- Install the following libraries:
- LoRa library by Sandeep Mistry
- Adafruit Unified Sensor
- Adafruit GFX Library
- Adafruit SSD1306
// Library Installation Commands in Arduino IDE
// Tools > Manage Libraries:
// Search and install:
// 1. "LoRa by Sandeep Mistry"
// 2. "Adafruit Unified Sensor"
// 3. "Adafruit GFX Library"
// 4. "Adafruit SSD1306"
Building Your First LoRa Mesh Node
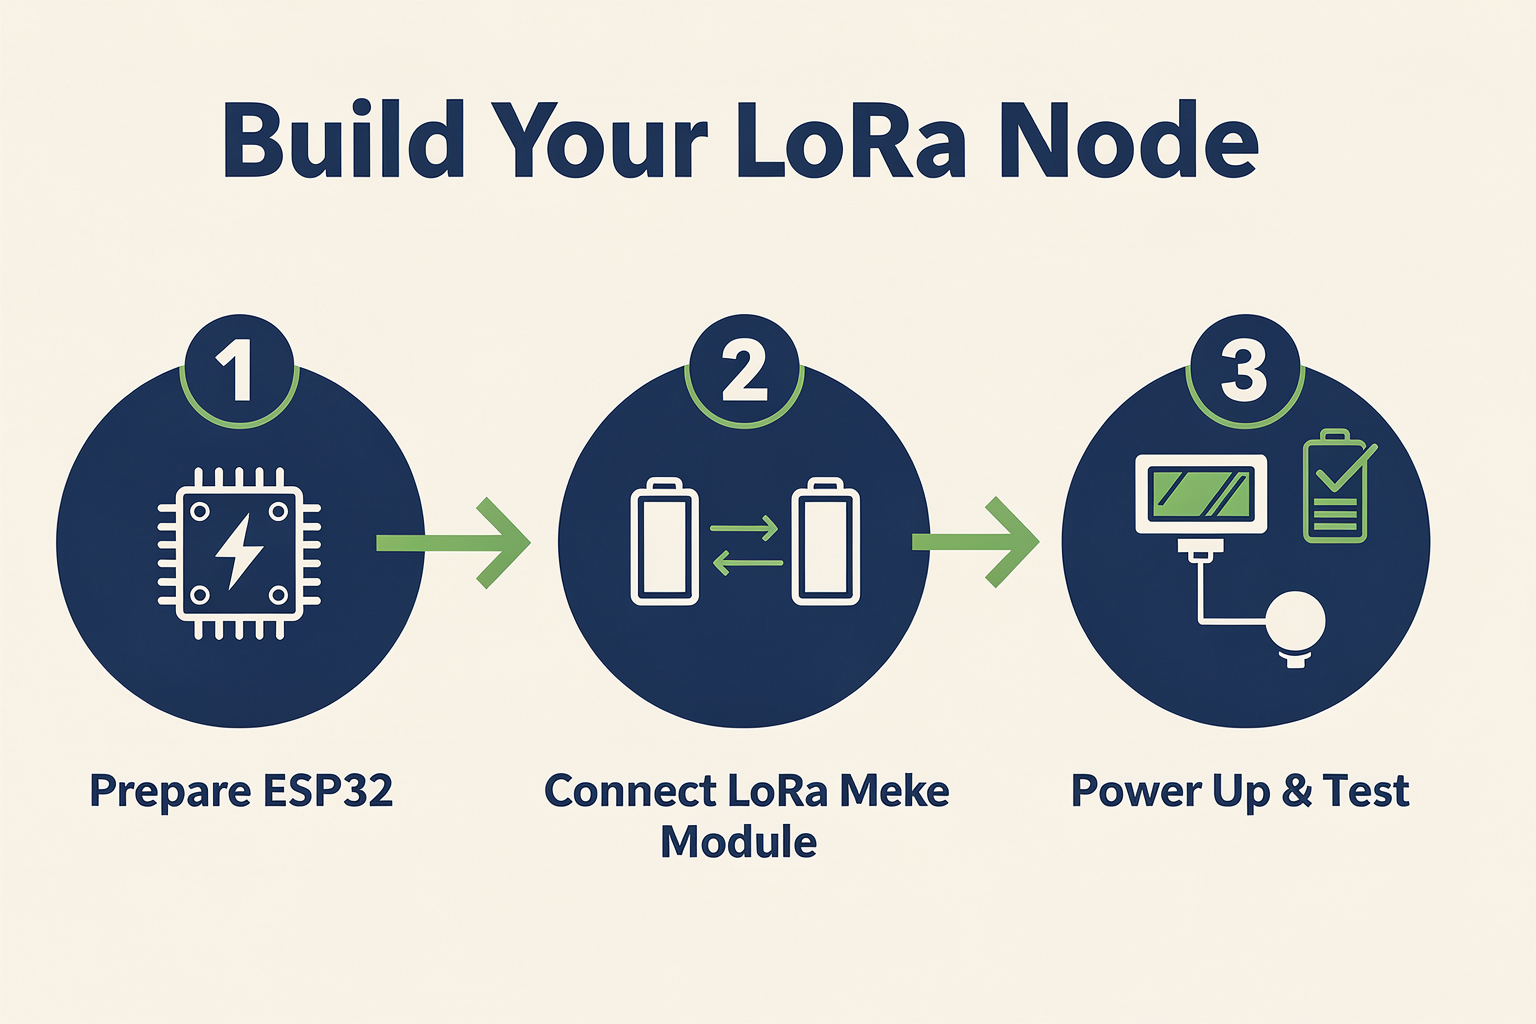
Circuit Diagram and Wiring
ESP32 LoRa Mesh Network Circuit
================================

ESP32
-----
GPIO 21 ----> SDA (OLED Display)
GPIO 22 ----> SCL (OLED Display)
GPIO 4  -----> LoRa RX
GPIO 5  -----> LoRa TX
GPIO 14 ----> Push Button
VCC ------> 3.3V
GND  ------> GND

LoRa Module
-----------
VCC ------> 3.3V
GND  ------> GND
MOSI ------> Not used
MISO ------> Not used
SCK ------> Not used
NSS ------> Not used
DIO0 ----> GPIO 2 (Interrupt)
DIO1 ----> Not used
DIO2 ----> Not used
DIO3 ----> Not used
RESET ----> Not used
Note: When using multiple LoRa nodes, ensure unique node IDs to avoid address conflicts. In India, operating at 865-867MHz requires proper certification and adherence to TRAI regulations.
Step-by-Step Assembly Guide
-
Prepare the ESP32 Board
- Flash the firmware using the Arduino IDE
- Verify the LoRa library is properly installed
- Test basic functionality before adding peripherals
-
Connect the LoRa Module
- Double-check all connections
Ready to start building?
Explore our collection of DIY kits and components. All project components mentioned in this blog are available in our store.
Browse All Projects