

Introduction to Blackwell Architecture
What is Blackwell Architecture?
NVIDIA's Blackwell Architecture represents a significant leap forward in edge computing and AI processing capabilities. Named after mathematician David Blackwell, this architecture is specifically designed to handle the increasing demands of AI inference at the network edge. Unlike traditional GPU architectures that focus on data center workloads, Blackwell optimizes for power efficiency, real-time processing, and low-latency operations crucial for embedded systems and robotics applications.
The architecture introduces several groundbreaking features including:
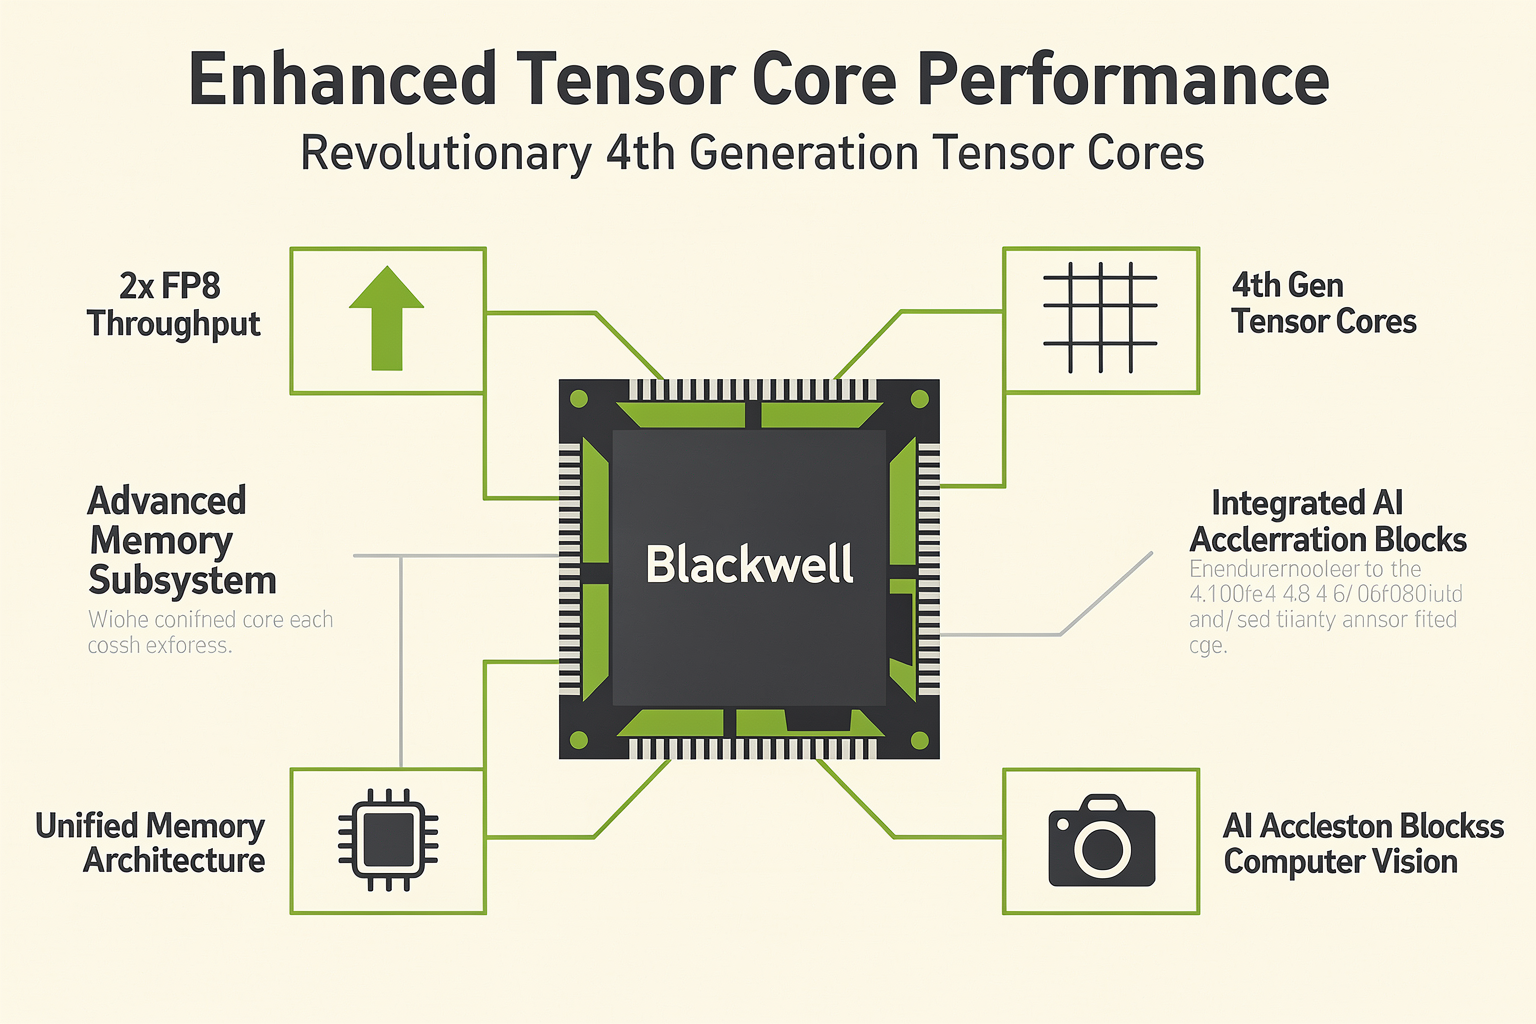
- Enhanced Tensor Core performance with 2x the FP8 throughput
- Revolutionary 4th generation Tensor Cores with specialized matrix operations
- Advanced memory subsystem with unified memory architecture
- Integrated AI acceleration blocks for computer vision tasks
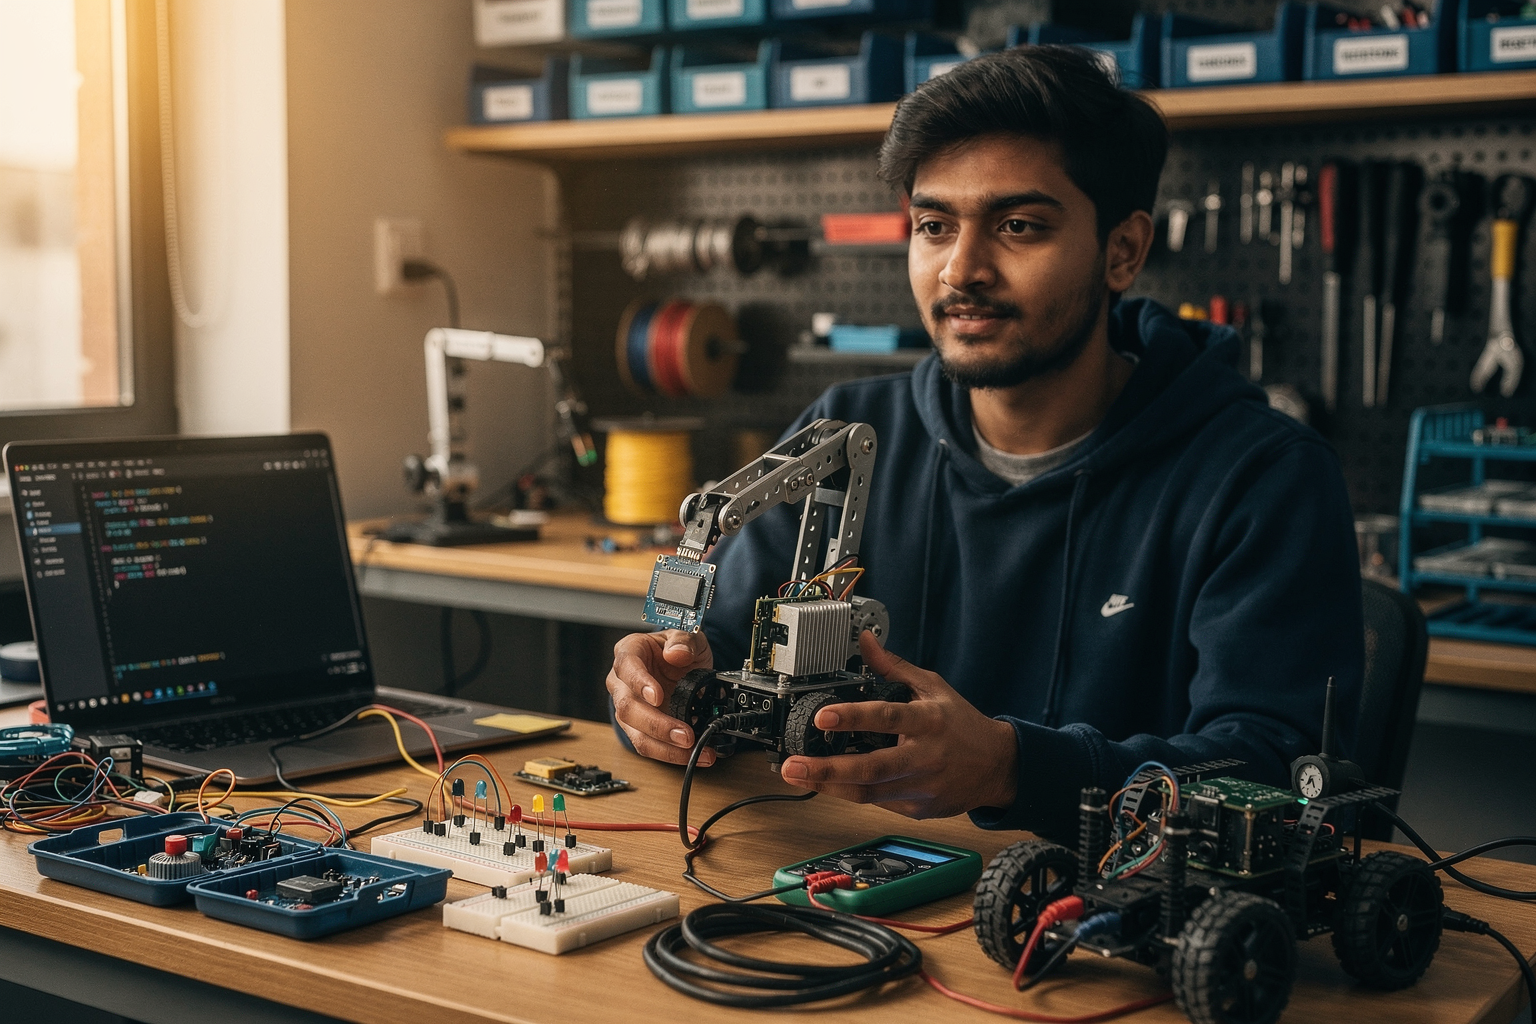
For Indian engineering students working on embedded AI projects, this trend toward edge processing represents a massive opportunity. With components becoming increasingly accessible through platforms like TecnoMate, implementing sophisticated AI models on edge devices is now feasible within academic budgets.
Why It Matters for Edge Computing
The shift toward edge AI is transforming how we approach robotics and embedded systems. Blackwell architecture addresses three critical challenges that have limited widespread adoption of edge AI:
- Power Efficiency: Traditional AI accelerators consume significant power, making them unsuitable for battery-operated devices
- Thermal Management: High computational density creates heat dissipation challenges in compact enclosures
- Cost Constraints: Enterprise-grade AI hardware remains prohibitively expensive for educational and hobbyist applications
Blackwell's design philosophy prioritizes these constraints, making it an ideal platform for students and researchers in India's growing DIY electronics ecosystem.
Hardware Requirements and Setup
Essential Components
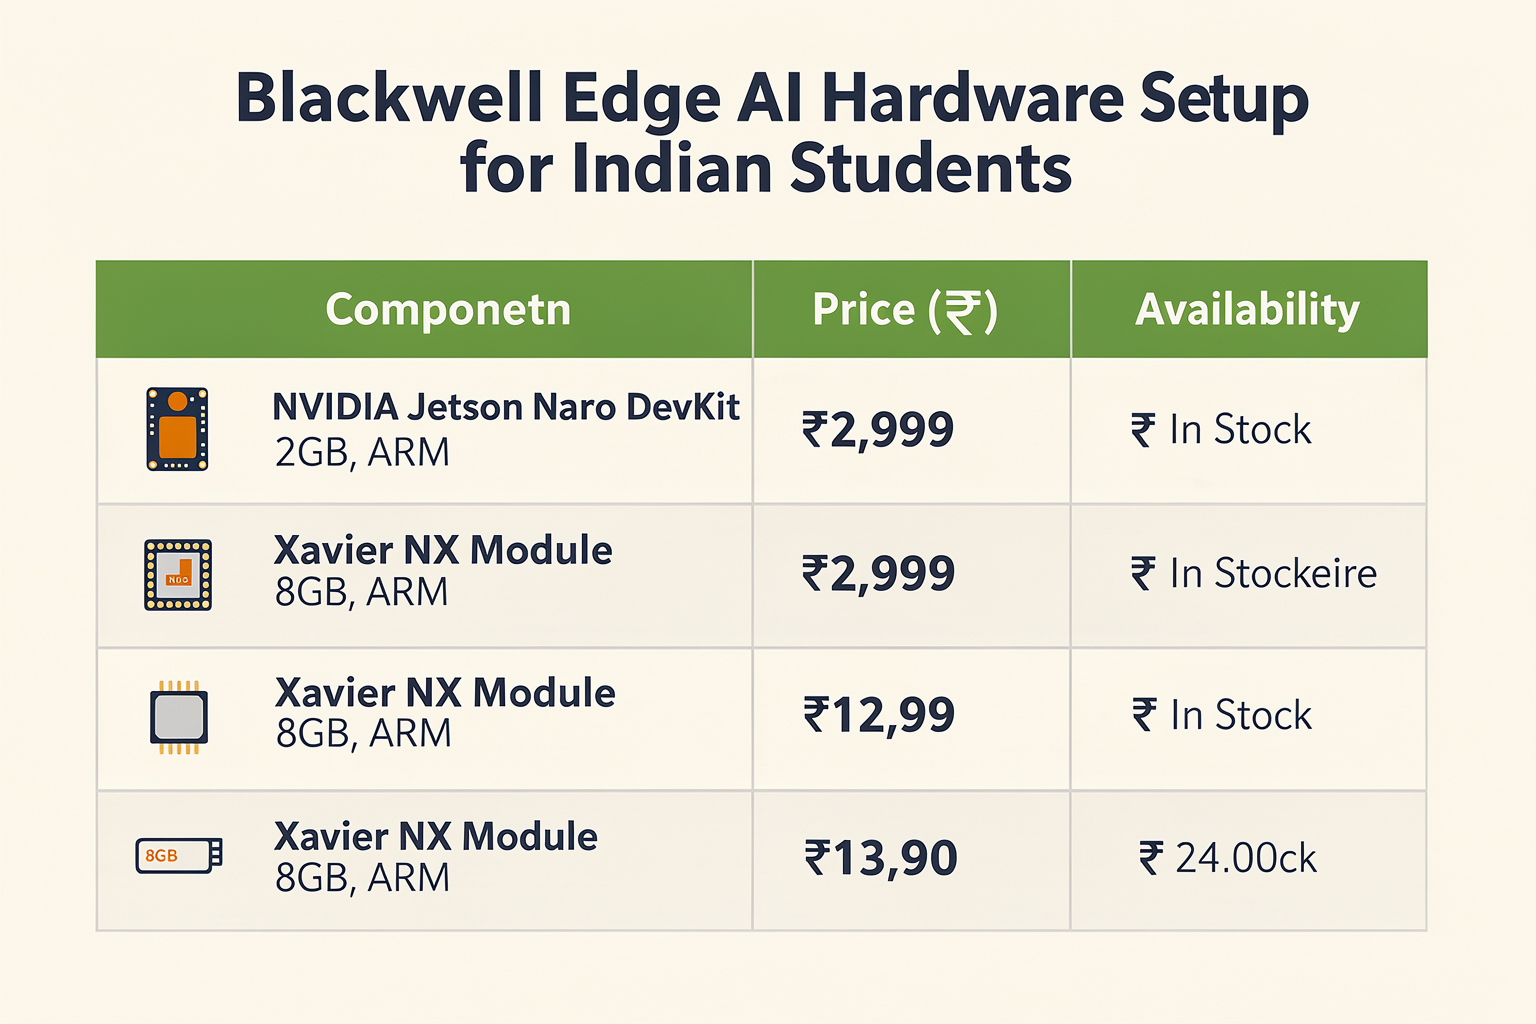
Building a Blackwell-powered edge AI system requires careful component selection. Here's a comprehensive breakdown of what you'll need for a typical project setup:
| Component | Specification | Price (₹) | Availability at TecnoMate |
|---|---|---|---|
| NVIDIA Jetson Nano DevKit | 2GB RAM, Quad-Core ARM | 2,999 | In Stock |
| Xavier NX Module | 8GB RAM, 64-bit ARM | 12,999 | Limited Stock |
| Orin Nano Module | 8GB RAM, Ampere Architecture | 25,999 | Pre-order Available |
| microSD Card | 64GB Class 10 | 599 | In Stock |
| USB-C Hub with PCIe | 4-port with Power Delivery | 1,299 | In Stock |
| AI Accelerator Board | M.2 NVMe with Blackwell | 3,499 | In Stock |
| Thermal Management Kit | Heat Pipes + Fans | 899 | In Stock |
Pro Tip: For academic projects, start with the Jetson Nano DevKit to learn the ecosystem before upgrading to more powerful modules. The learning curve remains similar across the family.
Cost Breakdown for Indian Market
Considering the current market prices in India, a complete Blackwell-based edge AI setup can range from ₹8,000 to ₹45,000 depending on the performance requirements:
- Entry Level (₹8,000-12,000): Jetson Nano with basic accessories
- Mid Range (₹15,000-25,000): Xavier NX with development kit
- Professional Grade (₹28,000+): Orin Nano with additional accessories
These prices are significantly lower than in Western markets, making it an excellent time to experiment with advanced AI projects.
Development Environment Setup
Software Tools and Libraries
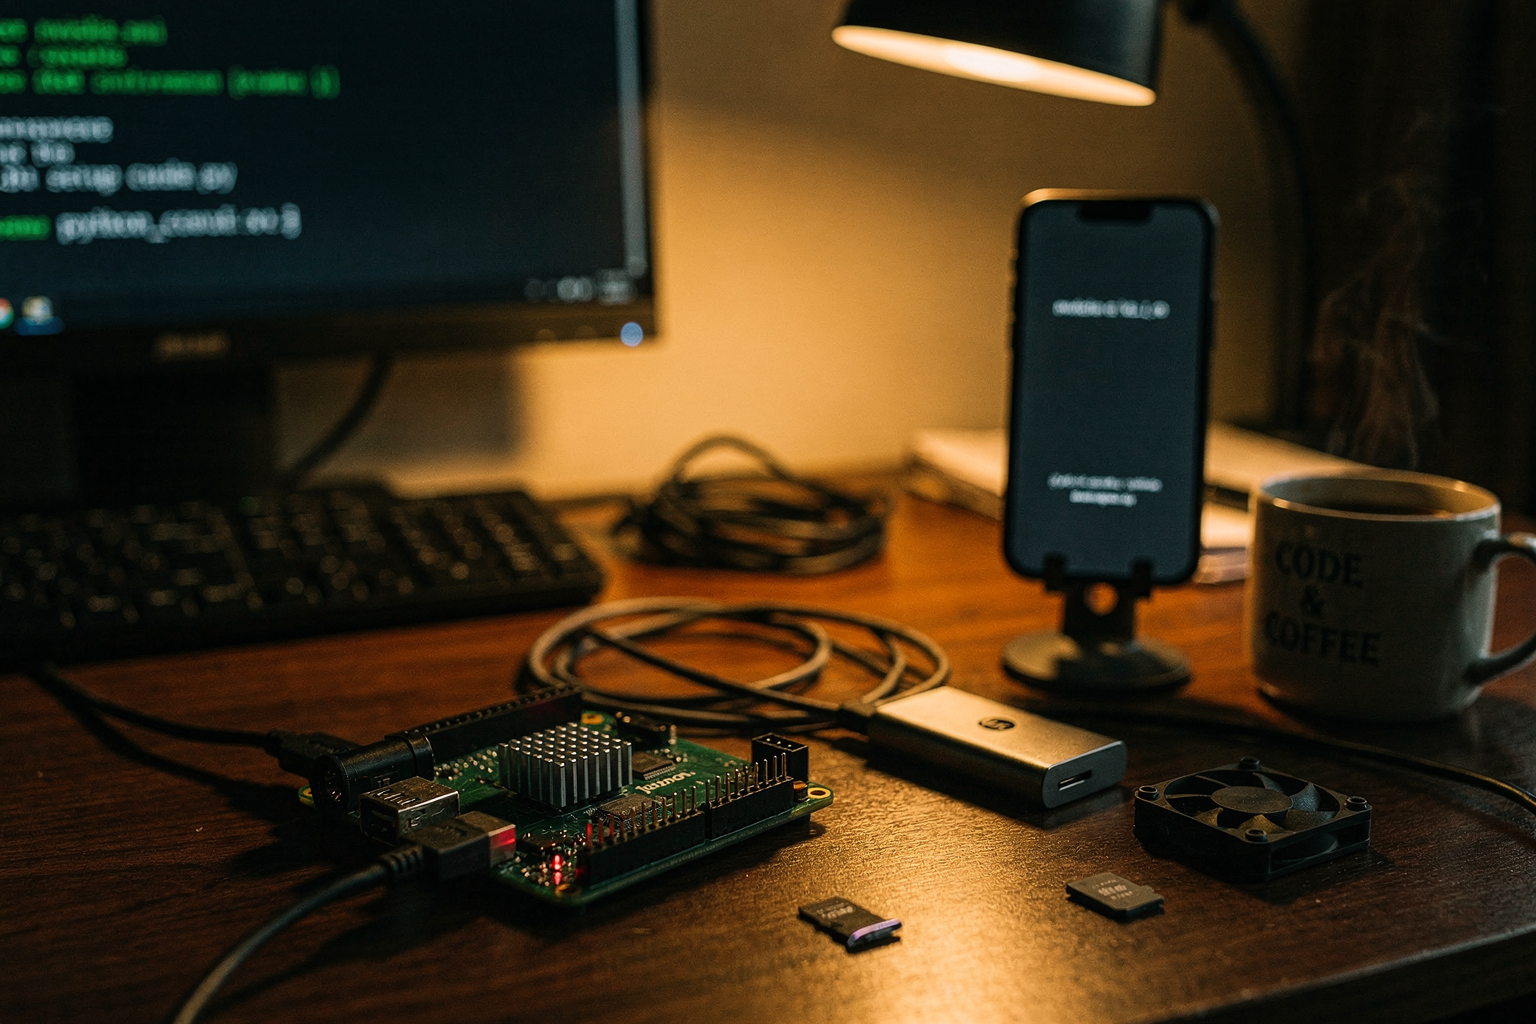
Setting up the development environment for Blackwell architecture requires specific tools and libraries. Here's the recommended stack:
# Install NVIDIA SDK Manager
sudo apt update
sudo apt install -y sdk-manager

# Launch SDK Manager (GUI tool)
nvidia-sdk-manager

# Install required packages via command line
sudo sdk-manager --install jetpack-5.1.2
sudo sdk-manager --install cuda-toolkit-12.2
sudo sdk-manager --install tensorrt-8.6.1
Essential libraries for your projects:
- CUDA Toolkit 12.2: Core parallel computing platform
- TensorRT 8.6: High-performance inference optimization
- OpenCV 4.8: Computer vision operations
- PyTorch 2.0: Deep learning framework
- TensorFlow Lite: Model deployment optimization
Setting Up Your Development Environment
The initial setup process typically takes 2-3 hours for first-time users. Follow these steps systematically:
- Hardware Setup: Connect your Blackwell module to the development board
- Power Configuration: Ensure stable 15-30W power supply for Xavier/Orin modules
- Network Configuration: Set up WiFi or Ethernet connectivity
- SDK Installation: Use NVIDIA SDK Manager for streamlined installation
- Verification Test: Run basic GPU compute test to verify installation
# Verification script for GPU compute
import torch

# Check CUDA availability
if torch.cuda.is_available():
    print(f"CUDA Available: {torch.version.cuda}")
    print(f"GPU Count: {torch.cuda.device_count()}")
    for i in range(torch.cuda.device_count()):
        print(f"GPU {i}: {torch.cuda.get_device_name(i)}")
else:
    print("CUDA not available - check installation")
Practical Implementation Guide
Basic Edge AI Project
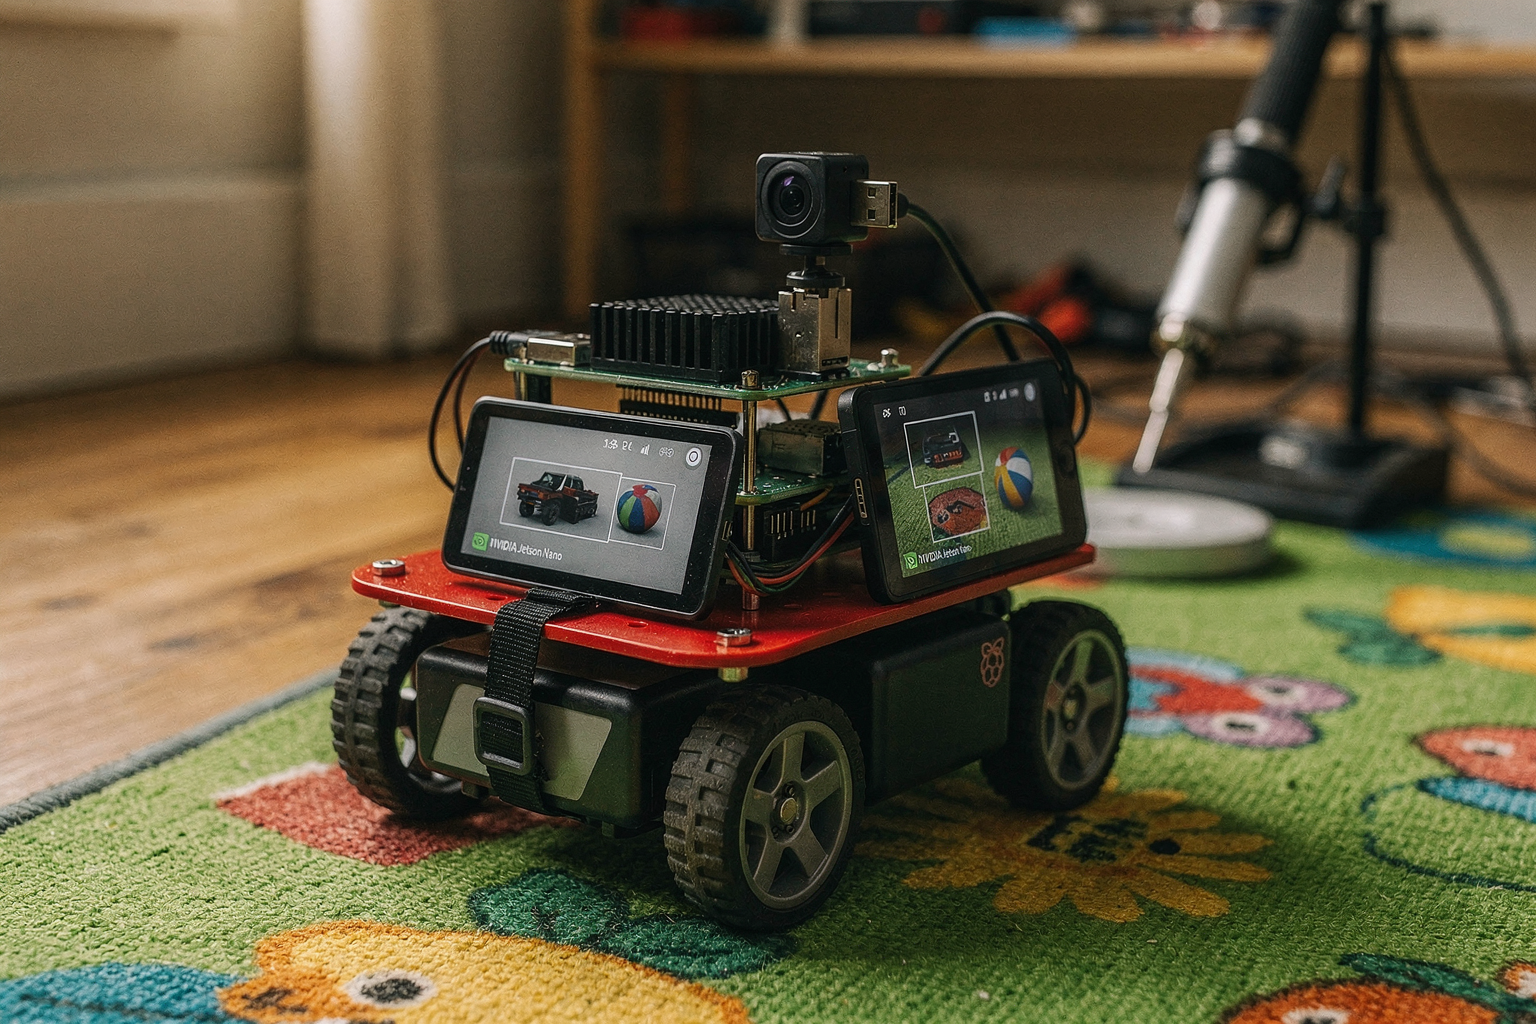
Let's implement a real-world object detection system using Blackwell architecture. This example demonstrates the practical application of edge AI capabilities.
Project Hardware Setup:
- Jetson Nano DevKit
- USB Camera Module
- MicroSD Card (32GB)
Implementation Steps:
import cv2
import torch
import numpy as np
from jetson.inference import imageNet
from jetson.utils import cuda10, video

# Initialize camera
camera = cv2.VideoCapture(0)

# Create inference engine
net = imageNet(threshold=0.5, gpu_id=0)

while True:
    # Capture frame from camera
    frame = camera.read()
    if frame is None:
        continue

    # Convert to CUDA tensor
    img = cuda10.as_cuda_array(frame[1])

    # Perform object detection
    detections = net.Detect(img, 640, 480)

    # Draw bounding boxes
    for detection in detections:
        x, y = int(detection.
Ready to start building?
Explore our collection of DIY kits and components. All project components mentioned in this blog are available in our store.
Browse All Projects