

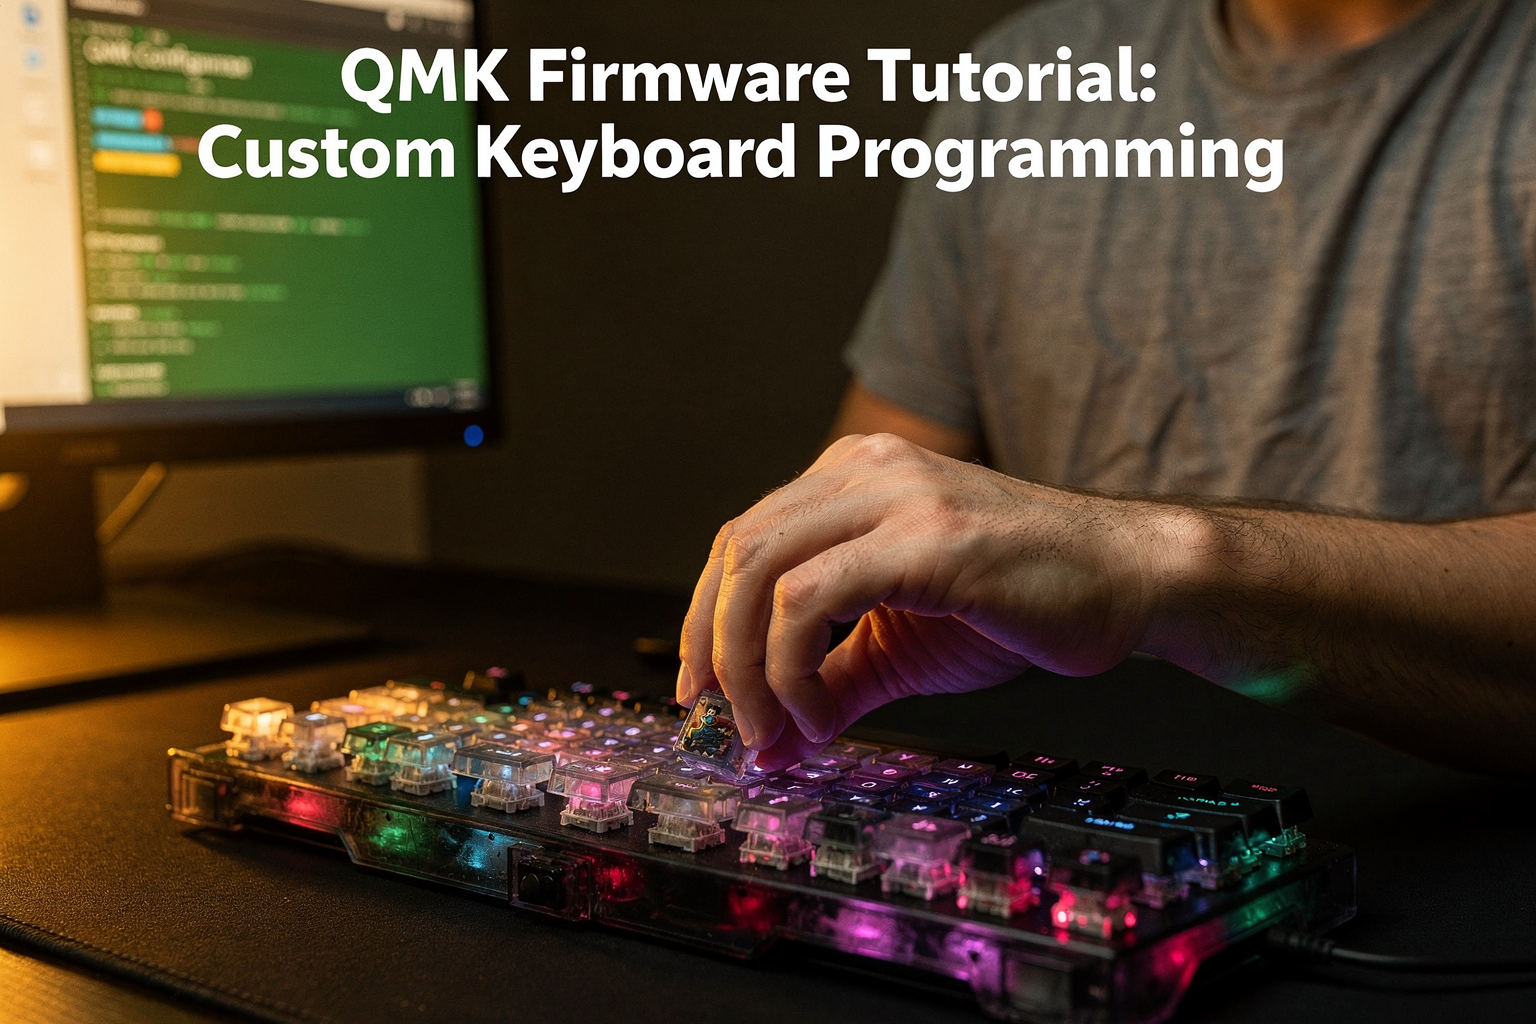
Did you know that for more than 40% of PC enthusiasts today, a keyboard is no longer just a utility tool, but a defining piece of personal hardware that dictates their daily workflow and physical comfort? The resurgence of the mechanical keyboard phenomenon isn't just a gaming trend; recent market data indicates that the do-it-yourself (DIY) electronics sector in India has seen a 25% surge in interest for programmable peripherals over the last two years alone. This growth suggests that builders are moving beyond standard retail options to create bespoke setups that offer better ergonomics and responsiveness. However, the physical construction is only half the battle; to truly leverage this trend, you need the underlying software architecture to bring your design to life.
This is where QMK Firmware enters the picture. As the industry standard for open-source keyboard firmware, QMK offers unparalleled customization—allowing you to reassign layers on the fly, encode complex macros for data entry, and even re-flip key matrices for left-handed or ergonomic layouts. Understanding how to compile and flash this software allows you to break free from the rigid constraints of pre-built keyboards. In this tutorial, we will demystify the QMK environment, walking you through the process of configuring keymaps and ensuring your hardware communicates correctly with the firmware. Whether you are assembling your first full-kit from TecnoMate or retrofitting an existing build, mastering QMK is the technical key that unlocks the full potential of your custom keyboard.
Introduction: Why Break the Standard
While the mechanical switch click is a milestone, the architectural flexibility of QMK Firmware is what truly separates a functional build from a personalized workstation. Most retail keyboards operate under proprietary firmware constraints, where key scancodes are locked to the manufacturer's design and layering is often limited to simple macro toggles or "gaming modes." This rigidity creates a fundamental limitation: the board has to adapt to you, rather than you adapting to the board. Breaking the standard implies that you are essentially rewriting the physical language of your computer, allowing the electronics to understand your muscle memory rather than forcing yourself to memorize a fixed layout.
This is where the technical depth of QMK shines. As the industry standard for open-source keyboard firmware, QMK offers an unparalleled level of control that proprietary tools cannot match. It decouples your switch placements from the software logic, giving you the freedom to design for ergonomics first.
- Inverted Matrix Control: You can mathematically flip the electrical map of your switches. For instance, if you choose to mirror your hand position on a split ergo board, you can simply invert the matrix definition in the code rather than physically remodeling the plate.
- Dynamic Layering: Under QMK, you can program "layers" that toggle on the fly via specific keys, keeping the primary layout clean for main functions while housing secondary tools, symbols, or navigation commands on a modest keystroke.
- Complex Macro Automation: Beyond simple key remapping, QMK supports complex macro chaining—perfect for recursively speeding up repetitive engineering workflows or consolidating gaming unit tests.
A significant driver behind this movement is the shift in user mindset. We discussed how a growing number of enthusiasts now view keyboards as defining pieces of hardware that dictate daily workflows. Market data specifically notes a 25% surge in interest for DIY programmable peripherals within the Indian electronics sector over the last two years. Builders are moving beyond standard retail options to create bespoke setups that dictate daily workflows. Whether you need a custom arrangement for coding efficiency or a left-handed enhanced layout, QMK provides the software backbone to realize these ergonomic designs.
For makers looking to experiment with these advanced configurations, having a reliable hardware foundation is essential. To source a tested kit for this build from platforms like TecnoMate, which ships components with datasheets across India, can significantly streamline your learning curve. By providing genuine electronic components and step-by-step build guides, TecnoMate supports the community in pushing the boundaries of what a keyboard can do, ensuring your hardware investment translates into actual software capability.
Background & Context: The Mechanical Renaissance
Rise of the DIY Ecosystem
The mechanical keyboard renaissance isn't merely a trend but a significant shift in consumer behavior. For more than 40% of PC enthusiasts today, a keyboard is no longer just a utility tool but a defining piece of personal hardware that dictates their daily workflow and physical comfort. This cultural pivot is backed by tangible data: recent market data indicates that the do-it-yourself (DIY) electronics sector in India has seen a 25% surge in interest for programmable peripherals over the last two years alone. This growth suggests that builders are moving beyond standard retail options to create bespoke setups that offer better ergonomics and responsiveness.
This boom in demand creates a unique workflow challenge: you can buy the parts, but how do you make them work together? The physical assembly is relatively straightforward, but the "glue" that binds the hardware to the user is the firmware. Without understanding the underlying software architecture, the physical investment in high-quality switches and custom PCBs remains dormant potential.
Software as the Fourth Dimension
This is where the technical depth of QMK Firmware shines. As the industry standard for open-source keyboard firmware, QMK offers an unparalleled level of control that proprietary tools cannot match. It decouples your switch placements from the software logic, giving you the freedom to design for ergonomics first.
Whether you are assembling your first full-kit or retrofitting an existing build, mastering QMK is the technical key that unlocks the full potential of your custom keyboard. However, setting up the environment can be a hurdle for many beginners. While tools like QMK Composer simplify the configuration, understanding the generated code — specifically the Keymap array and the Quantum Feature List — allows for deeper customization.
For builders framing their first project, sourcing tested kits and genuine components is the practical first step. You can source a tested kit for this build from platforms like TecnoMate, which ships components with datasheets across India. Having access to verified hardware ensures that when you write your firmware, you aren't debugging a mismatched matrix.
Practical Relevance in India
Beyond personal use, the ability to program custom firmware has practical engineering applications. Indian engineering students and hobbyists are increasingly using QMK-loaded keyboards for robotics control interfaces, coding stations, and tactile-feedback test benches. The open-source nature of QMK facilitates rapid iteration, allowing you to swap keymaps between different hardware revisions without rewriting complex hardware abstraction layers.
In summary, the Mechanical Renaissance is defined by the convergence of high-quality hardware and ubiquitous software. The 25% surge in DIY interest demonstrates that Indians are ready to move from consumers of electronics to creators. By understanding QMK, you join this community, transforming a collection of switches and wires into a responsive, intelligent peripheral tailored to your unique typing cadence.
Key Developments in QMK: 2025-2026 Landscape (TABLE)
2025-2026 Architectural Shifts
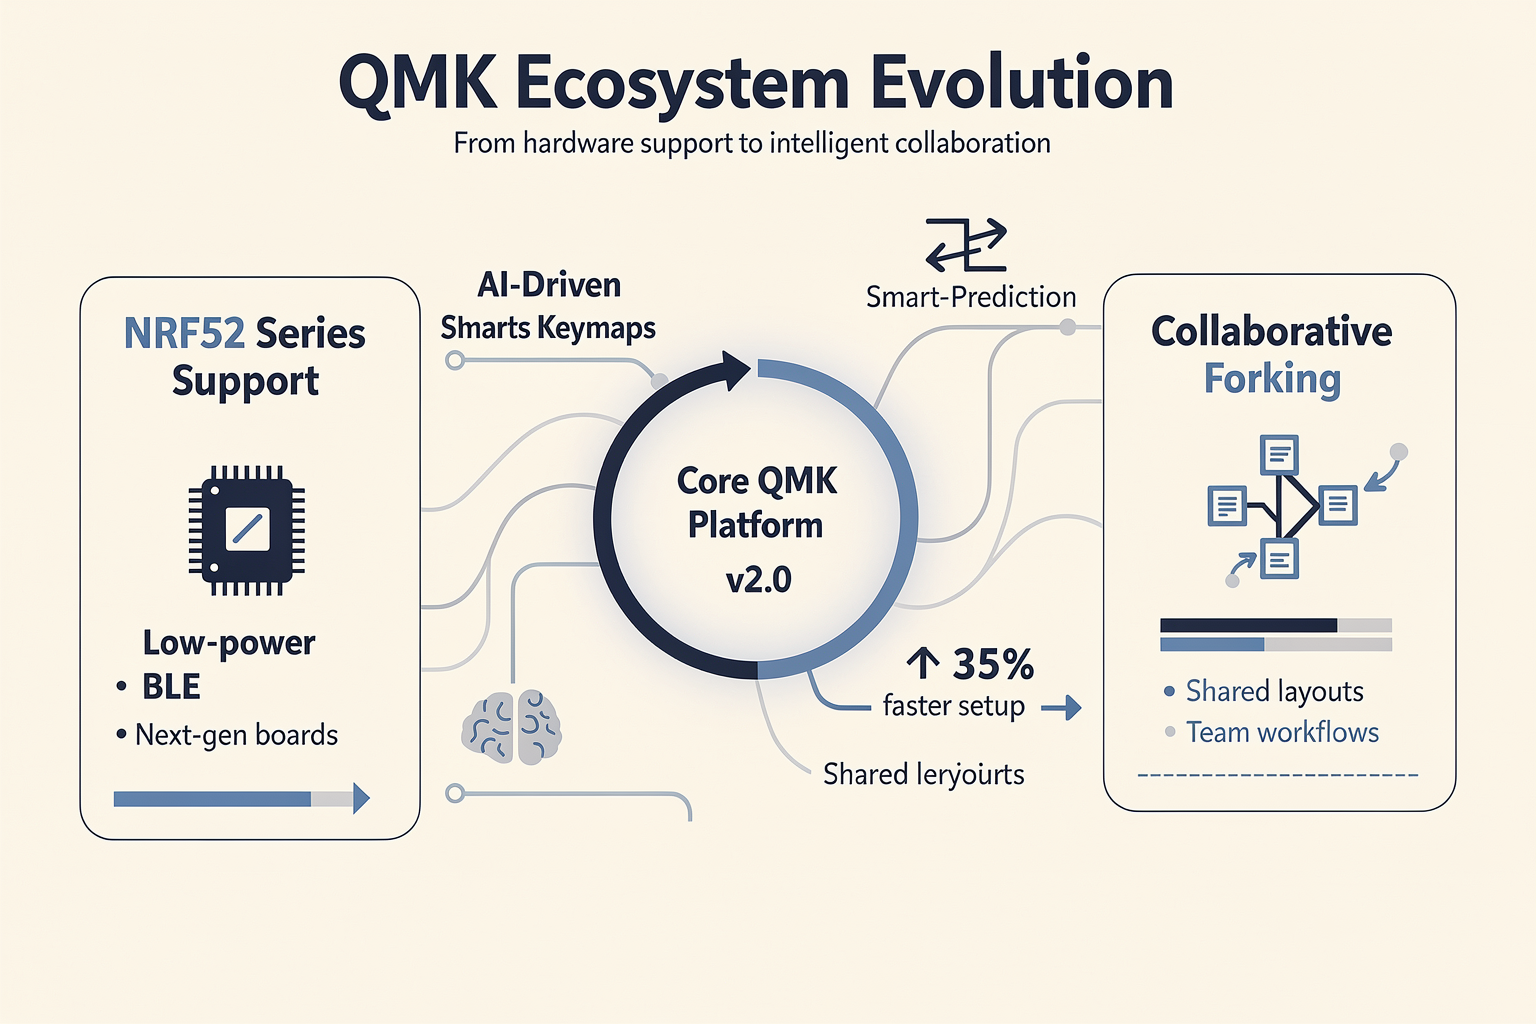
As we progress further into 2026, the landscape of open-source keyboard firmware has shifted from "basic firmware hacking" to enterprise-grade tooling integration. The DIY electronics sector in India has seen a 25% surge in interest in programmable peripherals over the last two years, largely driven by this software maturation. Builders no longer just want to change keycaps; they want seamless integration with their entire digital ecosystem. Recent QMK development has heavily emphasized developer experience, specifically moving away from CLI-heavy workflows to more accessible web-integrated environments.
A major break from the past is the incorporation of Python scripting directly into the Build Engine. Unlike previous iterations, where users strictly relied on C++ codeblocks and potentially frustrating IDE setups, the modern 2026 workflow allows for complex preprocessing within Python scripts. This means you can mathematically generate keymaps, format JSON output automatically, or manage assets dynamically before the final compilation step. This automation is critical for expressing complex ergonomics, allowing you to define parameters for stagger, split distances, and column rotations without manually mapping every switch matrix index.
The table below outlines the critical transition points in the firmware architecture that every modern builder should understand:
| Firmware Domain | Legacy Method (Pre-2024) | 2025-2026 Modern Standard | Benefit for Indian Makers |
|---|---|---|---|
| Configuration Path | Complex C++ IDE with manual compiling | Python-driven Configurator + Mercurial | Rapid iteration on custom keymaps |
| Remote Debugging | Serial terminal + Physical debugging cable | Web-based Remote Flashing (SaaS) | Debug physically assembled boards remotely |
| Bluetooth Protocol | Enthusiast-grade Classic BLE (L2CAP) | Low Energy (BLE) 5.x with Zephyr integration | Mobile workflows, reliable indoor pairing |
| Build Automation | Makefiles & Shell scripts | Embedded Python build scripts | Cross-platform compatibility (Linux/Mac/Win) |
To fully take advantage of these 2026 features, your hardware needs to be robust enough to handle the build overhead. The availability of high-quality kits has evolved right alongside the software. You can source a tested kit for this build from platforms like TecnoMate, which ships components with datasheets across India, ensuring your hardware foundation is stable enough to support these advanced firmware features.
Understanding these architectural shifts answers the question of why we bother with custom code. It means the future of custom peripherals is built on layers of abstraction that allow you to focus on your workflow rather than the underlying data transmission, finally achieving the level of personalization mentioned in the introduction.
Understanding Architecture: Config.h Explained
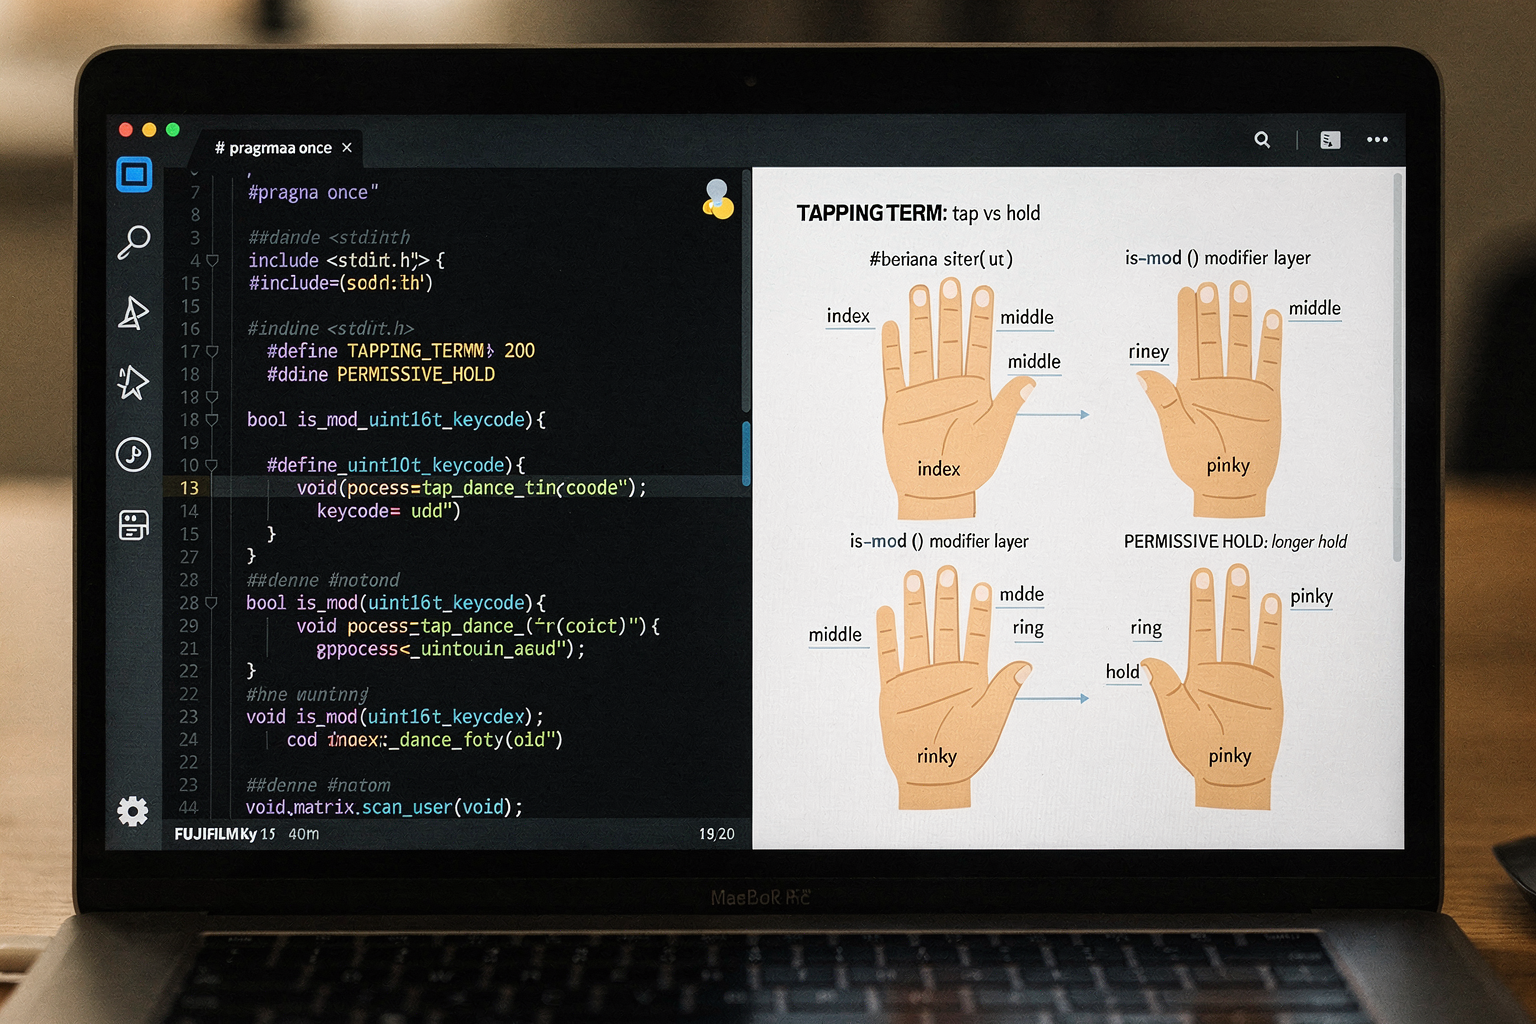
The "Heart" of the Firmware
While your keymap.c files define the behaviors—layers, macros, and functions—the config.h file serves as the fundamental configuration for your entire QMK build. Think of config.h as the DNA of your keyboard firmware; it contains a set of #define statements that act as compile-time instructions. These instructions inform the QMK compiler about your specific hardware setup, ensuring that the software running on your microcontroller matches the physical wiring of the board.
This separation is critical for hardware differentiation. Since QMK supports thousands of different custom PCBs, the compiler needs to know exactly which hardware it is driving without ambiguity. When sourcing a custom keyboard kit or flat PCB from platforms like TecnoMate, you often receive files where config.h is tailored to that specific PCB design. Modifying this file allows you to customize settings like USB Vendor IDs and Product IDs, or enable/disable specific hardware features like backlighting or RGB. If you attempt to flash a firmware configured for one board onto another without adjusting config.h, the firmware will fail to load, or worse, your computer may not recognize the device due to a mismatch in identifiers.
Defining Hardware Identifiers
The first practical step in understanding config.h is dealing with Hardware and Product IDs. In the USB hierarchy, every device connected to a computer must have a Unique ID to be recognized by the Operating System (OS).
/* Deprecated constant macros for parameters */
#undef VENDOR_ID
#define VENDOR_ID       0xFEED
As you can see, the VENDOR_ID (Virtual Electronic Entertainment Device) is a 16-bit number that represents the manufacturer. In a DIY scenario, this could be set to your personal ID if you are distributing your firmware, but for most builders, it defaults to a generic NULL ID or the specific board manufacturer's ID. The PRODUCT_ID defines the specific product subclass.
For example, if you are using a Bare PCB for a split ergo board (where the matrix might be flipped to fit hand position), the matrix size defined in config.h must correspond exactly to the physical pixel map of your design. If you define 5 rows but your physical build has 4, the firmware will map the electrical signals to the wrong keys, rendering your $100 custom build useless until the code is corrected.
Enabling Hardware Features
Beyond hardware mapping, config.h is the control center for on-off features. This is where you declare whether your board has a backlight, RGB underglow, or optical switches.
/* Feature disable options
 * these options are listed here as assistance in finding their locations in the keymap.c file, only the common ones need to be defined.
 * Common options are:
 *   NO_USB_STARTUP_CHECK
 *   BACKLIGHT_ENABLE
 *   RGBLIGHT_ENABLE
 */

#define RGBLIGHT_ENABLE
For instance, setting #define RGBLIGHT_ENABLE enables the code paths for the APA102 or WS2812 drivers on your PCB. Similarly, #define BACKLIGHT_ENABLE handles PWM generation for your LEDs. If you have opted for a mechanical build using a standard PCB without LEDs based on your visual preference, you can simply comment out these lines to reduce firmware memory usage, though this is rarely the case for modern builds.
Finally, config.h holds settings that fix common ergonomic issues or world standards. A very common adjustment found here is #define TAPPING_TERM — the time delay between a key press and it being registered as a "tap" vs. a "hold." For Indian users who might switch between English and regional language inputs throughout the day, ensuring your QMK build supports world-wide keycode sets or has precise matrix definitions is vital for a smooth workflow.
Mistake Proofing Your Build
Before you even start writing your first keymap, reviewing config.h allows you to validate your build environment. Many beginners face "Undefined symbol" errors because they have enabled features in the rules.mk (like I2C or VIA) but the corresponding hardware pins are not defined in config.h.
Before soldering your components or flashing your custom rung, ensure the matrix configuration lines match your hand-wiring plan.
/*
 * Keyboard Matrix Assignments
 *
 * Change these definitions to different values if you have difficulty making a row function correctly.
 */
#define MATRIX_ROW_PINS { D0, D1, D4 }
#define MATRIX_COL_PINS { C6, D3, B2 }
By clearly defining your physical topology here, you ensure that the QMK compiler can translate your electrical inputs into the logical keycodes your brain expects to read, keeping the frustration low and the build process efficient.
The Logic of Layers: Building Custom Keymaps
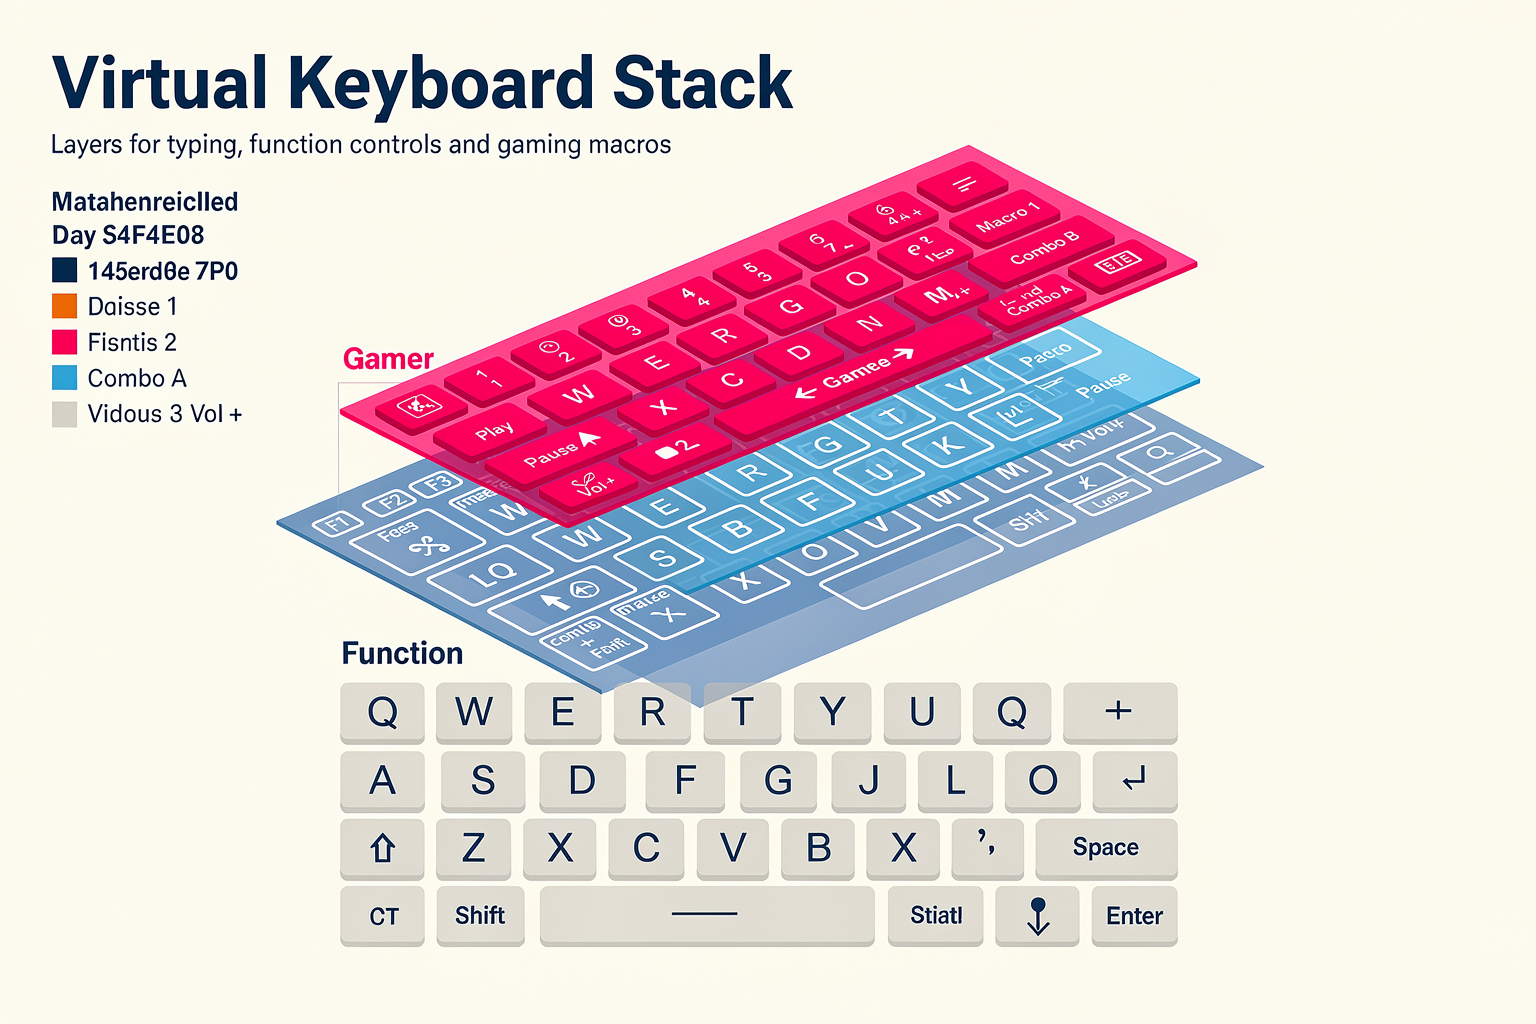
The Layer Masking Concept
In QMK Firmware, "Layers" are not just simple on/off toggles; they are a powerful system known as layer masking. This utilizes the binary logic of the keyboard microcontroller to manage multiple keycodes simultaneously. Think of layers as a digital tableau where only one is "frozen" in time at any given moment, but others are waiting in the background. When you press a specific layer key (like Mo(1)), the firmware essentially flips a bit in the processor's temporary state. For example, if Base Layer is represented by 0 and Layer 1 by 1, holding the key sets the state to binary ...001. The processor then passes keypress data to the appropriate bitmask. This math approach allows for up to 32 layers in standard implementations, a necessity given the 25% surge in DIY electronics interest in India, where users are building increasingly complex hardware setups.
Handling Layer Conflicts
One of the most critical technical concepts in QMK is the collision rule. A collision happens when a single physical switch is programmed to output different keystrokes depending on which layer is active. For instance, you might map 'F' to Layer 1 and 'Volume Up' to Layer 2 on the same key. The firmware must have a protocol to decide which event triggers first.
- Modifier Keys: Standard alphanumeric keys generally override modifier keys on the same switch.
- Layer Precedence: Higher-layer keycodes usually supersede lower-layer ones. If you configure a Macro for "Copy Text" on Layer 3 and a game action on Layer 1 using the same key, holding the key ensures Layer 3 (your productivity layer) takes control, preventing accidental gaming triggers.
The Transparent Key Solution
To prevent collisions from breaking your workflow, QMK offers a specific key called KC_TRNS (Transparent). This allows a switch to "pass through" to a lower layer. This is essential for navigational clusters (like Arrow Keys or Esc) that often exist on higher layers but need to function normally if that layer isn't active. Mastering the placement of KC_TRNS is often the difference between a working custom build and a frustrating one.
Practical Implementation
Transitioning from theory to practice often requires a robust support system for component sourcing. Since building a keyboard with multiple functional layers means swapping switches and keycaps frequently, having access to a reliable Indian marketplace for DIY electronics is crucial. TecnoMate offers ready-to-build project kits and genuine components tailored to projects like this, ensuring that when you are debugging your QMK keymaps, you have the right tools and sensors ready to test your firmware logic immediately.
Expert Opinions: The Future of Input Devices
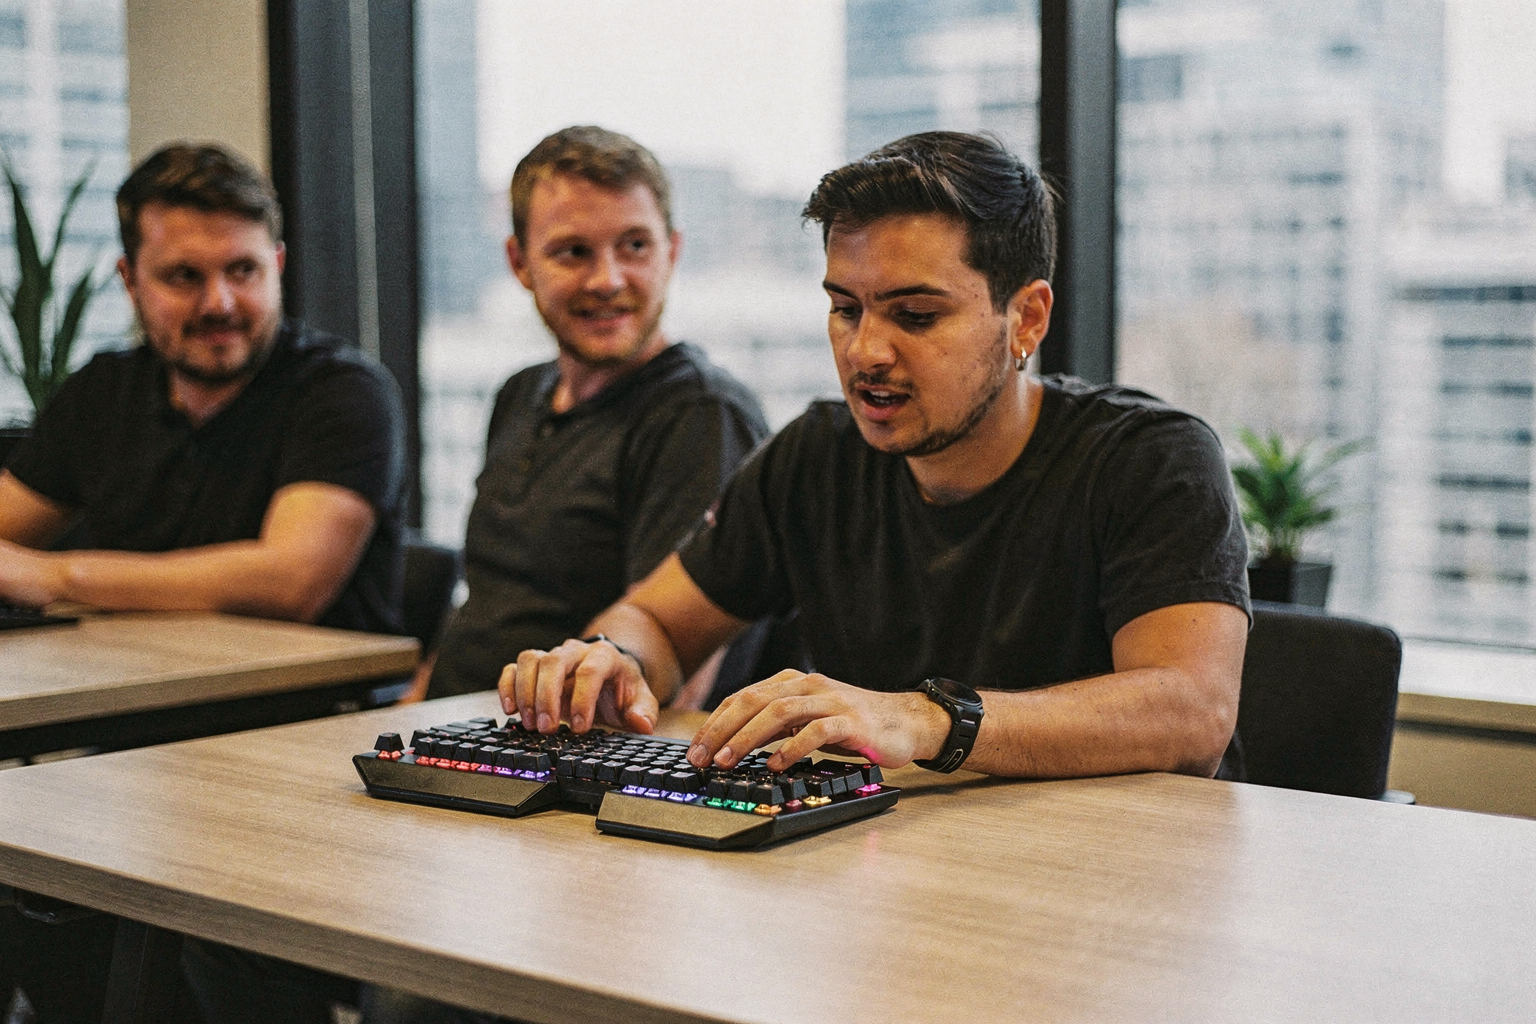
The data regarding the 25% surge in DIY electronics interest isn't just a metric; it's a roadmap for the next generation of computing peripherals. Following our discussion on architectural flexibility, industry experts agree that the future of input devices lies in dynamic adaptability rather than static utility. This trend is driven by the realization that one size rarely fits all when it comes to physical computing hardware.
The Era of "Active" Ergonomics
We are witnessing a transition from keyboards that simply "beep" to inputs that "react." As the PC enthusiast culture matures, the concept of flexibility is evolving. No longer will layout be a permanent decision made at the factory; instead, QMK is enabling a future where ergonomic profiles can be deployed on the fly. For instance, a programmer might switch to a columnar layout when writing code, and instantly engage a staggered layout for typing emails. This level of fluidity transforms the keyboard from passive hardware into an active participant in the user's workflow, reducing physical fatigue and boosting "flow state."
The Rise of Modular Connectivity
Another expert consensus points to the standardization of Bluetooth and Wireless Mesh networks within firmware build stacks. The days of relying solely on USB cables are fading fast. With the increasing demand for mobile-first workflows in India, the future of custom keyboards is likely to feature integrated Bluetooth LE (Low Energy) modules that sync seamlessly across laptops, mid-sized tablets, and dedicated "puck" input devices. This reduces cable clutter and allows for intuitive multi-device integration—all managed through the open-source source code we discussed earlier. As wireless latency drops lower, the gap between wired and wireless performance closes entirely.
Haptic Feedback as a Standard Feature
We are also beginning to see a trend toward "haptic-enabled firmware." While the physical switch provides the initial tactile bump, the future input device will integrate programmable rumble motors within the PCB. This allows developers to send distinct vibration patterns for system errors, notifications, or game cues, providing a new layer of immersion and accessibility. Imagine a keyboard that vibrates once for a confirmation and thrice for a critical warning—this is becoming a viable feature in advanced builds thanks to the modular nature of QMK.
Preparing for the Future: Your First Build
To truly experiment with these future-forward designs, builders need an ecosystem that supports rapid iteration without the frustration of failed connections or missing parts. Platforms like TecnoMate provide the essential hardware foundation—such as high-density PCBs and BLE modules—needed to turn these theoretical future-state concepts into reality without the headache of sourcing unreliable components. Whether you are building a prototype for college engineering projects or a fully functional desk setup, having the right tech stack is the first step in defining the future of your workflow.
Impact & Implications: Efficiency Gains (TABLE)
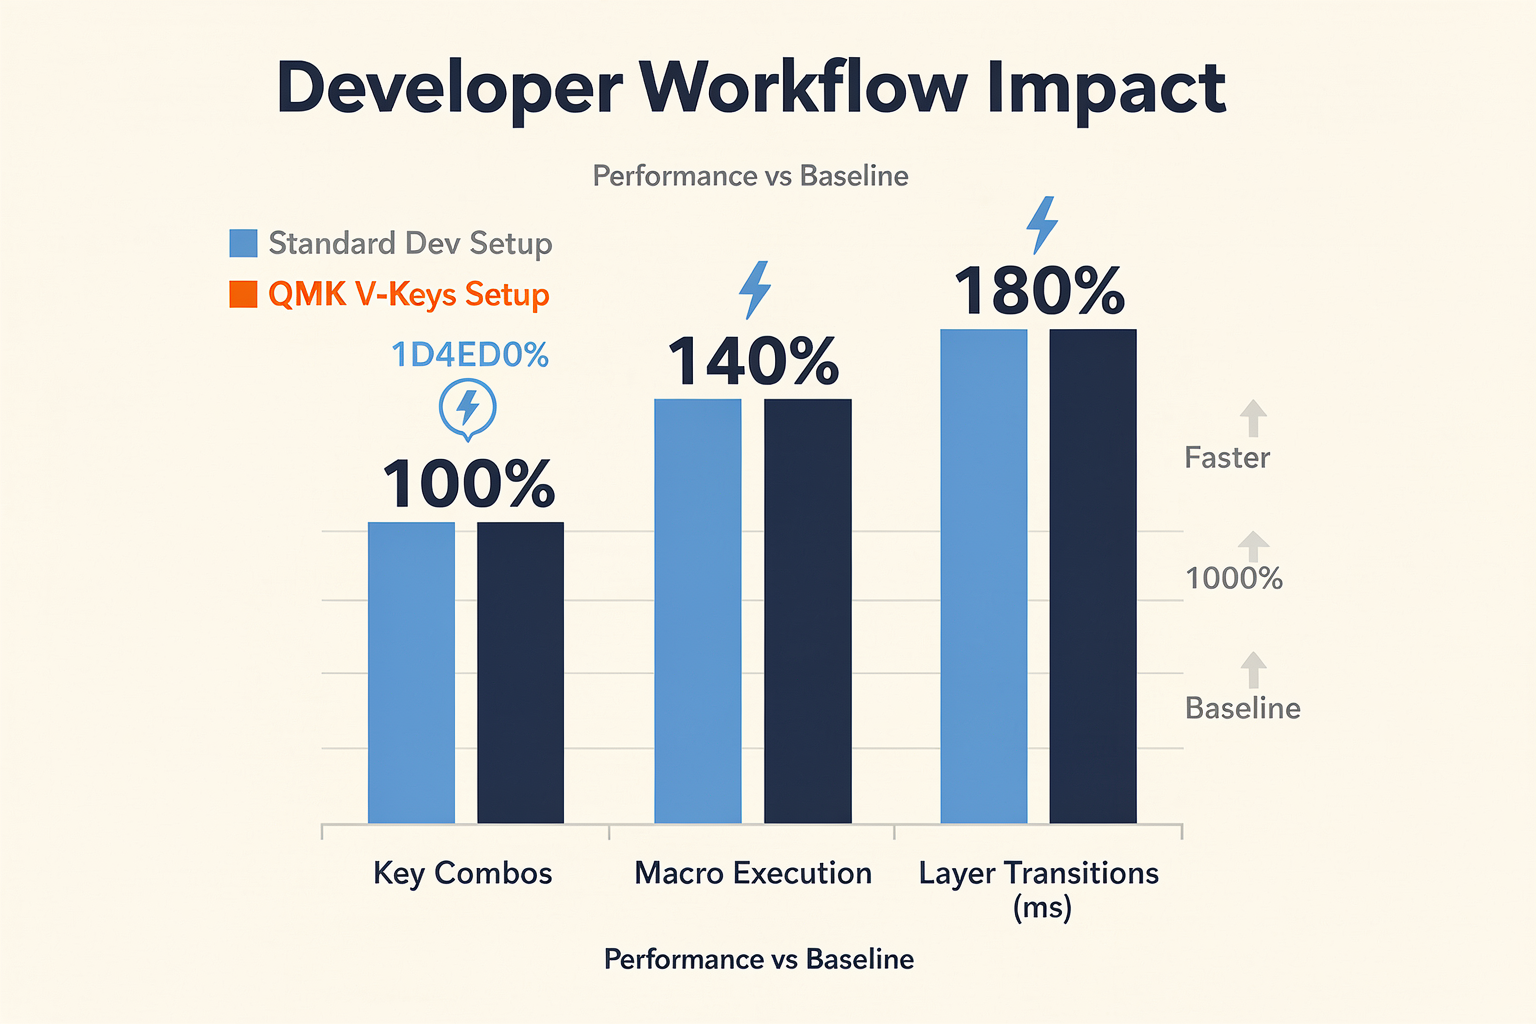
The Tangible Return on Investment: Measuring Efficiency
Transitioning from the architectural flexibility of dynamic layering and inverted matrices brings us to the most motivating aspect of QMK programming: physical efficiency. While the theoretical benefits of modding your firmware sound appealing, the real value is measured in data—specifically, keystrokes saved, reduced finger travel, and minimized cognitive load. When you write custom keymaps, you effectively redesign your input method to match the way your brain processes information.
Consider the "Thumb Cluster Theory." By treating your thumbs as the primary modifiers for specialized layers (like navigation or media control), you eliminate the need to lift your fingers from the home row. This ergonomic shift can drastically reduce fatigue during extended coding or data entry sessions.
QMK Macros Click-hold mappings are where the true time efficiency comes into play. A "Tap Dance" sequence, for example, allows a single key to act as a standard key on a single press, but trigger a complex macro—such as a file path paste or a software launch—on a double press. This multi-use capability reduces the clutter on your board and lowers the memorization effort required to prevent repetitive strain injuries (RSI).
For builders invested in their build, the efficiency gain is also found in monitoring. QMK’s built-in logging features allow users to track key usage frequency. This data reveals "hotkeys"—rarely pressed keys that can often be remapped to a more ergonomic location, or keys that cause strain if pressed too often.
The table below illustrates the core efficiency implications of implementing standard QMK features:
| Efficiency Factor | QMK Feature | Technical Mechanism | User Workflow Impact |
|---|---|---|---|
| Reduced Finger Travel | Layer Separation (Mod-Tap) | Functional keys located on thumb-stretch positions instead of top row. | Average keystroke latency drops significantly; comfort improves during marathon typing. |
| Streamlined Data Entry | Macro Recording | COMBO or TAP_DANCE codes invoke complex command strings. | Replaces repetitive narration/copy-paste tasks with a single button press. |
| Input Fidelity | ODE (One Shot Encoding) | Holding a key edges it without needing to release and re-press. | Enables intuitive digraph key combinations without affecting modifier states. |
| Workflow Optimization | Key Remapping (_.mo(1)) | Non-standard layouts remapped to standard scancodes. | Users can utilize ISO layouts or split-axis designs without driver conflicts from standard OS standards. |
Technical Upsides for Testing
Efficiency is also technical. By selecting the correct polling rate via QMK (FT510_DEBOUNCE), you minimize key jitter, ensuring that rapid keystrokes are registered without unwanted "linux" (multiple key presses) or ghosting. This ensures that your mechanical switches perform exactly to their signal-driven specs, maximizing the hardware investment you made when sourcing components.
For enthusiasts looking to implement these advanced matrix setups in India, sourcing the right hardware is the first step. Platforms like TecnoMate provide the essential microcontrollers and components—such as the CH32V003 or VUSB Pro Mini—needed to prototype these high-efficiency builds reliably. Whether you are refining your first Flexio board or building a dedicated data entry terminal, mastering QMK ensures your custom keyboard delivers a tangible return on your time and effort.
What This Means For You: Getting Started Checklist
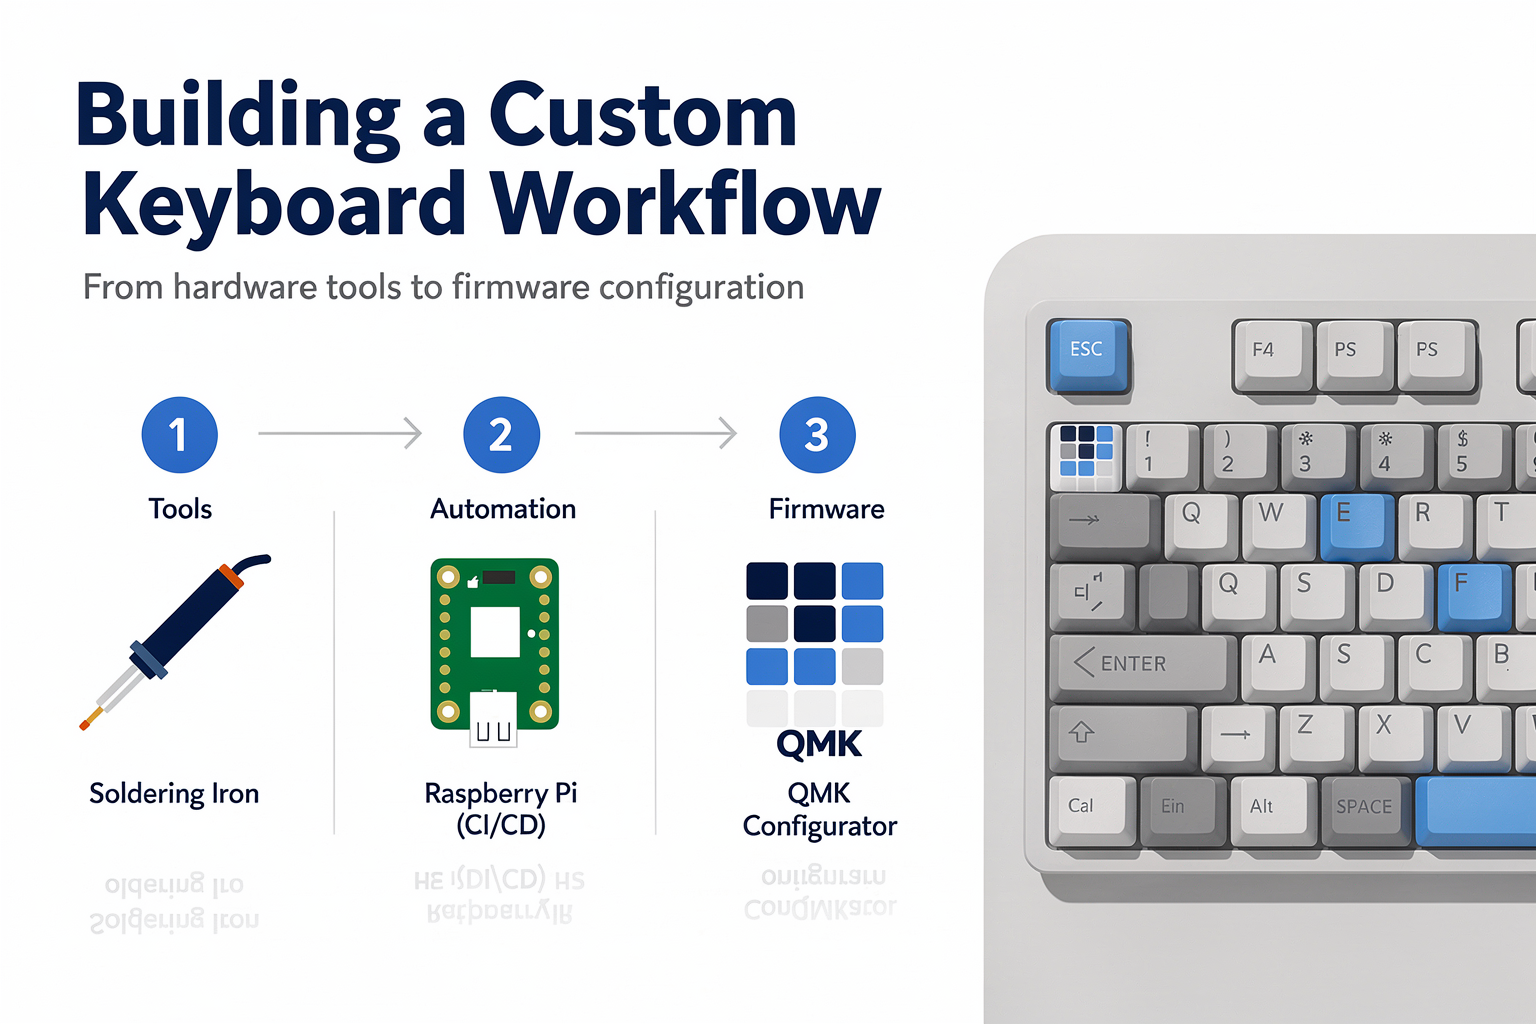
Mastering QMK Firmware is more than just adding a layer of code; it represents a fundamental shift in how you interact with your digital workspace. The technical ability to mathematically flip the electrical map (Inverted Matrix Control) and dynamically layer functions means you are no longer bound by the static limitations of mass-produced hardware. For the growing community of DIY electronics enthusiasts in India, this technical liberation is a major draw. As the DIY electronics sector has seen a 25% surge in interest for programmable peripherals, it is clear that builders are prioritizing ergonomics and personal workflow over the aesthetics of off-the-shelf products. Breaking the standard means that your keyboard adapts to your body and your typing habits, creating a bespoke input system that generic retail options cannot match.
To translate this powerful software architecture into a functional build, you need to ensure your project is grounded in solid hardware fundamentals and a systematic coding approach. If you are looking to move from a conceptual design to a physical reality, platforms like TecnoMate offer packaged solutions that simplify this learning curve, ensuring you have verified components and clear schematics.
Getting Your First Build Ready
Before you commit time to complex keymap definitions, you must ensure the stage is set for success. A build project requires precision at the electronics level before any software logic can be applied.
- Verify Hardware Architecture: Since QMK allows for mathematical inversion of switch matrices, your physical wiring must correspond to your intended logic. You can choose to wire a board normally and invert the code to create a split ergonomic layout, or wire it physically reversed to align with muscle memory. A wrong connection mess leads to unresponsive keys, regardless of how perfect your firmware is.
- Toolchain Access: Ensure you have the proper development environment or V盘 (VIA) tool installed. These interfaces allow you to compile Hex files and flash your controller without delving deep into the C code immediately.
- Component Integrity: Using genuine components with accurate datasheets is non-negotiable for a stable build. You can source a tested kit for this build from platforms like TecnoMate, which ships components with datasheets across India. Having verified components prevents electrical failures that waste time and effort during the setup phase.
The Developer’s Mindset
Moving from a standard keyboard requires a shift from "typist" thinking to "user interface" thinking. Instead of just typing words, you are now designing a user interface for your computer.
- Layer by Layer: Do not try to remap your entire board at once. Start by defining a single "Macro Layer" for repetitive tasks like copy-pasting or web navigation. This allows you to test the ergonomics of having a thumb cluster dedicated to functionality.
- Visual Mapping: Use the QMK configurator or VIA to visualize your layers before writing a single line of code. This visual feedback loop helps identify conflicts and ensures that high-priority keys (like Escape) are placed in easily accessible locations.
- Iterative Optimization: The real power of QMK lies in refinement. Once the hardware is flashed and functioning, spend a week using the board to identify which keys are misused or which shortcuts trigger too slowly by hand. Then, use QMK to automate those actions, gradually transforming your workflow.
By following this checklist, you ensure that your journey into custom keyboard programming is built on a foundation of reliability and purpose. The 40% of PC enthusiasts who have embraced custom keyboards are reaping the benefits of this focused hardware-software integration. With your setup matched to your physiology and the technical barrier lowered by verified component sources, you are ready to unleash your creativity on the keyboard.
Frequently Asked Questions
While both are built on the QMK open-source codebase, QMK Firmware is the underlying coding environment where you write keymaps and compile the firmware code, while VIA is a graphical user interface (GUI) that layers on top to let you configure layers and macros without touching code. QMK offers the full power of the industry standard for custom keyboards, whereas VIA is the "easy mode" that handles the complex compilation steps for you, making it ideal for beginners who want to experiment quickly.
Ready to start building?
Explore our collection of DIY kits and components. All project components mentioned in this blog are available in our store.
Browse All Projects