

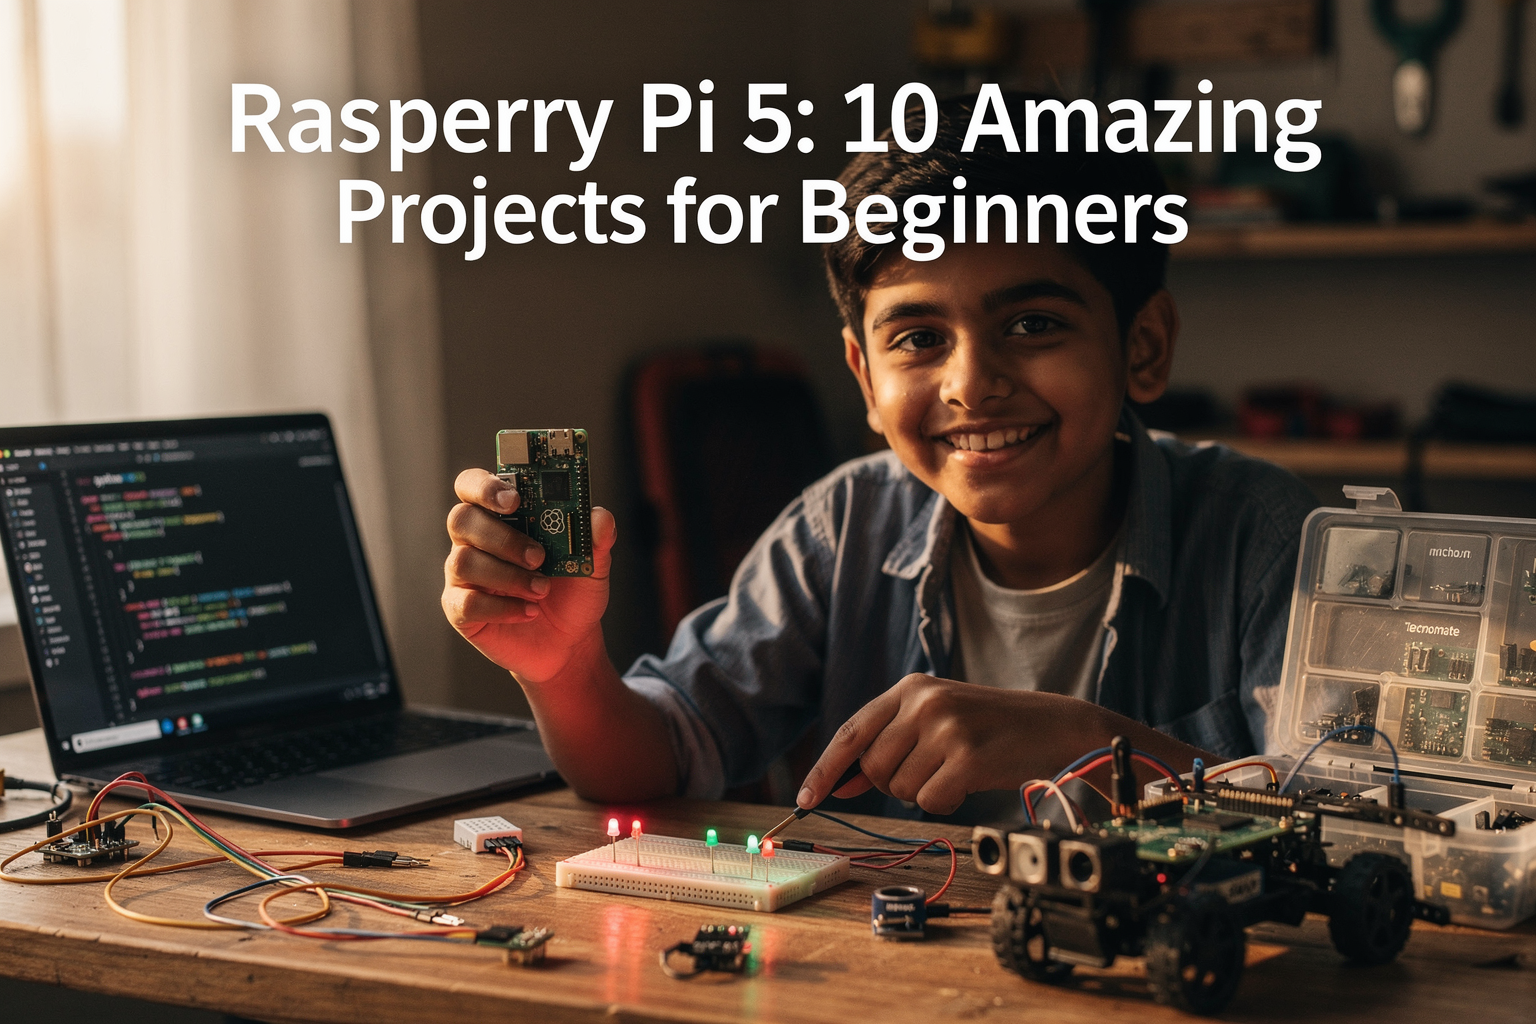
Introduction: Welcome to the Raspberry Revolution
Are you ready to dive into the world of embedded systems? The Raspberry Pi 5 has taken the Indian DIY electronics scene by storm, and for good reason! This tiny powerhouse packs serious processing capability while remaining incredibly affordable for students and hobbyists across India. Whether you're a first-year engineering student in Delhi or a hobbyist in Bangalore, this guide will walk you through 10 amazing projects that will transform your understanding of electronics and programming.
The Raspberry Pi ecosystem has become the backbone of countless innovation projects in Indian colleges and startups. With prices starting around ₹4,500 for the base model, it's more accessible than ever. Let's explore projects that range from simple LED controllers to home automation systems, all using components readily available through Indian electronics markets and online stores like TecnoMate.
Prerequisites: What You'll Need to Get Started
Before we jump into the projects, let's ensure you have everything you need. Here's a comprehensive checklist of essentials:
| Component | Specification | Price (₹) | Where to Buy in India |
|---|---|---|---|
| Raspberry Pi 5 | 4GB RAM, Quad-core | 4,500 | TecnoMate, Amazon India |
| Raspberry Pi Power Supply | 5V 3A USB-C | 600 | Local electronics markets |
| microSD Card | 32GB, Class 10 | 300 | Croma, Reliance Digital |
| Breadboard | 830-point | 150 | Universal Electronics, SP Road |
| Jumper Wires | 40pcs | 100 | Local hobby stores |
| LED Pack | 10pcs (various colors) | 80 | Any electronics component shop |
| Resistor Kit | 1/4W, various values | 200 | SP Road, Chandni Chowk |
| Ultrasonic Sensor | HC-SR04 | 120 | Available at most tech stores |
| Temperature Sensor | DS18B20 | 60 | Online or local electronics shop |
| Servo Motor | SG90 | 100 | Robotics hobby stores |
Essential Tools:
- Soldering iron (₹800-1,200)
- Multimeter (₹1,000-1,500)
- USB keyboard and mouse (₹500-800)
- Monitor or TV with HDMI port
Project 1: Smart LED Traffic Light Controller
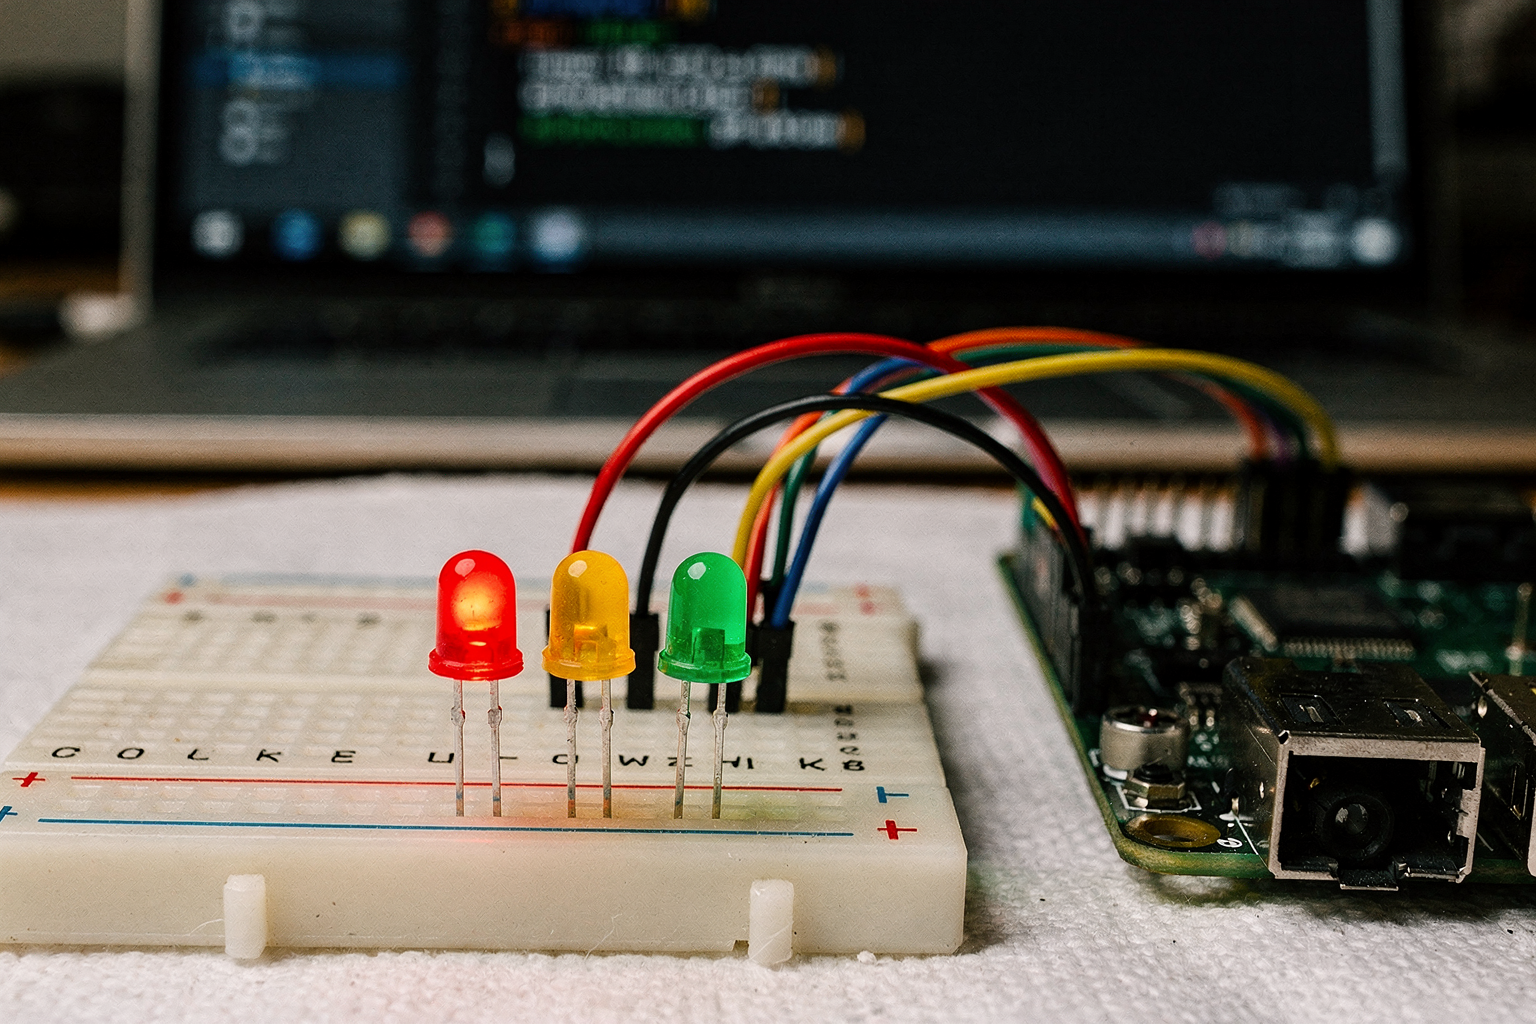
Let's start with a classic that teaches you the fundamentals of programming and hardware control. This traffic light system mimics real-world traffic signals and can be expanded for IoT applications.
Hardware Setup
LED Pin Mapping:
- Red LED: GPIO 18
- Yellow LED: GPIO 24
- Green LED: GPIO 25
Python Code
import RPi.GPIO as GPIO
import time

# Set up GPIO
GPIO.setmode(GPIO.BCM)
GPIO.setwarnings(False)

# Define pins
RED_LED = 18
YELLOW_LED = 24
GREEN_LED = 25

# Setup pins
GPIO.setup(RED_LED, GPIO.OUT)
GPIO.setup(YELLOW_LED, GPIO.OUT)
GPIO.setup(GREEN_LED, GPIO.OUT)

try:
    while True:
        # Green light
        GPIO.output(GREEN_LED, GPIO.HIGH)
        GPIO.output(RED_LED, GPIO.LOW)
        GPIO.output(YELLOW_LED, GPIO.LOW)
        print("Green - Go")
        time.sleep(5)

        # Yellow light
        GPIO.output(GREEN_LED, GPIO.LOW)
        GPIO.output(YELLOW_LED, GPIO.HIGH)
        GPIO.output(RED_LED, GPIO.LOW)
        print("Yellow - Prepare to Stop")
        time.sleep(2)

        # Red light
        GPIO.output(GREEN_LED, GPIO.LOW)
        GPIO.output(YELLOW_LED, GPIO.LOW)
        GPIO.output(RED_LED, GPIO.HIGH)
        print("Red - Stop")
        time.sleep(5)

except KeyboardInterrupt:
    GPIO.cleanup()
Project 2: Weather Station with Temperature and Humidity Monitoring
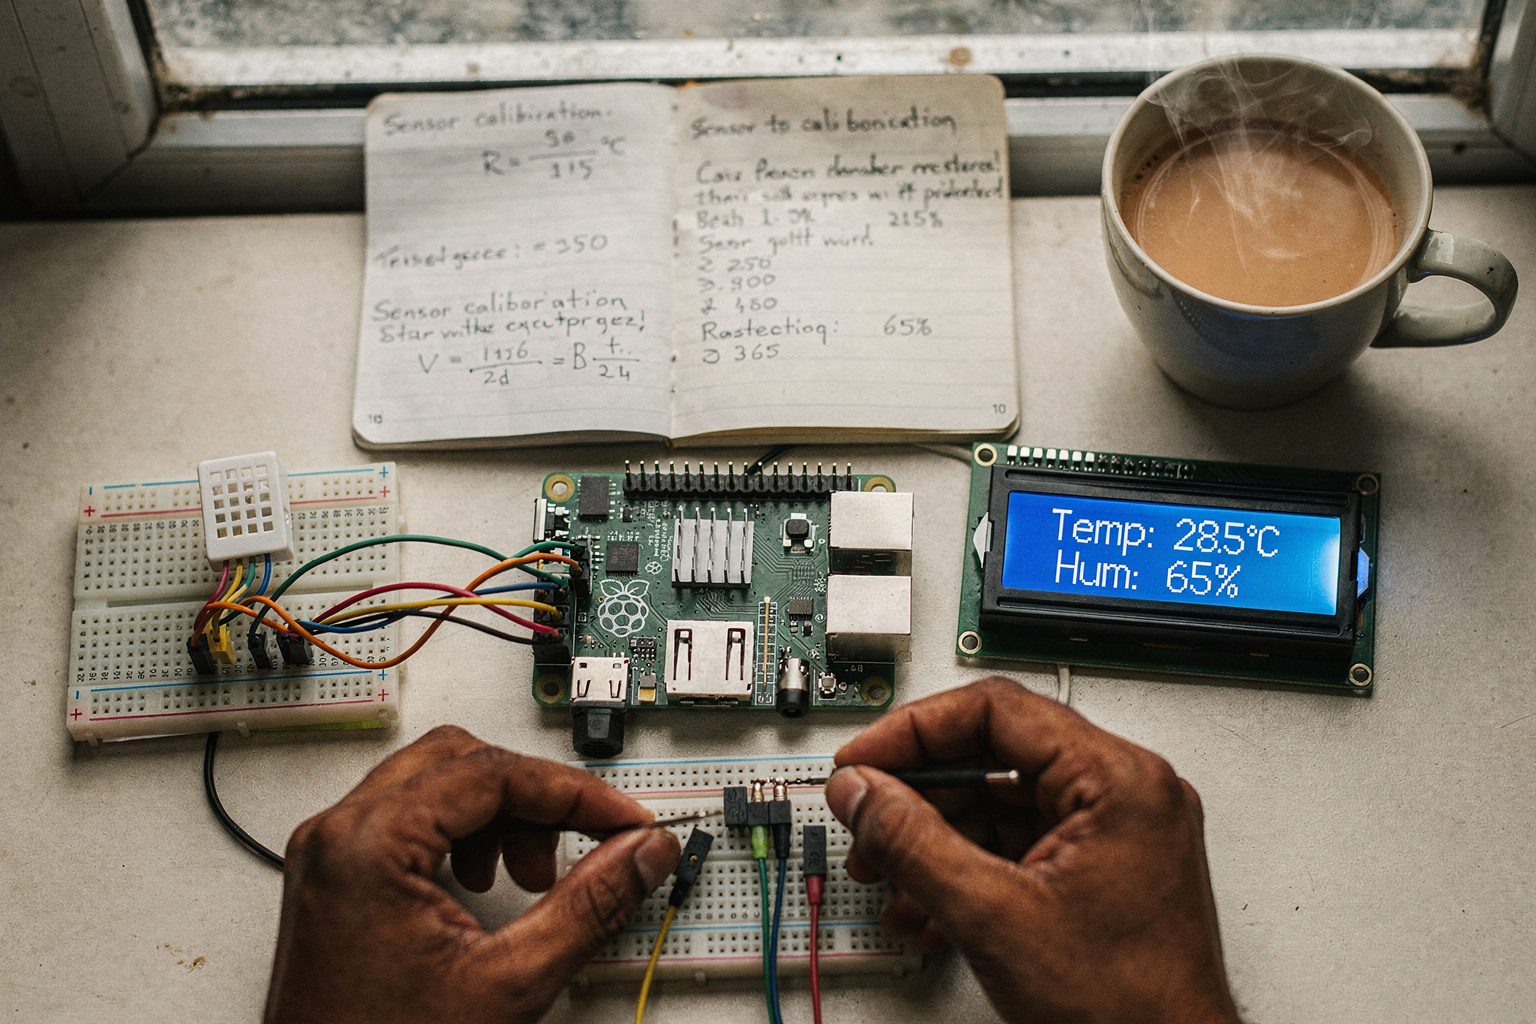
India's diverse climate makes weather monitoring incredibly relevant. This project uses the DHT22 sensor to collect and display environmental data.
Required Components
- DHT22 Temperature & Humidity Sensor (₹150)
- 16x2 I2C LCD Display (₹200)
- Breadboard and jumper wires
Python Code
import board
import busio
import adafruit_dht
import adafruit_character_lcd.character_lcd_i2c as character_lcd

# Initialize I2C
i2c = busio.I2C(board.SCL, board.SDA)

# Initialize LCD
lcd = character_lcd.Character_LCD_I2C(i2c, 2, 16)
lcd.clear()

# Initialize DHT sensor
dht_device = adafruit_dht.DHT22(board.D4)

while True:
    try:
        temperature = dht_device.temperature
        humidity = dht_device.humidity

        if temperature is not None and humidity is not None:
            temp_c = temperature
            humidity_pct = humidity

            # Display on LCD
            lcd.cursor_position = (0, 0)
            lcd.message = "Temp: {:.1f} C".format(temp_c)
            lcd.cursor_position = (0, 1)
            lcd.message = "Humidity: {:.1f}%".format(humidity_pct)

            print("Temperature: {:.1f}°C".format(temp_c))
            print("Humidity: {:.1f}%".format(humidity_pct))

        time.sleep(2)

    except RuntimeError as error:
        print("Error reading sensor:", error.args[0])
        time.sleep(2.0)
Project 3: Automated Plant Watering System
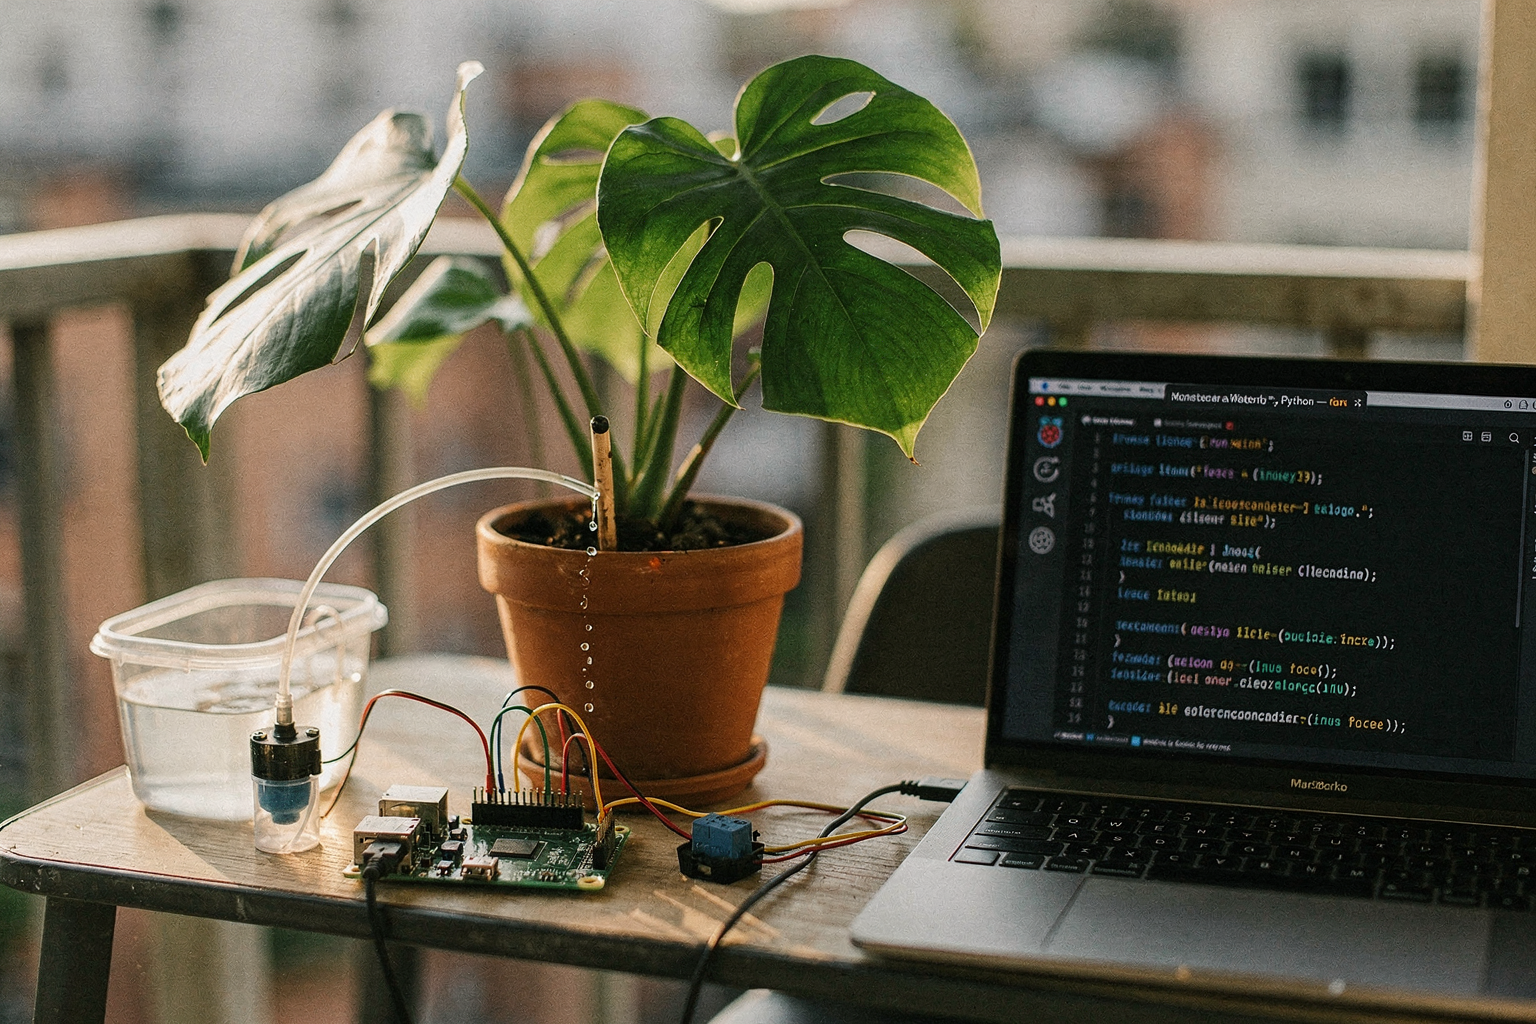
Perfect for balconies and home gardens across India! This IoT-based system ensures your plants never dry out.
Hardware Requirements
- Water pump (submersible, 5V)
- Soil moisture sensor (analog)
- Relay module (single channel)
- Jumper wires and breadboard
Python Implementation
import RPi.GPIO as GPIO
import time
import analogio
import board

# Setup GPIO
GPIO.setmode(GPIO.BCM)
RELAY_PIN = 17
MOISTURE_SENSOR_PIN = 4

GPIO.setup(RELAY_PIN, GPIO.OUT)
GPIO.output(RELAY_PIN, GPIO.LOW)

# Setup moisture sensor
moisture_sensor = analogio.AnalogIn(board.A0)

def check_soil_moisture():
    moisture_value = moisture_sensor.value
    return moisture_value < 30000  # Adjust threshold based on sensor

def water_plant(duration):
    GPIO.output(RELAY_PIN, GPIO.HIGH)
    print("Watering plant...")
    time.sleep(duration)
    GPIO.output(RELAY_PIN, GPIO.LOW)
    print("Watering complete.")

def main():
    try:
        while True:
            if check_soil_moisture():
                water_plant(5)  # 5 seconds of watering
                time.sleep(60)  # Check again after 1 minute
            else:
                time.sleep(300)  # Check every 5 minutes

    except KeyboardInterrupt:
        GPIO.cleanup()

if __name__ == "__main__":
    main()
Project 4: Face Recognition Door Lock
Security meets
Ready to start building?
Explore our collection of DIY kits and components. All project components mentioned in this blog are available in our store.
Browse All Projects