

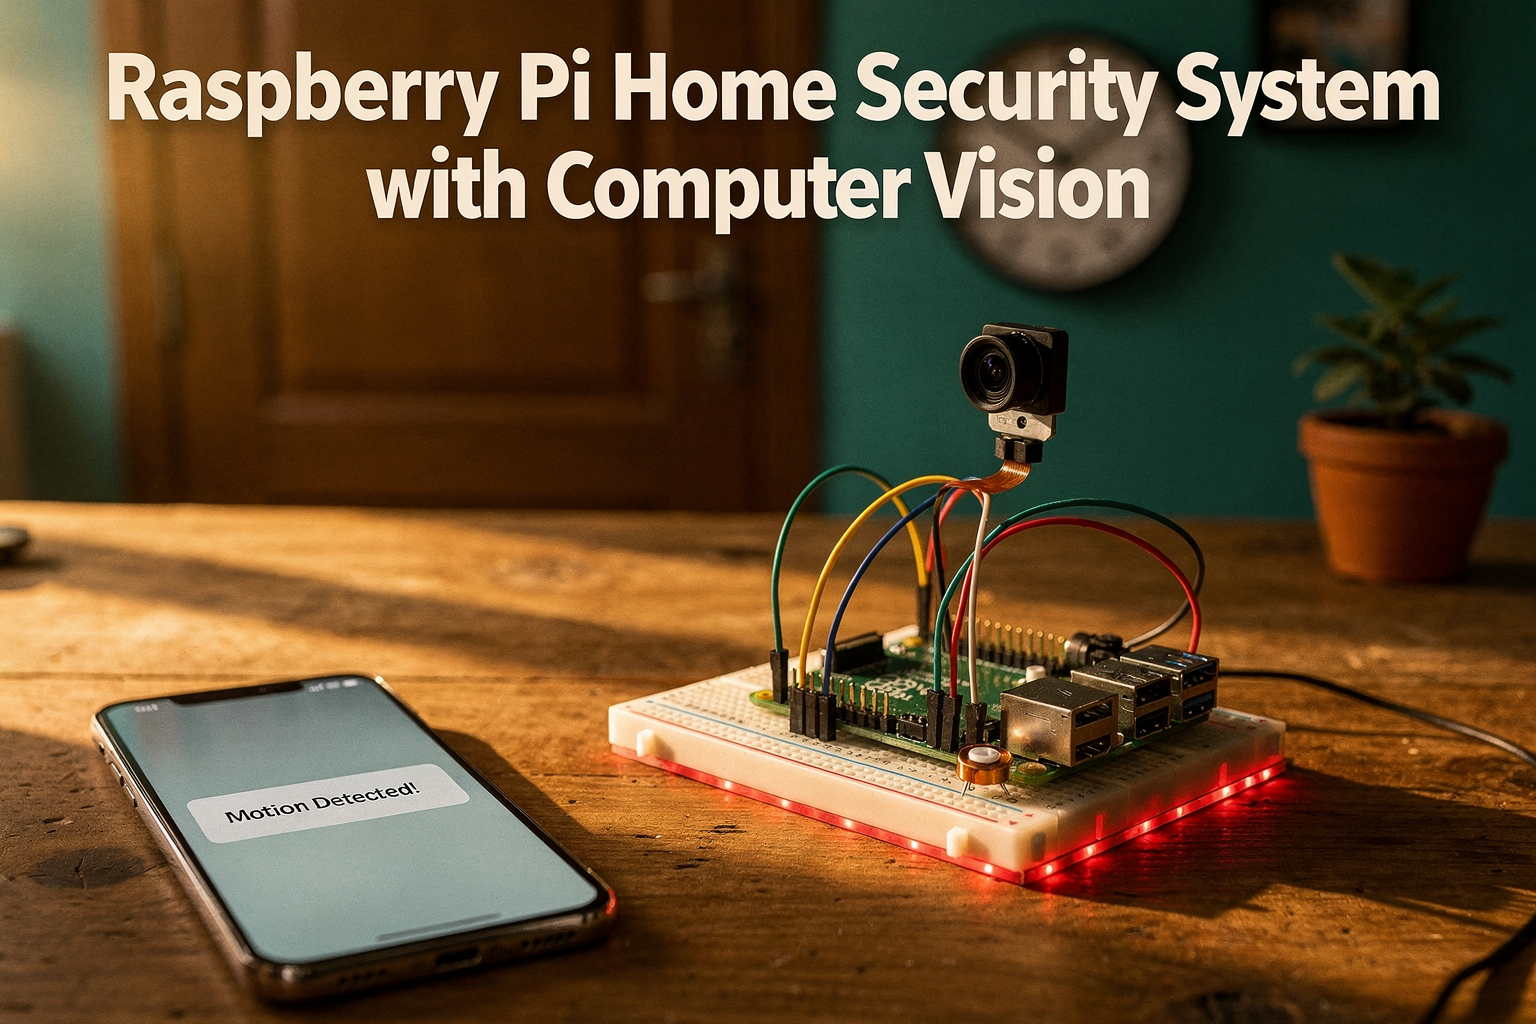
Are you an engineering student looking to build an intelligent home security system that combines the power of computer vision with the affordability of Raspberry Pi? In this comprehensive guide, we'll walk you through creating a complete home security solution using vision technology that can detect motion, recognize faces, and send alerts to your phone. Whether you're a beginner or have some experience with raspberry projects, this tutorial will help you build a project that's both practical and impressive for your portfolio.
Introduction: The Future of Home Security
Home security has evolved from simple door locks to sophisticated systems that can distinguish between a family member, a pet, or an intruder. With the advancement of computer vision technology, we can now build intelligent systems that learn and adapt to our needs. The Raspberry Pi, with its powerful processing capabilities and low cost, makes it the perfect platform for DIY security projects.
What makes this project special is that it combines multiple technologies: motion detection, image capture, face recognition, and real-time notifications. Best of all, you can build this entire system for under ₹3,000, making it accessible to every engineering student in India.
Prerequisites: What You'll Need
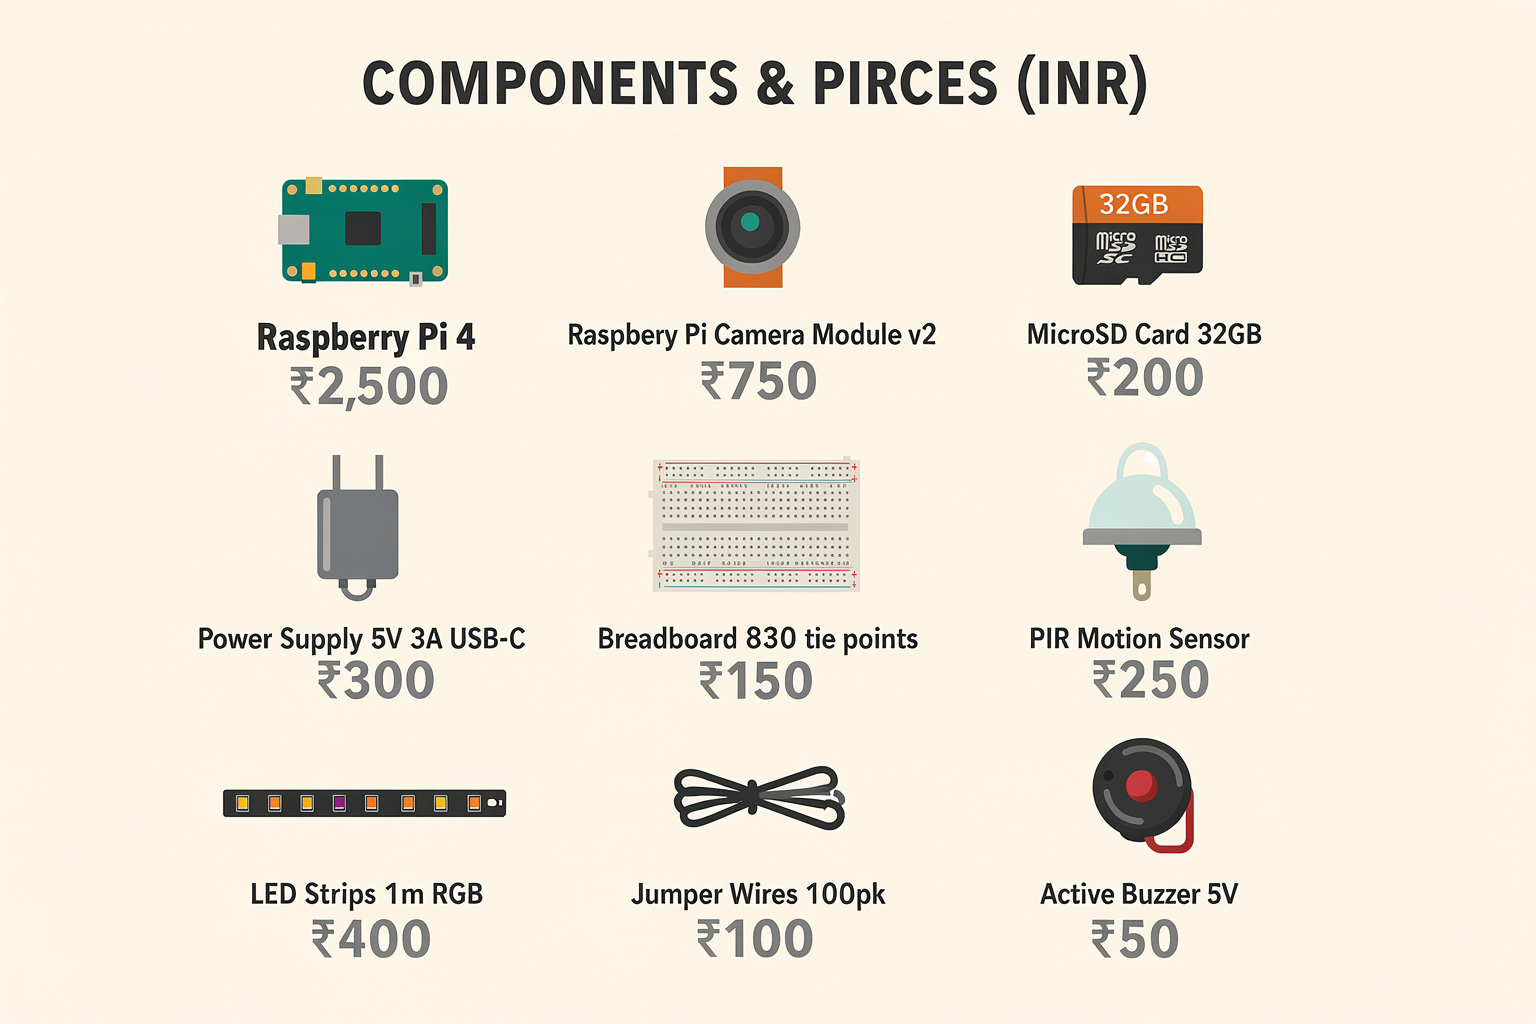
Before diving into the project, let's ensure you have all the necessary components. We've sourced these from local Indian suppliers and included approximate prices in INR.
| Component | Specification | Price (₹) | Supplier |
|---|---|---|---|
| Raspberry Pi 4 | 4GB RAM, WiFi enabled | 2,500 | Amazon India |
| Raspberry Pi Camera Module v2 | 8MP, 1080p video | 750 | Robu.in |
| MicroSD Card | 32GB, Class 10 | 200 | Vijay Sales |
| Power Supply | 5V 3A USB-C | 300 | Croma |
| Breadboard | 830 tie points | 150 | Local Electronics Store |
| PIR Motion Sensor | 5-20m detection range | 250 | Robu.in |
| LED Strips | 1 meter, RGB | 400 | Amazon India |
| Jumper Wires | 100 pack assorted | 100 | Robu.in |
| Active Buzzer | 5V, 85dB | 50 | Local Electronics Store |
Software Requirements:
- Raspberry Pi OS (latest version)
- Python 3.8+ installed
- OpenCV library
- PiCamera library
- Flask for web interface (optional)
Tools Needed:
- SD card reader
- USB keyboard and mouse (for initial setup)
- Internet connection for installation
Getting Started: Setting Up Your Raspberry Pi
Installing Raspberry Pi OS
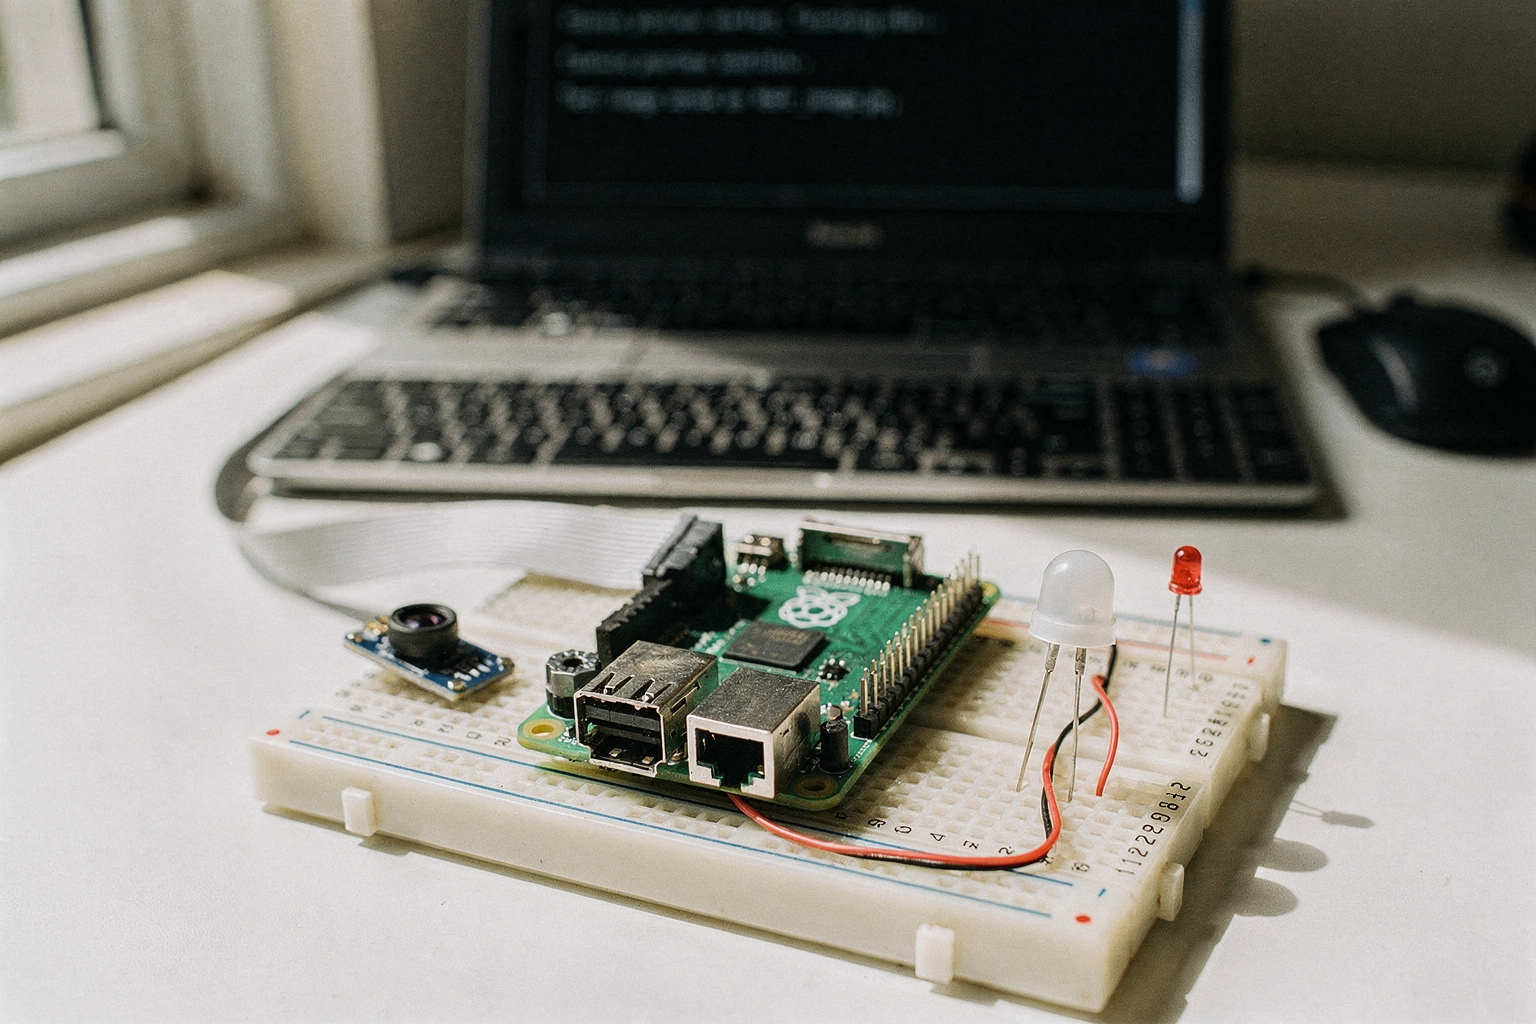
First, let's get your Raspberry Pi ready. Download the Raspberry Pi Imager from the official website and flash the OS onto your MicroSD card. During installation, make sure to:
- Enable SSH for remote access
- Set up Wi-Fi credentials
- Change default password
Once booted, connect to your Pi via SSH using PuTTY or any SSH client. The command looks like this:
ssh [email protected]
Installing Required Libraries
Open a terminal on your Pi and install the necessary Python libraries:
sudo apt update
sudo apt upgrade -y
pip3 install opencv-python
pip3 install picamera
pip3 install numpy
pip3 install flask
pip3 install smtplib
Initial Camera Setup
Let's test your camera module. Create a test script:
import picamera
import time

camera = picamera.PiCamera()
camera.start_preview()
print("Camera preview started. Checking resolution...")
time.sleep(3)
camera.capture('/home/pi/test_image.jpg')
camera.stop_preview()
print("Test image saved as test_image.jpg")
Run this script with python3 test_camera.py to verify everything works.
Building the Motion Detection System
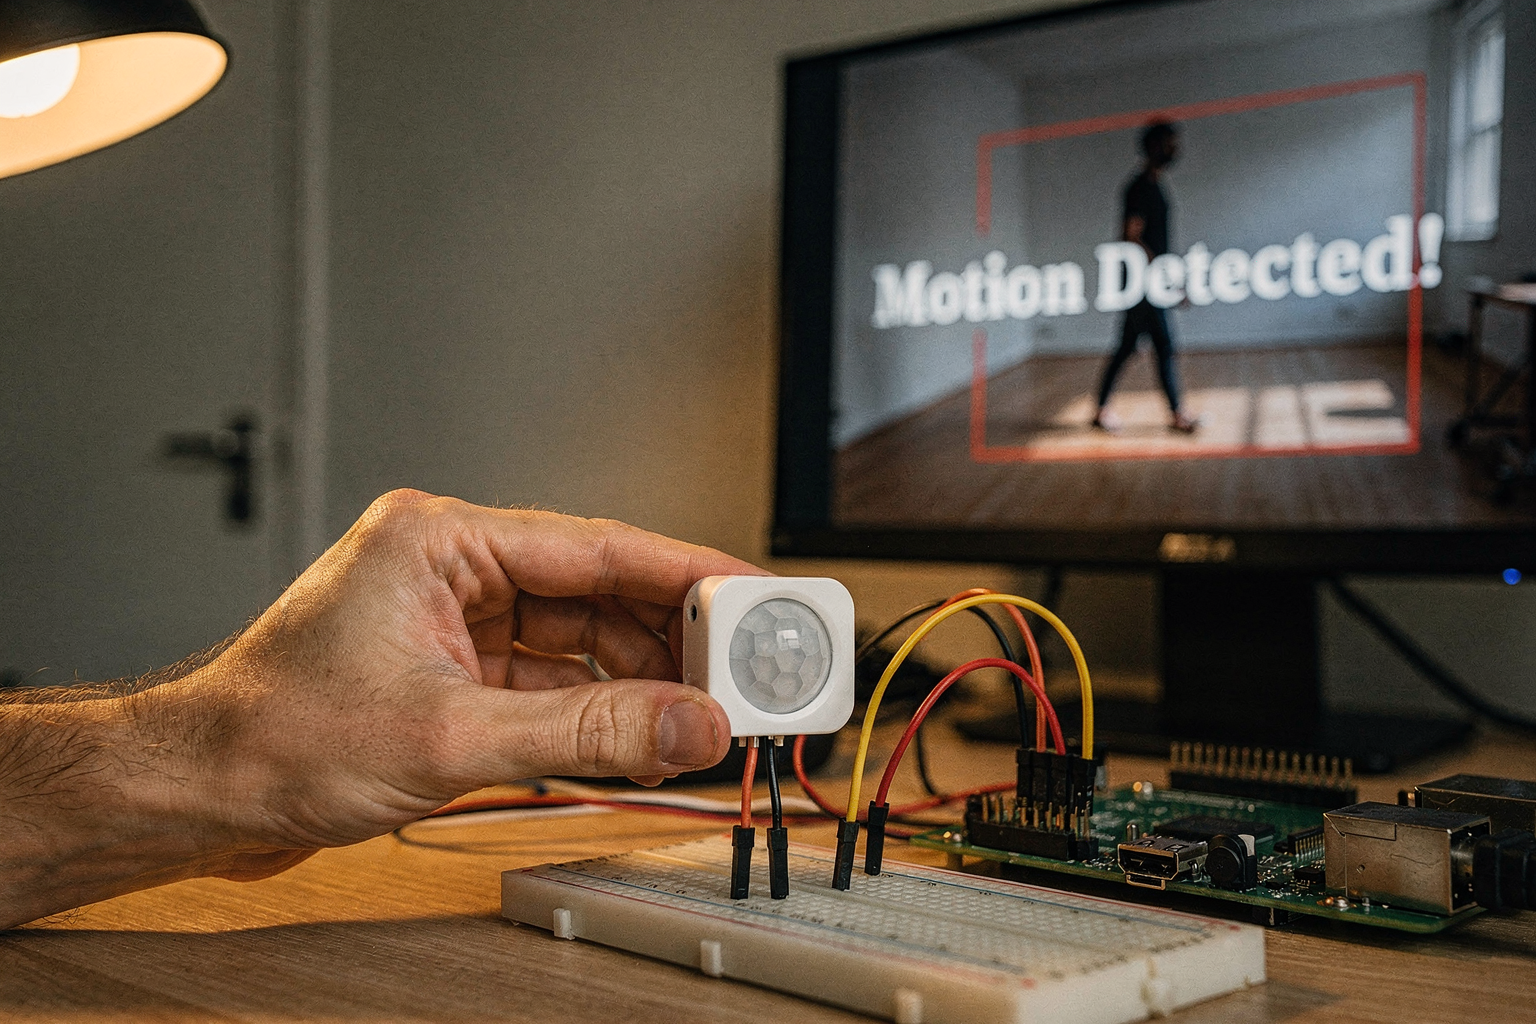
Now let's create the core functionality. We'll start with basic motion detection using OpenCV's computer vision capabilities.
Creating the Main Security Script
Create a new file called home_security.py:
import cv2
import time
import datetime
import os
import smtplib
from email.mime.text import MIMEText
from email.mime.multipart import MIMEMultipart
import picamera
import numpy as np

class HomeSecuritySystem:
    def __init__(self):
        self.camera = picamera.PiCamera()
        self.camera.resolution = (640, 480)
        self.camera.framerate = 30

        # Initialize video capture
        self.cap = cv2.VideoCapture(0)

        # Email configuration
        self.sender_email = "[email protected]"
        self.sender_password = "your_app_password"
        self.receiver_email = "[email protected]"

        # Motion detection variables
        self.motion_threshold = 0.03
        self.last_motion_time = 0

        # Directory for storing images
        self.storage_dir = "/home/pi/security_images"
        if not os.path.exists(self.storage_dir):
            os.makedirs(self.storage_dir)

    def detect_motion(self):
        """Detect motion using frame differencing"""
        ret, frame1 = self.cap.read()
        ret, frame2 = self.cap.read()
        ret, frame3 = self.cap.read()

        # Calculate differences
        diff1 = cv2.absdiff(frame1, frame2)
        diff2 = cv2.absdiff(frame2, frame3)

        # Convert to grayscale
        gray1 = cv2.cvtColor(diff1, cv2.COLOR_BGR2GRAY)
        gray2 = cv2.cvtColor(diff2, cv2.COLOR_BGR2GRAY)

        # Threshold
        thresh1 = cv2.threshold(gray1, 20, 255, cv2.THRESH_BINARY)[1]
        thresh2 = cv2.threshold(gray2, 20, 255, cv2.THRESH_BINARY)[1]

        # Combine thresholds
        motion = cv2.bitwise_and(thresh1, thresh2)

        # Calculate percentage of motion
        motion_pixels = np.sum(motion > 0)
        total_pixels = motion.size
        motion_percentage = motion_pixels / total_pixels

        return motion_percentage > self.motion_threshold

    def send_email_alert(self, motion_detected=True):
        """Send email alert when motion is detected"""
        msg = MIMEMultipart()
        msg['From'] = self.sender_email
        msg['To'] = self.receiver_email

        if motion_detected:
            subject = "🚨 MOTION DETECTED - Security Alert"
            body = "Motion detected at your home security camera location."
        else:
            subject = "✅ SECURITY UPDATE - All Clear"
            body = "No motion detected. System is secure."

        msg['Subject'] = subject
        msg.attach(MIMEText(body, 'plain'))

        try:
            server = smtplib.SMTP('smtp.gmail.com', 587)
            server.starttls()
            server.login(self.sender_email, self.sender_password)
            text = msg.as_string()
            server.sendmail(self.sender_email, self.receiver_email, text)
            server.quit()
            print(f"Alert sent: {subject}")
        except Exception as e:
            print(f"Failed to send email: {e}")

    def capture_image(self, motion_detected=False):
        """Capture and save image with timestamp"""
        timestamp = datetime.datetime.now().strftime("%Y%m%d_%H%M%S")
        filename = f"{self.storage_dir}/image_{timestamp}.jpg"

        self.camera.capture(filename)
        print(f"Image saved: {filename}")

        # Send email with image attachment
        if motion_detected:
            self.send_image_email(filename)

    def send_image_email(self, image_path):
        """Send email with image attachment"""
        msg = MIMEMultipart()
        msg['From'] = self.sender_email
        msg['To'] = self.receiver_email
        msg['Subject'] = "📸 Security Camera Image - Motion Detected"

        body = "Motion detected! See the attached image."
        msg.attach(MIMEText(body, 'plain'))

        # Attach image
        with open(image_path, "rb") as f:
            img_data = f.read()
            img = MIMEBase('application', 'octet-stream')
            img.set_payload(img_data)

        encoders.encode_base64(img)
        msg.attach(img)

        try:
            server = smtplib.SMTP('smtp.gmail.com', 587)
            server.starttls()
            server.login(self.sender_email, self.sender_password)
            server.send_message(msg)
            server.quit()
            print("Image email sent successfully")
        except Exception as e:
            print(f"Failed to send image email: {e}")

    def run(self):
        """Main loop to monitor for motion"""
        print("Home Security System started...")
        print("Press Ctrl+C to stop")

        try:
            while True:
                motion_detected = self.detect_motion()

                if motion_detected:
                    current_time = time.time()
                    if (current_time - self.last_motion_time) > 5:  # Debounce
                        print("Motion detected!")
                        self.capture_image(motion_detected)
                        self.send_email_alert(motion_detected)
                        self.last_motion_time = current_time

                time.sleep(0.2)  # Small delay to reduce CPU usage

        except KeyboardInterrupt:
            print("\nShutting down security system...")
            self.cap.release()
            cv2.destroyAllWindows()
            print("System stopped")

if __name__ == "__main__":
    security_system = HomeSecuritySystem()
    security_system.run()
Setting Up Email Alerts
For email notifications, you'll need to:
- Create a new app password in your Google Account settings
- Enable 2-factor authentication
- Use the app password in your script instead of your regular password
Note: For Gmail users, generate an app password at: https://myaccount.google.com/apppasswords
Face Recognition: Taking Security to the Next Level
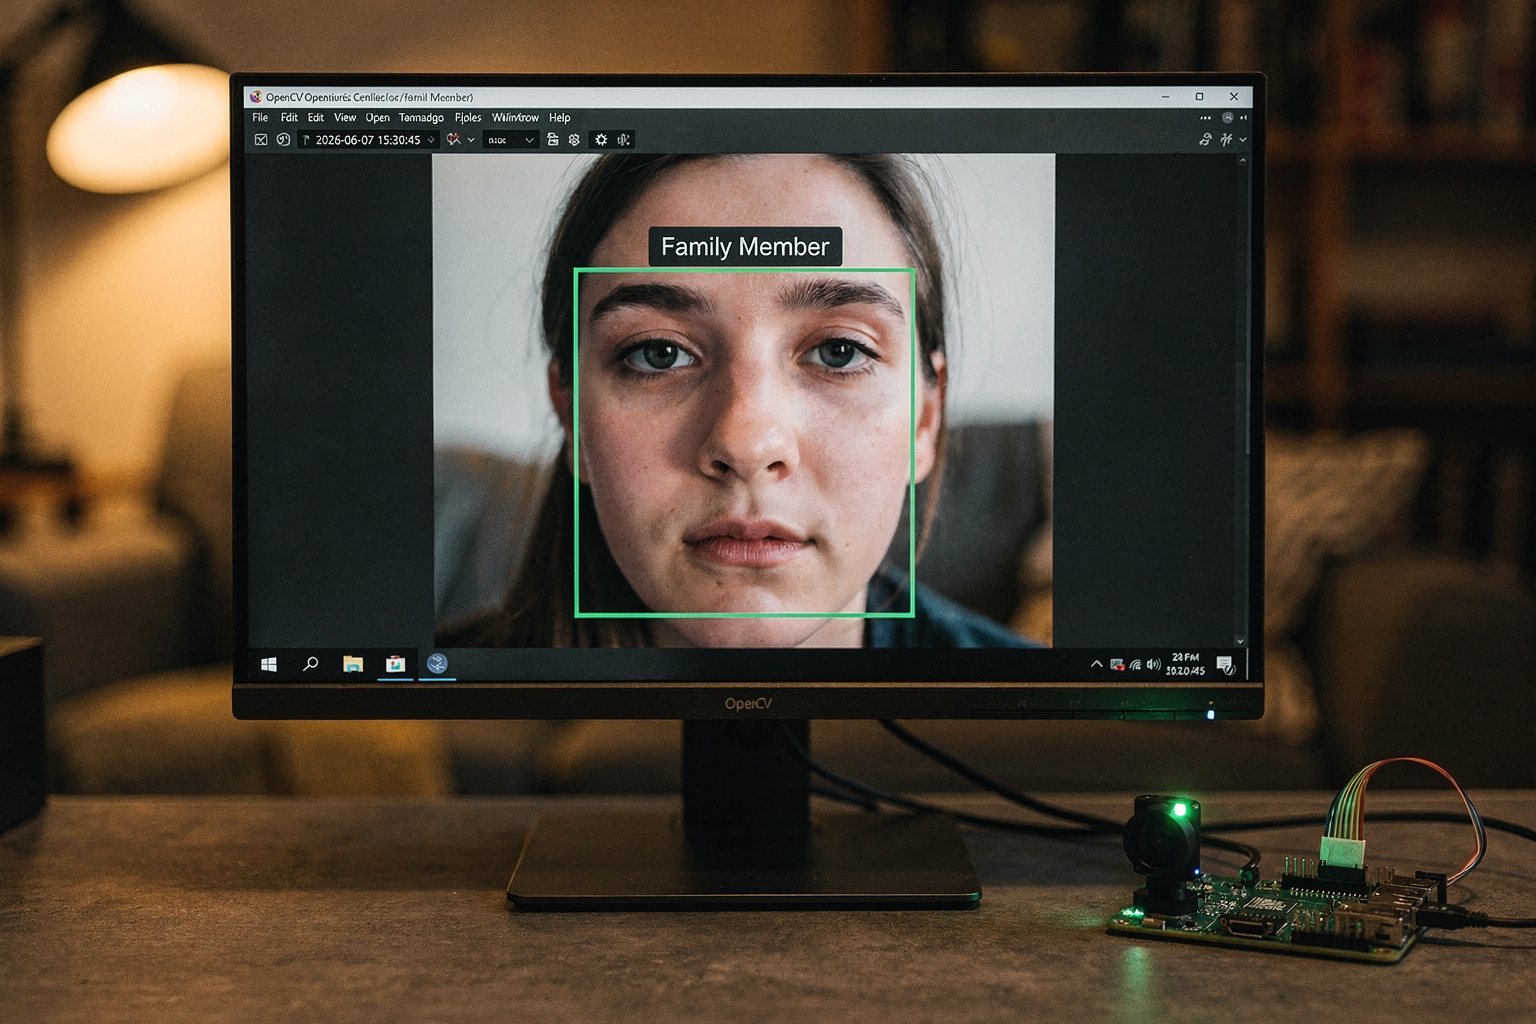
Let's enhance our system with face recognition capabilities using OpenCV's DNN module.
Creating Face Recognition Dataset
First, collect images of authorized faces:
def create_face_dataset():
    """Create a dataset of authorized faces"""
    print("Creating face dataset...")
    print("Please place faces one by one in front of the camera")

    detector = cv2.CascadeClassifier(cv2.data.haarcascades + 'haarcascade_frontalface_default.xml')
    face_id = 0
    person_name = input("Enter person name: ")

    while True:
        ret, frame = cap.read()
        gray = cv2.cvtColor(frame, cv2.COLOR_BGR2GRAY)

        faces = detector.detectMultiScale(gray, scaleFactor=1.3, minNeighbors=5)

        for (x, y, w, h) in faces:
            cv2.rectangle(frame, (x, y), (x+w, y+h), (255, 0, 0), 2)
            cv2.putText(frame, person_name, (x, y-10),
                       cv2.FONT_HERSHEY_SIMPLEX, 0.9, (255, 0, 0), 2)

        cv2.imshow('Face Dataset', frame)

        key = cv2.waitKey(100) & 0xFF

        if key == ord('s'):  # Save face
            face_img = gray[y:y+h, x:x+w]
            cv2.imwrite(f"faces/{person_name}_{face_id}.jpg", face_img)
            face_id += 1
            print(f"Saved {person_name} face image #{face_id}")

        elif key == ord('q'):  # Quit
            break

    cv2.destroyAllWindows()
    print(f"Dataset created for {person_name}")

# Run this once to create your face dataset
create_face_dataset()
Enhanced Security Script with Face Recognition
import cv2
import face_recognition
import pickle

class EnhancedHomeSecurity:
    def __init__(self):
        # Previous initialization code...

        # Load known faces
        self.known_faces = {}
        self.load_known_faces()

        # Initialize face recognition
        self.process_this_frame = True

    def load_known_faces(self):
        """Load known faces from saved images"""
        faces_dir = "faces"
        if os.path.exists(faces_dir):
            for filename in os.listdir(faces_dir):
                if filename.endswith(".jpg"):
                    person_name = filename[:-4].split('_')[0]
                    image_path = os.path.join(faces_dir, filename)
                    image = face_recognition.load_image_file(image_path)

                    face_encodings = face_recognition.face_encodings(image)
                    if face_encodings:
                        self.known_faces[person_name] = face_encodings[0]

        print(f"Loaded {len(self.known_faces)} known faces")

    def recognize_faces(self, frame):
        """Recognize faces in the frame"""
        rgb_frame = cv2.cvtColor(frame, cv2.COLOR_BGR2RGB)

        if self.process_this_frame:
            face_locations = face_recognition.face_locations(rgb_frame)
            face_encodings = face_recognition.face_encodings(rgb_frame, face_locations)

            face_names = []
            for face_encoding in face_encodings:
                matches = face_recognition.compare_faces(
                    list(self.known_faces.values()),
                    face_encoding,
                    tolerance=0.6
                )

                name = "Unknown"
                face_distances = face_recognition.face_distance(
                    list(self.known_faces.values()),
                    face_encoding
                )
                best_match_index = np.argmin(face_distances)

                if matches[best_match_index]:
                    name = list(self.known_faces.keys())[best_match_index]

                face_names.append(name)

        self.process_this_frame = not self.process_this_frame
        return face_names

    def run(self):
        """Enhanced main loop with face recognition"""
        # Previous setup code...

        try:
            while True:
                motion_detected = self.detect_motion()

                if motion_detected:
                    ret, frame = self.cap.read()

                    # Recognize faces
                    face_names = self.recognize_faces(frame)

                    # Display info
                    timestamp = datetime.datetime.now().strftime("%Y-%m-%d %H:%M:%S")
                    cv2.putText(frame, timestamp, (10, 30),
                               cv2.FONT_HERSHEY_SIMPLEX, 0.7, (0, 255, 0), 2)

                    font = cv2.FONT_HERSHEY_SIMPLEX
Ready to start building?
Explore our collection of DIY kits and components. All project components mentioned in this blog are available in our store.
Browse All Projects