

Introduction: Embracing the RISC-V Revolution
The world of microcontrollers is undergoing a significant transformation, and at the heart of this revolution is RISC-V. As the latest major trend in the embedded systems industry, RISC-V is democratizing hardware design and giving developers unprecedented control over their silicon. For Indian engineering students and DIY enthusiasts, this open-source instruction set architecture represents a golden opportunity to build innovative projects without the licensing constraints that have long plagued the industry.
RISC-V isn't just another microcontroller architecture – it's a paradigm shift that promises to reshape the future of embedded systems. With zero licensing fees, complete customization options, and a rapidly growing ecosystem, RISC-V microcontrollers are becoming increasingly accessible in the Indian market. This comprehensive guide will walk you through everything you need to know about getting started with RISC-V, from basic concepts to advanced applications.
Understanding RISC-V Architecture
What Makes RISC-V Different?
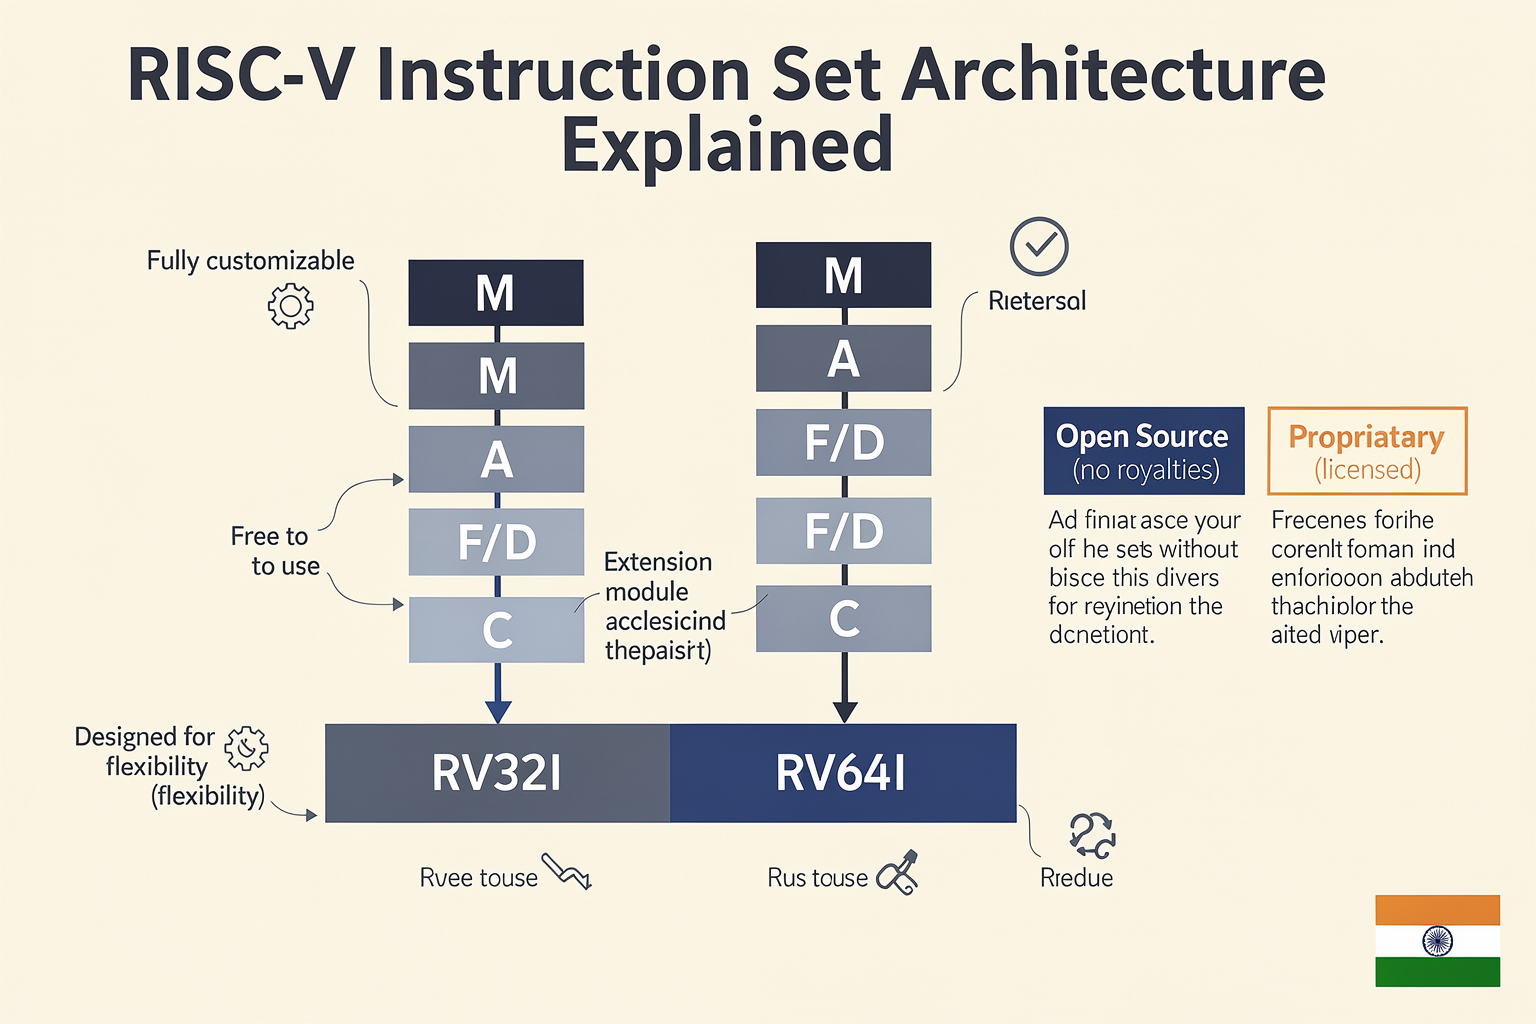
RISC-V (pronounced "risk-five") is an open standard instruction set architecture (ISA) based on the well-known RISC (Reduced Instruction Set Computer) principles. Unlike proprietary architectures like ARM or x86, RISC-V is completely open source, allowing anyone to use, modify, and implement it without paying royalties.
The key components of RISC-V architecture include:
- RV32I: Base integer instruction set (32-bit)
- RV64I: Base integer instruction set (64-bit)
- Optional extensions: M (multiplication/division), A (atomics), F/D (floating-point), C (compressed instructions)
This modular approach allows developers to customize their processors based on specific application requirements, a significant advantage over fixed-architecture microcontrollers.
The Growing Ecosystem in India
The RISC-V ecosystem has seen tremendous growth in recent years, with numerous Indian companies and research institutions actively contributing to its development. From startups in Bengaluru to engineering colleges across the country, the adoption of RISC-V is becoming increasingly widespread. This trend is particularly notable as educational institutions seek cost-effective alternatives to proprietary architectures for teaching embedded systems.
RISC-V Microcontrollers Available in the Indian Market
Popular RISC-V Development Boards
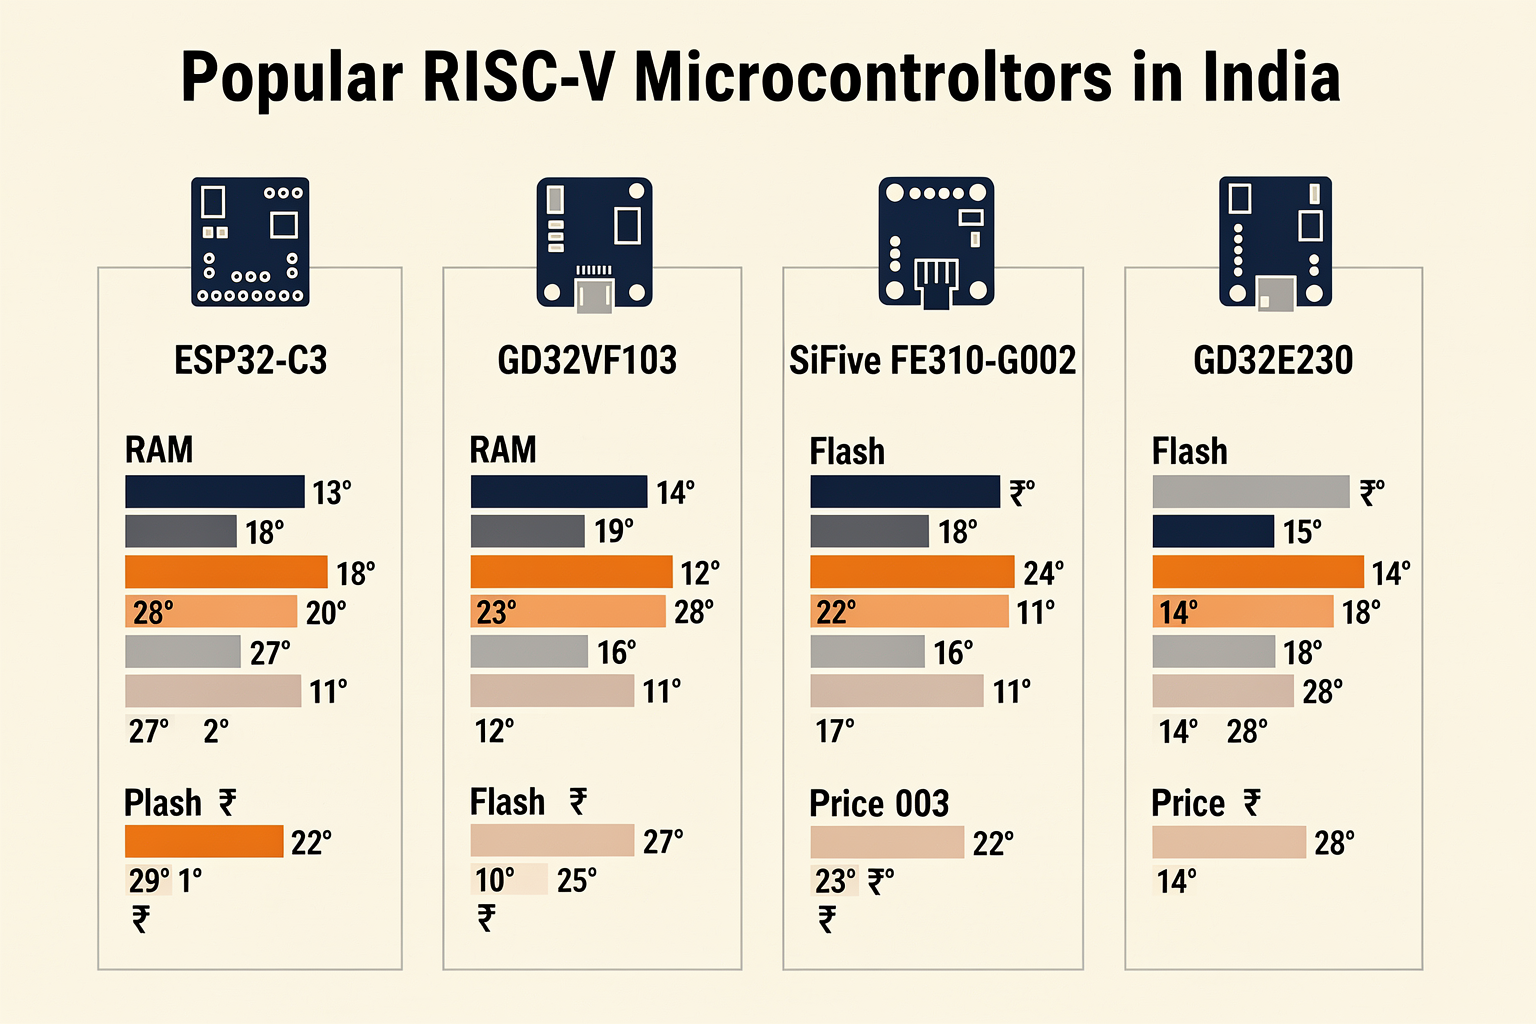
| Board/Microcontroller | Core | RAM | Flash | Price (₹) | Indian Availability |
|---|---|---|---|---|---|
| ESP32-C3 | RISC-V | 400KB | 4MB | 450 | High |
| GD32VF103 | RISC-V | 20KB | 128KB | 180 | Medium |
| SiFive FE310-G002 | RISC-V | 32KB | 192KB | 650 | Low |
| CH32V003 | RISC-V | 2KB | 8KB | 120 | High |
| GD32E230 | RISC-V | 64KB | 256KB | 320 | Medium |
Note: Prices are approximate and may vary based on quantity and seller
Component Requirements for Getting Started
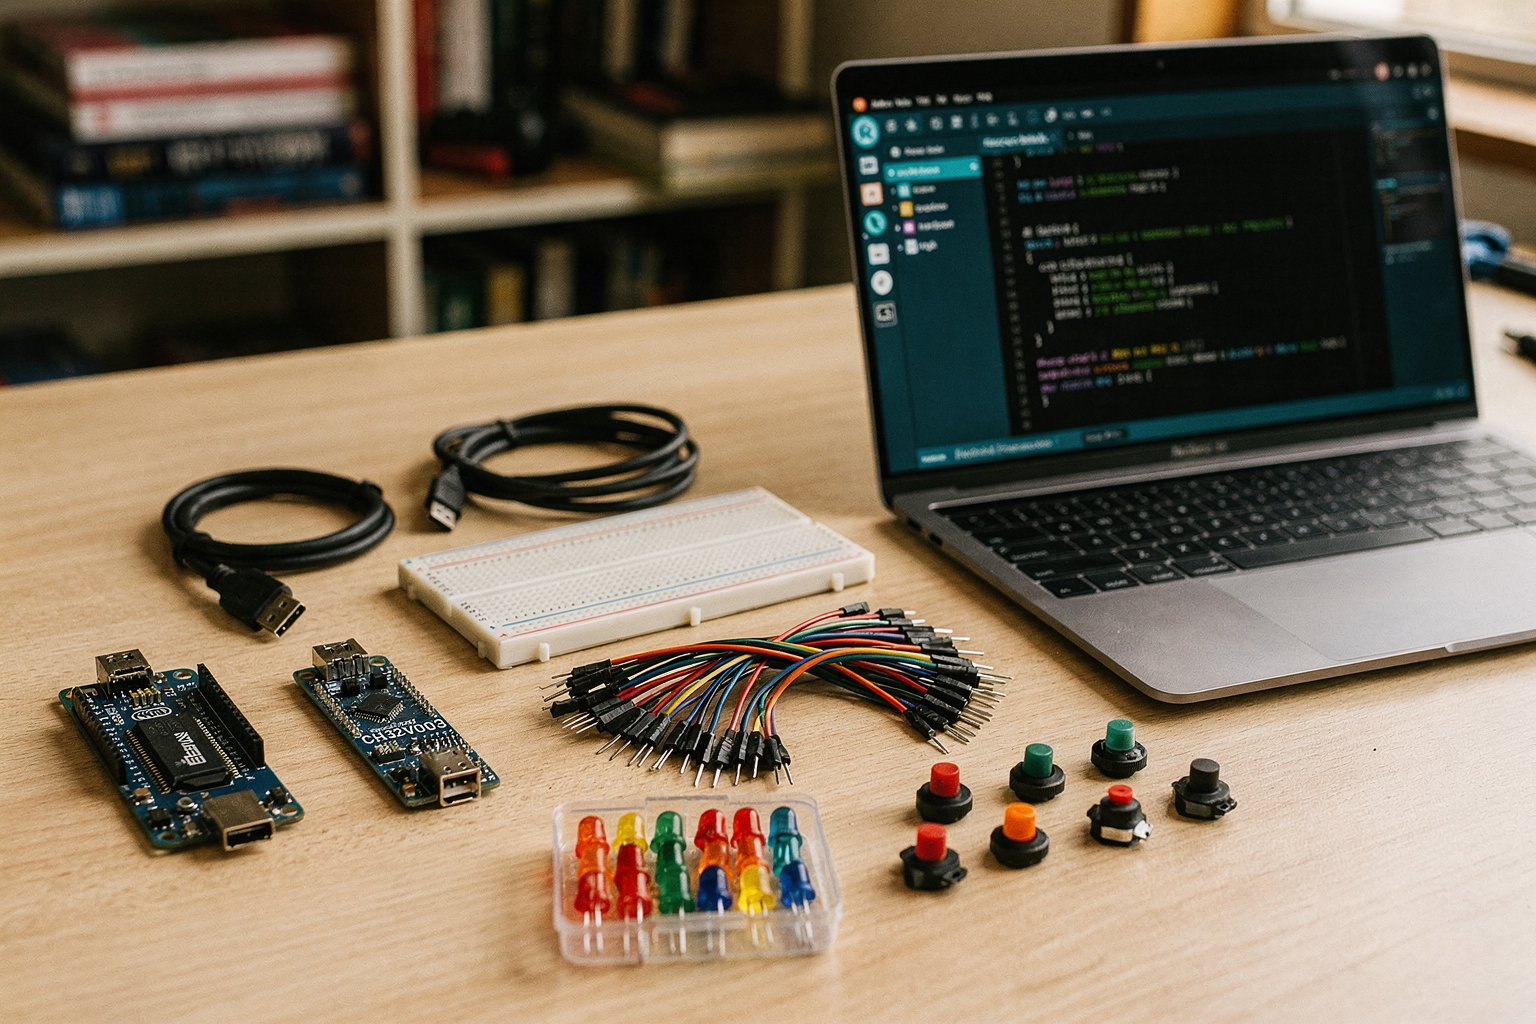
| Component | Specification | Price (₹) | Purpose |
|---|---|---|---|
| RISC-V Development Board | See table above | 120-650 | Main processor |
| USB-C Cable | Standard length | 50-150 | Programming and power |
| Breadboard | 830 points | 100-200 | Prototyping |
| Jumper Wires | 40 pieces | 80-150 | Connections |
| LED Assortment | 10 pieces | 40-80 | Visual feedback |
| Push Buttons | 10 pieces | 30-60 | User input |
All components available at www.tecname.com
Getting Started with RISC-V Development
Setting Up Your Development Environment
The first step in your RISC-V journey is setting up the development environment. While the process varies slightly depending on your chosen board, here's a general workflow:
- Install RISC-V GCC Toolchain: The GNU Compiler Collection toolchain is essential for compiling RISC-V code. Download it from the official RISC-V website or use pre-built packages available in Ubuntu repositories.
# Install RISC-V GCC toolchain on Ubuntu/Debian
sudo apt update
sudo apt install gcc-riscv64-unknown-elf gdb-riscv64-unknown-elf

# For RISC-V32
sudo apt install gcc-riscv32-unknown-elf gdb-riscv32-unknown-elf
- Configure Makefiles: Most RISC-V boards use Makefiles for building and flashing code. Here's a basic example:
# Basic RISC-V Makefile example
MCU = riscv32imac
CC = riscv64-unknown-elf-gcc
CFLAGS = -march=$(MCU) -mabi=lp64d -Os -Wall -Wextra
TARGET = blink
SRC = main.c

all: $(TARGET).bin

$(TARGET).elf: $(SRC)
	$(CC) $(CFLAGS) -o $@ $^

$(TARGET).bin: $(TARGET).elf
	$(OBJCOPY) -O binary $< $@

flash: $(TARGET).bin
	# Replace with your programmer command
	# openocd -f interface/jlink.cfg -f target/riscv32.cfg -c "program $(TARGET).bin verify reset exit"

clean:
	rm -f $(TARGET).elf $(TARGET).bin
Your First RISC-V Project: Blinking an LED
Let's start with the classic "Hello, World!" of embedded systems – blinking an LED. This simple project will help you understand the basic workflow of RISC-V development.
// main.c - Simple LED blinker for RISC-V
#include <stdint.h>

#define LED_PIN 5  // GPIO pin for LED (adjust based on your board)

void delay(uint32_t count) {
    for(volatile uint32_t i = 0; i < count; i++);
}

int main() {
    // Configure LED pin as output
    // This is board-specific and may require consulting documentation
    *((volatile uint32_t*)0x10000000 + LED_PIN/32) |= (1 << (LED_PIN % 32));

    while(1) {
        // Turn LED on
        // *((volatile uint32_t*)0x10000000 + LED_PIN/32) |= (1 << (LED_PIN % 32));
        delay(1000000);

        // Turn LED off
        // *((volatile uint32_t*)0x10000000 + LED_PIN/32) &= ~(1 << (LED_PIN % 32));
        delay(1000000);
    }

    return 0;
}
Note: The memory-mapped I/O addresses and register definitions are board-specific. Always consult your board's documentation for accurate pin configurations.
Advanced RISC-V Features and Applications
Multi-core Processing with RISC-V
One of the most exciting aspects of RISC-V is its support for multi-core architectures. The SiFive FE310-G002, for example, features dual-core processing capability, enabling parallel computation for more complex applications.
// Multi-core example (simplified)
#include <stdint.h>

// Shared variable between cores
volatile uint32_t shared_counter = 0;

void core0_function() {
    while(1) {
        shared_counter++;
        // Core 0 specific tasks
    }
}

void core1_function() {
    while(1) {
        // Read shared_counter
        uint32_t value = shared_counter;
        // Process data based on shared_counter
    }
}

int main() {
    // Initialize core 0
    // core0_init();

    // Initialize core 1
    // core1_init();

    // Start both cores
    // start_multi_core();

    return 0;
}
Real-time Operating Systems (RTOS) Support
RISC-V microcontrollers can run various RTOS including FreeRTOS, Zephyr, and RT-Thread. Here's an example of using FreeRTOS on a RISC-V platform:
// FreeRTOS example for RISC-V
#include "FreeRTOS.h"
#include "task.h"
#include "stm32f1xx_hal.h"  // Board-specific header

// Task definitions
void vBlinkTask(void *pvParameters) {
    while(1) {
        HAL_GPIO_TogglePin(GPIOA, GPIO_PIN_5);
        vTaskDelay(pdMS_TO_TICKS(500));
    }
}

void vBuzzerTask(void *pvParameters) {
    while(1) {
        HAL_GPIO_WritePin(GPIOC, GPIO_PIN_0, GPIO_PIN_SET);
        vTaskDelay(pdMS_TO_TICKS(250));
        HAL_GPIO_WritePin(GPIOC, GPIO_PIN_0, GPIO_PIN_RESET);
        vTaskDelay(pdMS_TO_TICKS(250));
    }
}

int main() {
    HAL_Init();
    SystemClock_Config();

    // Create tasks
    xTaskCreate(vBlinkTask, "Blink", 128, NULL, 1, NULL);
    xTaskCreate(vBuzzerTask, "Buzzer", 128, NULL, 1, NULL);

    vTaskStartScheduler();

    return 0;
}
Practical Applications for Indian Students
IoT Projects with RISC-V
RISC-V microcontrollers are excellent for IoT applications, especially in the Indian context where cost-effectiveness is crucial. Here are some project ideas:
- Smart Agriculture Monitor: Use ESP32-C3 with soil moisture sensors and WiFi connectivity to monitor farm conditions
- Home Automation System: Build a centralized controller using GD32VF103 for managing home appliances
- Energy Monitoring Device: Create a power consumption tracker using RISC-V for budget-conscious households
Industrial Control Systems
The industrial sector in India is rapidly adopting automation, and RISC-V offers a cost-effective solution for control systems:
// Simple industrial control example
#include <stdint.h>

#define TEMP_SENSOR_PIN 32
#define HEATER_PIN 33
#define FAN_PIN 34

int read_temperature() {
    // Read from temperature sensor
    // Implementation depends on sensor type
    return 25;  // Placeholder
}

void control_heating_system() {
    int temp = read_temperature();

    if(temp < 20) {
        // Turn heater on
        // GPIO_Write(HEATER_PIN, 1);
    } else {
        // Turn heater off
        // GPIO_Write(HEATER_PIN, 0);
    }

    if(temp > 30) {
        // Turn fan on
        // GPIO_Write(FAN_PIN, 1);
    } else {
        // Turn fan off
        // GPIO_Write(FAN_PIN, 0);
    }
}

int main() {
    while(1) {
        control_heating_system();
        delay(1000);  // Check every second
    }
    return 0;
}
Troubleshooting Common Issues
Hardware-related Problems
| Issue | Possible Cause | Solution |
|---|---|---|
| Board not recognized | USB driver issue | Install proper USB-UART drivers (CH340G/CP2102) |
| Code not flashing | Incorrect programmer settings | Check OpenOCD configuration file |
| Erratic behavior | Power supply issues | Use proper 3.3V power supply with sufficient current |
| No output on serial port | Baud rate mismatch | Verify baud rate in your code |
Software Development Challenges
| Problem | Error Message | Fix |
|---|---|---|
| Compilation fails | "undefined reference" | Check library paths and includes |
| Runtime crashes | "Segmentation fault" | Verify memory addresses and pointers |
| Slow performance | High cycle count | Optimize code, use compiler flags |
| Bootloader issues | "Boot failed" | Re-flash bootloader using correct method |
Common Pitfalls to Avoid
- Ignoring Board-specific Documentation: Always read the datasheet thoroughly
- Memory Issues: RISC-V boards often have limited RAM
- Clock Configuration: Incorrect clock settings can cause instability
- Interrupt Handling: Missing proper interrupt service routines
- Power Management: Not utilizing sleep modes effectively
Comparison with Other Architectures
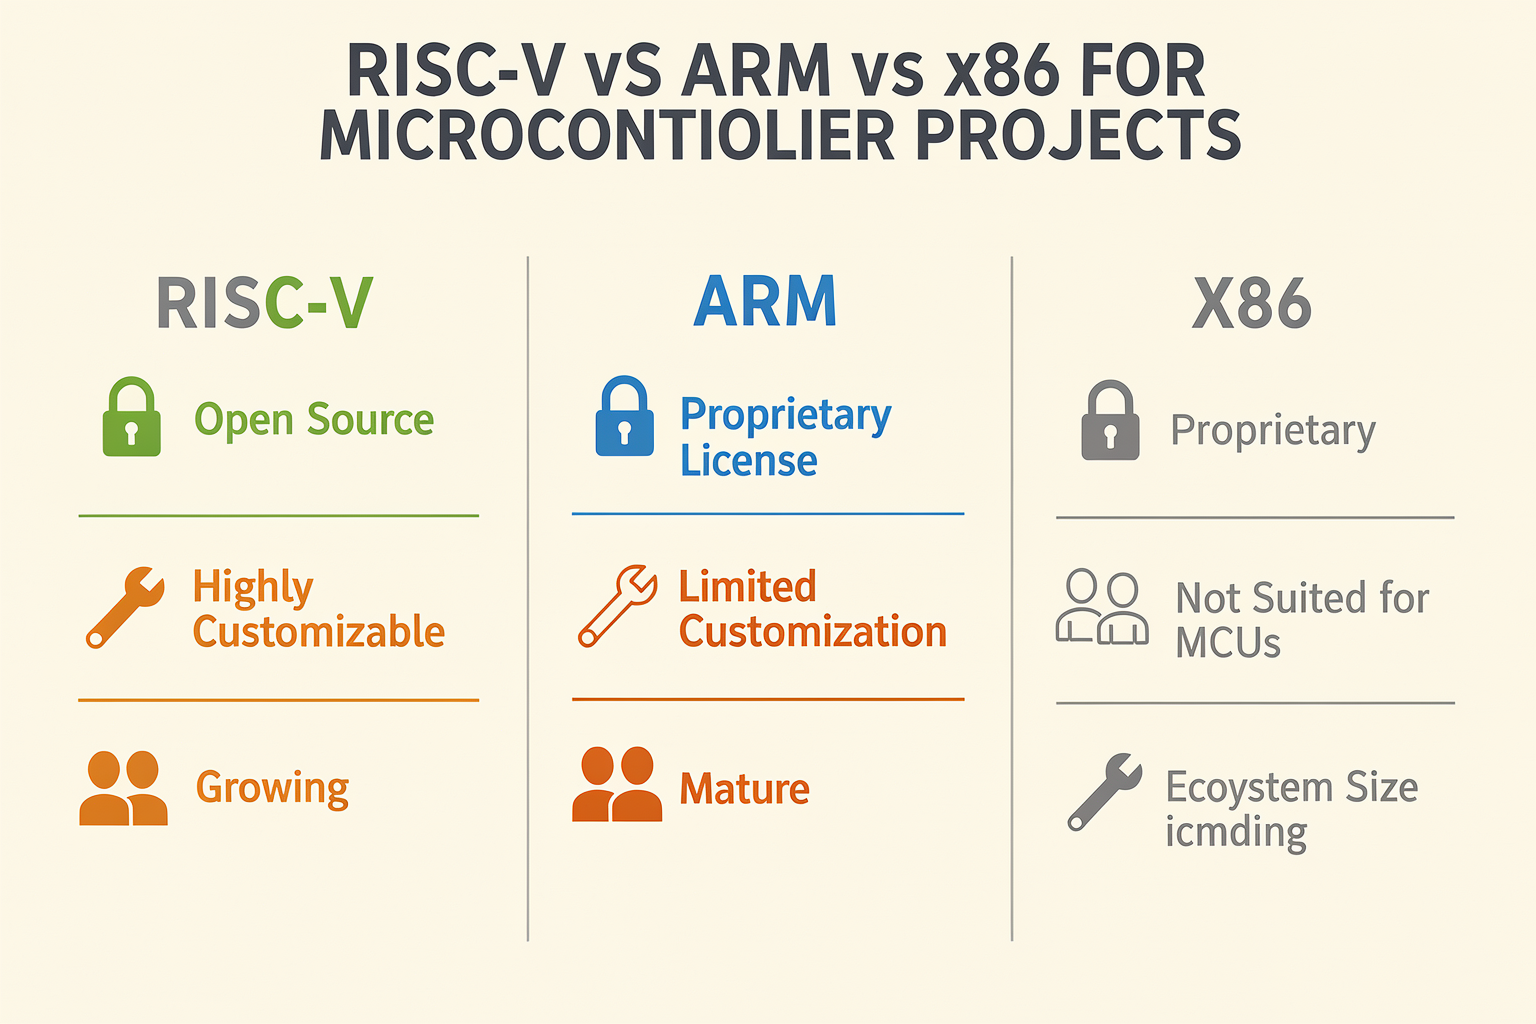
RISC-V vs ARM Cortex-M
| Feature | RISC-V | ARM Cortex-M |
|---|---|---|
| Cost | No licensing fees | Royalty payments required |
| Customization | Highly customizable | Fixed architecture |
| Toolchain maturity | Growing rapidly | Mature and stable |
| Performance | Competitive | Highly optimized |
| Power efficiency | Excellent | Very good |
RISC-V vs AVR/Arduino
| Aspect | RISC-V | AVR (Arduino) |
|---|---|---|
| 32-bit support | Native | Limited |
| Performance | Higher | Lower |
| Learning curve | Steeper | Gentler |
| Community support | Growing | Mature |
| Cost | Varies | Generally low |
Future Prospects and Career Opportunities
The trend toward RISC-V adoption is expected to accelerate in the coming years, creating numerous opportunities for Indian engineers. Major companies like Google, Alibaba, and Western Digital are investing heavily in RISC-V, which translates to:
- Increased job opportunities in companies adopting RISC-V
- Research positions in academic institutions
- Startup opportunities in RISC-V-based product development
- Government initiatives supporting open-source hardware development
Resources for Learning RISC-V
Online Resources
- Official RISC-V Website: www.riscv.org
- RISC-V International: Community support and standards
- YouTube Channels: RISC-V University, EEVBlog
- GitHub: Open-source RISC-V projects and toolchains
- Indian RISC-V Communities: Local meetups and forums
Books and Documentation
- "The RISC-V Reader" by Yale Patt and Sanjay Patel
- "RISC-V for Embedded Systems" by John Walden
- Board-specific documentation available on manufacturer websites
Frequently Asked Questions
You can get started with RISC-V for as little as ₹120 using CH32V003 boards, though most development boards like ESP32-C3 cost around ₹450. The total initial investment including basic components typically ranges from ₹500 to ₹1000.
Ready to start building?
Explore our collection of DIY kits and components. All project components mentioned in this blog are available in our store.
Browse All Projects