

ROS 2 on Raspberry Pi: Getting Started with Robot Operating System
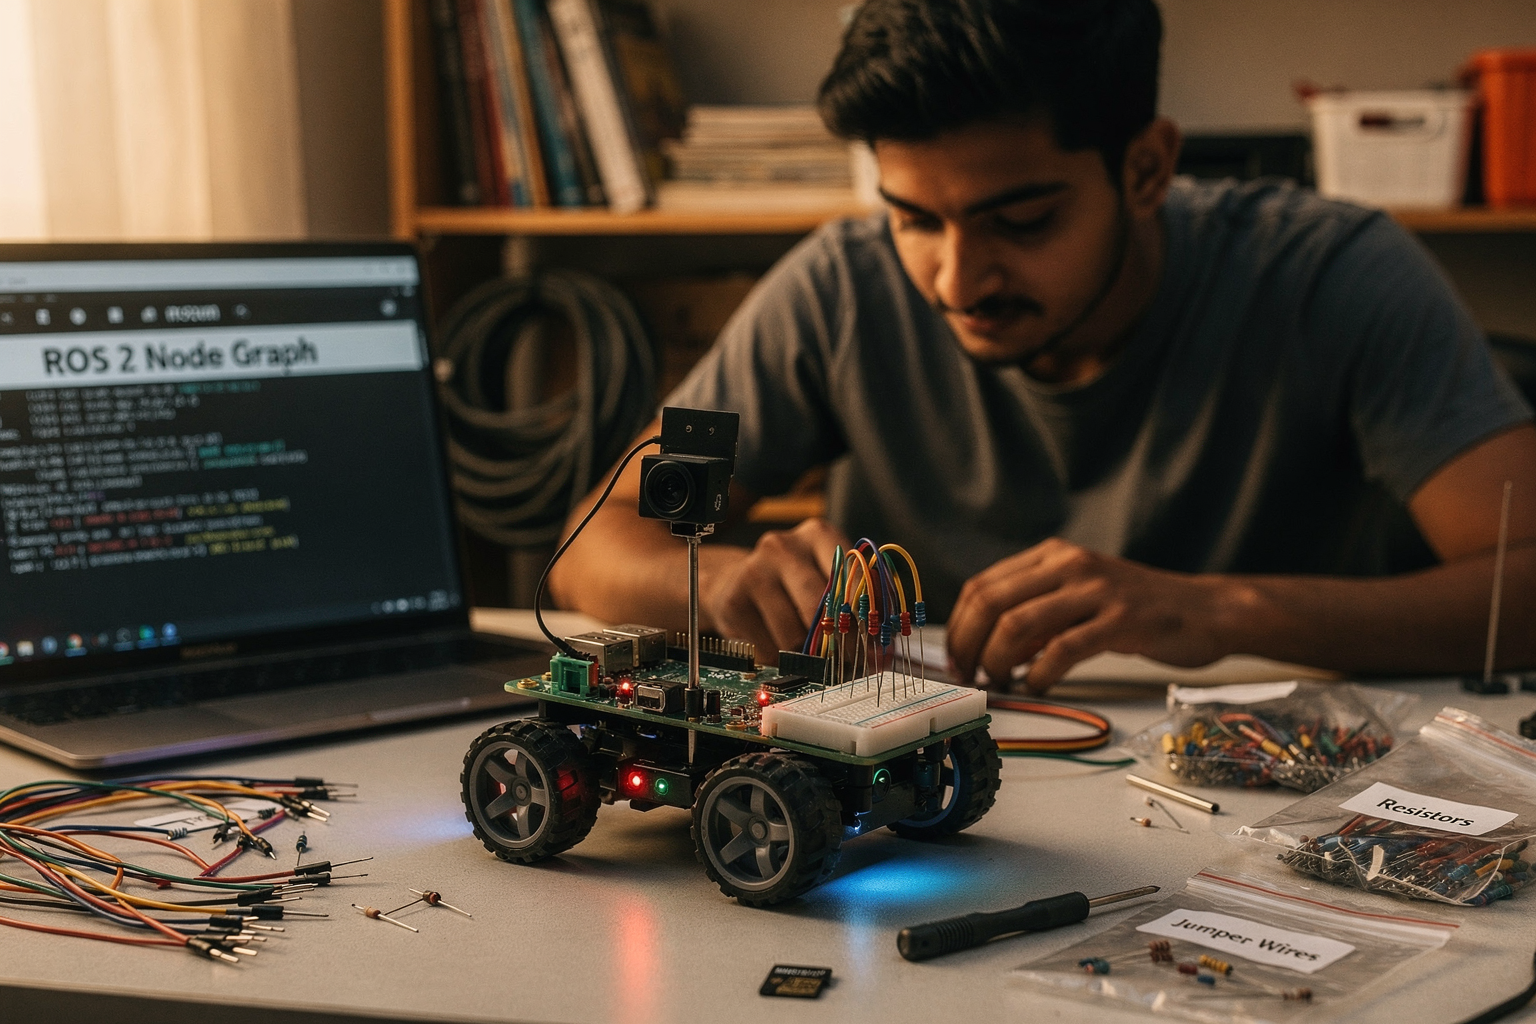
Robot Operating System (ROS) has revolutionized the way we build and deploy robotic systems. While ROS 1 was groundbreaking, ROS 2 brings significant improvements with real-time capabilities, better security, and enhanced developer experience. When combined with the affordability and versatility of Raspberry Pi, you get a powerful platform perfect for learning, prototyping, and even building production-ready robots right from your dorm room or workshop.
This comprehensive guide will walk you through everything you need to know about setting up ROS 2 on Raspberry Pi, with practical examples and troubleshooting tips specifically tailored for Indian engineering students and DIY electronics enthusiasts.
Prerequisites: What You'll Need
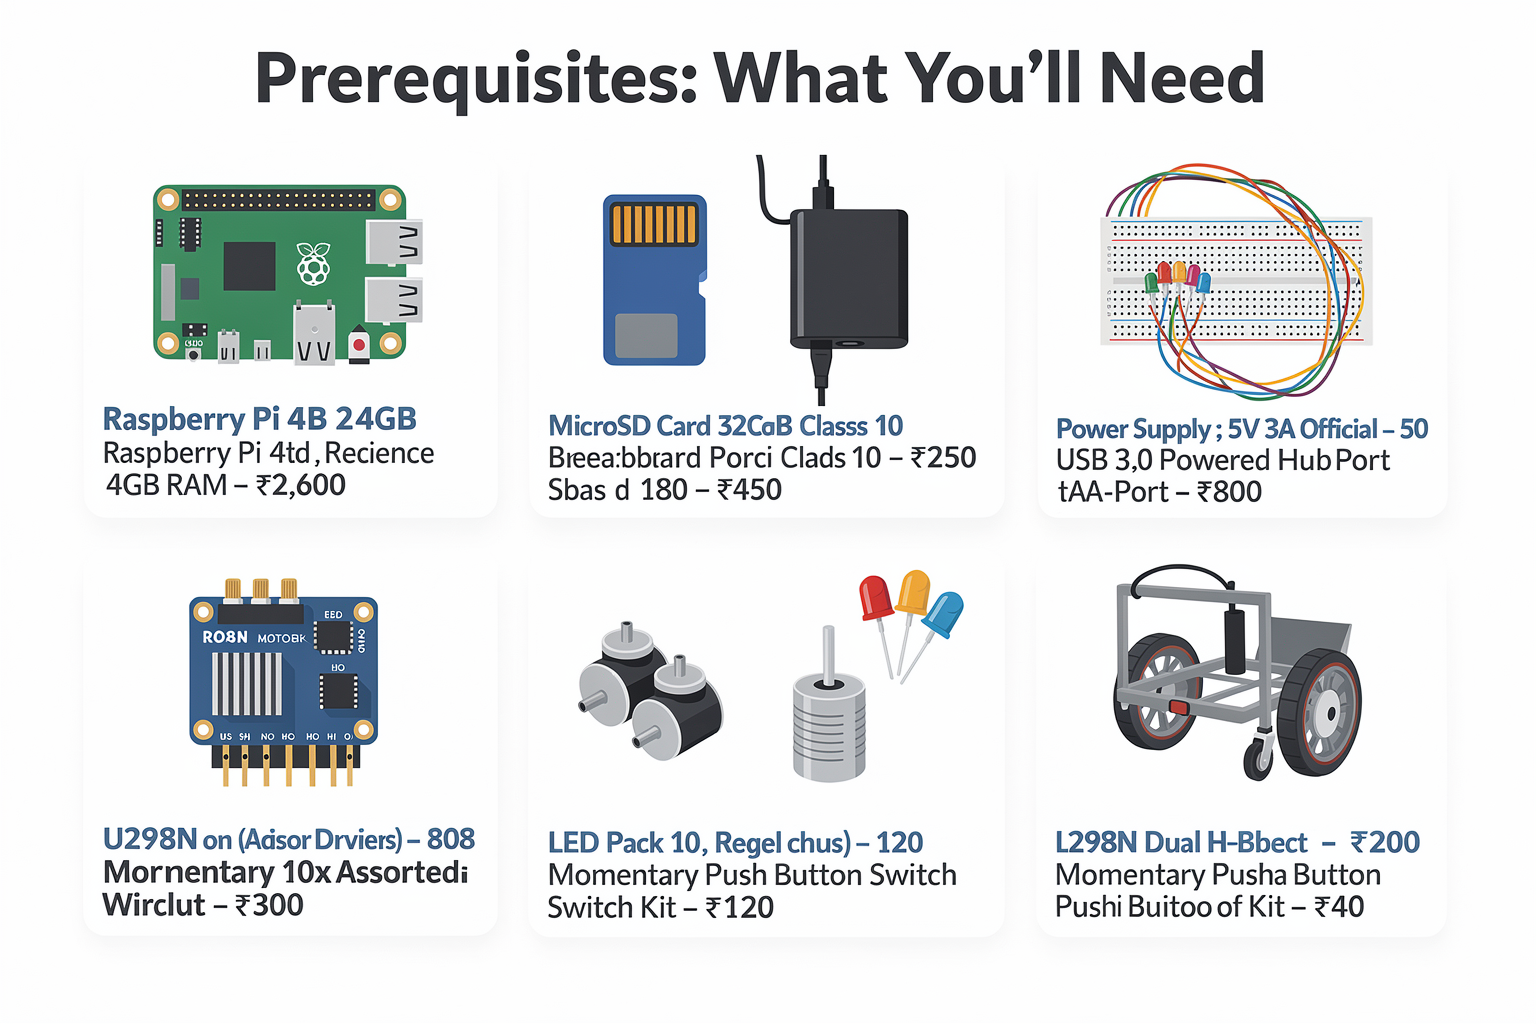
Before diving into ROS 2 on Raspberry Pi, let's gather all the necessary components. Most of these are readily available at TecnoMate stores across major Indian cities and can be ordered online with delivery within 2-3 days.
| Component | Specification | Price (₹) | Availability |
|---|---|---|---|
| Raspberry Pi 4B | 4GB RAM, WiFi/BT | 2,600 | All TecnoMate stores |
| MicroSD Card | 32GB Class 10 | 250 | Available online |
| Power Supply | 5V 3A Official | 450 | In stock |
| USB Hub | 7-port powered | 550 | Limited stock |
| Breadboard | 830-point | 180 | In stock |
| Jumper Wires | 40-pin male-to-female | 120 | In stock |
| LED Pack | 10mm RGB | 90 | In stock |
| Push Buttons | Tactile momentary | 50 | In stock |
| L298N Motor Driver | Dual H-bridge | 220 | In stock |
| 2x DC Motors | 6V geared | 180 | In stock |
| Chassis Kit | 2WD acrylic | 350 | Available online |
Additional Software Requirements:
- Raspberry Pi OS (latest version with 64-bit support)
- Stable Internet Connection
- ~64GB free storage (for ROS 2 installation and projects)
- Git client for version control
Setting Up Your Raspberry Pi for ROS 2
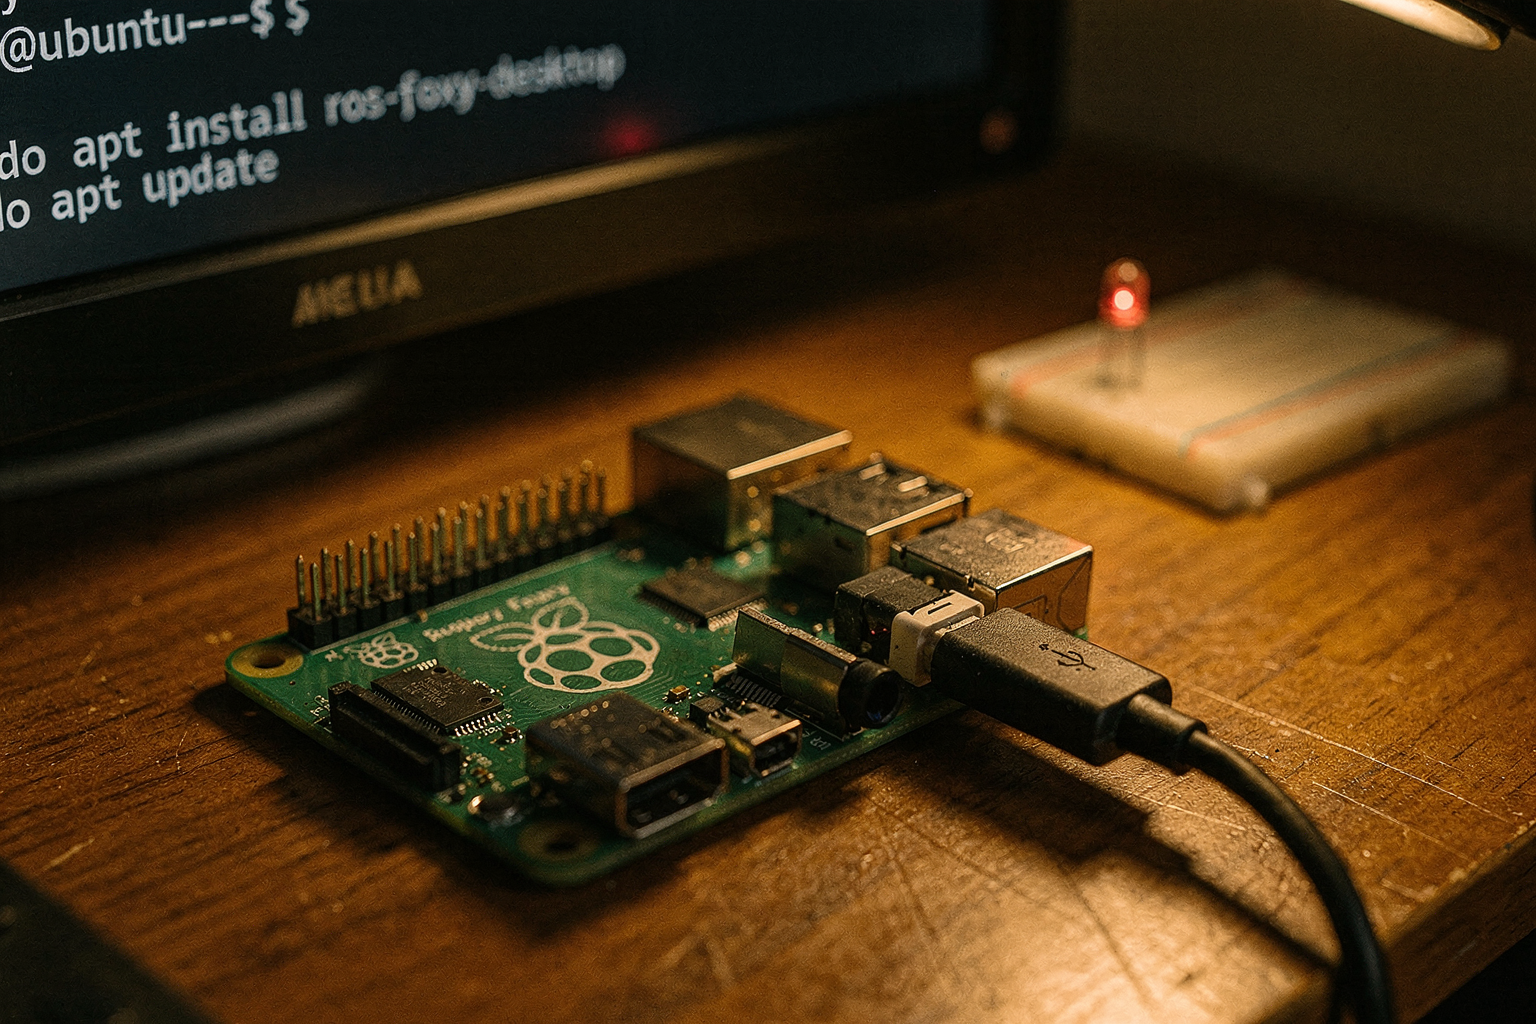
Step 1: Install Raspberry Pi OS
First, flash the latest Raspberry Pi OS (64-bit version) onto your microSD card using the Raspberry Pi Imager. This is crucial as ROS 2 requires a 64-bit system for optimal performance.
# Check your current OS version and architecture
uname -a
If you see armv7l instead of aarch64, you're running the 32-bit version and need to reinstall with the 64-bit option.
Step 2: Update System Packages
Connect your Raspberry Pi to the internet and update all system packages:
sudo apt update
sudo apt upgrade -y
Step 3: Install ROS 2 Foxy Fitzroy (Recommended for Beginners)
ROS 2 Foxy Fitzroy is the latest Long-Term Support (LTS) release and provides the best stability for learning and development.
# Add ROS 2 apt repository
sudo apt install curl gnupg -y
curl -sSL https://raw.githubusercontent.com/ros2/ros2/master/ros.key -o /usr/share/keyrings/ros2-archive-keyring.gpg
echo "deb [arch=$(dpkg --print-architecture) signed-by=/usr/share/keyrings/ros2-archive-keyring.gpg] http://packages.ros.org/ros2/ubuntu $(lsb_release -cs) main" | sudo tee /etc/apt/sources.list.d/ros2.list > /dev/null

# Update and install ROS 2 Foxy
sudo apt update
sudo apt install ros-foxy-desktop -y
Step 4: Configure Environment Variables
Add ROS 2 to your shell profile:
echo "source /opt/ros/foxy/setup.bash" >> ~/.bashrc
source ~/.bashrc
Verify the installation:
ros2 --version
You should see output indicating ROS 2 Foxy Fitzroy.
Your First ROS 2 Node: A Blinking LED
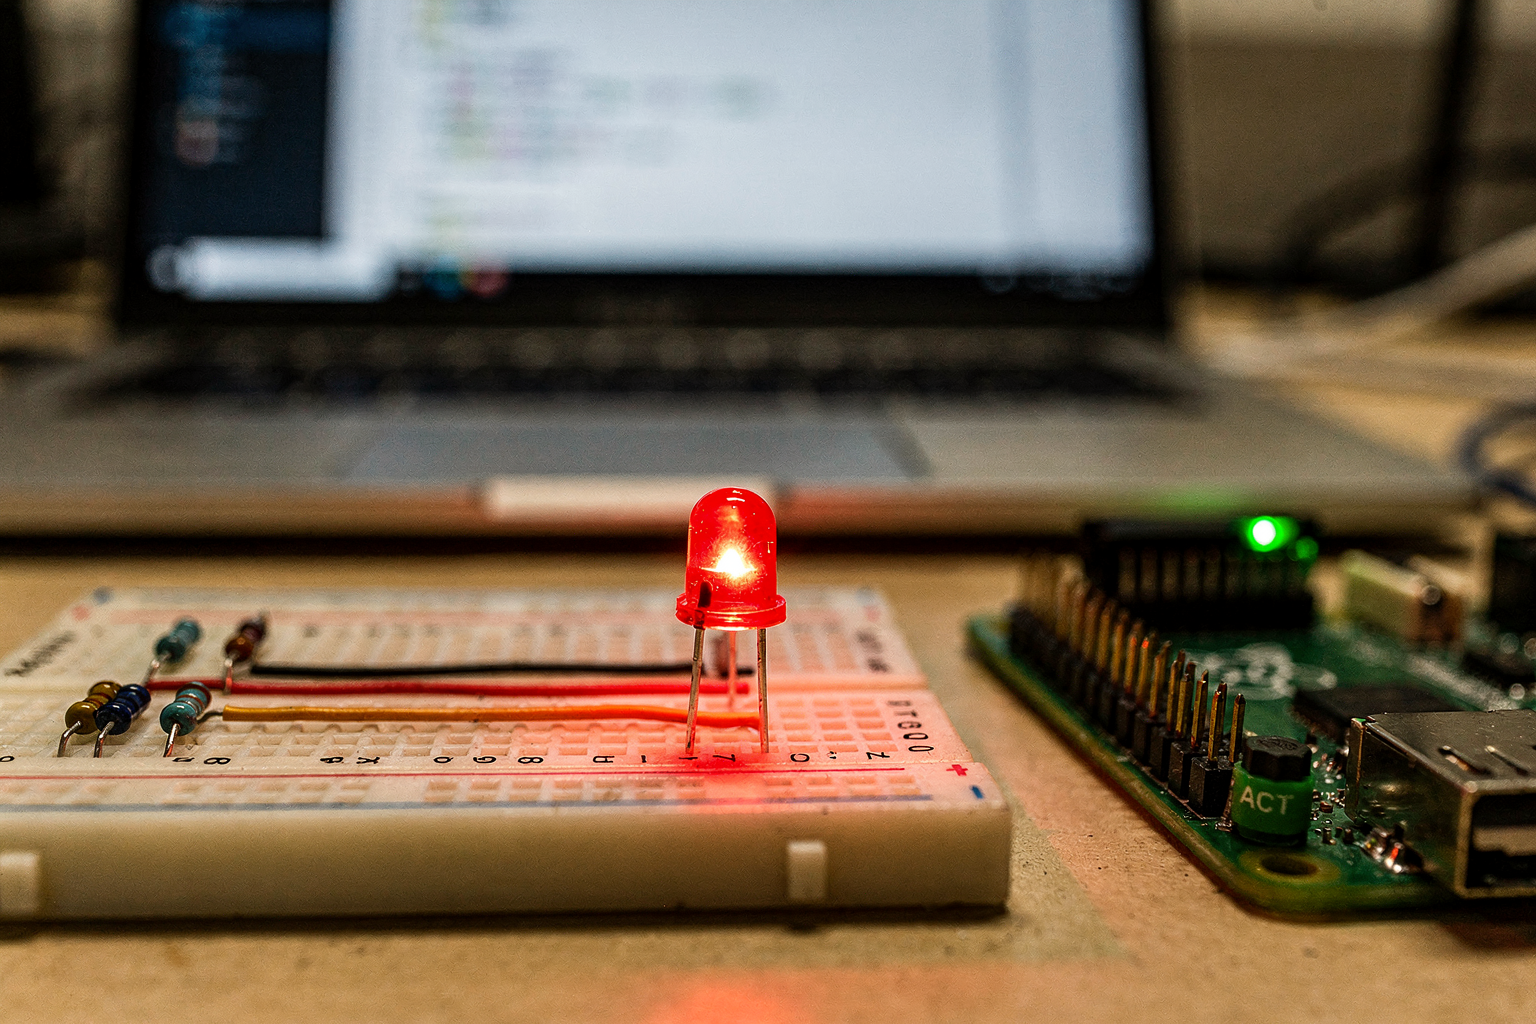
Let's create a simple ROS 2 node that controls an LED connected to GPIO pin 18. This will help you understand the basic concepts of ROS 2 nodes, publishers, and subscribers.
Hardware Setup
- Connect LED anode (long leg) to GPIO pin 18 via a 220Ω resistor
- Connect LED cathode (short leg) to GND
Creating the Node
# Create a ROS 2 package
cd ~/ros2_ws/src
ros2 pkg create --build-type ament_python blinker_pkg --dependencies rclpy std_msgs

# Navigate to the package directory
cd blinker_pkg
Python Node Code
Create a file blinker_pkg/blinker_pkg/blink_node.py:
#!/usr/bin/env python3

import rclpy
from rclpy.node import Node
from std_msgs.msg import Bool
import time
from gpiozero import LED

class BlinkerNode(Node):
    def __init__(self):
        super().__init__('blinker_node')
        self.publisher = self.create_publisher(Bool, '/led_command', 10)
        self.timer = self.create_timer(1.0, self.publish_led_command)
        self.led = LED(18)  # GPIO pin 18
        self.counter = 0

    def publish_led_command(self):
        self.counter += 1

        if self.counter % 2 == 0:
            self.led.on()
            msg = Bool()
            msg.data = True
        else:
            self.led.off()
            msg = Bool()
            msg.data = False

        self.publisher.publish(msg)
        self.get_logger().info(f'LED {"ON" if msg.data else "OFF"}')

def main(args=None):
    rclpy.init(args=args)
    node = BlinkerNode()
    rclpy.spin(node)
    node.destroy_node()
    rclpy.shutdown()

if __name__ == '__main__':
    main()
Launch File
Create blinker_pkg/blinker_pkg/launch/blinker.launch.py:
#!/usr/bin/env python3

from launch import LaunchDescription
from launch_ros.actions import Node
from launch.actions import ExecuteProcess

def generate_launch_description():
    return LaunchDescription([
        Node(
            package='blinker_pkg',
            executable='blink_node',
            name='blinker_node',
            output='screen'
        )
    ])
Making Files Executable and Building
# Make files executable
chmod +x blinker_pkg/blinker_pkg/blink_node.py
chmod +x blinker_pkg/blinker_pkg/launch/blinker.launch.py

cd ~/ros2_ws
colcon build --packages-select blinker_pkg
source install/setup.bash
Running Your First Node
# Terminal 1: Launch the node
ros2 launch blinker_pkg blinker.launch.py

# Terminal 2: Monitor the topic
ros2 topic echo /led_command
You should see the LED blinking and messages appearing in the topic monitor!
Advanced Tips for Better Performance
| Tip | Description | Expected Impact |
|---|---|---|
| Use 64-bit OS | Essential for ROS 2 performance | 40-50% faster node execution |
| Disable unnecessary services | Improve system resources | Better real-time response |
| Use SSD instead of SD card | Faster I/O operations | Reduced latency for sensor data |
| Configure real-time kernel | Better determinism | Improved timing accuracy |
| Limit CPU frequency | Stability under load | Prevents thermal throttling |
Disabling Unnecessary Services
# Disable GUI services to save resources
sudo systemctl disable --now lightdm.service
sudo systemctl disable --now bluetooth.service
sudo systemctl disable --now avahi-daemon.service

# Enable headless mode
sudo raspi-config nonint do_boot_behaviour headless
Real-Time Kernel Configuration
For better real-time performance, consider installing the PREEMPT_RT kernel:
# Add RT kernel repository
sudo add-apt-repository ppa:beineri/opt-qt-5.12.1-focal
sudo apt update
sudo apt install linux-image-rt-amd64

# Reboot and select RT kernel from GRUB
Common Mistakes and How to Avoid Them
| Mistake | Consequence | Solution |
|---|---|---|
| Using 32-bit OS | Installation failures | Always use 64-bit Raspberry Pi OS |
| Insufficient power | Random crashes | Use official 3A power supply |
| Not sourcing setup.bash | Command not found errors | Add to ~/.bashrc or source manually |
| Running as root | Security vulnerabilities | Use 'ros2 run' without sudo |
| Memory leaks | System becomes unresponsive | Use proper node lifecycle management |
Fixing Memory Leaks
Implement proper cleanup in Python nodes:
def node_shutdown_hook(node):
    print("Node shutting down...")
    # Clean up resources here
    node.destroy_node()

def main(args=None):
    rclpy.init(args=args)
    node = BlinkerNode()
    rclpy.spin(node)

    # Add shutdown hook
    node.destroy_node()
    rclpy.shutdown()
Building a Simple Autonomous Robot
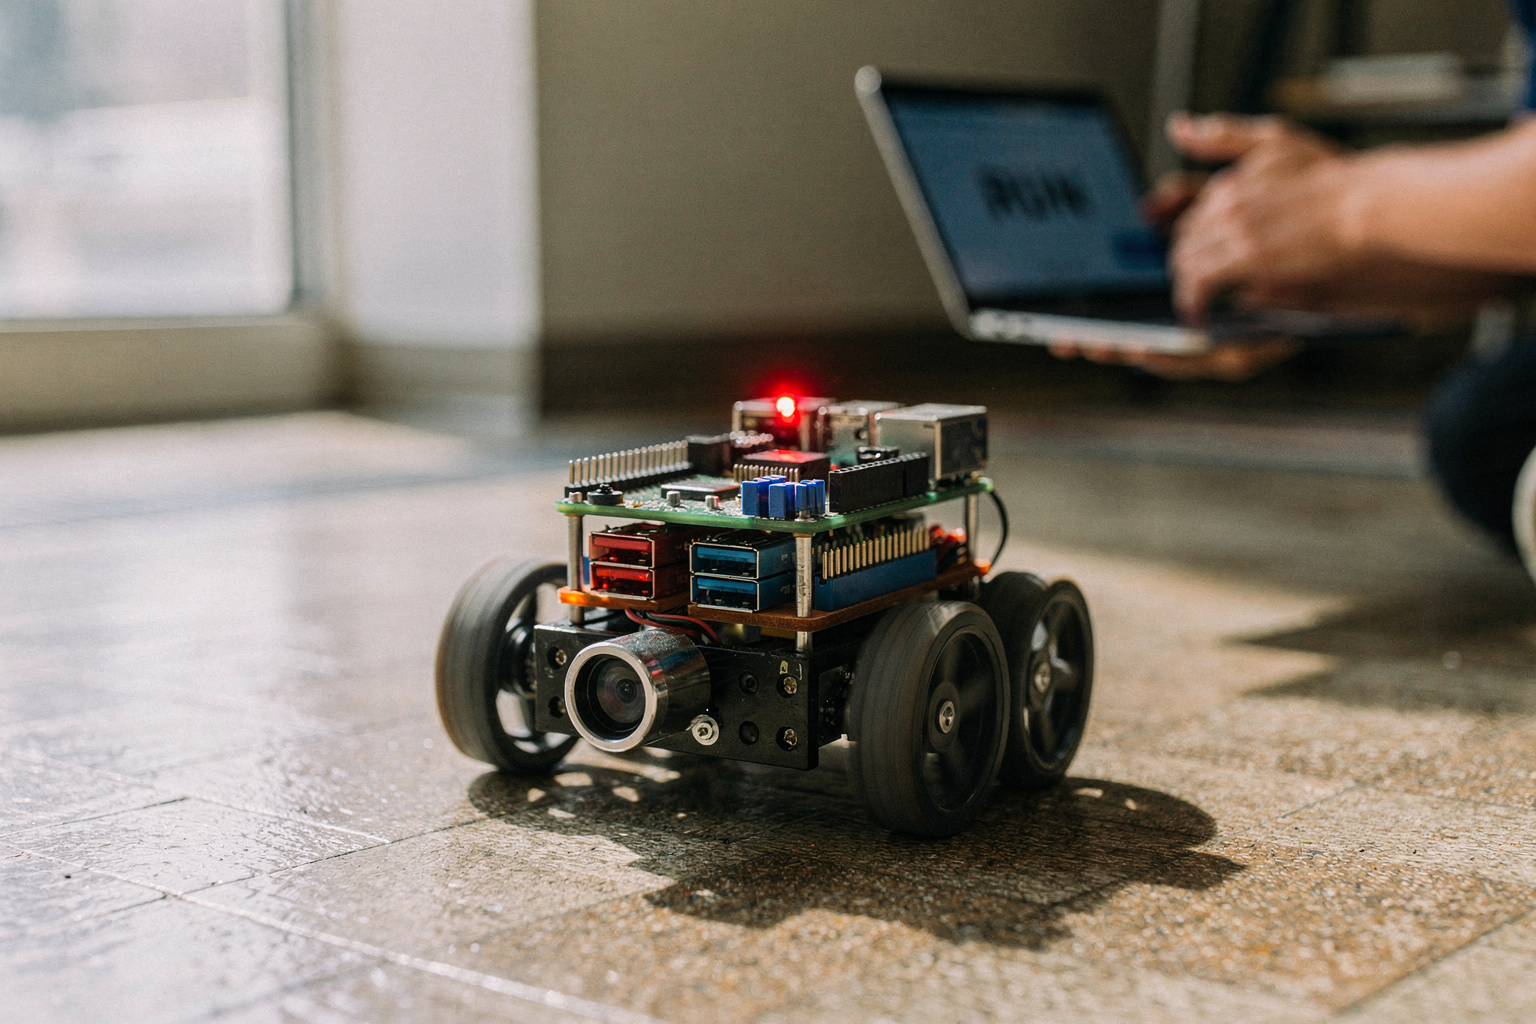
Now that you're comfortable with basic ROS 2 concepts, let's build a simple line-following robot using your Raspberry Pi and components from TecnoMate.
Hardware Assembly
- Mount Raspberry Pi on the chassis using the mounting holes
- Connect DC motors to L298N driver module
- Attach the L298N to the robot chassis
- Connect the IR sensor array to GPIO pins 7 and 11
- Power the system using a 7.4V LiPo battery
Line Following Node
Create a new package line_follower_pkg:
cd ~/ros2_ws/src
ros2 pkg create --build-type ament_python line_follower_pkg --dependencies rclpy sensor_msgs geometry_msgs
Add the following Python code line_follower_pkg/line_follower_pkg/line_follower.py:
#!/usr/bin/env python3

import rclpy
from rclpy.node import Node
import RPi.GPIO as GPIO
import time
from geometry_msgs.msg import Twist

class LineFollowerNode(Node):
    def __init__(self):
        super().__init__('line_follower_node')

        # GPIO setup
        GPIO.setmode(GPIO.BCM)
        self.left_sensor = 7
        self.right_sensor = 11
        GPIO.setup(self.left_sensor, GPIO.IN)
        GPIO.setup(self.right_sensor, GPIO.IN)

        # Publisher for motor commands
        self.cmd_vel_pub = self.create_publisher(Twist, '/cmd_vel', 10)
        self.twist_msg = Twist()

        # PID parameters
        self.Kp = 2.0
        self.Ki = 0.0
        self.Kd = 0.1

        self.error_integral = 0
        self.last_error = 0

        timer_period = 0.1  # 10 Hz control frequency
        self.timer = self.create_timer(timer_period, self.line_follow)

    def line_follow(self):
        left_value = GPIO.input(self.left_sensor)
        right_value = GPIO.input(self.right_sensor)

        # Simple threshold-based line following
        if left_value == 0 and right_value == 1:
            # Line on left sensor
            self.twist_msg.angular.z = -0.5
            self.twist_msg.linear.x = 0.3
        elif left_value == 1 and right_value == 0:
            # Line on right sensor
            self.twist_msg.angular.z = 0.5
            self.twist_msg.linear.x = 0.3
        elif left_value == 0 and right_value == 0:
            # Line lost or junction
            self.twist_msg.angular.z = 0
            self.twist_msg.linear.x = -0.1
        else:
            # No line detected
            self.twist_msg.angular.z = 0
            self.twist_msg.linear.x = 0

        self.cmd_vel_pub.publish(self.twist_msg)

    def cleanup(self):
        GPIO.cleanup()

def main(args=None):
    rclpy.init(args=args)
    node = LineFollowerNode()

    try:
        rclpy.spin(node)
    except KeyboardInterrupt:
        pass
    finally:
        node.destroy_node()
        rclpy.shutdown()
        GPIO.cleanup()

if __name__ == '__main__':
    main()
Testing Your Robot
cd ~/ros2_ws
colcon build --packages-select line_follower_pkg
source install/setup.bash

# Run RViz for visualization
ros2 run rviz2 rviz2 -d $(find-ros-2-package -d rviz/default_viewpoints.rviz) &

# In another terminal, run the line follower
ros2 run line_follower_pkg line_follower.py
Frequently Asked Questions
Yes, ROS 2 can run on Raspberry Pi 3, but you'll need to use ROS 2 Humble (latest) and limit expectations for complex applications. The Pi 4B is highly recommended for serious robotics projects due to its better performance and memory.
Ready to start building?
Explore our collection of DIY kits and components. All project components mentioned in this blog are available in our store.
Browse All Projects