

Introduction: Your Gateway to Smart Sensor Selection
Welcome to your ultimate sensor selection guide! As an engineering student or DIY enthusiast in India, you're probably excited about diving into the world of IoT projects. But here's the thing - choosing the right sensor can make or break your project. With so many options available in the Indian market, from basic temperature sensors costing just ₹50 to sophisticated LiDAR sensors priced above ₹5000, how do you decide which ones are perfect for your needs?
I've spent countless hours testing various sensors across different projects, from smart home automation to agricultural monitoring solutions. In this comprehensive guide, I'll share insights that will help you choose the right sensor for your IoT projects, saving you both time and money while ensuring your projects actually work as intended.
Understanding Sensor Categories for IoT Applications
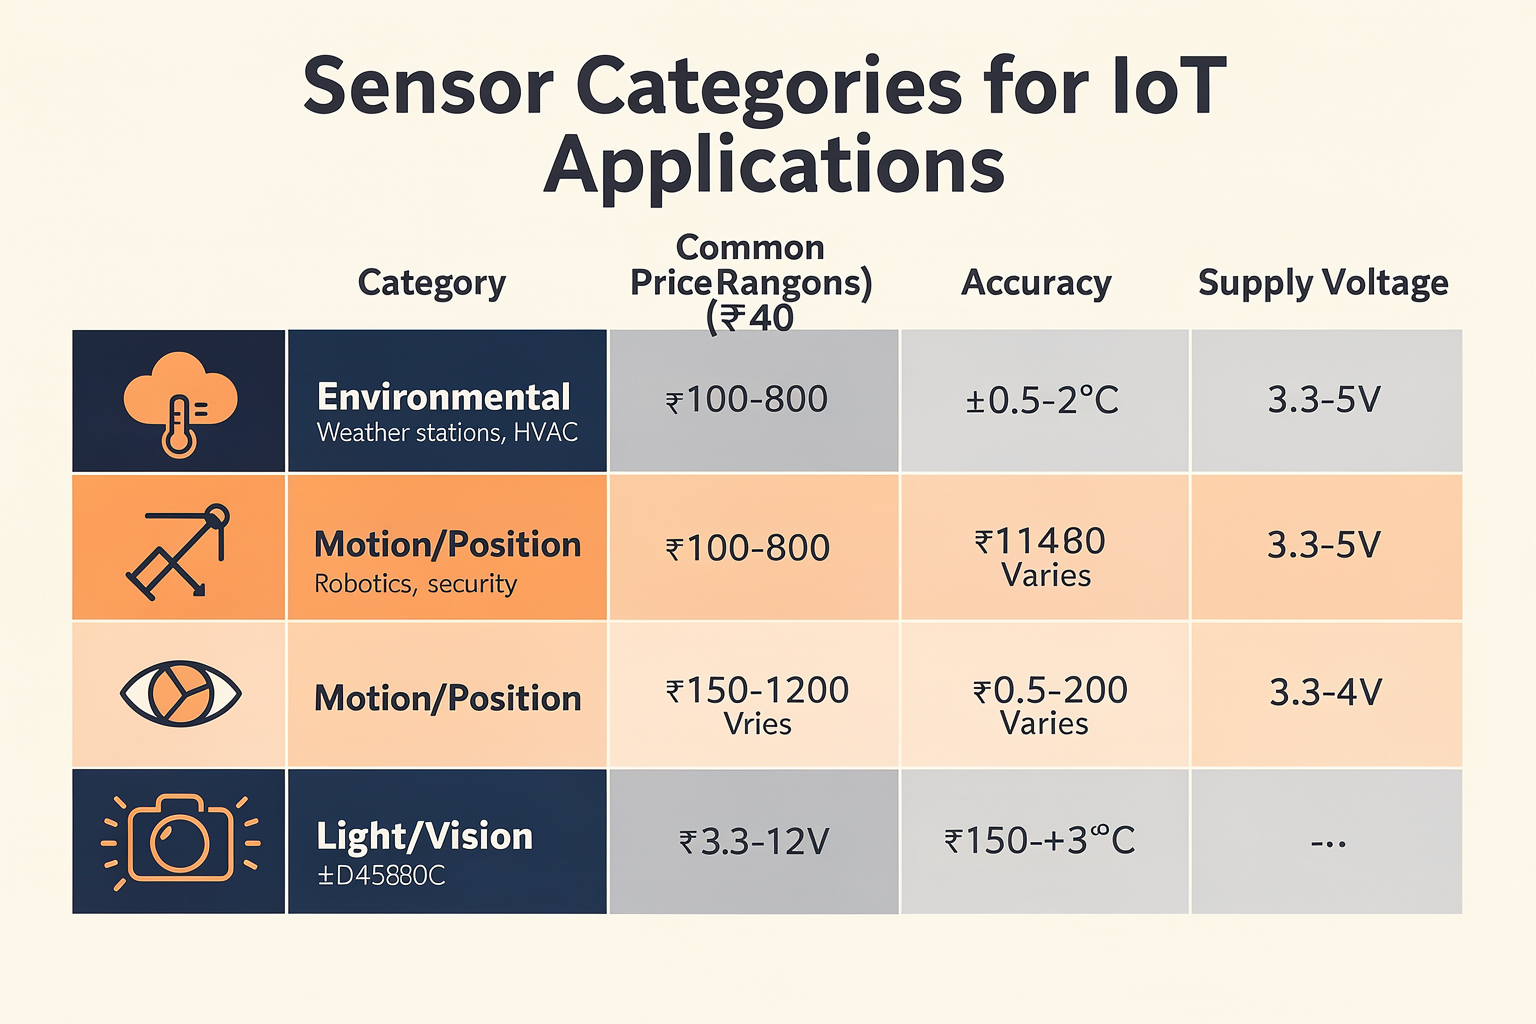
Before we dive into specific components, it's crucial to understand the main categories of sensors available in the Indian market. IoT sensors can be broadly classified based on the physical quantity they measure and their working principle.
Types of Sensors and Their Applications
| Sensor Category | Common Applications | Price Range (₹) | Accuracy Range | Supply Voltage (V) |
|---|---|---|---|---|
| Environmental | Weather stations, HVAC control | 100-800 | ±0.5-2°C | 3.3-5 |
| Motion/Position | Robotics, security systems | 150-1200 | Varies | 3.3-12 |
| Light/Vision | Smart photography, agriculture | 200-2500 | Varies | 3.3-5 |
| Proximity | Object detection, automation | 80-600 | 1-100mm range | 3.3-5 |
| Gas/Chemical | Air quality monitoring | 300-1500 | Varies | 3.3-5 |
| Biometric | Health monitoring, security | 500-3000 | Varies | 3.3-5 |
Components Required: Building Your IoT Sensor Kit
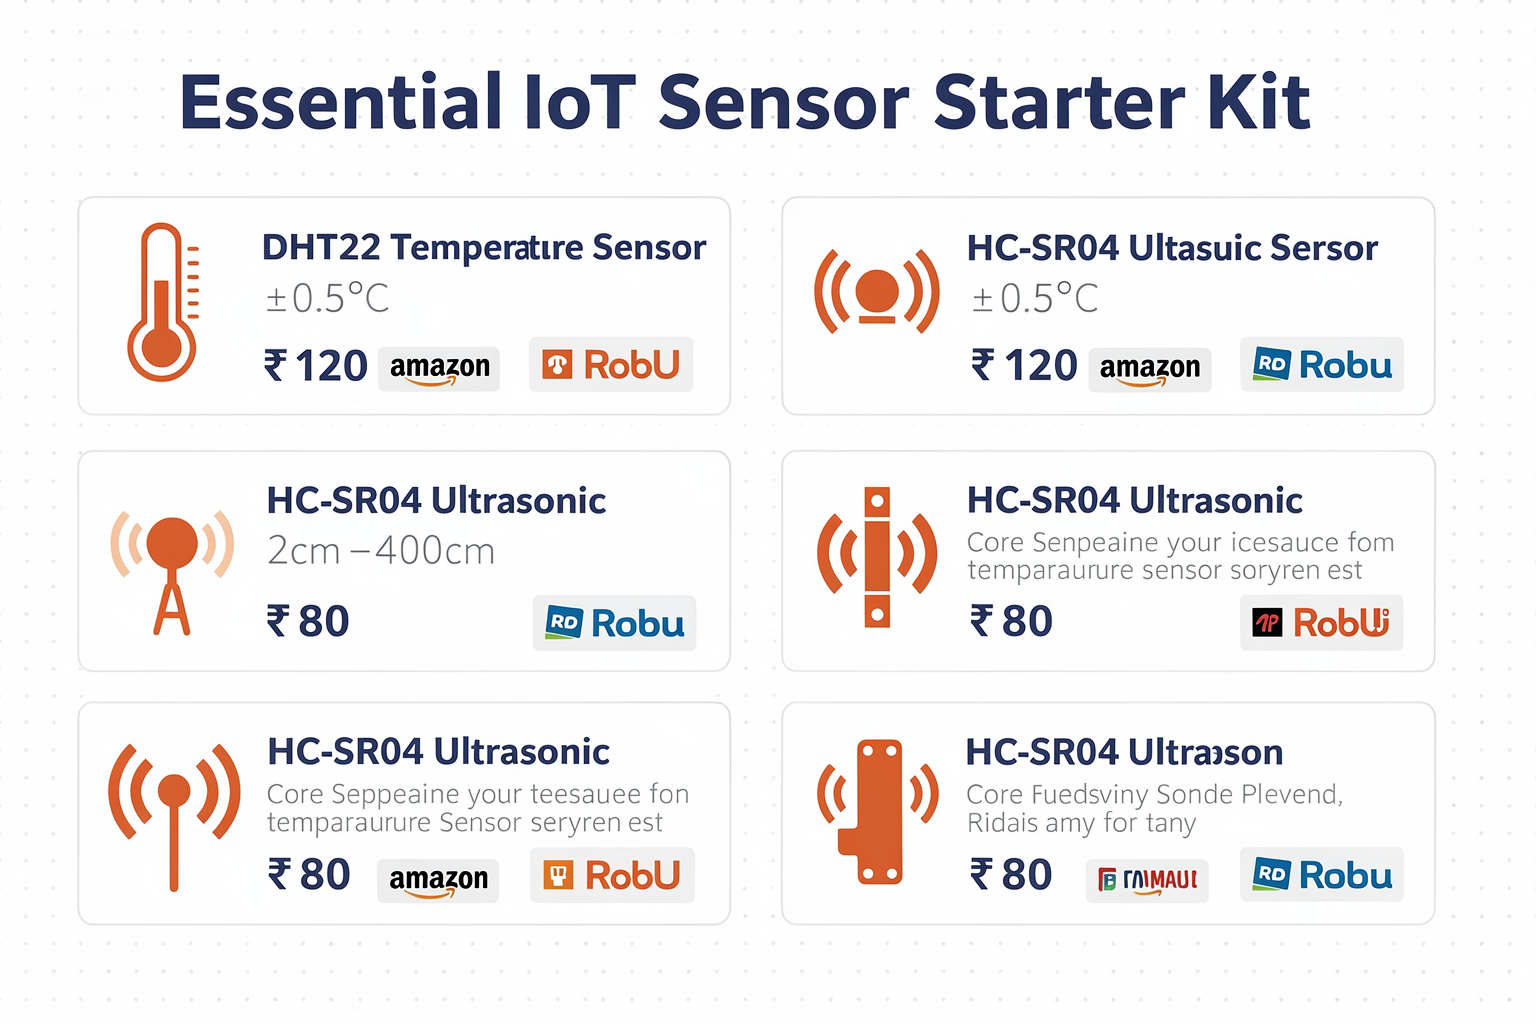
Based on my experience with various student projects across Indian engineering colleges, here's the essential sensor starter kit that will cover 80% of common IoT applications:
| Component | Specification | Price (₹) | Where to Buy in India |
|---|---|---|---|
| DHT22 Temperature Sensor | ±0.5°C accuracy, ±2% humidity | 120 | Available on Amazon India, Robu.in |
| HC-SR04 Ultrasonic Sensor | 2cm-400cm range, 3mm accuracy | 80 | Available on Robu.in, Embedded Lab |
| MQ-135 Air Quality Sensor | Detects CO, NOx, NH3 | 350 | Available on Robu.in, Makerbuys |
| LDR Light Dependent Resistor | Analog light intensity measurement | 20 | Available in electronics markets |
| PIR Motion Sensor | Detects human motion up to 7m | 150 | Available on Amazon India |
| ESP32 Development Board | WiFi + Bluetooth, dual-core processor | 450 | Available on Robu.in, Embedded Lab |
| Breadboard & Jumper Wires | Proto-typing essentials | 100 | Available everywhere |
Pro Tip: When starting with sensors, always buy one extra unit. They're often sold in multipacks, and having spares is crucial for troubleshooting experiments during college labs or hackathons.
The Right Approach: Step-by-Step Sensor Integration
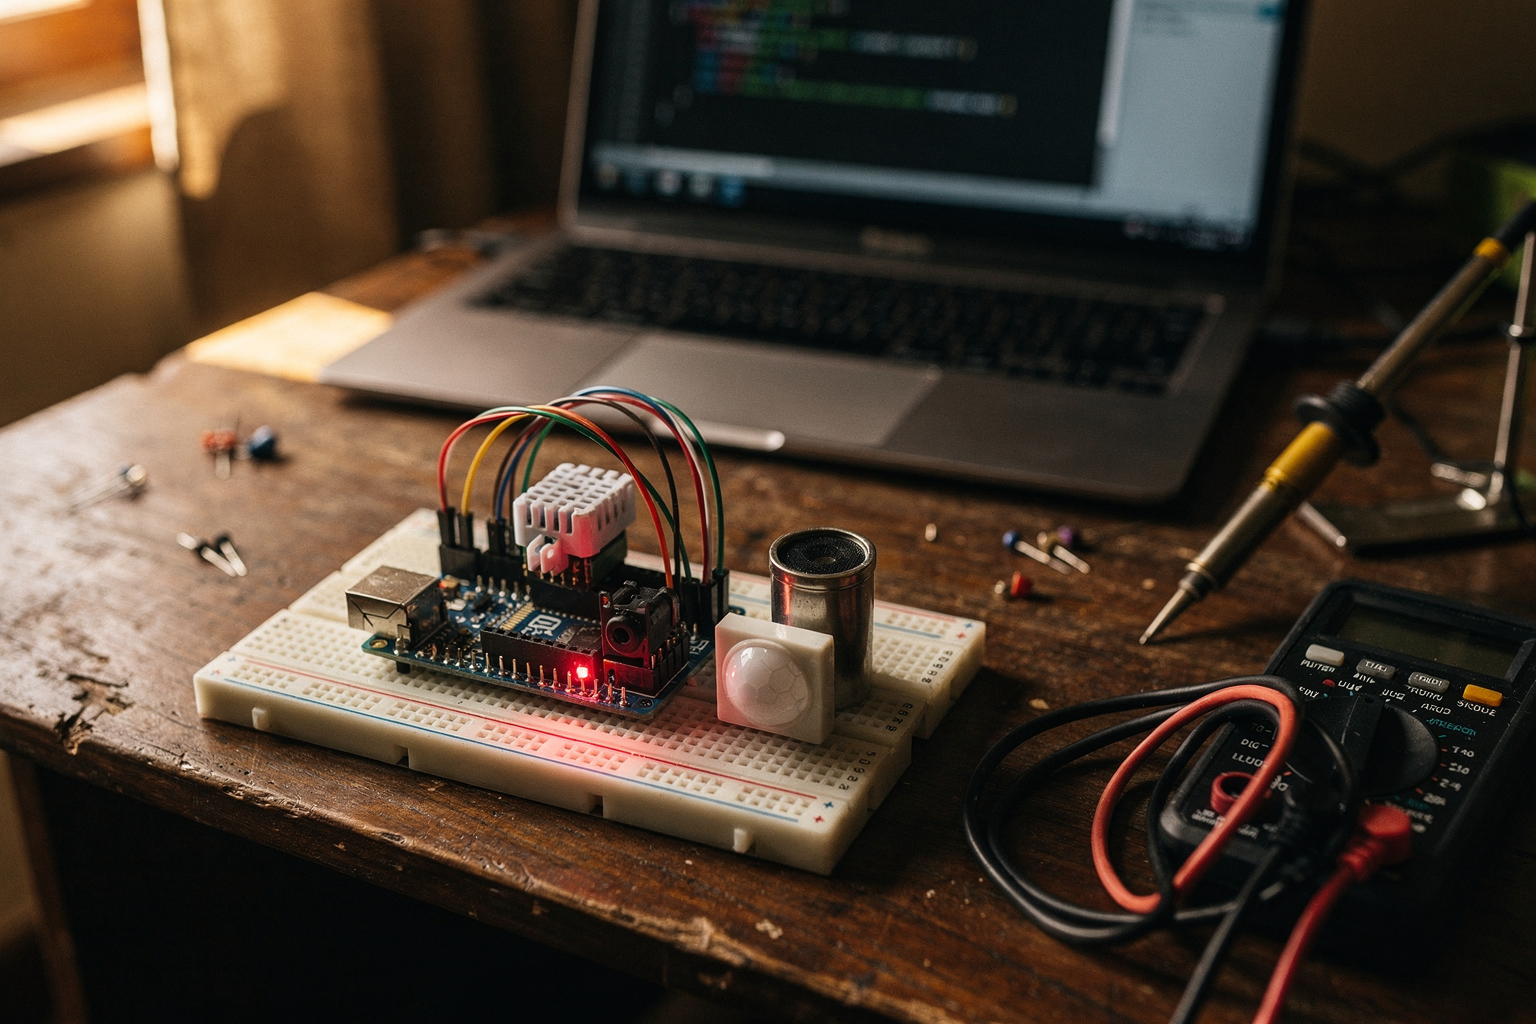
Let's build a practical IoT project using multiple sensors - a smart home monitoring system that measures temperature, humidity, air quality, and detects motion. This project is perfect for engineering students and demonstrates how different sensors can work together.
Circuit Diagram
ESP32
├── 3.3V → DHT22 VCC
├── GND → DHT22 GND
├── GPIO4 → DHT22 DATA
├── 3.3V → HC-SR04 VCC
├── GND → HC-SR04 GND
├── GPIO5 → HC-SR04 TRIG
├── GPIO18 → HC-SR04 ECHO
├── 3.3V → MQ-135 VCC
├── GND → MQ-135 GND
├── GPIO14 → MQ-135 AOUT
├── 3.3V → PIR VCC
├── GND → PIR GND
├── GPIO2 → PIR OUT
└── GPIO34 → LED (for status indication)
Step-by-Step Implementation Guide
Step 1: Setting Up Your Development Environment
Before connecting any sensors, ensure your development environment is ready:
// Required libraries for ESP32
#include <DHT.h>
#include <DHT_U.h>
#include <Ultrasonic.h>
#include <ArduinoJson.h>

// Initialize pins
#define DHT_PIN 4
#define DHT_TYPE DHT22
#define TRIG_PIN 5
#define ECHO_PIN 18
#define PIR_PIN 2
#define MQ_PIN 14
#define STATUS_LED 34
Step 2: Basic Sensor Initialization
// Initialize sensors
DHT dht(DHT_PIN, DHT_TYPE);
Ultrasonic ultrasonic(TRIG_PIN, ECHO_PIN);

void setup() {
  Serial.begin(115200);
  pinMode(PIR_PIN, INPUT);
  pinMode(STATUS_LED, OUTPUT);
  dht.begin();
  Serial.println("IoT Multiple Sensor System Initialized");
}
Step 3: Reading Multiple Sensors Simultaneously
Here's where the magic happens! This code demonstrates how to read multiple sensors efficiently without delays:
void loop() {
  unsigned long currentTime = millis();

  // Read environmental sensors
  float temperature = dht.readTemperature();
  float humidity = dht.readHumidity();

  // Read motion detection (non-blocking)
  bool motionDetected = digitalRead(PIR_PIN);

  // Read air quality
  int airQuality = analogRead(MQ_PIN);

  // Read distance
  int distance = ultrasonic.distanceRead();

  // Print all sensor data
  printSensorData(temperature, humidity, airQuality, distance, motionDetected);

  // Blinking status LED based on motion
  if (motionDetected) {
    digitalWrite(STATUS_LED, HIGH);
  } else {
    digitalWrite(STATUS_LED, LOW);
  }

  delay(2000); // Read every 2 seconds
}
Step 4: Data Processing and Transmission
For IoT applications, processing sensor data before transmission is crucial:
void printSensorData(float temp, float humid, int airQual, int dist, bool motion) {
  StaticJsonDocument<200> doc;

  doc["sensor"] = "IoT_Home_Monitor";
  doc["temperature"] = temp;
  doc["humidity"] = humid;
  doc["air_quality"] = airQual;
  doc["distance"] = dist;
  doc["motion"] = motion;
  doc["timestamp"] = millis();

  serializeJson(doc, Serial);
  Serial.println();
}
Common Pitfalls and How to Avoid Them
Having worked with hundreds of students on their IoT projects, I've identified some recurring issues when working with sensors. Here's how to avoid them:
| Problem | Cause | Solution | Cost to Fix (₹) |
|---|---|---|---|
| Sensor Reading Errors | Loose connections or wrong I2C addresses | Double-check wiring, use multimeter | 0-5 |
Ready to start building?
Explore our collection of DIY kits and components. All project components mentioned in this blog are available in our store.
Browse All Projects