

Introduction
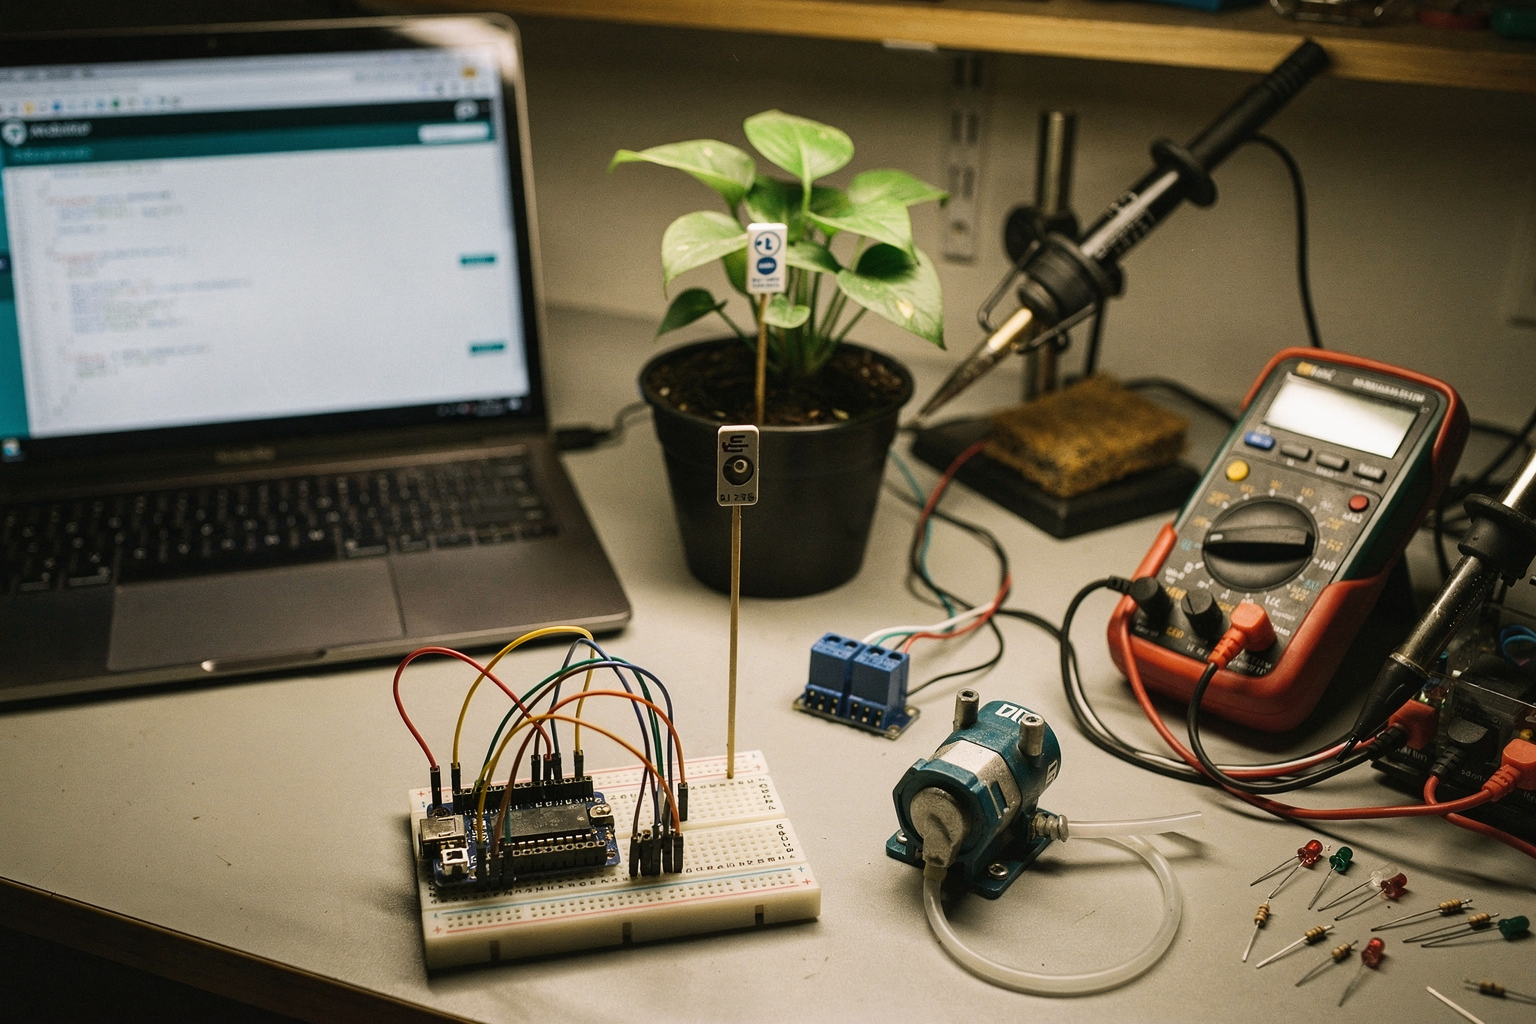
Welcome to your comprehensive guide for building a smart plant watering system! Whether you're an engineering student looking for your next IoT project or a DIY enthusiast wanting to automate your indoor garden, this smart system will revolutionize how you care for your plants. In today's fast-paced world, where time is precious and technology is advancing rapidly, a smart watering solution isn't just a luxury—it's a necessity for plant lovers everywhere.
Imagine coming home to perfectly watered plants, no matter how busy your schedule. Picture yourself managing multiple plants across different locations with just a few taps on your smartphone. This smart system does exactly that and more! It uses moisture sensors to detect when plants need water, automatically irrigates them, and even sends notifications to keep you informed. Best of all, it's budget-friendly and uses components readily available in the Indian market.
In this guide, we'll walk you through every step of creating your own smart plant watering system, from selecting the right components to writing the code that makes it all work. Let's dive in and start building!
Prerequisites
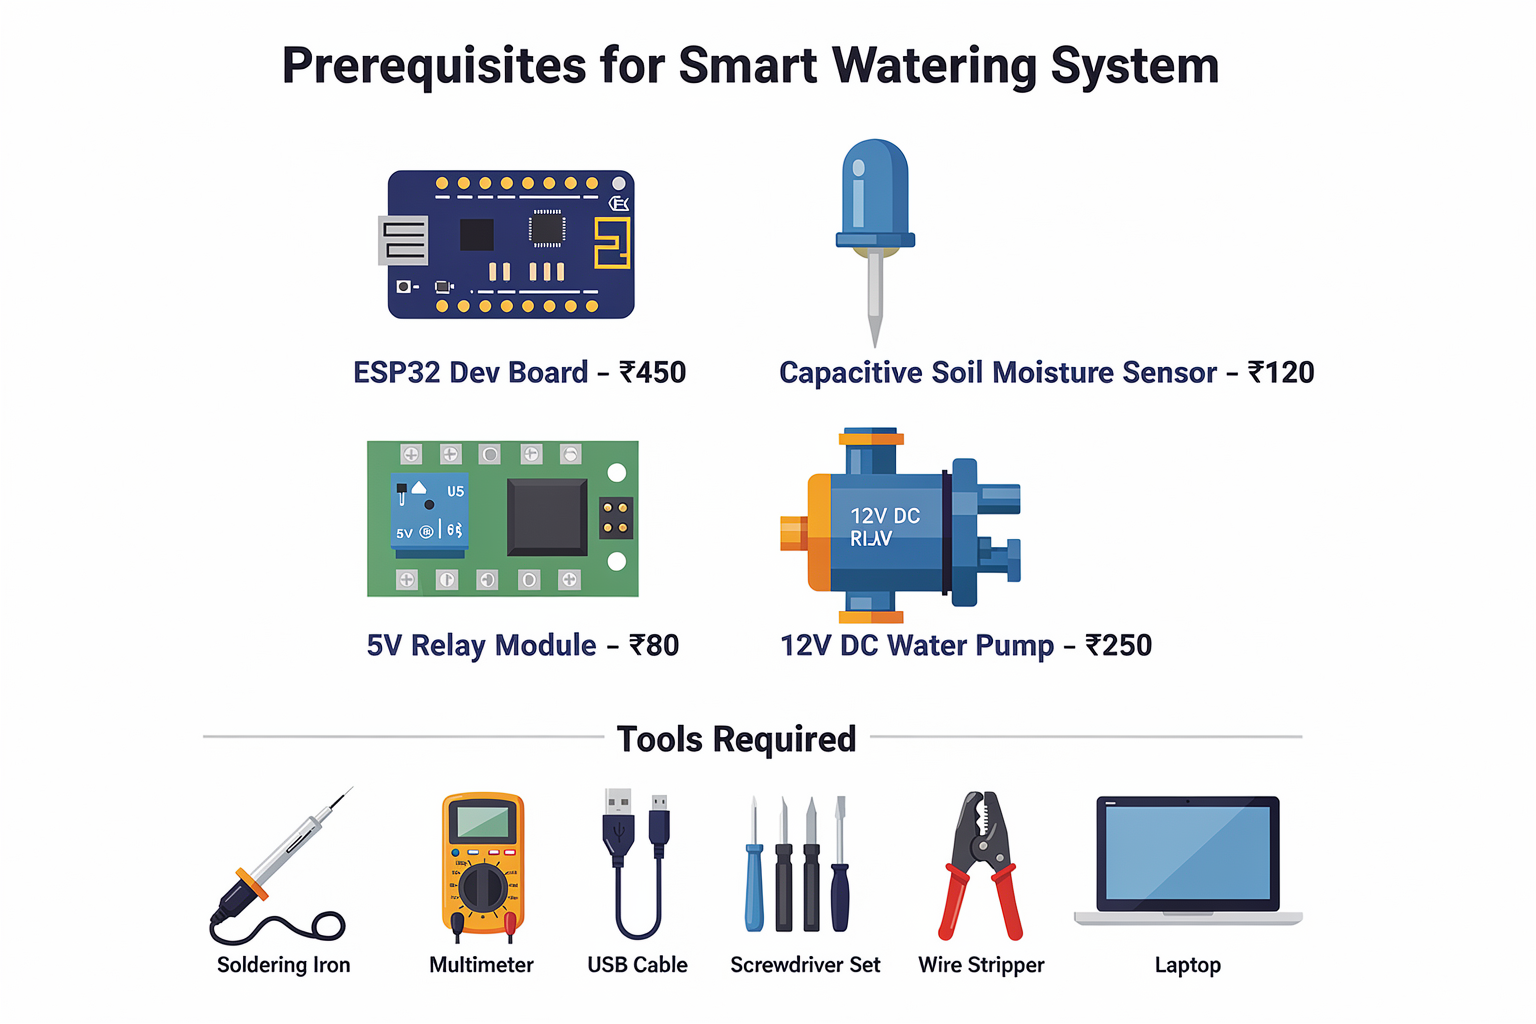
Before we start building, let's make sure you have everything you need. This smart plant watering system requires some basic electronics knowledge, but don't worry if you're new to the field—we'll guide you through each step.
| Component | Specification | Price (₹) | Where to Buy in India |
|---|---|---|---|
| ESP32 Dev Board | WiFi + Bluetooth, 36 GPIO pins | 450 | Amazon, Flipkart, Local Electronics Shops |
| Capacitive Soil Moisture Sensor | Analog + Digital Output | 120 | RobotShop India, Robokits India |
| 5V Relay Module | Single Channel, 10A/250V | 80 | Amazon, Local Electronics Markets |
| Water Pump | 12V DC, 2W | 250 | Industrial supply stores, Online |
| Jumper Wires | 40-pin Male/Female | 50 | Local electronics shops |
| Breadboard | 830 Points | 150 | Common in electronics stores |
| 9V Battery Pack | With Adapter | 100 | Battery shops, Online |
| 10kΩ Resistor | 1/4 Watt | 20 | Electronics stores |
Tools Required:
- Soldering iron and solder
- Multimeter
- USB Cable (Type-A to Micro-USB)
- USB Power Adapter
- Small screwdriver set
- Wire stripper/cutter
- Laptop or Computer with Arduino IDE
Additional Components:
- Small plastic enclosure (optional: ₹200)
- Silicone sealant (optional: ₹100)
- PVC pipes or tubing for water delivery (₹150)
- Small DC fan for cooling (optional: ₹80)
Getting Started
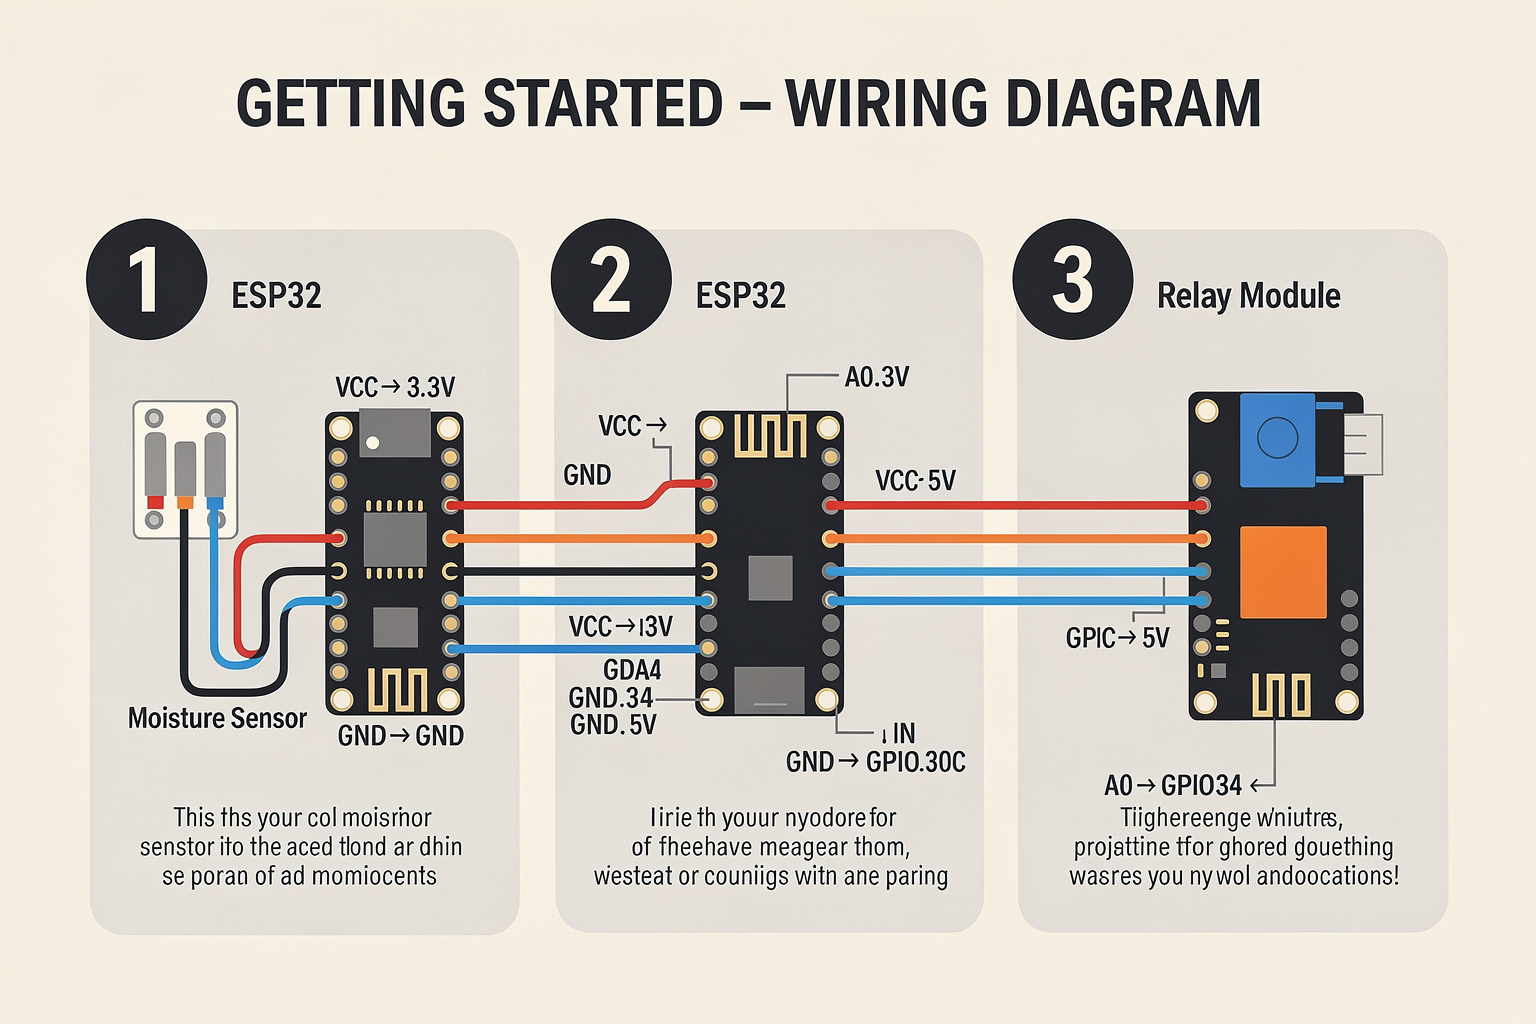
Now that we have all our components, let's start building our smart plant watering system. We'll begin with setting up the hardware and then move on to the software implementation.
Setting Up the Hardware
First, let's assemble the basic circuit on your breadboard. The ESP32 will serve as our brain, reading moisture levels from the sensor and controlling the relay module that switches our water pump on and off.
Step 1: Connect the Moisture Sensor Connect your capacitive soil moisture sensor to the breadboard. For the analog output version:
- VCC pin to ESP32's 3.3V
- GND pin to ESP32's GND
- A0 pin to ESP32's GPIO 34
If you're using the digital version, connect:
- VCC pin to ESP32's 3.3V
- GND pin to ESP32's GND
- D0 pin to ESP32's GPIO 34
Step 2: Connect the Relay Module The relay module is used to control the water pump, which requires more power than the ESP32 can provide directly.
- Relay VCC to ESP32's 5V pin
- Relay GND to ESP32's GND
- Relay IN to ESP32's GPIO 23
Step 3: Connect the Water Pump Connect your 12V water pump to the relay:
- Pump positive terminal to relay's NO (Normally Open) terminal
- Pump negative terminal to the power supply's negative terminal
- Ensure your 12V power supply can handle the pump's current requirements
Step 4: Power the System Connect your ESP32 to your computer via USB for programming. Once programmed, you can power it using the 9V battery pack.
Installing Arduino IDE
If you haven't already, install the Arduino IDE on your computer. Then, add support for ESP32 boards:
- Open Arduino IDE
- Go to File > Preferences
- Add http://arduino.esp8266.com/stable/package_esp8266com_index.json to "Additional Board Manager URLs"
- Go to Tools > Board > Boards Manager
- Search for "ESP32" and install the package
Programming the Smart System
Now for the exciting part—programming our smart plant watering system! We'll write code that reads moisture levels, controls the water pump, and can even send notifications.
Here's the complete code for our smart plant watering system:
#include <WiFi.h>
#include <HTTPClient.h>
#include <ArduinoJson.h>

// WiFi credentials
const char* ssid = "YourWiFiName";
const char* password = "YourWiFiPassword";

// ESP32 GPIO pins
const int moistureSensorPin = 34;  // Analog pin for moisture sensor
const int relayPin = 23;           // Digital pin for relay control

// Sensor and relay thresholds
const int dryThreshold = 400;      // Below this value, soil is dry
const int wetThreshold = 600;      // Above this value, soil is wet
const int pumpDuration = 5000;     // Pump runs for 5 seconds (milliseconds)

// Variables
bool isPumpOn = false;
unsigned long lastWaterTime = 0;
const unsigned long minWaterInterval = 1800000; // Minimum 30 minutes between watering

void setup() {
  Serial.begin(115200);

  // Connect to WiFi
  WiFi.begin(ssid, password);
  Serial.print("Connecting to WiFi");
  while (WiFi.status() != WL_CONNECTED) {
    delay(500);
    Serial.print(".");
  }
  Serial.println("\nWiFi connected!");
  Serial.print("IP address: ");
  Serial.println(WiFi.localIP());

  // Set relay pin as output
  pinMode(relayPin,
Ready to start building?
Explore our collection of DIY kits and components. All project components mentioned in this blog are available in our store.
Browse All Projects