

STM32 vs Arduino: Which Microcontroller is Best for 2025 Projects
Introduction: The Microcontroller Revolution Is Here
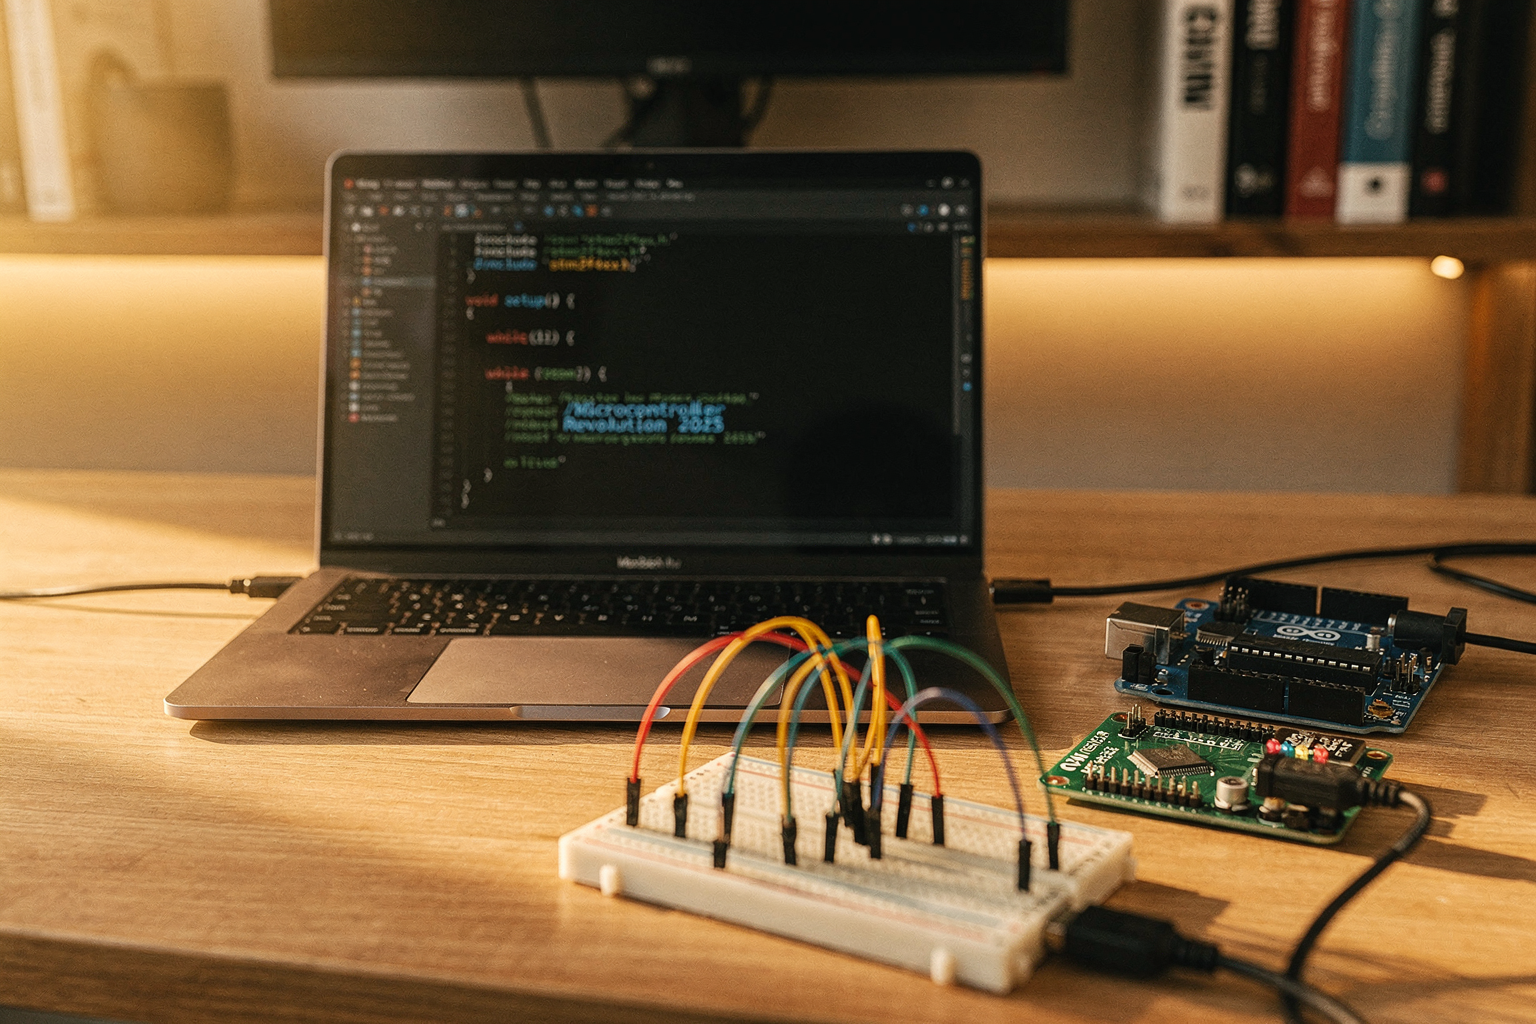
The world of DIY electronics and embedded systems is experiencing a massive trend towards more powerful, efficient, and versatile microcontrollers. As we step into 2025, Indian engineering students and hobbyists are faced with an important decision: stick with the familiar Arduino ecosystem or jump into the more powerful STM32 family?
This isn't just about choosing a board - it's about choosing your development path for the next few years. The trend in both education and industry is clearly shifting towards ARM Cortex-M processors, but that doesn't mean Arduino has lost its relevance. Let's dive deep into this comparison to help you make an informed decision that aligns with your project goals and learning journey.
Feature Comparison at a Glance
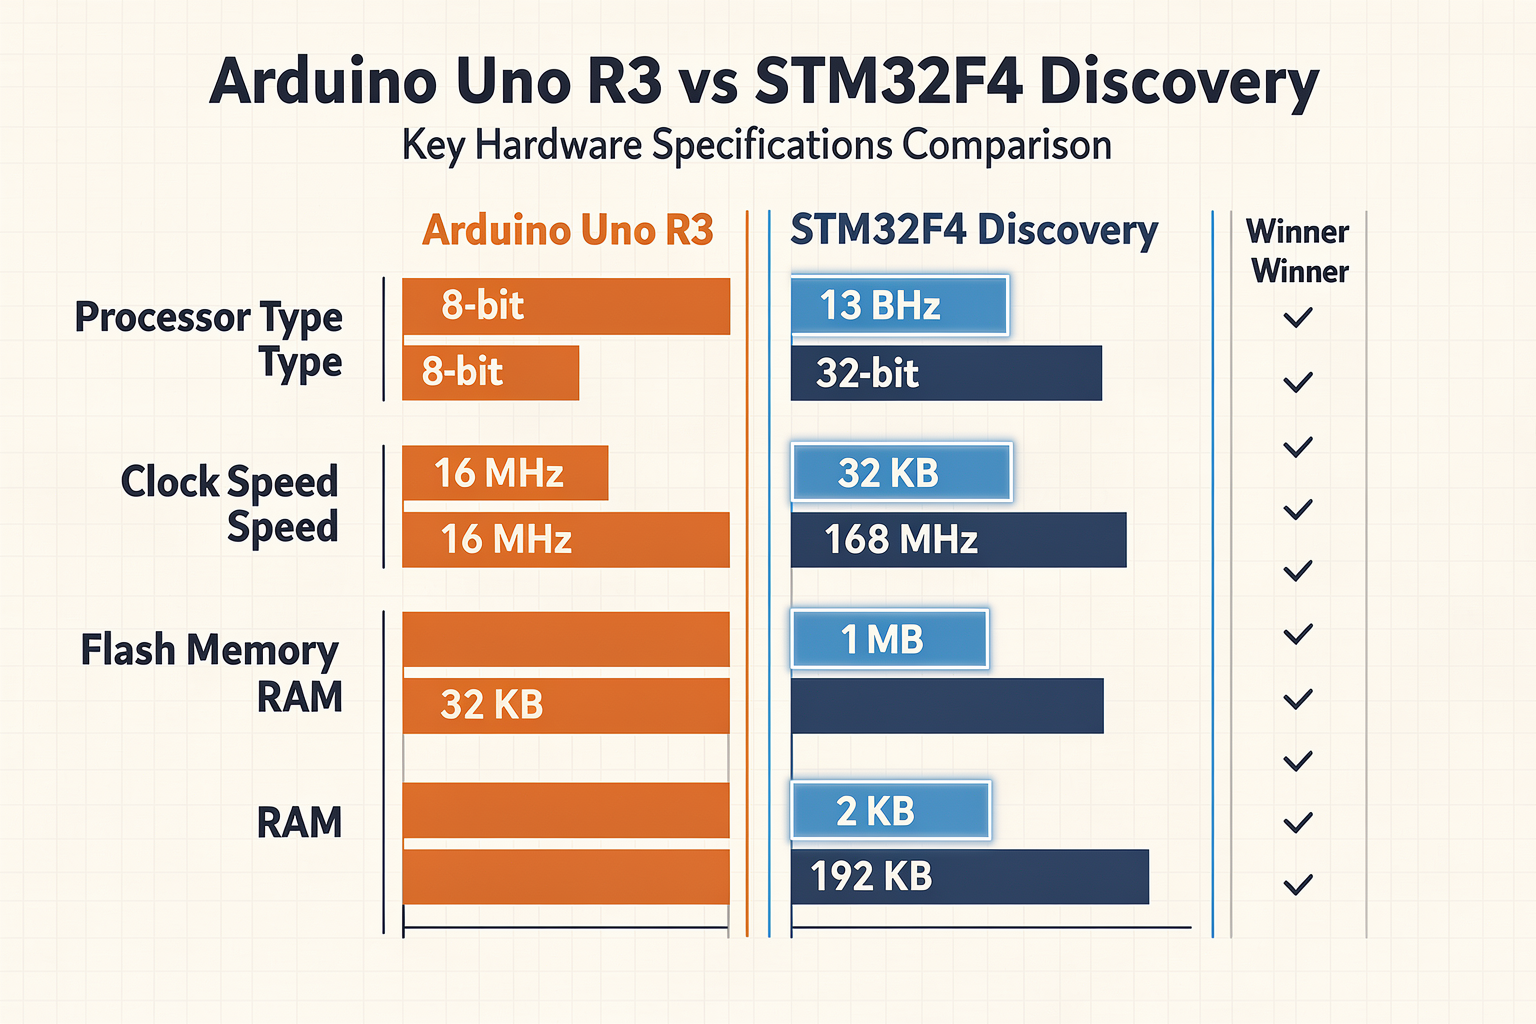
| Feature | Arduino (Uno R3) | STM32F4 Discovery | Winner |
|---|---|---|---|
| Processor | ATmega328P (8-bit) | STM32F407VGT6 (32-bit) | STM32 |
| Clock Speed | 16 MHz | 168 MHz | STM32 |
| Flash Memory | 32 KB | 1 MB | STM32 |
| RAM | 2 KB | 192 KB | STM32 |
| Price in India | ₹450-550 | ₹850-950 | Arduino |
| Programming | Arduino IDE | STM32CubeIDE | Arduino |
| Peripherals | Limited | Extensive | STM32 |
| Community Support | Massive | Growing | Arduino |
Performance Analysis: Beyond the Specs
When we talk about real-world performance, the numbers tell an interesting story. The STM32F4's 32-bit ARM Cortex-M4 processor running at 168MHz can execute floating-point operations in a single cycle, something that would take the Arduino Uno multiple cycles or require external libraries.
But here's what many students don't realize: for most undergraduate projects involving basic sensing, actuators, and communication protocols, the Arduino's 16MHz ATmega328P is more than sufficient. The real trend we're seeing is in the type of projects students are building - IoT devices with WiFi, machine learning edge applications, and complex sensor fusion systems.
Real-World Benchmarks
Let's look at some practical benchmarks that matter for your projects:
// Simple Delay Benchmark
// Arduino Uno
unsigned long start, end;
start = micros();
for(int i = 0; i < 1000000; i++);
end = micros();
Serial.println(end - start); // ~1000ms

// STM32F4 (ARM Cortex-M4)
volatile uint32_t count = 0;
uint32_t start = DWT->CYCCNT;
while(count < 1000000) count++;
uint32_t end = DWT->CYCCNT;
printf("Time: %lu cycles\n", end - start); // ~2856 cycles @ 168MHz
The STM32 completes this loop in roughly 1.7% of the time, but remember - this is a synthetic benchmark. Real-world performance depends heavily on your application's requirements.
Detailed Technical Comparison
| Aspect | Arduino Ecosystem | STM32 Ecosystem |
|---|---|---|
| Development Speed | ★★★★★ | ★★★☆☆ |
| Learning Curve | ★★★★★ | ★★☆☆☆ |
| Debugging Support | ★★★★☆ | ★★★★☆ |
| Real-time Performance | ★★★☆☆ | ★★★★★ |
| Power Efficiency | ★★★★☆ | ★★★★★ |
| Industry Relevance | ★★★★☆ | ★★★★★ |
| Documentation Quality | ★★★★☆ | ★★★★★ |
The Arduino ecosystem wins on development speed and ease of use, which is crucial when you're learning. However, for professional-grade applications, STM32's real-time capabilities and power efficiency make it the clear choice.
Use Cases: Which One Fits Your Projects?
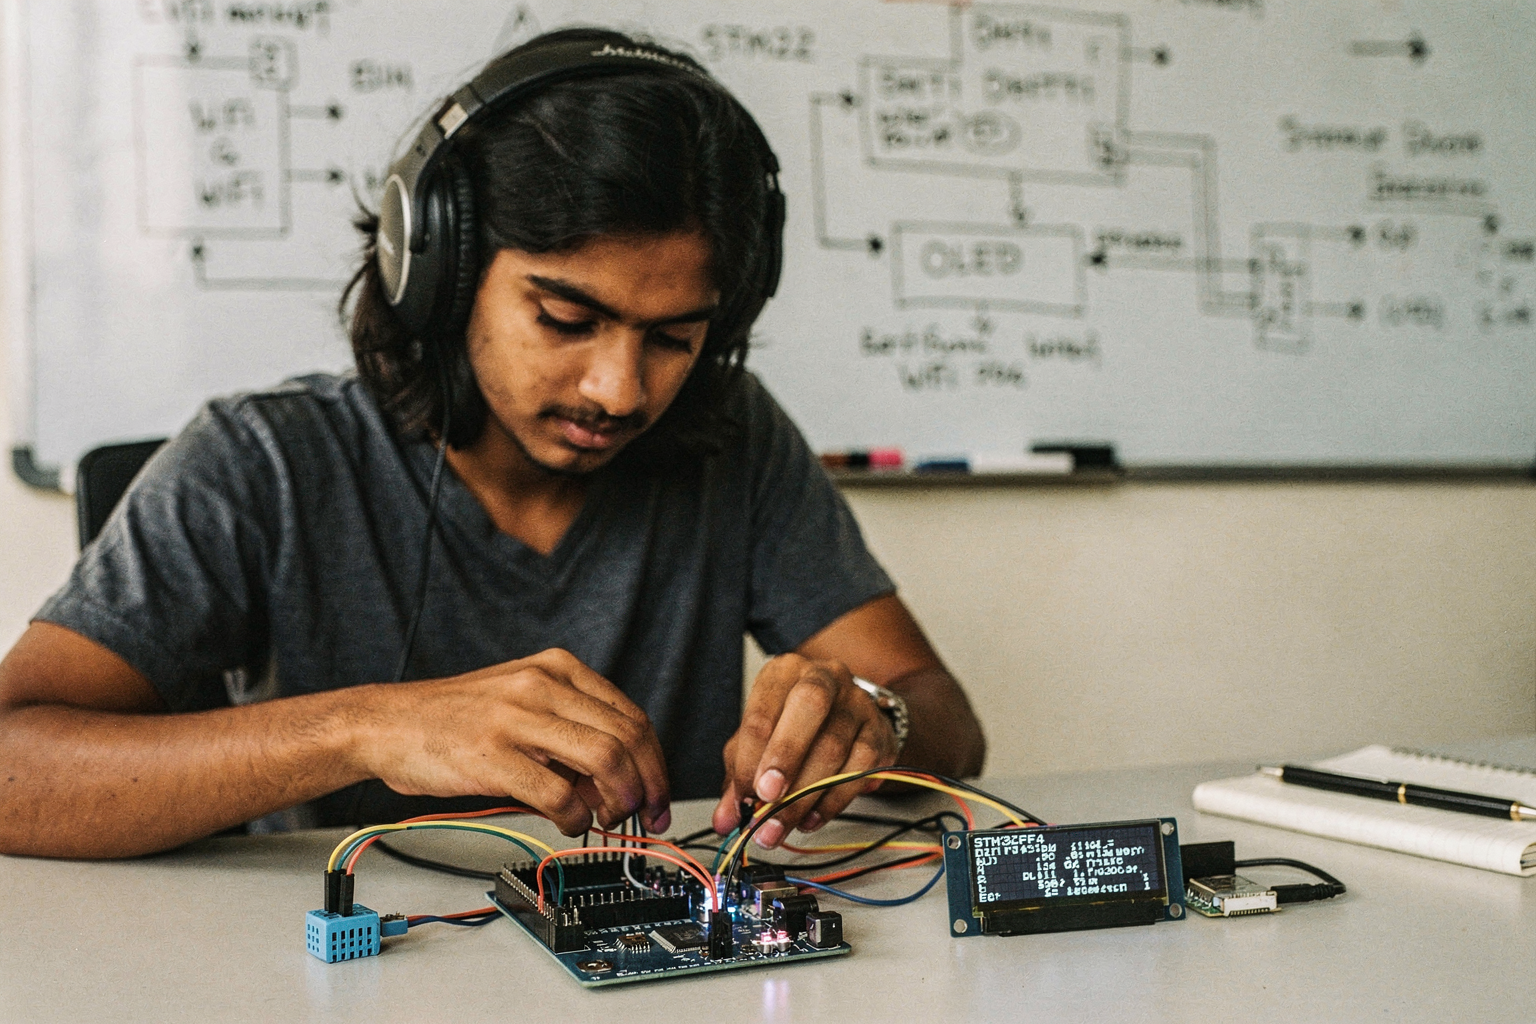
Arduino Excels In:
- Educational Projects: Perfect for learning embedded C/C++
- Rapid Prototyping: Quick development and testing cycles
- Simple Control Systems: Motor control, LED matrices, basic sensors
- Art Installations: Creative projects where simplicity is key
- Beginner IoT: ESP8266/ESP32 based projects with Arduino framework
STM32 Dominates In:
- Complex Signal Processing: Audio processing, FFT analysis
- Advanced Control Systems: PID controllers, motor control with FOC
- High-Speed Communication: CAN bus, high-speed UART/USB
- Power-Critical Applications: Battery-powered devices, energy harvesting
- Professional Products: Commercial-grade embedded systems
Pricing Comparison in Indian Market
| Component | Brand | Price (₹) | Availability | Where to Buy |
|---|---|---|---|---|
| Development Board | Arduino Uno R3 | 450 | In Stock | TecnoMate |
| Development Board | STM32F4 Discovery | 850 | In Stock | TecnoMate |
| USB Programmer | CH340G | 150 | In Stock | TecnoMate |
| Power Supply Module | 5V 2A DC | 200 | In Stock | TecnoMate |
| Breadboard Kit | 830-point | 350 | In Stock | TecnoMate |
| Jumper Wires | 40-piece | 120 | In Stock | TecnoMate |
Note: Prices are indicative and may vary based on quantity and availability
Pros and Cons: Quick Reference Guide
| Platform | Pros | Cons |
|---|---|---|
| Arduino | • Easy to learn<br>• Huge community<br>• Extensive tutorials<br>• Plug-and-play<br>• Low cost | • Limited processing power<br>• Not suitable for complex algorithms<br>• Limited peripherals<br>• Proprietary ecosystem |
| STM32 | • 32-bit processing<br>• Extensive peripheral set<br>• Power efficient<br>• Industry standard<br>• Open-source toolchain | • Steeper learning curve<br>• More complex setup<br>• Limited beginner resources<br>• Higher initial cost |
Practical Code Examples: Getting Started
Arduino Blinking LED
// Arduino Blink with delay
void setup() {
  pinMode(LED_BUILTIN, OUTPUT);
}

void loop() {
  digitalWrite(LED_BUILTIN, HIGH);
  delay(1000);
  digitalWrite(LED_BUILTIN, LOW);
  delay(1000);
}
STM32 Blinking LED (HAL Library)
// STM32F4 HAL Blink
#include "stm32f4xx_hal.h"

GPIO_InitTypeDef GPIO_InitStruct = {0};

void SystemClock_Config(void);
static void MX_GPIO_Init(void);

int main(void) {
  HAL_Init();
  SystemClock_Config();
  MX_GPIO_Init();

  while (1) {
    HAL_GPIO_WritePin(GPIOA, GPIO_PIN_5, GPIO_PIN_SET);
    HAL_Delay(1000);
    HAL_GPIO_WritePin(GPIOA, GPIO_PIN_5, GPIO_PIN_RESET);
    HAL_Delay(1000);
  }
}

static void MX_GPIO_Init(void) {
  __HAL_RCC_GPIOA_CLK_ENABLE();
  GPIO_InitStruct.Pin = GPIO_PIN_5;
  GPIO_InitStruct.Mode = GPIO_MODE_OUTPUT_PP;
  GPIO_InitStruct.Pull = GPIO_NOPULL;
  GPIO_InitStruct.Speed = GPIO_SPEED_FREQ_HIGH;
  HAL_GPIO_Init(GPIOA, &GPIO_InitStruct);
}
Notice the difference in complexity? Arduino abstracts away the hardware details, while STM32 requires you to understand the hardware registers and initialization process.
Troubleshooting Common Issues
Arduino Problems and Solutions
Issue 1: Board Not Detected by Computer
- Check USB cable quality (₹50-100 for good quality cables)
- Verify CH340G drivers are installed
- Try another USB port or computer
Issue 2: Upload Fails
- Check correct board selection in IDE
- Ensure correct COM port is selected
- Hold reset button while uploading
STM32 Problems and Solutions
Issue 1: CubeIDE Not Building
- Check STM32CubeMX configuration
- Verify HAL library is properly initialized
- Ensure proper clock configuration
Issue 2: Peripherals Not Working
- Check pin multiplexing configuration
- Verify clock enables for peripheral buses
- Reference STM32 reference manual for correct initialization sequence
Pro Tip: Always start with a minimal working example and gradually add complexity. This approach works for both platforms but is especially crucial with STM32.
Frequently Asked Questions
For absolute beginners, I strongly recommend starting with Arduino Uno. The learning curve is gentle, and you'll see results quickly. Once you're comfortable with embedded concepts, you can transition to STM32 for more advanced projects. The skills transfer well, and you'll understand the fundamentals better.
Ready to start building?
Explore our collection of DIY kits and components. All project components mentioned in this blog are available in our store.
Browse All Projects