

Introduction: Bringing AI to the Edge
Imagine training an artificial intelligence model that can run directly on a device smaller than your thumb, making decisions in real-time without needing internet connectivity. This is the promise of TinyML – bringing artificial intelligence to resource-constrained edge devices. For engineering students in India, this technology opens up exciting possibilities for creating intelligent systems that work offline and operate with minimal power consumption.
Raspberry Pi Pico, with its RP2040 microcontroller, has emerged as an excellent platform for TinyML projects. At just ₹350-₹400, this compact device packs enough power to run machine learning models while consuming minimal energy – perfect for battery-powered IoT solutions. Whether you're building a smart agricultural monitor, an industrial fault detector, or a personal health assistant, TinyML on Raspberry Pi Pico offers an affordable entry point into the world of AI at the edge.
In this comprehensive guide, we'll walk you through everything you need to know to get started with TinyML on Raspberry Pi Pico, from setting up your development environment to deploying your first machine learning model. We'll focus on practical applications that are relevant to the Indian context, from agriculture monitoring to smart city solutions.
Prerequisites: What You Need to Get Started
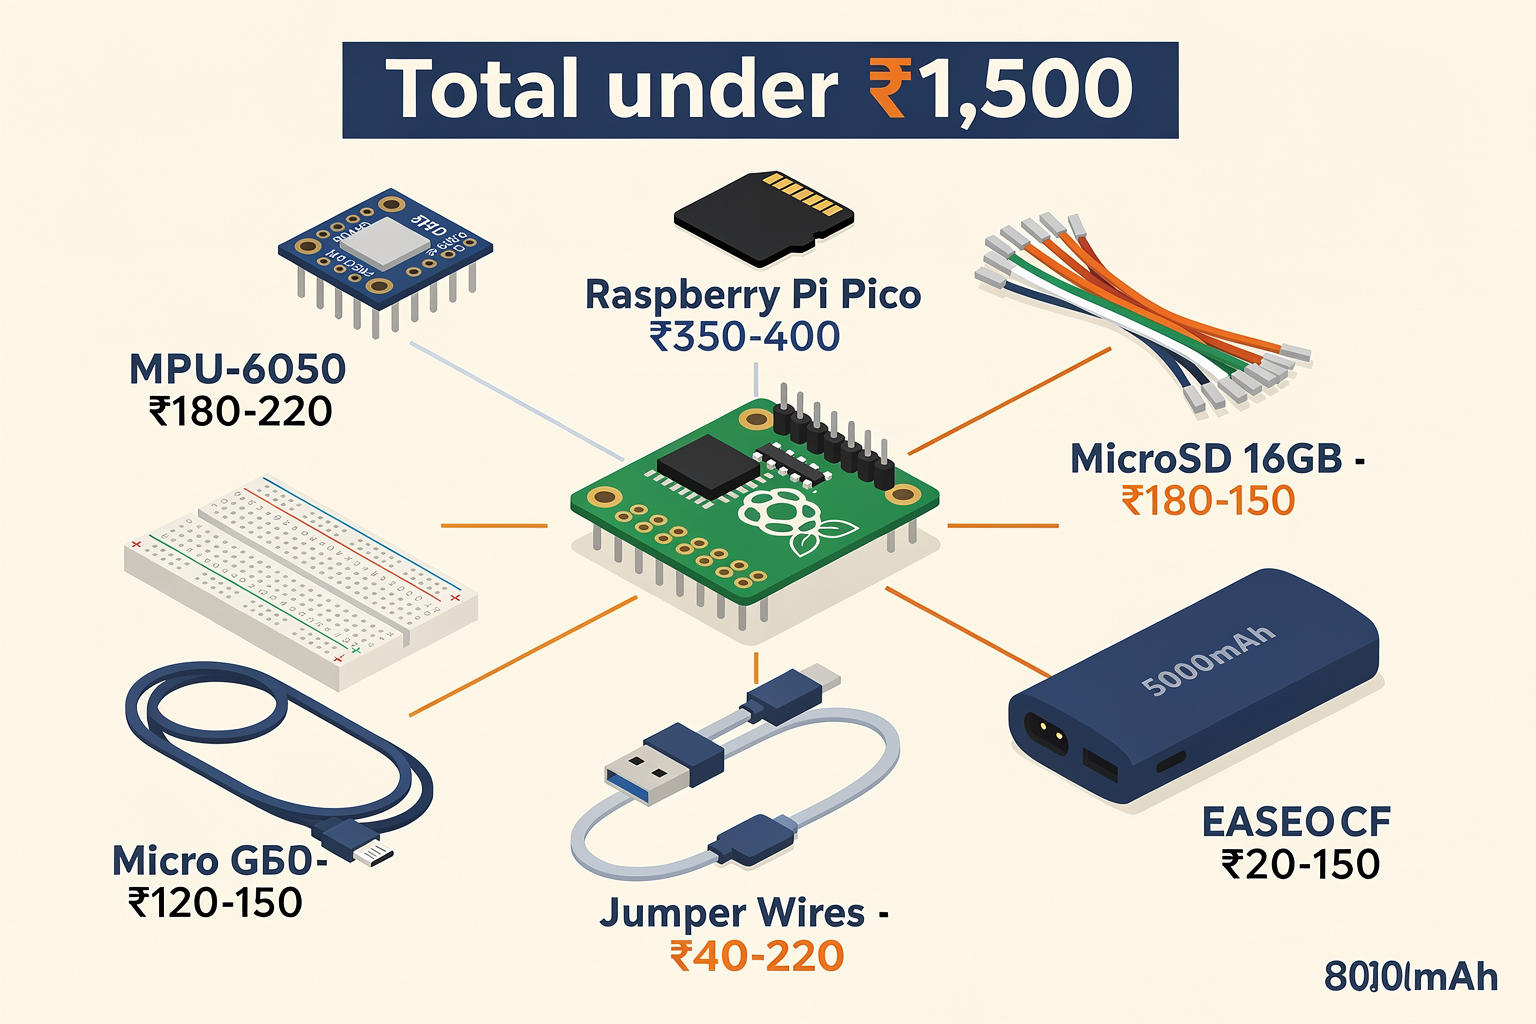
Before diving into TinyML projects, let's ensure you have all the necessary components and tools. The good news is that most of these items are readily available through online retailers like Amazon India and specialized electronics stores across the country.
| Component | Specification | Price (₹) | Availability |
|---|---|---|---|
| Raspberry Pi Pico | RP2040 MCU, 264KB SRAM | 350-400 | Amazon India, Robu |
| Sensor Module | MPU-6050 (Accelerometer/Gyro) | 180-220 | Local electronics markets |
| MicroSD Card | 16GB, Class 10 | 120-150 | Computer accessory stores |
| Jumper Wires | 40pcs male-to-female | 40-60 | Any electronics shop |
| Breadboard | 400 tie points | 80-120 | Local markets, online |
| USB Cable | Micro-USB, 3ft | 30-50 | Any electronics store |
| Power Bank | 5000mAh with USB output | 400-600 | Available everywhere |
Essential Software Tools
| Software | Purpose | Price (₹) |
|---|---|---|
| Thonny IDE | Python IDE for Pico | Free |
| Mu Editor | MicroPython IDE | Free |
| Edge Impulse | TinyML development platform | Free tier available |
| TensorFlow Lite | Model conversion and optimization | Free |
Getting Started with TinyML on Raspberry Pi Pico
Setting Up Your Development Environment
First, let's install the necessary tools and configure your Raspberry Pi Pico for machine learning development. The process is straightforward and only takes a few minutes:
-
Install Thonny IDE: Download and install Thonny IDE from the official website. This Python IDE comes with MicroPython support built-in, making it perfect for Pico development.
-
Flash MicroPython: Connect your Raspberry Pi Pico to your computer via USB. Press and hold the BOOTSEL button while connecting the cable, then release. This puts the Pico in bootloader mode. In Thonny, go to Tools > Options > Interpreter and select "MicroPython (Raspberry Pi Pico)".
-
Install Edge Impulse CLI: For machine learning development, Edge Impulse provides excellent tools for creating, training, and deploying TinyML models. Install the CLI tool using pip:
pip install edge-impulse-sdk
Understanding the TinyML Workflow
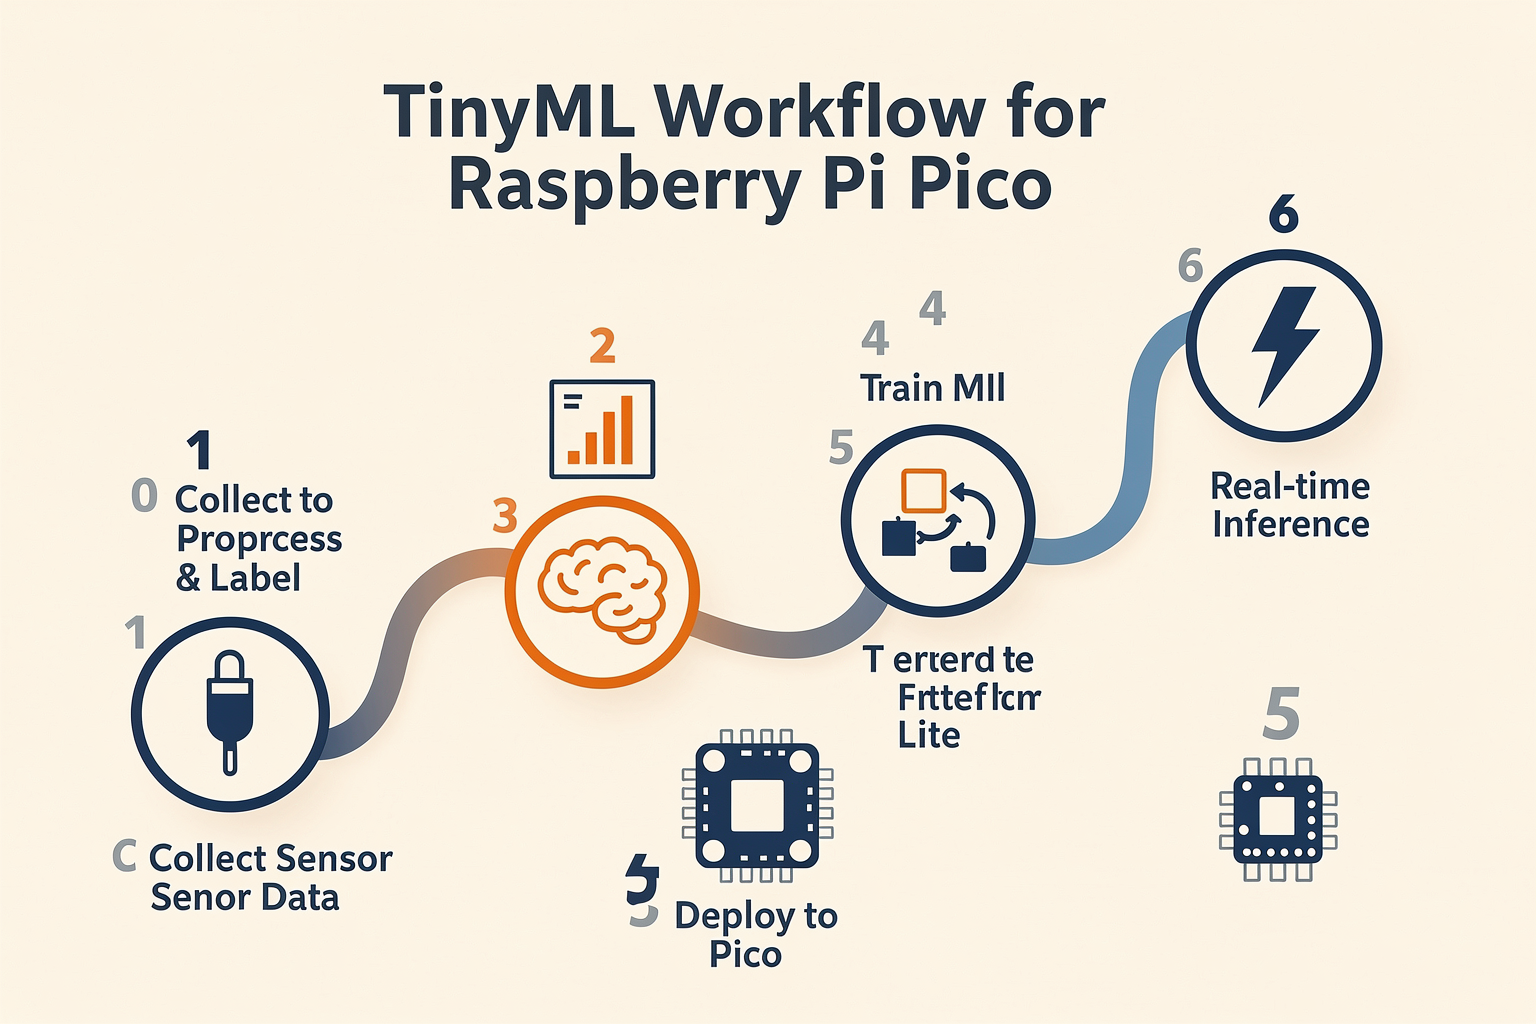
TinyML follows a specific workflow that's different from traditional machine learning on cloud platforms. Here's how it works:
- Data Collection: Gather sensor data using the Pico's GPIO pins or connected sensors
- Feature Extraction: Process raw sensor data to extract meaningful features
- Model Training: Train a lightweight model using platforms like Edge Impulse
- Model Optimization: Convert and optimize the model for edge deployment
- Deployment: Deploy the model to the Raspberry Pi Pico
- Inference: Run real-time inference on the edge device
Let's start with a practical example: detecting human activity using an MPU-6050 accelerometer sensor.
Code Implementation: Your First TinyML Project
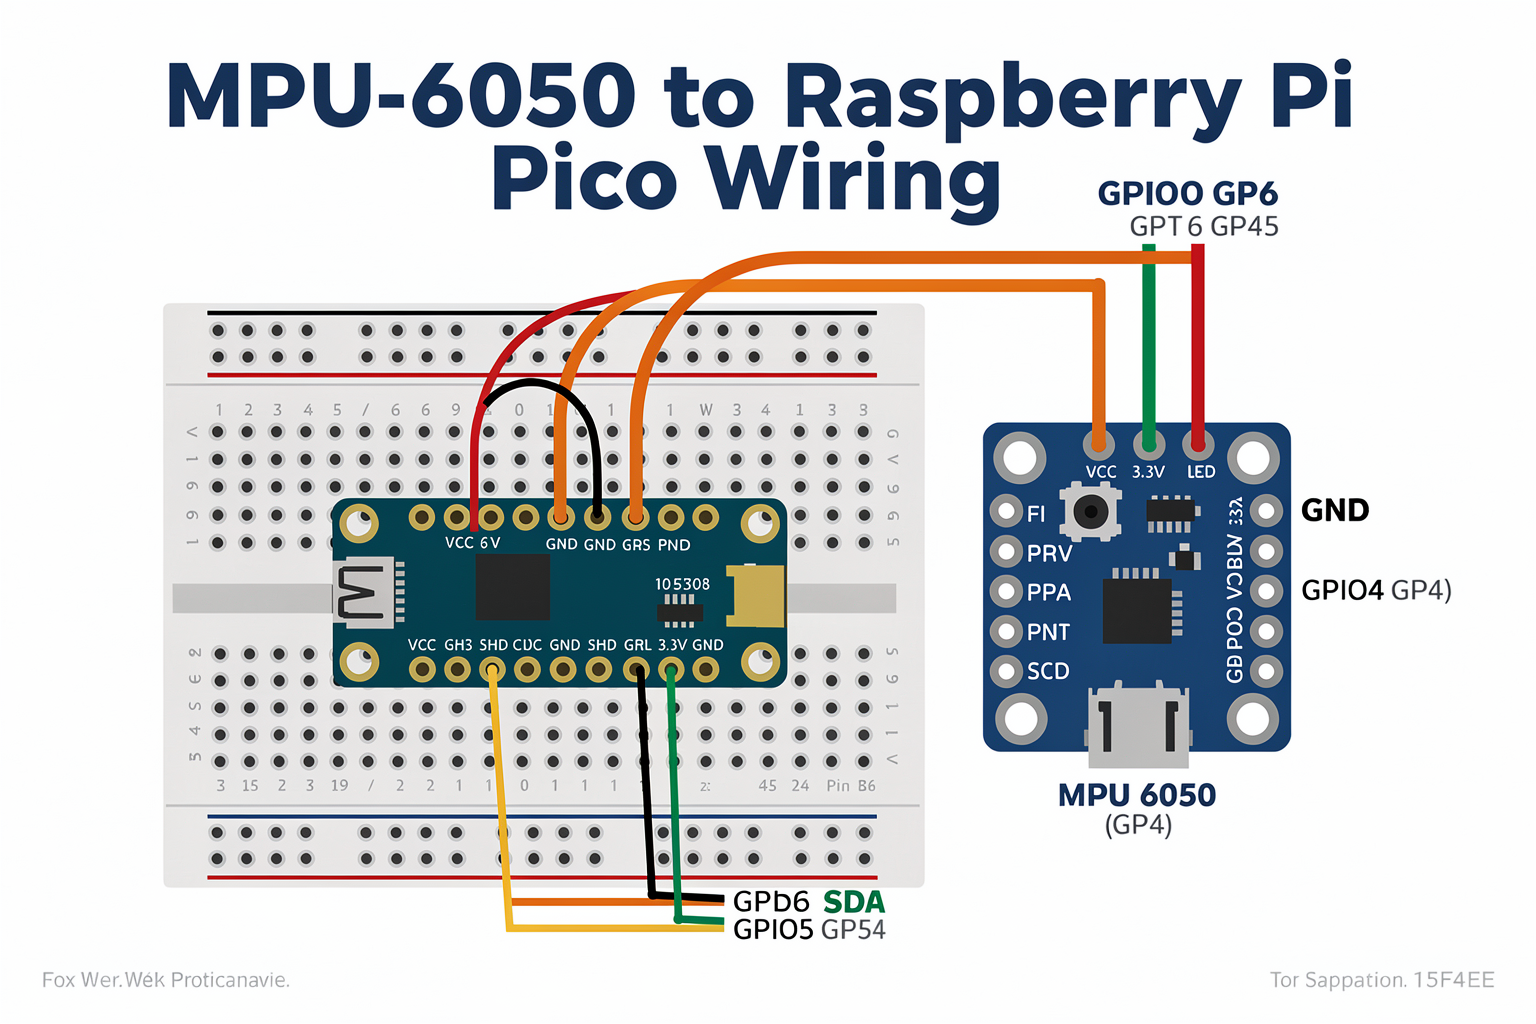
Hardware Setup
Connect the MPU-6050 accelerometer to your Raspberry Pi Pico using the following connections:
| MPU-6050 Pin | Raspberry Pi Pico Pin | Purpose |
|---|---|---|
| VCC | 3.3V | Power |
| GND | GND | Ground |
| SDA | GPIO 4 (SDA) | I2C Data |
| SCL | GPIO 5 (SCL) | I2C Clock |
Step-by-Step Implementation
1. Initialize the Sensor
import machine
import time
import ustruct
from micropython import const

# I2C configuration
I2C_SCL = const(5)
I2C_SDA = const(4)
I2C_FREQ = const(100000)

# MPU-6050 registers
PWR_MGMT_1 = const(0x6B)
CONFIG = const(0x1A)
ACCEL_XOUT_H = const(0x3B)
ACCEL_YOUT_H = const(0x3D)
ACCEL_ZOUT_H = const(0x3F)
ACCEL_SCALE = const(0.004)  # ±2g range

# Initialize I2C
i2c = machine.I2C(0, scl=machine.Pin(I2C_SCL), sda=machine.Pin(I2C_SDA), freq=I2C_FREQ)

# MPU-6050 address (usually 0x68)
Ready to start building?
Explore our collection of DIY kits and components. All project components mentioned in this blog are available in our store.
Browse All Projects