

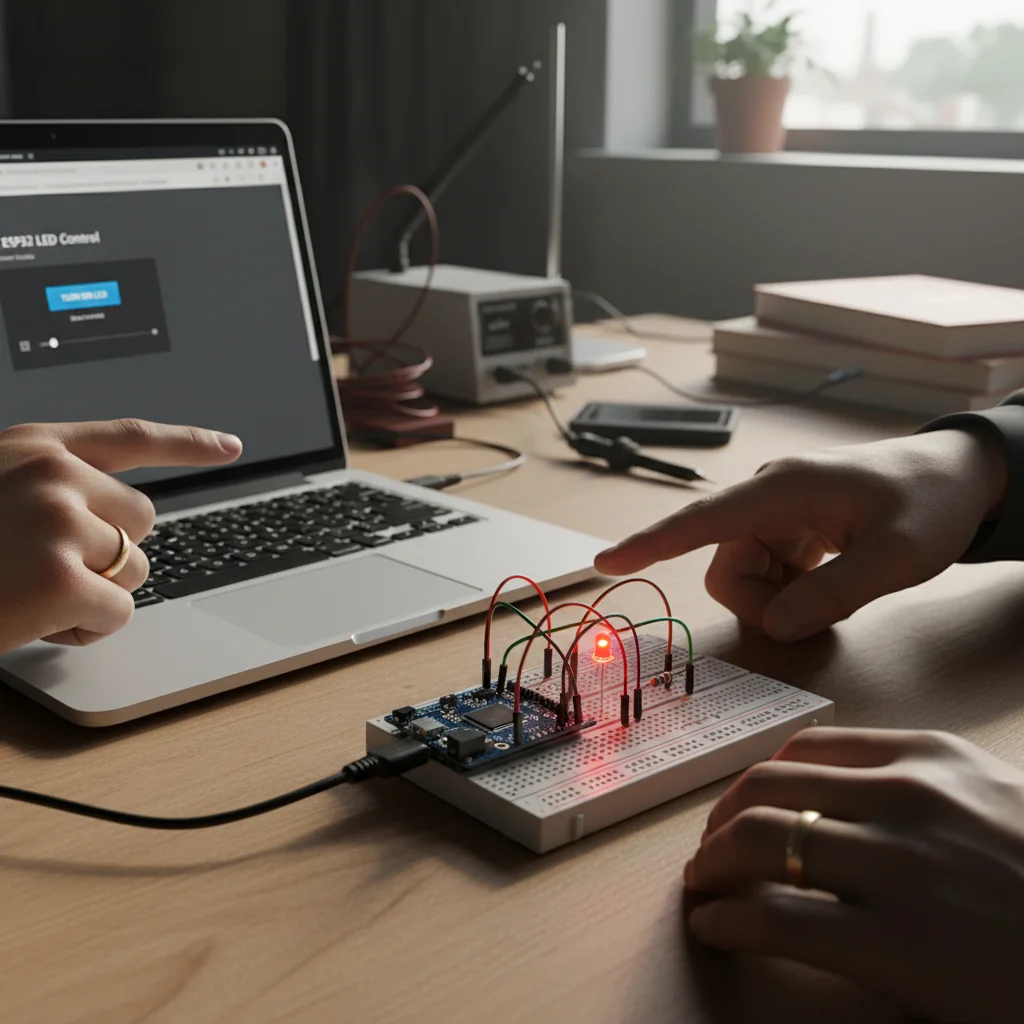
ESP32 WiFi Web Server
Create a web server using ESP32 that allows users to control an LED from any browser over Wi-Fi.
Inclusive of all taxes
- Secure payments via Razorpay
- 7-day returns on defective items
- GST invoice on every order
Free delivery on orders above ₹2,000
Delivers in 4-7 business days
Check delivery at your pincode
₹3698.00
Inclusive of all taxes

Components
7 items
Difficulty
Intermediate
Build Time
45 minutes – 1.5 hours
Project Details
How It Works
 How It Works
The ESP32 connects to a Wi-Fi network using the WiFi library and starts an HTTP server on port 80. When a client (web browser) connects to the ESP32's IP address, the server reads the HTTP request. If the request contains '/LED=ON', it sets GPIO 2 HIGH to turn the LED on. If it contains '/LED=OFF', it sets GPIO 2 LOW to turn the LED off. The server then sends back an HTML page with buttons for ON/OFF control. This creates a simple web interface that allows remote control of the LED from any browser on the same network.
Prerequisites
Basic knowledge of ESP32 and Arduino IDE, understanding of digital I/O pins, and completion of a basic ESP32 LED Blink project. Familiarity with Wi-Fi concepts is helpful but not required.
What You'll Learn
 What You'll Learn
Learn how to connect ESP32 to a Wi-Fi network
Create a basic HTTP web server on ESP32
Control hardware devices remotely via web browser
Understand ESP32 IP addressing in local network
Learn basic IoT communication principles
Key Features
Control LED ON/OFF from any device on the same Wi-Fi network
Simple HTML interface with buttons for control
All server functionality runs on ESP32 itself
Works on mobile phones, tablets, and computers
Can be extended to control multiple devices or sensors
What's Included in the Kit
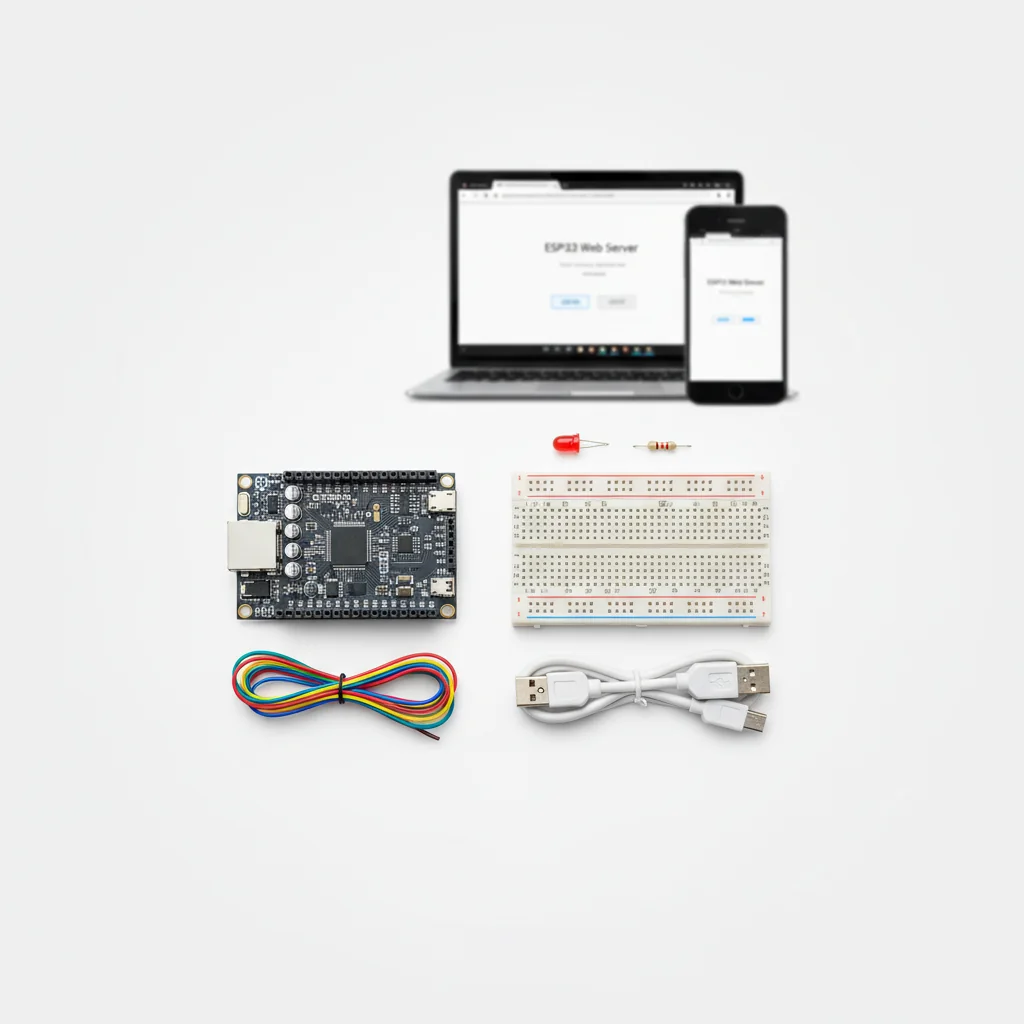
| Component | Qty | Price |
|---|---|---|
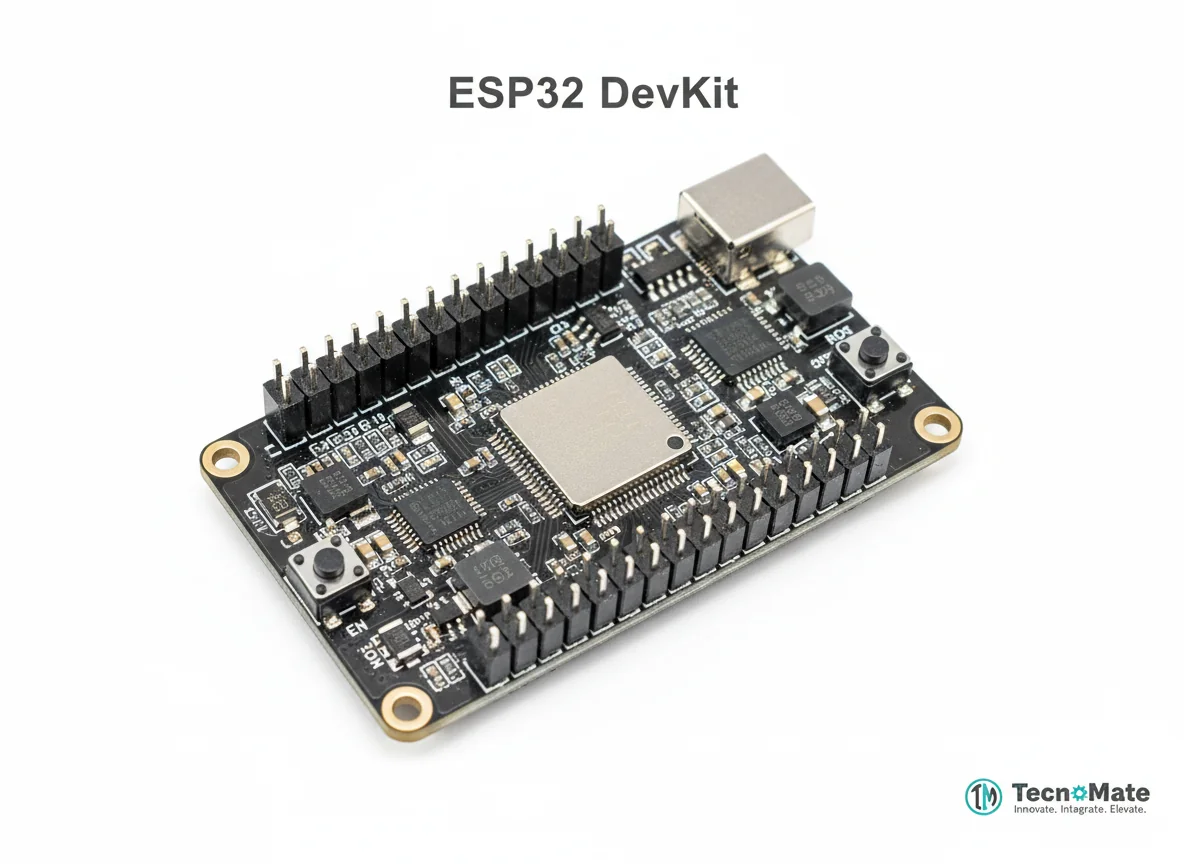 | 1 | ₹1682.00 |
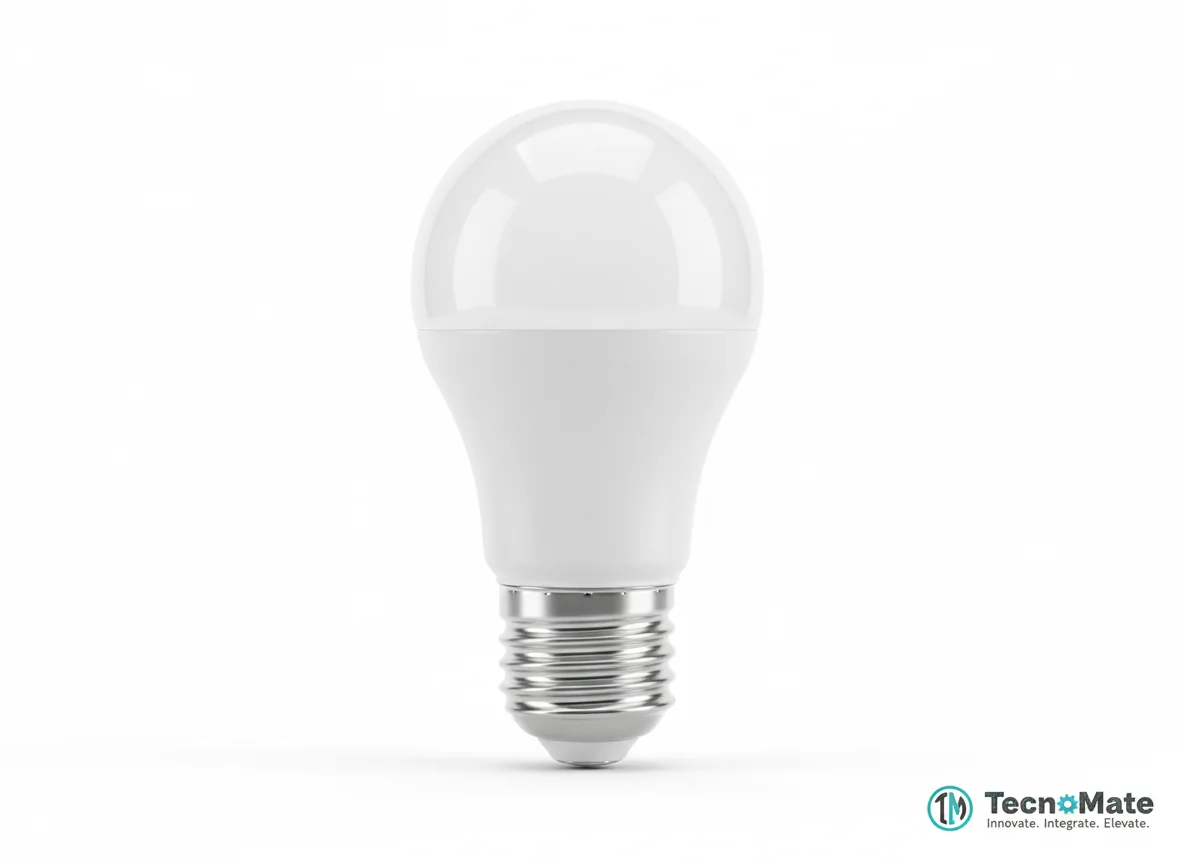 | 1 | ₹400.00 |
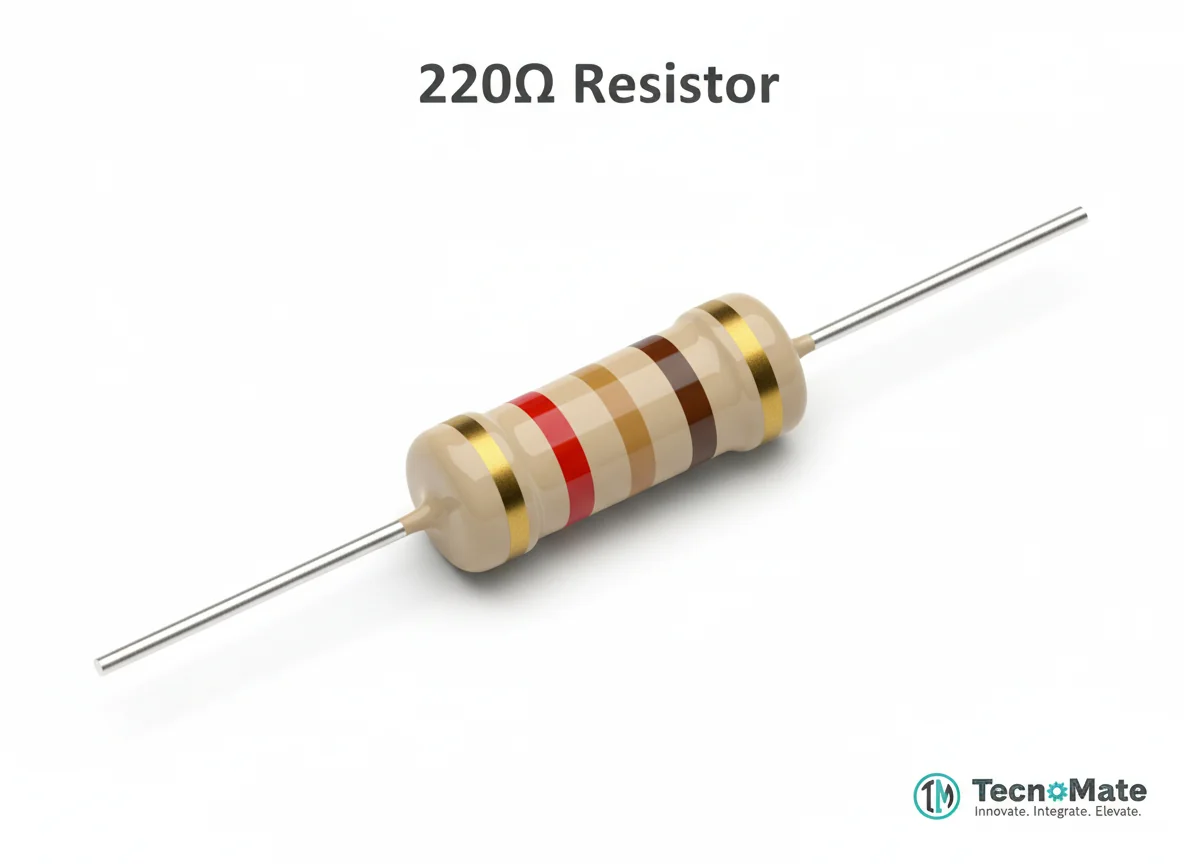 | 1 | ₹0.00 |
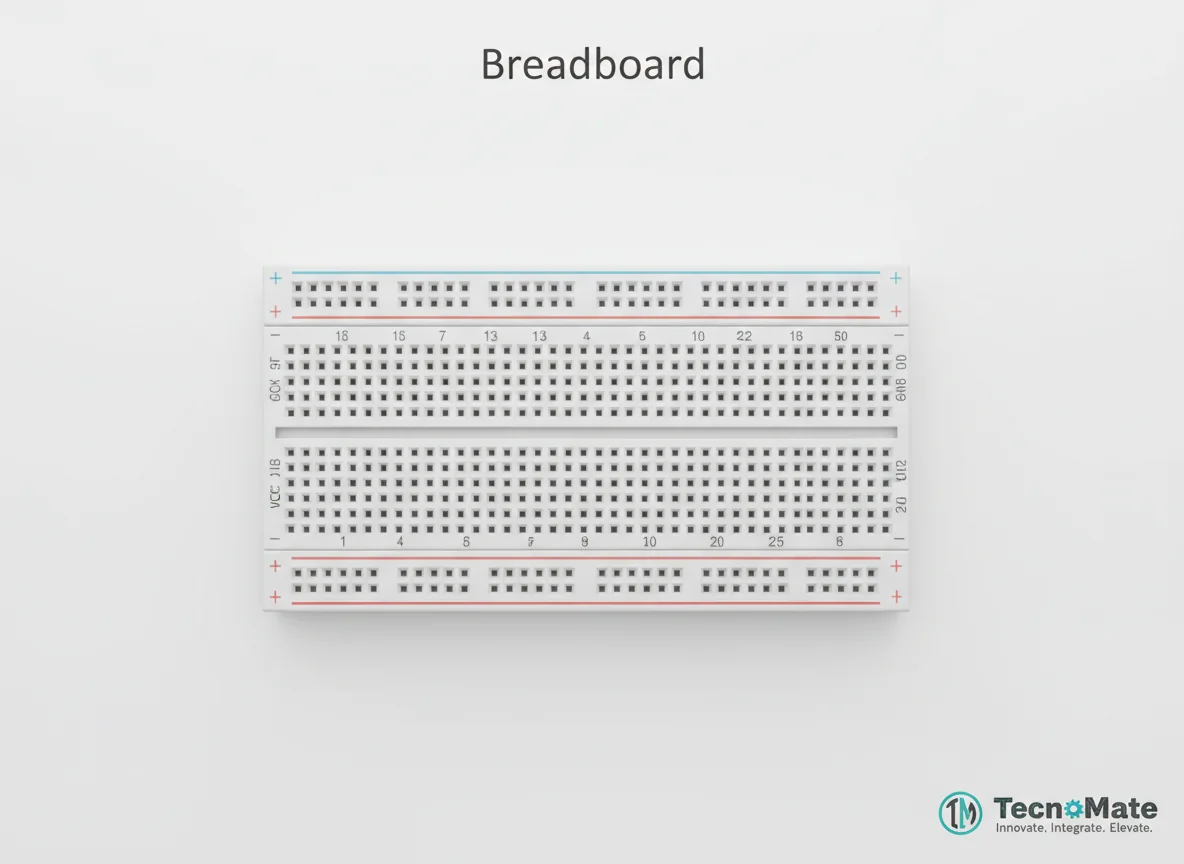 | 1 | ₹77.00 |
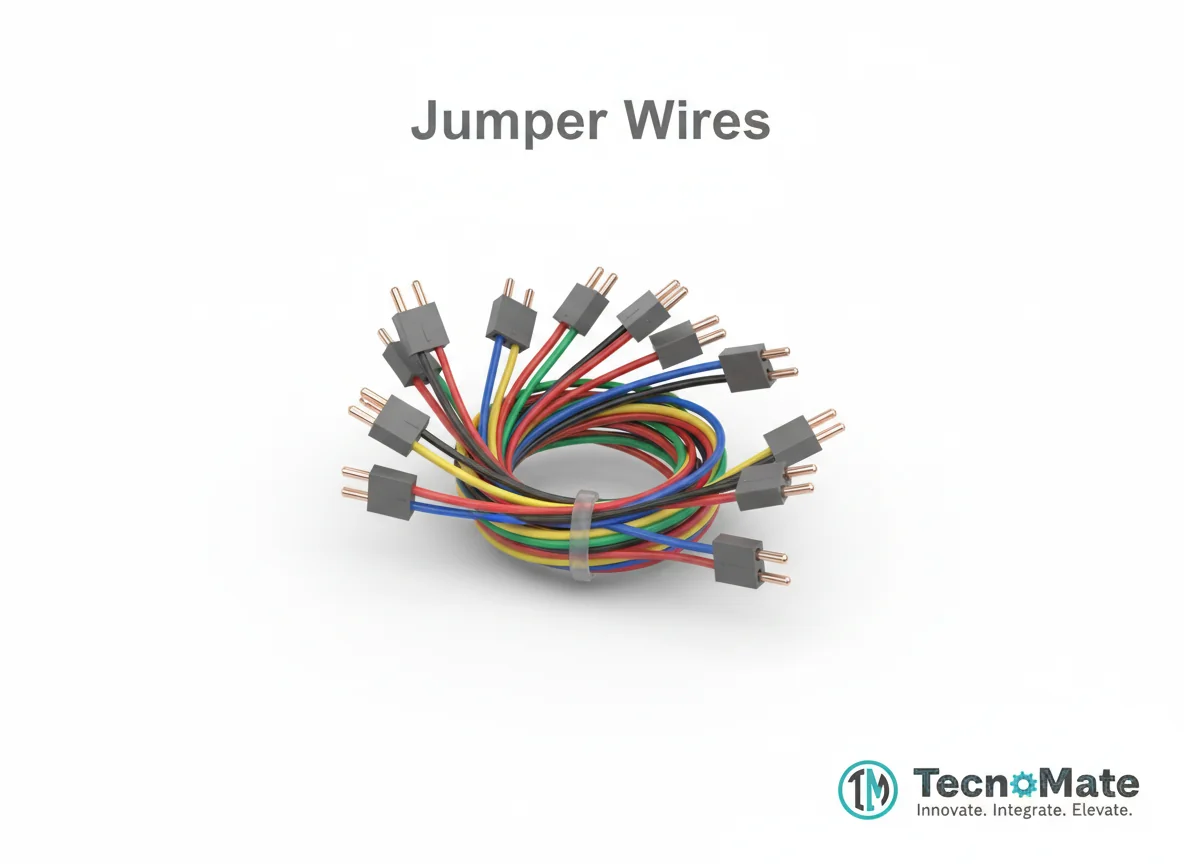 | 1 | ₹171.00 |
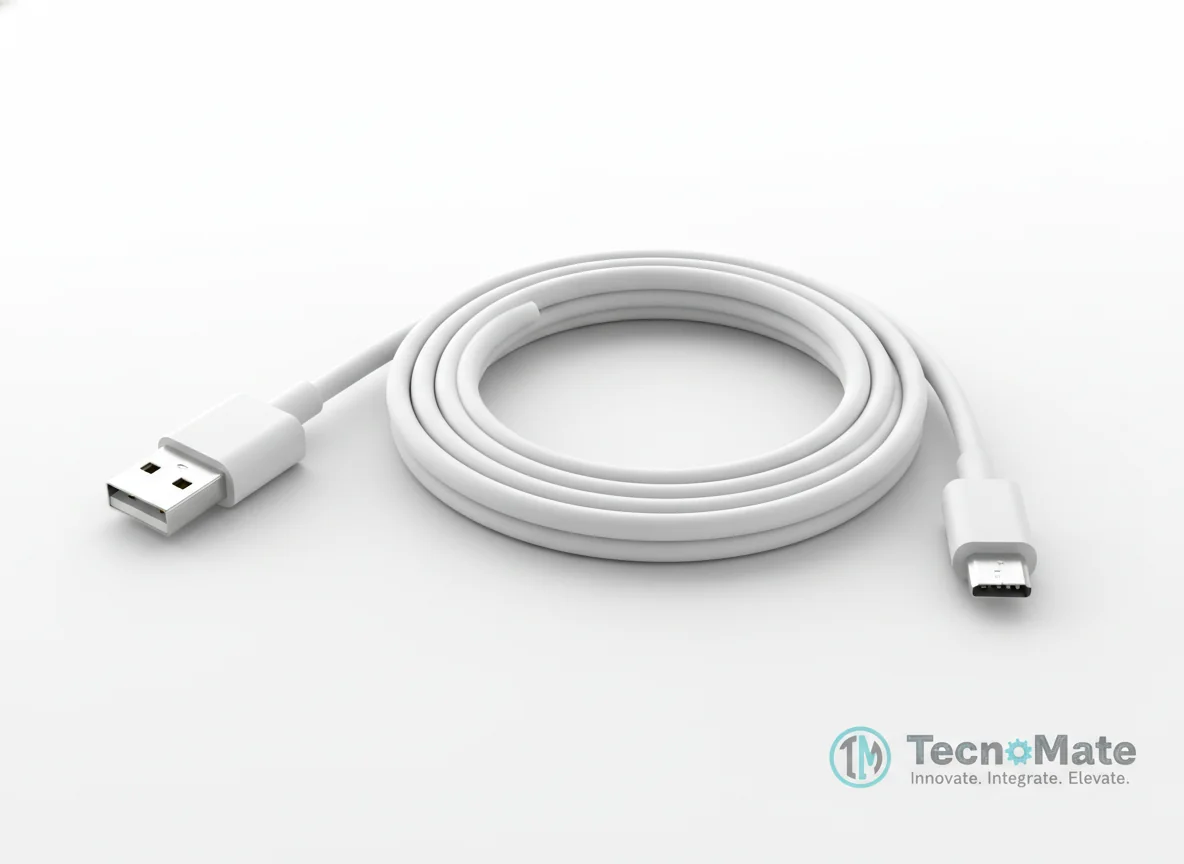 | 1 | ₹190.00 |
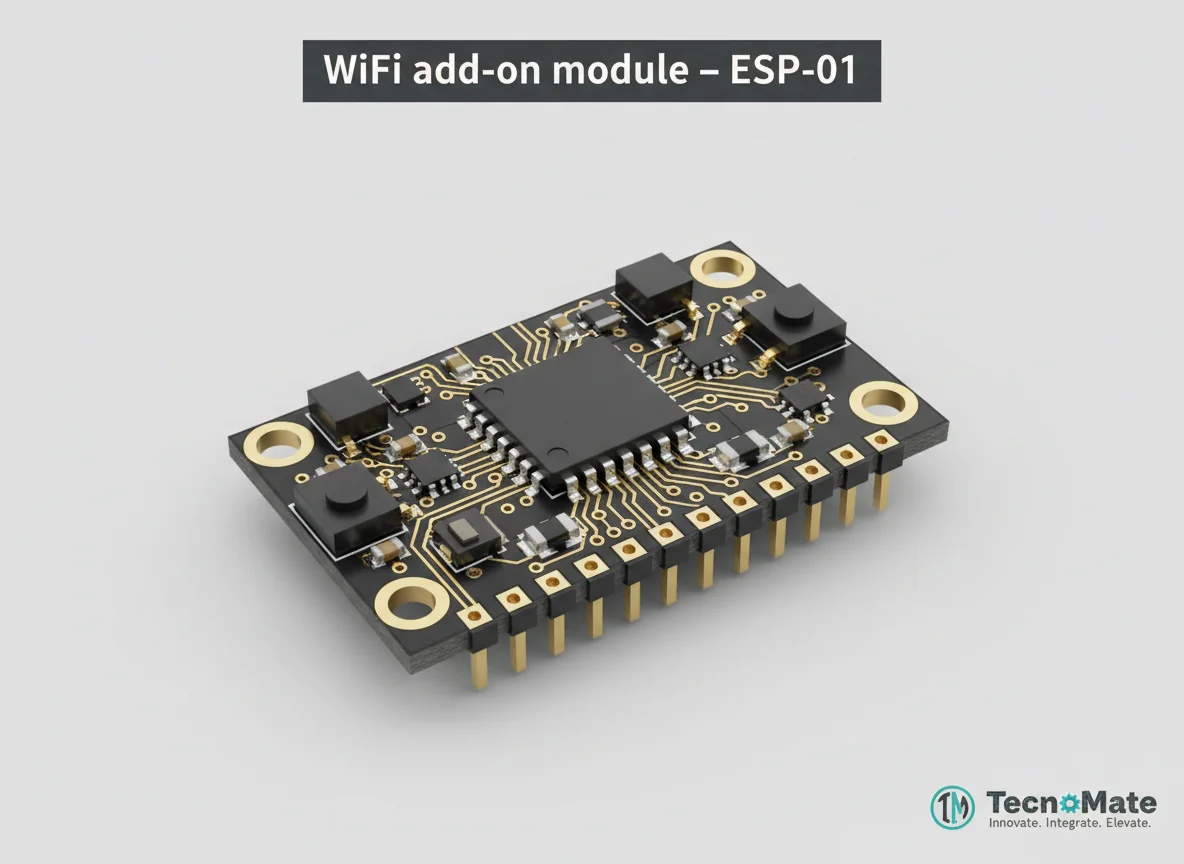 | 1 | ₹0.00 |
Operating Instructions
Pin Connections
 Pin Connections
| MCU Pin | Connected To | Purpose | Notes |
|---|---|---|---|
| GPIO 2 | LED Anode (+) | Digital output to control LED state | Internal LED on many ESP32 boards |
| GND | LED Cathode (–) via resistor | Ground connection for LED circuit | Resistor limits current to protect LED |
Tools Required
 Tools Required
Safety Precautions
Electrical
- ⚠Use resistor to protect LED from excessive current
- ⚠Do not short GPIO pins directly to power or ground
Handling
- ⚠Avoid exposing ESP32 to moisture or liquids
Security
- ⚠Keep Wi-Fi credentials secure and do not share publicly
Frequently Asked Questions
 Frequently Asked Questions
Q:Can I control more than one device?
Q:Can I access ESP32 from mobile?
Q:Do I need internet access?
Q:Is this suitable for beginners?
Product images are for illustration purposes only. Actual products may differ in appearance, packaging, or specifications. See our Terms of Service.